


1. 下载
https://github.com/chenshuo/muduo
2. 安装依赖库
1. 安装 boost 库
sudo apt-get update
sudo apt-get install libboost-all-dev
下面我们测试一下 boost 库
#define BOOST_BIND_GLOBAL_PLACEHOLDERS

#include <iostream>
#include <boost/bind.hpp>
#include <string>
using namespace std;

class Hello
{
public:
	void say(string name)
	{ cout << name << " talk to America.!" << endl; }
};

int main()
{
	Hello h;
	auto func = boost::bind(&Hello::say, &h, "Li si");
	func();
	return 0;
}
代码写好了,开始编译一下:
g++ test.cpp -o test -std=c++11
2. 安装 cmake
sudo apt install cmake -y
3. 编译
./build.sh
4. 手动安装头文件和 .a (默认静态编译)
1. 头文件

sudo cp muduo/ /usr/include/
2. 库文件
进入到 build 目录下面的 lib 目录,将所有文件拷贝到
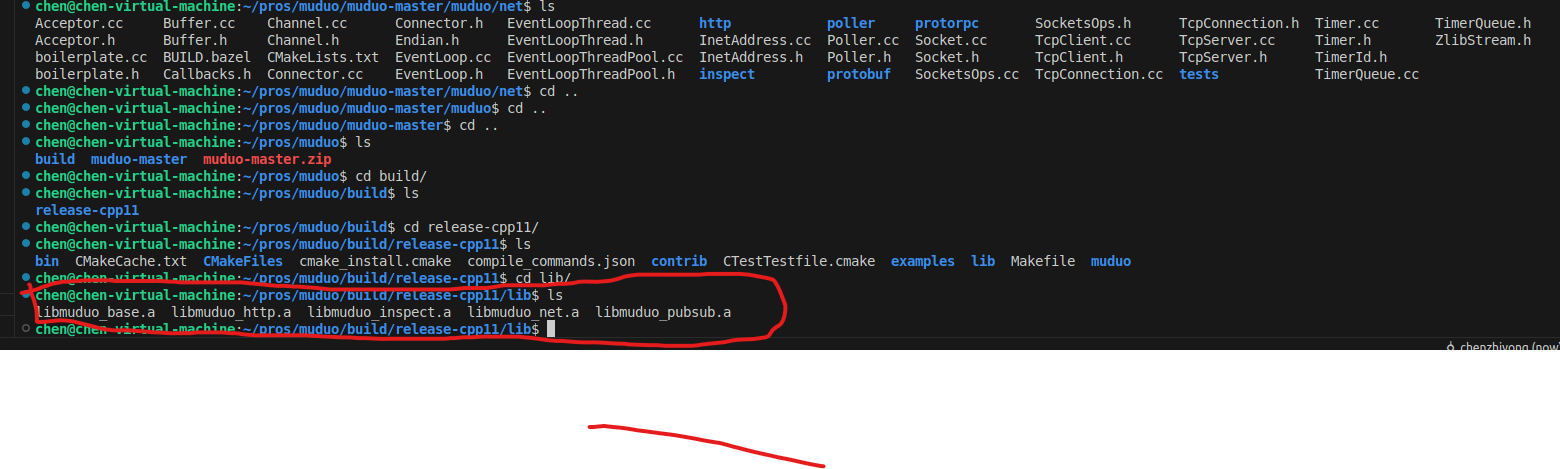
sudo cp * /usr/local/lib/
5. 测试 muduo 库
创建一个 C++ 文件
#include <muduo/net/TcpServer.h>
#include <muduo/base/Logging.h>
#include <boost/bind.hpp>
#include <muduo/net/EventLoop.h>

// 使用muduo开发回显服务器
class EchoServer
{
 public:
  EchoServer(muduo::net::EventLoop* loop,
             const muduo::net::InetAddress& listenAddr);

  void start();

 private:
  void onConnection(const muduo::net::TcpConnectionPtr& conn);

  void onMessage(const muduo::net::TcpConnectionPtr& conn,
                 muduo::net::Buffer* buf,
                 muduo::Timestamp time);

  muduo::net::TcpServer server_;
};

EchoServer::EchoServer(muduo::net::EventLoop* loop,
                       const muduo::net::InetAddress& listenAddr)
  : server_(loop, listenAddr, "EchoServer")
{
  server_.setConnectionCallback(
      boost::bind(&EchoServer::onConnection, this, _1));
  server_.setMessageCallback(
      boost::bind(&EchoServer::onMessage, this, _1, _2, _3));
}

void EchoServer::start()
{
  server_.start();
}

void EchoServer::onConnection(const muduo::net::TcpConnectionPtr& conn)
{
  LOG_INFO << "EchoServer - " << conn->peerAddress().toIpPort() << " -> "
           << conn->localAddress().toIpPort() << " is "
           << (conn->connected() ? "UP" : "DOWN");
}

void EchoServer::onMessage(const muduo::net::TcpConnectionPtr& conn,
                           muduo::net::Buffer* buf,
                           muduo::Timestamp time)
{
  // 接收到所有的消息,然后回显
  muduo::string msg(buf->retrieveAllAsString());
  LOG_INFO << conn->name() << " echo " << msg.size() << " bytes, "
           << "data received at " << time.toString();
  conn->send(msg);
}


int main()
{
  LOG_INFO << "pid = " << getpid();
  muduo::net::EventLoop loop;
  muduo::net::InetAddress listenAddr(8888);
  EchoServer server(&loop, listenAddr);
  server.start();
  loop.loop();
}
代码编译:
g++ test_muduo1.cc -o test_muduo1 -lmuduo_net -lmuduo_base -lpthread -std=c++11
测试:
终端1:
./test_muduo1
终端2:
echo "hello world" | nc localhost 8888
测试结果如下:

6. 生成的自带测试执行文件
muduo 自身也有测试文件,编译后产物地址是:muduo/build/release-cpp11/bin


 被折叠的 条评论
为什么被折叠?
被折叠的 条评论
为什么被折叠?
 到【灌水乐园】发言


