


一.试用阿里云配置安全组,安装宝塔面板。
安全组可单独端口配置,也可以直接全配了。
注意宝塔面板也要配!
24310是我的宝塔面板端口,根据自己的修改即可


二.新建数据库并检查结构和数据(新加的数据可能会导致项目运行报错)
三.修改Vue项目运行端口
规定:
blog:8093
admin:8094
找文件建议定位目录搜索 或者 用idea使用Ctrl+shift+r全局搜索。
都改成自己对应的服务器公网ip。
注意:http有的地方别改成https
1.admin


改:


改:


解决路由缺失(跳转失败)
修改index.js

这里我是复制的全部,你也可以对应修改constantRoutes。
import Vue from 'vue'
import Router from 'vue-router'

Vue.use(Router)

/* Layout */
import Layout from '@/layout'

/**
 * Note: sub-menu only appear when route children.length >= 1
 * Detail see: https://panjiachen.github.io/vue-element-admin-site/guide/essentials/router-and-nav.html
 *
 * hidden: true                   if set true, item will not show in the sidebar(default is false)
 * alwaysShow: true               if set true, will always show the root menu
 *                                if not set alwaysShow, when item has more than one children route,
 *                                it will becomes nested mode, otherwise not show the root menu
 * redirect: noRedirect           if set noRedirect will no redirect in the breadcrumb
 * name:'router-name'             the name is used by <keep-alive> (must set!!!)
 * meta : {
    roles: ['admin','editor']    control the page roles (you can set multiple roles)
    title: 'title'               the name show in sidebar and breadcrumb (recommend set)
    icon: 'svg-name'/'el-icon-x' the icon show in the sidebar
    breadcrumb: false            if set false, the item will hidden in breadcrumb(default is true)
    activeMenu: '/example/list'  if set path, the sidebar will highlight the path you set
  }
 */

/**
 * constantRoutes
 * a base page that does not have permission requirements
 * all roles can be accessed
 */
export const constantRoutes = [
  {
    path: '/login',
    component: () => import('@/views/login/index'),
    hidden: true
  },
  {
    path: '/',
    component: Layout,
    redirect: '/dashboard',
    children: [{
      path: 'dashboard',
      name: 'Dashboard',
      component: () => import('@/views/dashboard/index'),
      meta: { title: '首页', icon: 'dashboard' }
    }]
  },
  {
    path: '/write',
    component: Layout,
    children: [{
      path: '/',
      name: 'Write',
      component: () => import('@/views/content/article/write/index'),
      hidden: true
    }]
  },
  {
    path: '/system/user',
    component: Layout,
    children: [{
      path: '/',
      name: 'User',
      component: () => import('@/views/system/user'),
      hidden: true
    }]
  },
  {
    path: '/system/role',
    component: Layout,
    children: [{
      path: '/',
      name: 'role',
      component: () => import('@/views/system/role'),
      hidden: true
    }]
  },
  {
    path: '/system/menu',
    component: Layout,
    children: [{
      path: '/',
      name: 'menu',
      component: () => import('@/views/system/menu'),
      hidden: true
    }]
  },
  {
    path: '/system/role',
    component: Layout,
    children: [{
      path: '/',
      name: 'role',
      component: () => import('@/views/system/role'),
      hidden: true
    }]
  },
  {
    path: '/content/article',
    component: Layout,
    children: [{
      path: '/',
      name: 'article',
      component: () => import('@/views/content/article/index'),
      hidden: true
    }]
  },
  {
    path: '/content/category',
    component: Layout,
    children: [{
      path: '/',
      name: 'category',
      component: () => import('@/views/content/category/index'),
      hidden: true
    }]
  },
  {
    path: '/content/link',
    component: Layout,
    children: [{
      path: '/',
      name: 'link',
      component: () => import('@/views/content/link/index'),
      hidden: true
    }]
  },
  {
    path: '/content/tag',
    component: Layout,
    children: [{
      path: '/',
      name: 'tag',
      component: () => import('@/views/content/tag/index'),
      hidden: true
    }]
  }
]
const createRouter = () => new Router({
  // mode: 'history', // require service support
  scrollBehavior: () => ({ y: 0 }),
  routes: constantRoutes
})

const router = createRouter()

// Detail see: https://github.com/vuejs/vue-router/issues/1234#issuecomment-357941465
export function resetRouter() {
  const newRouter = createRouter()
  router.matcher = newRouter.matcher // reset router
}

export default router
防止打包报错:

如图注释:

2.blog


同admin修改:


四.给vue项目blog打包
npm run build --report
五.给vue项目admin打包
sudo /etc/init.d/bt default
六.给springboot项目打包
项目根目录(最外面的那个xml)下加入打包插件依赖:
<build>
        <plugins>
            <plugin>
                <groupId>org.apache.maven.plugins</groupId>
                <artifactId>maven-compiler-plugin</artifactId>
                <version>3.10.1</version>
            </plugin>
            <!-- 此插件必须放在父 POM 中  -->
            <plugin>
                <groupId>org.apache.maven.plugins</groupId>
                <artifactId>maven-assembly-plugin</artifactId>
                <version>3.3.0</version>
                <executions>
                    <!--
                    执行本插件的方法为,在主目录下执行如下命令:
                    mvn package assembly:single

                    对于 IntelliJ IDEA,生成的 JAR 包位于每个模块下的文件夹 target
                    -->
                    <execution>
                        <id>make-assembly</id>
                        <phase>package</phase>
                        <goals>
                            <!-- 此处 IntelliJ IDEA 可能会报红,这是正常现象  -->
                            <goal>single</goal>
                        </goals>
                    </execution>
                </executions>
                <configuration>
                    <archive>
                        <manifest>
                            <!-- 配置程序运行入口所在的类 -->
                             <!-- 自己的启动类path-->
                            <mainClass>com.mest.BlogAdminApplication</mainClass>
                        </manifest>
                        <manifest>
                            <!-- 配置程序运行入口所在的类 -->
                            <mainClass>com.mest.MestBlogApplication</mainClass>
                        </manifest>
                    </archive>
                    <!-- 设置 JAR 包输出目录 -->
                    <outputDirectory>${project.build.directory}/#maven-assembly-plugin</outputDirectory>
                    <!-- 设置打包后的 JAR 包的目录结构为默认 -->
                    <descriptorRefs>
                        <descriptorRef>jar-with-dependencies</descriptorRef>
                    </descriptorRefs>
                </configuration>
            </plugin>
        </plugins>
    </build>
admin和blog子模块添加打包biuld:
    <build>
        <plugins>
            <plugin>
                <groupId>org.springframework.boot</groupId>
                <artifactId>spring-boot-maven-plugin</artifactId>
                <version>2.6.2</version>

                <executions>
                    <execution>
                        <goals>
                            <goal>repackage</goal>
                        </goals>
                    </execution>
                </executions>
            </plugin>
        </plugins>
        <finalName>${project.artifactId}</finalName>
    </build>
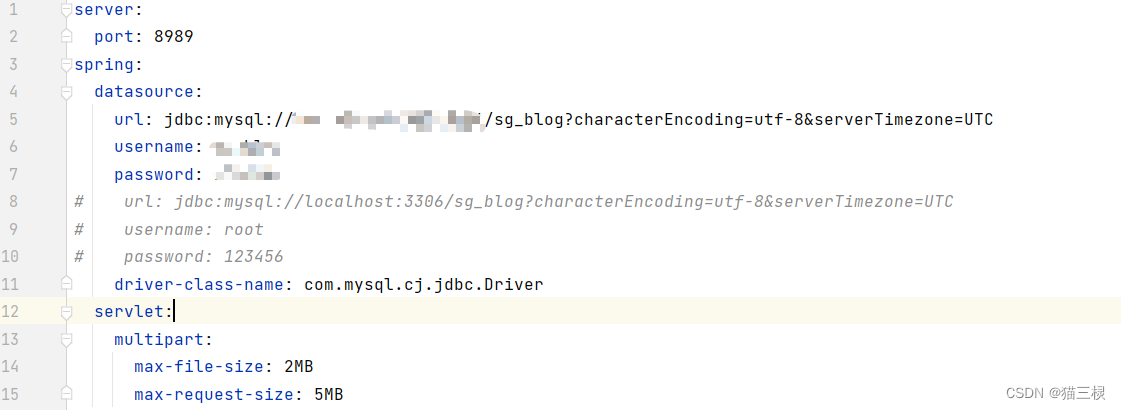
修改配置文件,admin和blog都要修改!
七、将Vue项目打包出来的dist放进后端打包
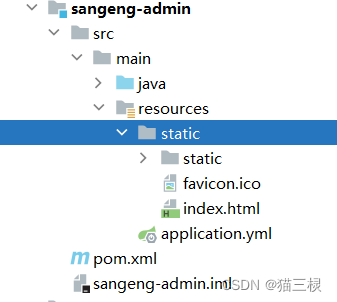
admin-Vue项目打包放进
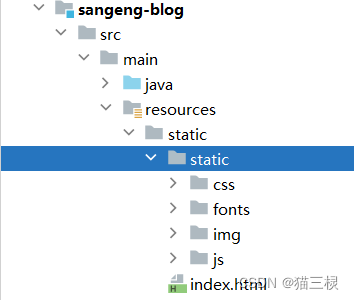
blog-Vue项目打包放进
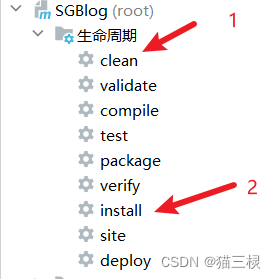
后端打包:
八、打开宝塔面板上传jar包并运行,部署成功。
要使用的终端Linux命令模板:
source /etc/profile;nohup java -jar xyz-admin.jar  > ./demo.log 2>&1 &
source /etc/profile;nohup java -jar xyz-blog.jar  > ./demo.log 2>&1 &
cd /www/wwwroot/new/xxx
cd /www/wwwroot/new/xxx
source /etc/profile;nohup java -jar sangeng-admin.jar  > ./demo.log 2>&1 &
source /etc/profile;nohup java -jar sangeng-blog.jar  > ./demo.log 2>&1 &
sudo kill xxx
sudo kill xxx
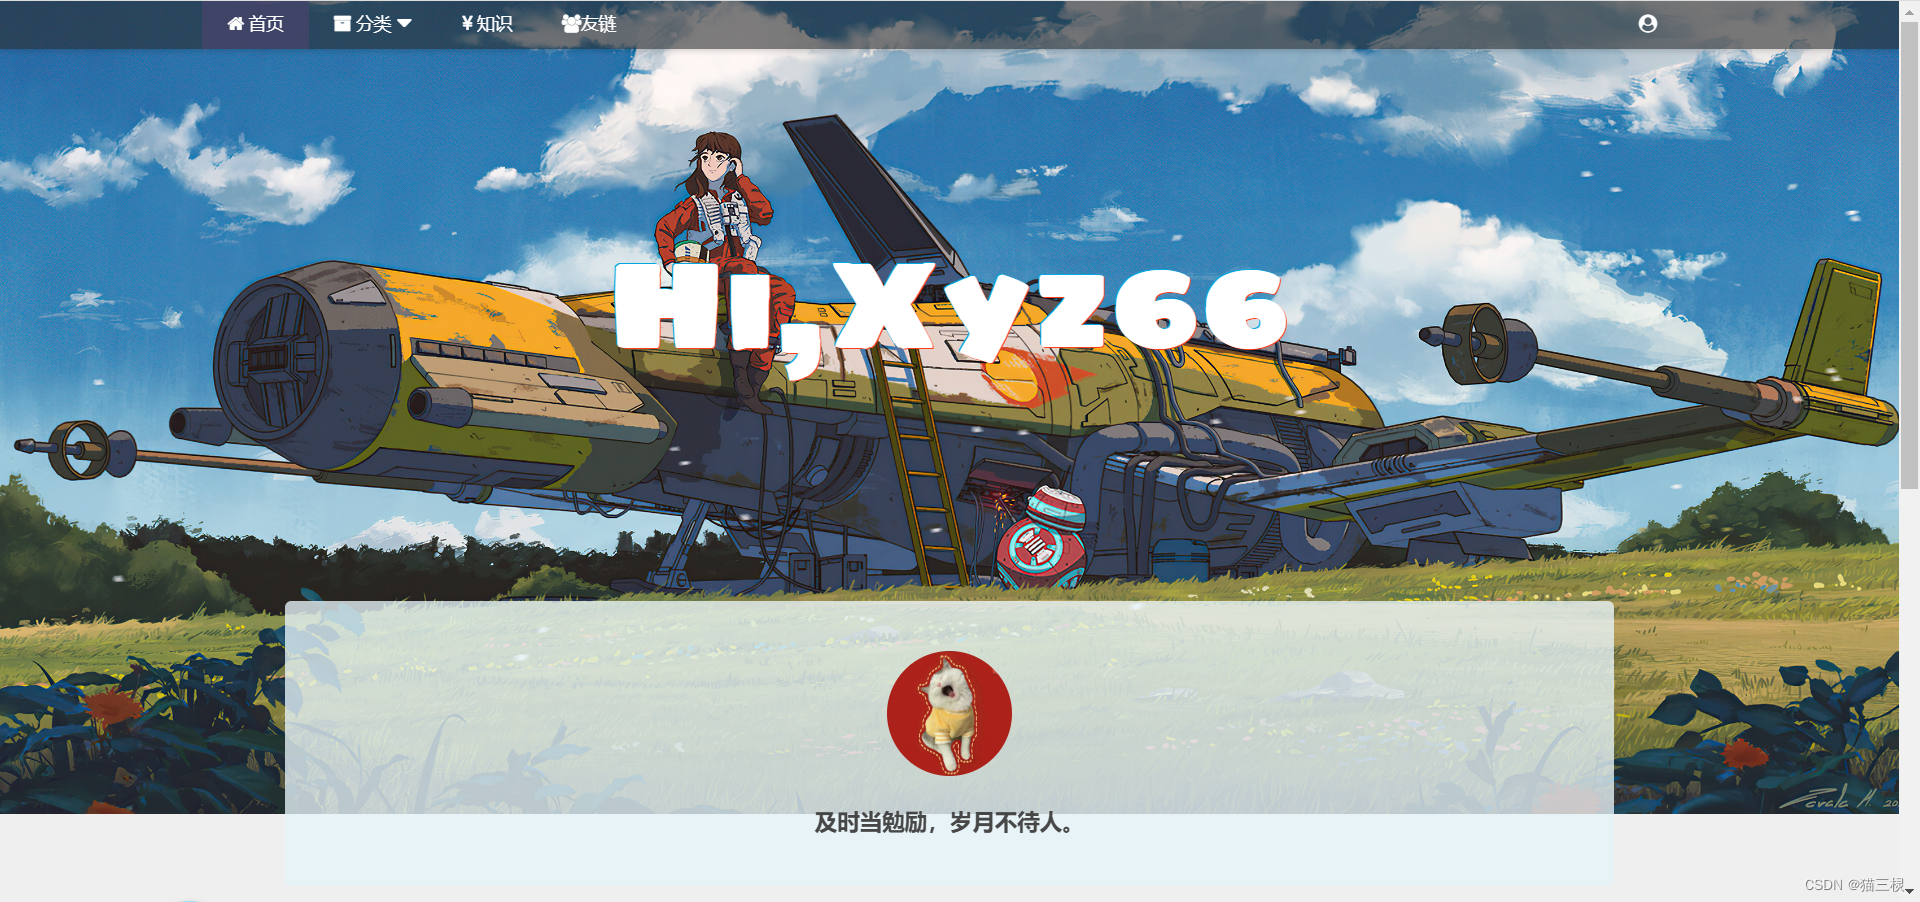
部署成功:
九、一些可能遇见的错误
宝塔面板终端丢失:
btpip install simple-websocket==0.10.0 && bt 1
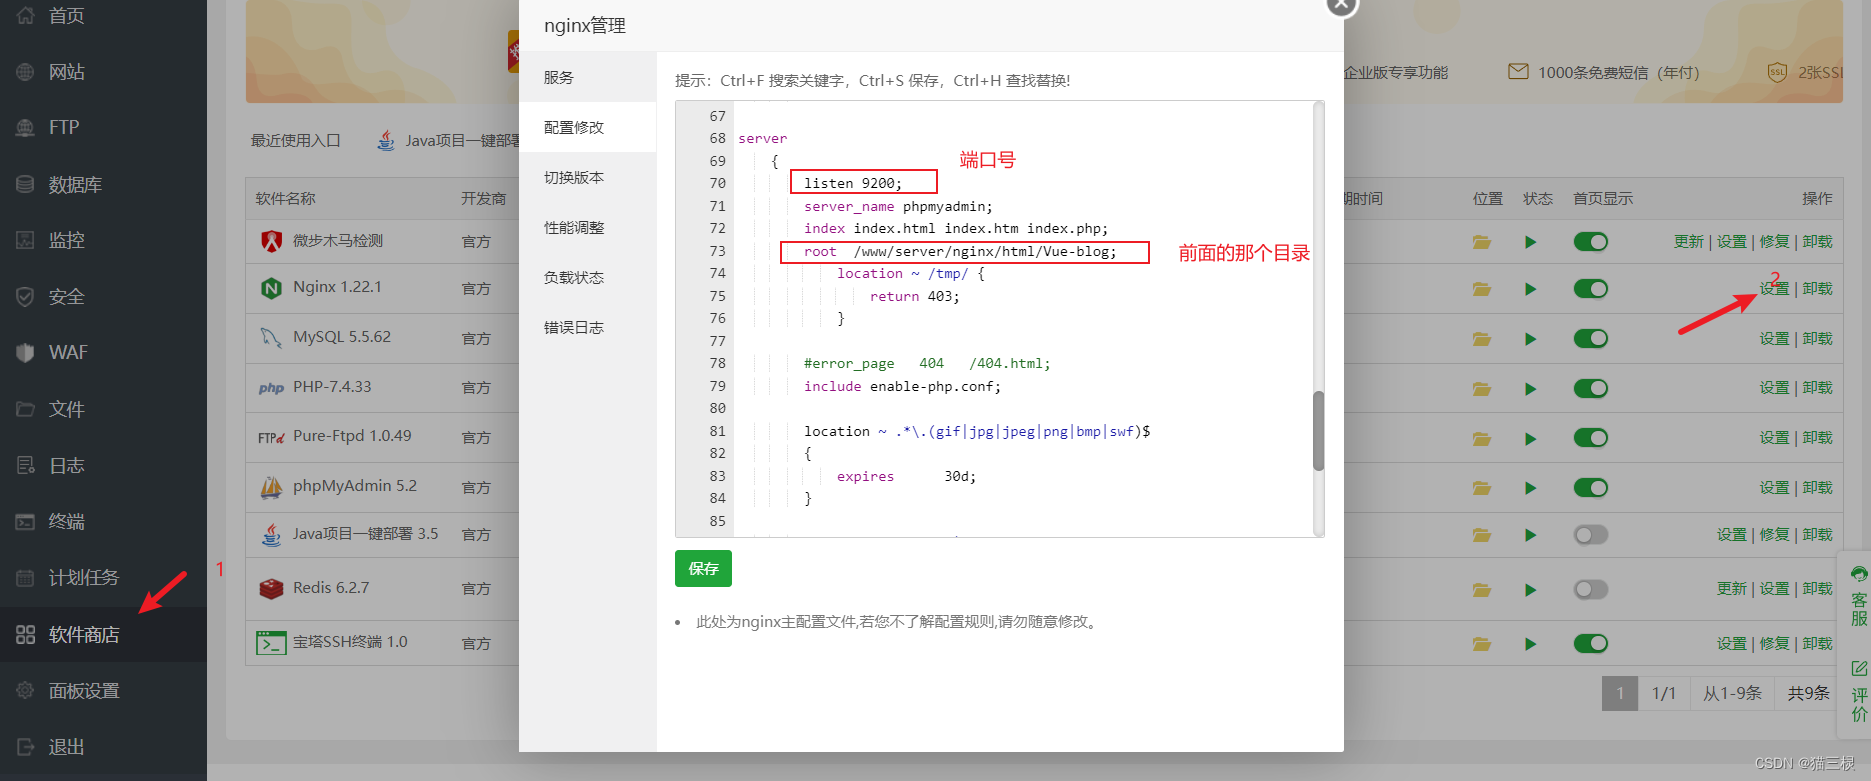
宝塔面板页面报404:
sudo /etc/init.d/bt default
如果后端项目端口进入报:
{
“code”: 401,
“msg”: “需要登录后操作”
}
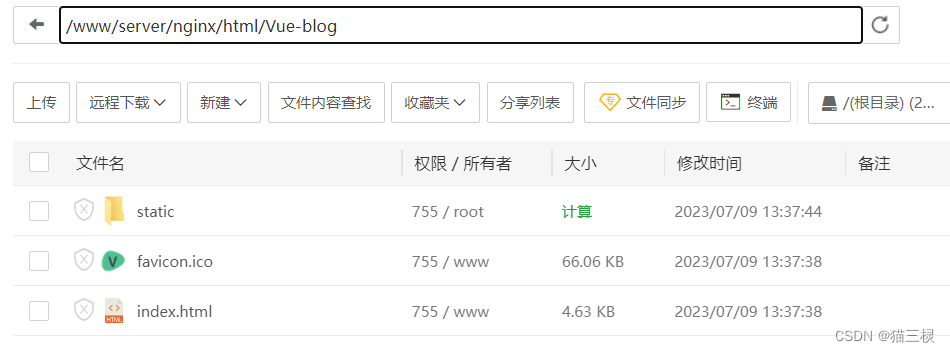
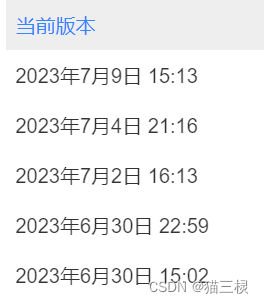
上传admin-vue项目打包:
如图:
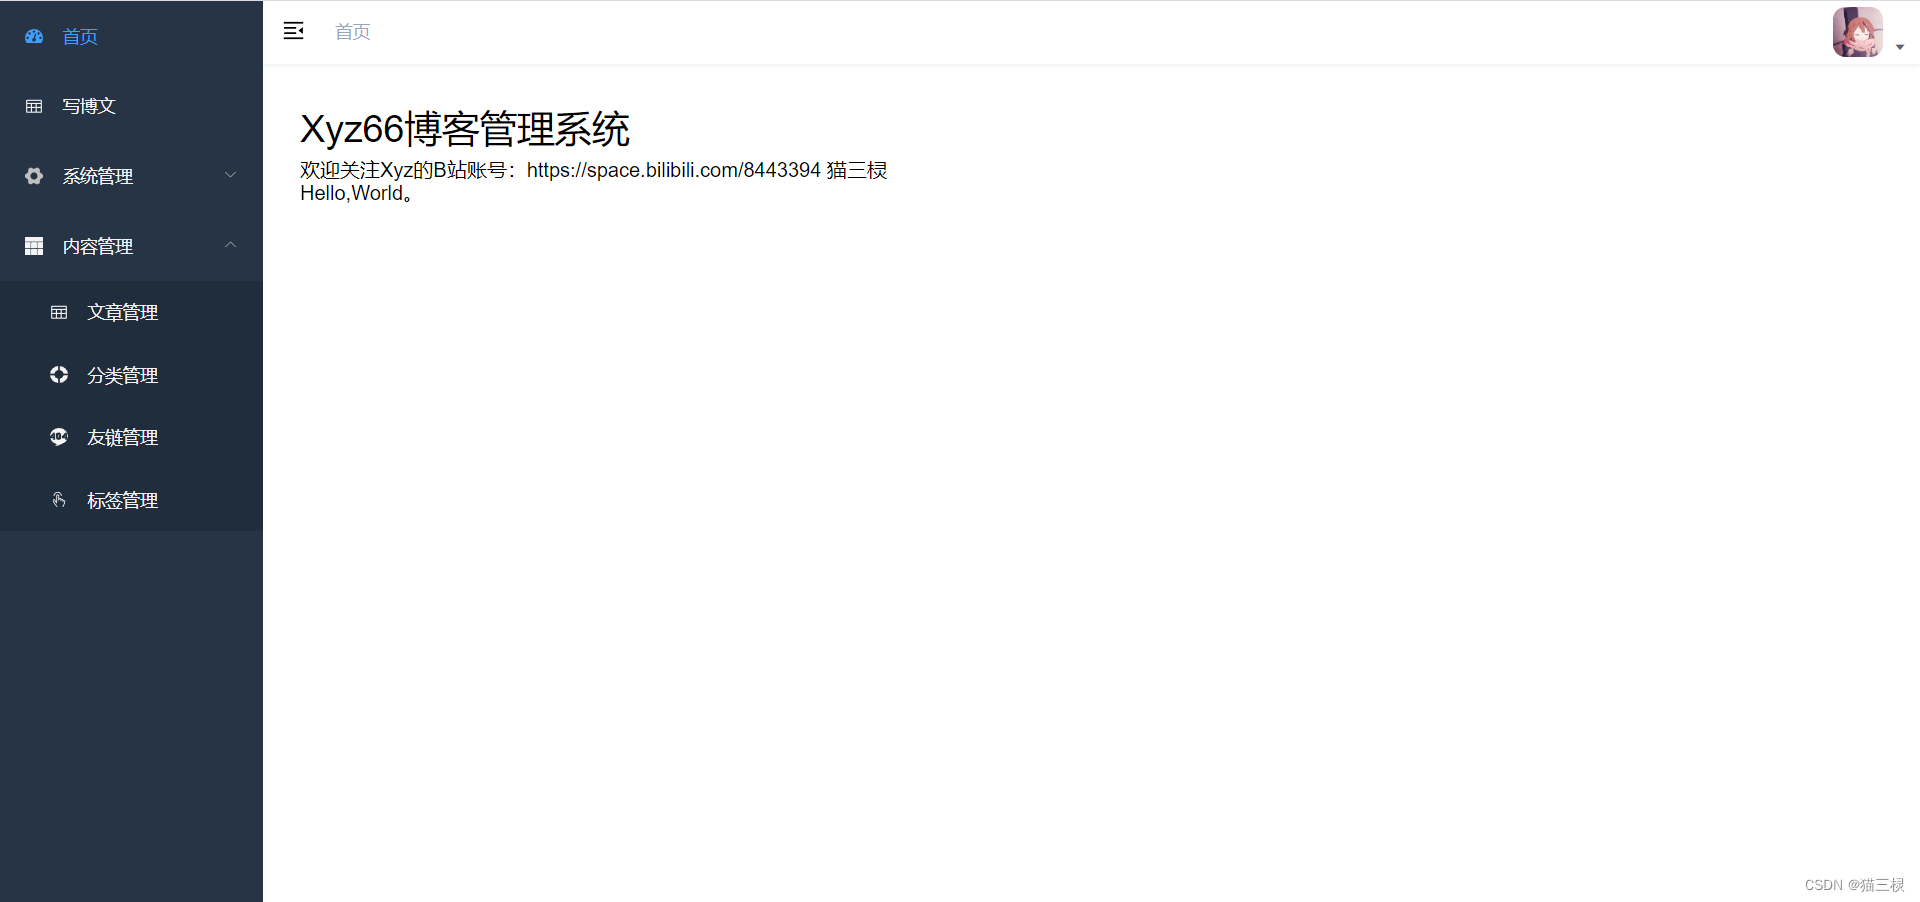
重启并访问就能进入后端管理页面了。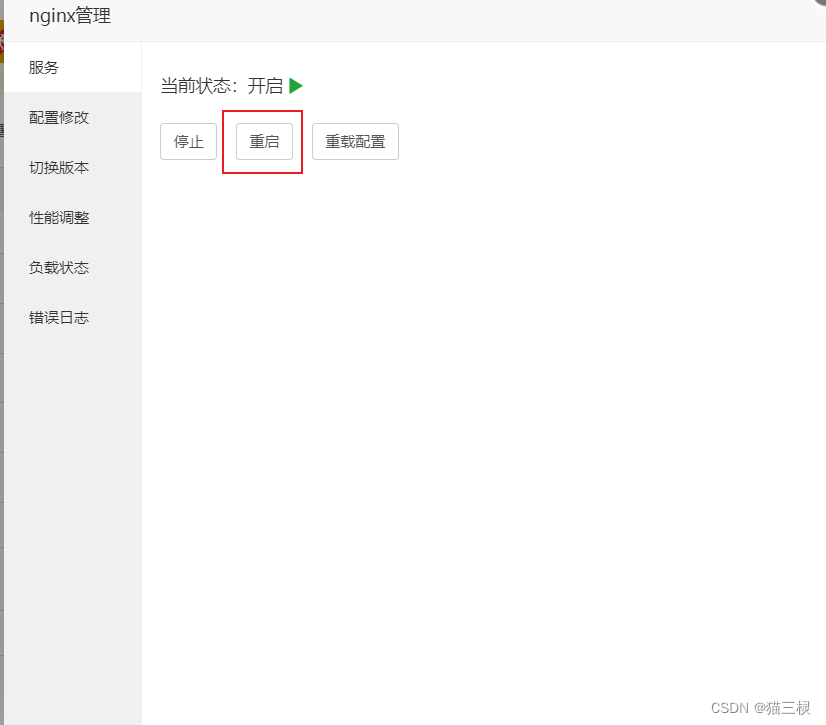
最后感谢三更老师的视频和GitHub上大佬的Mapper实现,并慰藉我这12天的学习。
希望能帮助到你,祝君好运。


 被折叠的 条评论
为什么被折叠?
被折叠的 条评论
为什么被折叠?
 到【灌水乐园】发言


