


目录
-
es设置用户名密码认证
-
elasticsearch.yml 中添加配置
# 配置X-Pack http.cors.enabled: true http.cors.allow-origin: "*" http.cors.allow-headers: Authorization xpack.security.enabled: true xpack.security.transport.ssl.enabled: true -
重启elasticsearch服务
systemctl restart elasticsearch -
设置elasticsearch密码
/opt/elk/elasticsearch/bin/elasticsearch-setup-passwords interactive依次设置elastic,apm_system,kibana,kibana_system,logstash_system,beats_system,remote_monitoring_user 这些用户的密码。需要使用kibana的话,建议kibana用户密码与elastic用户密码不一致。
-
访问验证
浏览器访问http://127.0.0.1:9200出现认证弹框输入elastic和对应的密码。
-
-
kibana设置用户名密码认证
-
kibana.yml添加验证信息
elasticsearch.username: "kibana" elasticsearch.password: "password"打开这两行注释,在password中输入为kibana设置的密码。
-
启动kibana
/opt/elk/kibana-7.2.0-linux-x86_64/bin$ ./kibana -
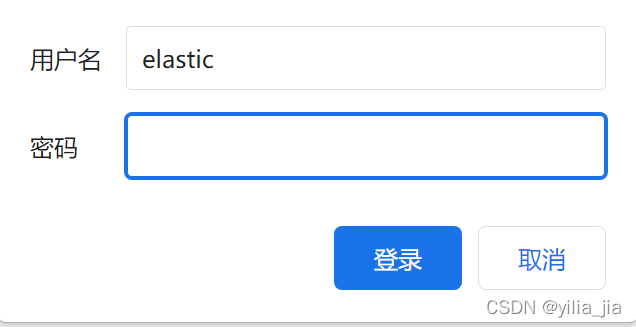
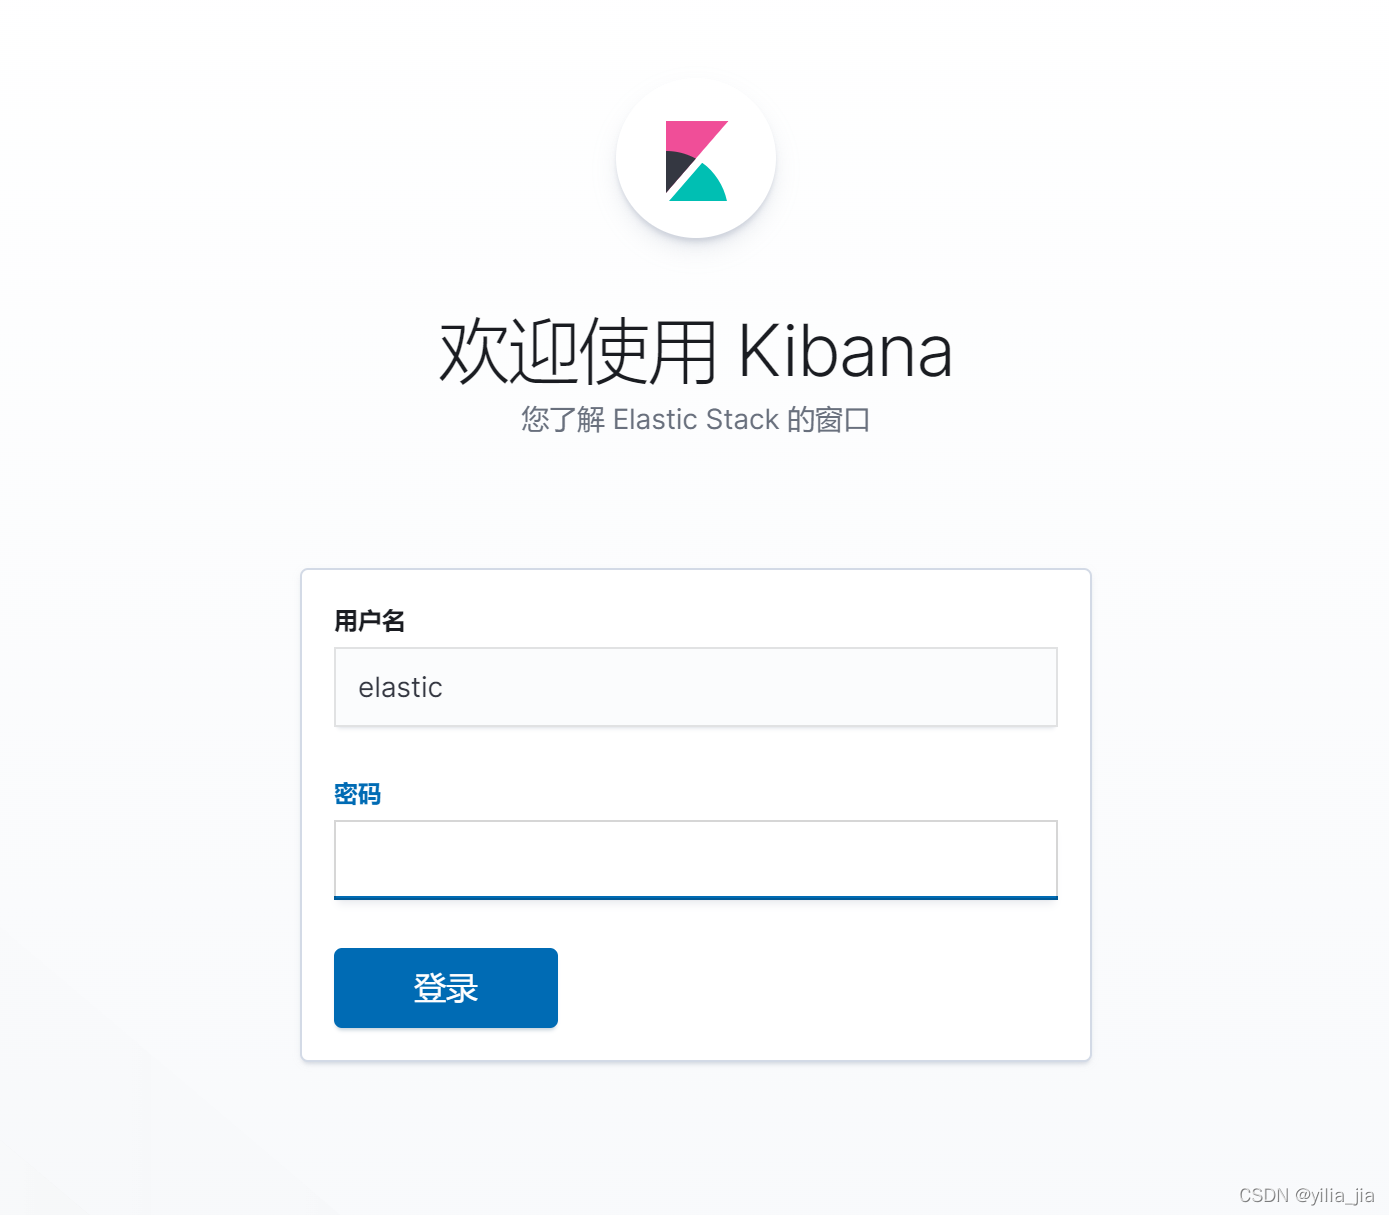
访问验证
浏览器访问http://127.0.0.1:5601出现认证弹框输入elastic和对应的密码。
-
-
JAVA REST Client设置身份认证
通过RestHighLevelClient发送的es请求验证方式:
final CredentialsProvider credentialsProvider = new BasicCredentialsProvider(); /** 设置账号密码 */ credentialsProvider.setCredentials(AuthScope.ANY, new UsernamePasswordCredentials(ElasticsearchConstants.ELASTIC_USER_NAME, ElasticsearchConstants.ELASTIC_PASSWORD)); RestHighLevelClient client = new RestHighLevelClient( RestClient.builder(new HttpHost(ElasticsearchConstants.ELASTIC_SEARCH_HOST, ElasticsearchConstants.ELASTIC_SEARCH_PORT, "http")) .setHttpClientConfigCallback(new RestClientBuilder.HttpClientConfigCallback() { @Override public HttpAsyncClientBuilder customizeHttpClient(HttpAsyncClientBuilder httpAsyncClientBuilder) { return httpAsyncClientBuilder.setDefaultCredentialsProvider(credentialsProvider); } }) ); -
HTTP Client设置身份认证
通过http直接发送的es请求认证方式:
CloseableHttpClient httpClient = HttpClients.createDefault();
HttpPut httpPut = new HttpPut(url);
RequestConfig requestConfig = RequestConfig.custom().setConnectTimeout(35000).setConnectionRequestTimeout(35000).setSocketTimeout(60000).build();
httpPut.setConfig(requestConfig);
httpPut.setHeader("Content-type", "application/json");
httpPut.setHeader("Accept", "application/json");
httpPut.setHeader("DataEncoding", "UTF-8");

// 加es身份认证
HttpHost targetHost = new HttpHost(ElasticsearchConstants.ELASTIC_SEARCH_HOST, ElasticsearchConstants.ELASTIC_SEARCH_PORT, "http");
/** 设置账号密码 */
CredentialsProvider credentialsProvider = new BasicCredentialsProvider();
credentialsProvider.setCredentials(AuthScope.ANY,
                        new UsernamePasswordCredentials(ElasticsearchConstants.ELASTIC_USER_NAME, ElasticsearchConstants.ELASTIC_PASSWORD));

// Create AuthCache instance
AuthCache authCache = new BasicAuthCache();
// Generate BASIC scheme object and add it to the local auth cache
BasicScheme basicAuth = new BasicScheme();
authCache.put(targetHost, basicAuth);

// Add AuthCache to the execution context
HttpClientContext context = HttpClientContext.create();
context.setCredentialsProvider(credentialsProvider);
context.setAuthCache(authCache);

CloseableHttpResponse httpResponse = httpClient.execute(httpPut, context);


 2644
2644

 被折叠的 条评论
为什么被折叠?
被折叠的 条评论
为什么被折叠?
 到【灌水乐园】发言


