


 本文详细介绍了如何在SpringBoot项目中集成Druid数据库连接池和Redis缓存,包括配置依赖、设置参数、编写测试代码等步骤。
springboot集成druid+redis
一、为什么使用Druid
1. 替代C3P0、DBCP数据库连接池(因为它的性能更好)
2. 自带监控页面,实时监控应用的连接池情况
二、Springboot集成druid
1. 在pom.xml中添加相关依赖
<dependency>
   <groupId>com.alibaba</groupId>
   <artifactId>druid</artifactId>
   <version>1.0.18</version>
</dependency>
2.修改application.yml内容
spring:
  datasource:
    driver-class-name: com.mysql.cj.jdbc.Driver
    url: jdbc:mysql://127.0.0.1:3306/sbdb?serverTimezone=GMT%2B8
    username: root
    password: root
    ###################以下为druid增加的配置###########################
    type: com.alibaba.druid.pool.DruidDataSource
    # 下面为连接池的补充设置,应用到上面所有数据源中
    # 初始化大小,最小,最大
    initialSize: 5
    minIdle: 5
    maxActive: 20
    # 配置获取连接等待超时的时间
    maxWait: 60000
    # 配置间隔多久才进行一次检测,检测需要关闭的空闲连接,单位是毫秒
    timeBetweenEvictionRunsMillis: 60000
    # 配置一个连接在池中最小生存的时间,单位是毫秒
    minEvictableIdleTimeMillis: 300000
    validationQuery: SELECT 1 FROM DUAL
    testWhileIdle: true
    testOnBorrow: false
    testOnReturn: false
    # 打开PSCache,并且指定每个连接上PSCache的大小
    poolPreparedStatements: true
    maxPoolPreparedStatementPerConnectionSize: 20
    # 配置监控统计拦截的filters,去掉后监控界面sql无法统计,'wall'用于防火墙
    filters:
      commons-log.connection-logger-name: stat,wall
    # 通过connectProperties属性来打开mergeSql功能;慢SQL记录
    connectionProperties: druid.stat.mergeSql=true;druid.stat.slowSqlMillis=5000
    # 合并多个DruidDataSource的监控数据
    useGlobalDataSourceStat: true
mybatis:
  mapper-locations: classpath:mapping/*.xml
server:
  port: 8080    #这个端口自定义
3.在启动类App.class中添加注解@ServletComponentScan
@SpringBootApplication
@MapperScan("com.liheng.dao")
@ServletComponentScan//配置druid必须加的注解,如果不加,访问页面打不开,filter和servlet、listener之类的需要单独进行注册才能使用,spring boot里面提供了该注解起到注册作用
public class App {
	public static void main(String[] args) throws Exception {
		SpringApplication.run(App.class, args);
	}
}
4.配置Druid相关的Servlet和Filter
添加一下文件:

DruidConfig.classpackage com.liheng.config;
import com.alibaba.druid.pool.DruidDataSource;
import com.alibaba.druid.support.http.StatViewServlet;
import org.springframework.boot.context.properties.ConfigurationProperties;
import org.springframework.boot.web.servlet.ServletRegistrationBean;
import org.springframework.context.annotation.Bean;
import org.springframework.context.annotation.Configuration;
import javax.sql.DataSource;
import java.util.HashMap;
import java.util.Map;
/**
* @author lipw
* @date 2019/5/29 11:47
* 配置druid需要的配置类,引入application.properties文件中以spring.datasource开头的信息
* 因此需要在application.properties文件中配置相关信息。
*/
@Configuration
public class DruidConfig {
@Bean
@ConfigurationProperties(prefix = "spring.datasource")
public DataSource druidDataSource() {
DruidDataSource druidDataSource = new DruidDataSource();
return druidDataSource;
}
@Bean
public ServletRegistrationBean druidStatViewServlet() {
ServletRegistrationBean servletRegistrationBean = new ServletRegistrationBean(new StatViewServlet(),"/druid/*");
Map<String, String> initParams = new HashMap<>();
// 可配的属性都在 StatViewServlet 和其父类下
initParams.put("loginUsername", "admin");
initParams.put("loginPassword", "111111");
servletRegistrationBean.setInitParameters(initParams);
return servletRegistrationBean;
}
}DruidStatFilter.classpackage com.liheng.filter;
import com.alibaba.druid.support.http.WebStatFilter;
import javax.servlet.annotation.WebFilter;
import javax.servlet.annotation.WebInitParam;
/**
* @author lipw
* @date 2019/5/29 11:49
* 配置druid过滤规则
*/
@WebFilter(filterName="druidWebStatFilter",urlPatterns="/*",
initParams={
@WebInitParam(name="exclusions",value="*.js,*.gif,*.jpg,*.bmp,*.png,*.css,*.ico,/druid/*")// 忽略资源
})
public class DruidStatFilter extends WebStatFilter {
}然后在浏览器中访问:http://localhost:8080/druid/api.html
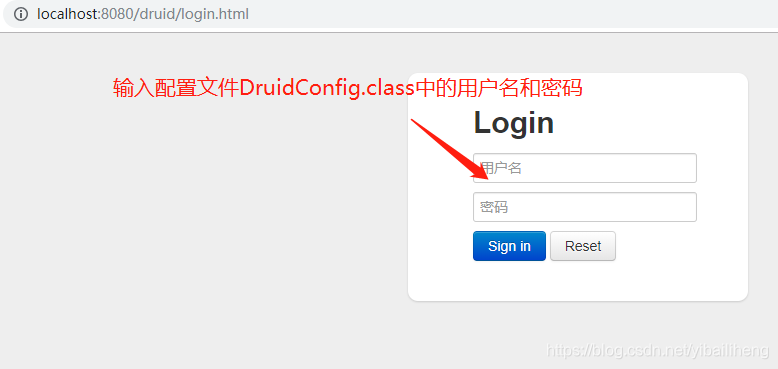
进去之后可以看到druid提供的一些监控选项:
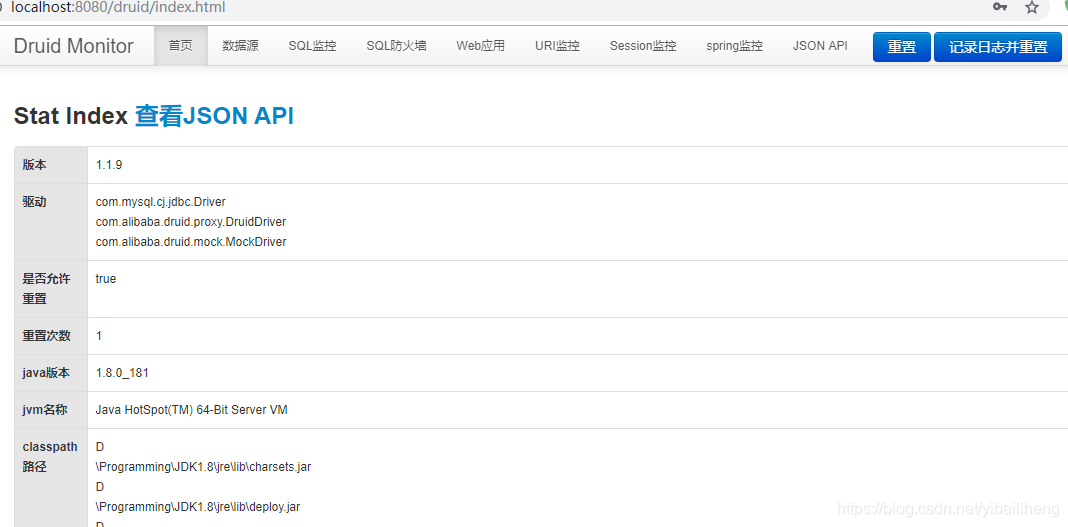
至此,Springboot集成druid完成。
三、Springboot集成redis
1.在pom.xml中添加redis的依赖
<dependency>
   <groupId>org.springframework.boot</groupId>
   <artifactId>spring-boot-starter-data-redis</artifactId>
</dependency>
2.在application.yml中添加redis相关配置
spring:
  ##数据库连接信息
  datasource:
    url: jdbc:mysql://127.0.0.1:3306/sbdb?serverTimezone=GMT%2B8
    username: root
    password: root
    driver-class-name: com.mysql.jdbc.Driver
    ###################以下为druid增加的配置###########################
    type: com.alibaba.druid.pool.DruidDataSource
    # 下面为连接池的补充设置,应用到上面所有数据源中
    # 初始化大小,最小,最大
    initialSize: 5
    minIdle: 5
    maxActive: 20
    # 配置获取连接等待超时的时间
    maxWait: 60000
    # 配置间隔多久才进行一次检测,检测需要关闭的空闲连接,单位是毫秒
    timeBetweenEvictionRunsMillis: 60000
    # 配置一个连接在池中最小生存的时间,单位是毫秒
    minEvictableIdleTimeMillis: 300000
    validationQuery: SELECT 1 FROM DUAL
    testWhileIdle: true
    testOnBorrow: false
    testOnReturn: false
    # 打开PSCache,并且指定每个连接上PSCache的大小
    poolPreparedStatements: true
    maxPoolPreparedStatementPerConnectionSize: 20
    # 配置监控统计拦截的filters,去掉后监控界面sql无法统计,'wall'用于防火墙
    filters:
      commons-log.connection-logger-name: stat,wall
    # 通过connectProperties属性来打开mergeSql功能;慢SQL记录
    connectionProperties: druid.stat.mergeSql=true;druid.stat.slowSqlMillis=5000
    # 合并多个DruidDataSource的监控数据
    useGlobalDataSourceStat: true
  redis:
      database: 13
      host: 127.0.0.1
      port: 7489
      password: redis
      timeout: 5000
server:
  port: 8080
3.编写redis测试文件RedisTest.class
package com.liheng;

import org.junit.Test;
import org.junit.runner.RunWith;
import org.springframework.boot.test.context.SpringBootTest;
import org.springframework.data.redis.core.RedisTemplate;
import org.springframework.data.redis.core.ValueOperations;
import org.springframework.test.context.junit4.SpringRunner;

import javax.annotation.Resource;

/**
 * @author lipw
 * @date 2019/6/2 14:44
 */
@SpringBootTest(classes = {App.class})
@RunWith(SpringRunner.class)
public class RedisTest {
	@Resource
	private RedisTemplate<String,String> redisTemplate;

	@Test
	public void testRedis(){
		ValueOperations<String,String> ops = redisTemplate.opsForValue();
		ops.set("name","liheng");
		String value = ops.get("name");
		System.out.println(value);
	}
}
测试结果:
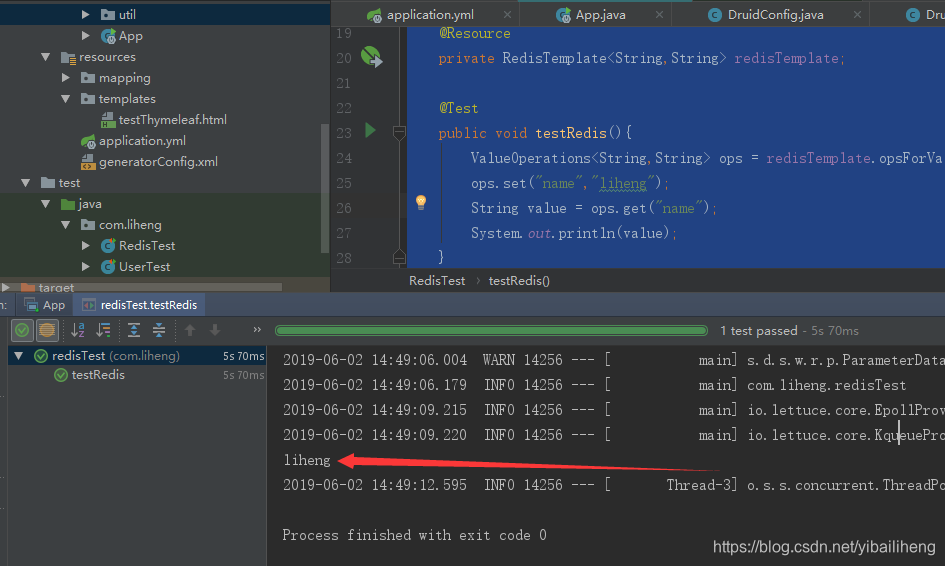
至此,springboot集成redis成功。


 2万+
2万+

 被折叠的 条评论
为什么被折叠?
被折叠的 条评论
为什么被折叠?
 到【灌水乐园】发言


