Sometimes Unix system administrators may end-up managing few Windows servers. If that ever happens to you, be prepared to do some basic administrative tasks on Windows. In this article, let us discuss how to sign microsoft executables and DLL.
Why digitally sign executable and other windows files?
You will get the following ‘Unknown Publisher’ message when a file is not digitally signed.
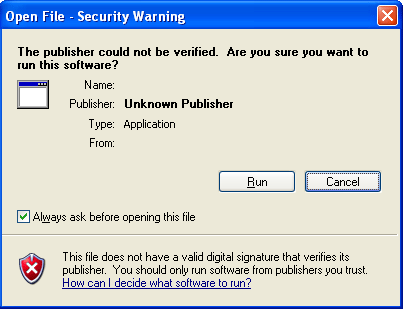
Fig: Unknown Publisher Message (If not digitally signed)
If you select the file -> right-mouse click -> properties -> There will not be a ‘Digital Signature’ tab for those files that are not signed.
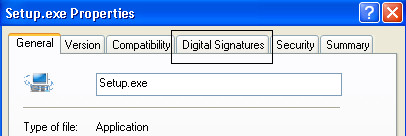
Fig: Digital Signatures Tab (For valid signed files)
Purchase Microsoft Authenticode Certificates
You can purchase Microsoft authenticode certificate from either verisign or thawte.
During the purchase process, you’ll provide the following information:
- Certification Information: Company name, Department, City, State, Country
- Cryptographic service provider: Use the default Microsoft Enhanced Cryptographic Provider v1.0
- Location to save the private key: During the certificate purchase process, you will be given an option to save the private key that was generated by the system.
- Private key password
Sign Using the Digital Signature Tool Wizard
Call the digital signature tool signtool.exe that is located in your Microsoft SDK toolkit as shown below.
C:>"E:\Microsoft Platform SDK\Bin\signtool.exe" signwizard
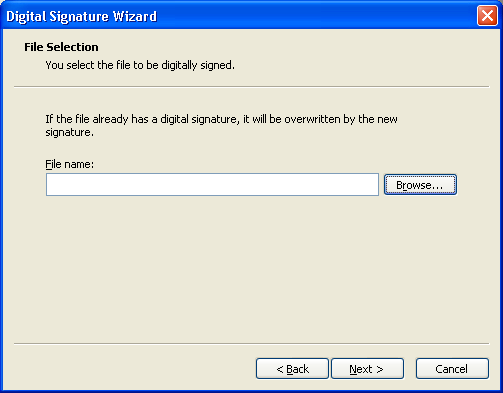
Fig: Select the file that needs to be digitally signed
Choose ‘custom’ in the digital signing options, as shown below.
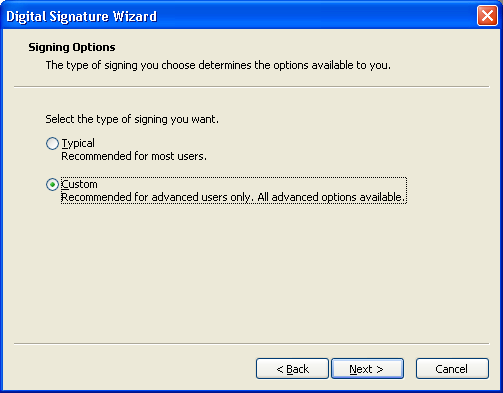
Fig: Digital signing option
Choose ‘Select from File’ option from this screen, and select the digital certificate that you have purchased.
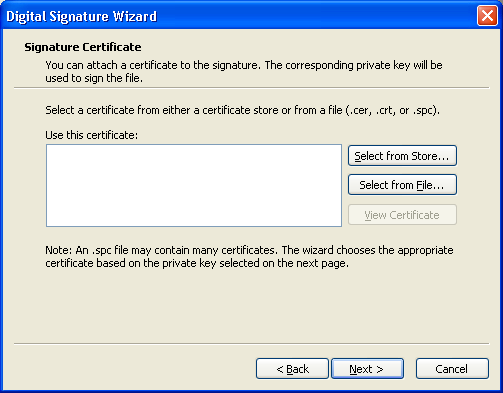
Fig: Select the digital certificate
Choose ‘Private key file on disk’ option and select the private key that was given to you when you purchased the digital certificate.
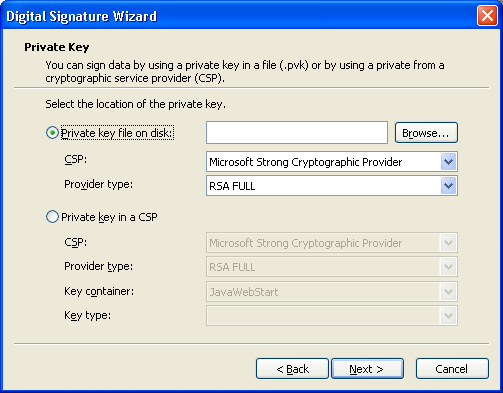
Fig: Choose the private key
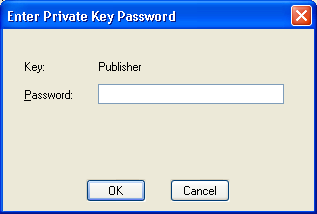
Fig: Enter private key password
Choose ‘sha1′ as the hasing algorithm
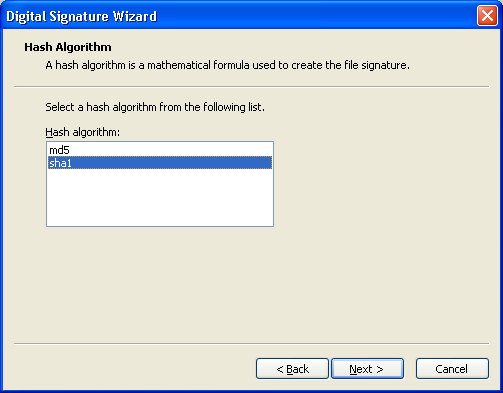
Fig: Select a hash algorithm
Leave all the fields to default value in this screen.
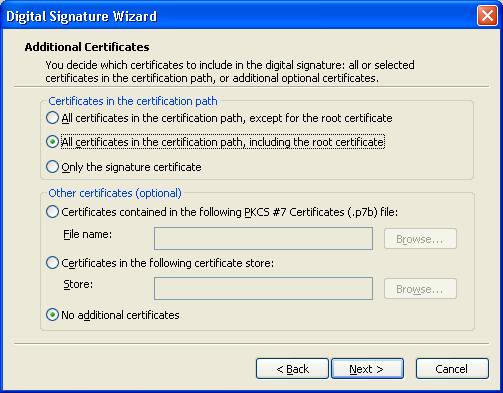
Fig: Additional certificate information
Leave the description and web location field empty.
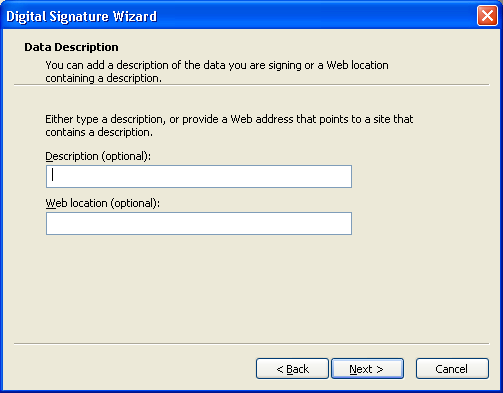
Fig: Data Description
Add the following timestamp service URL:
http://timestamp.verisign.com/scripts/timstamp.dll
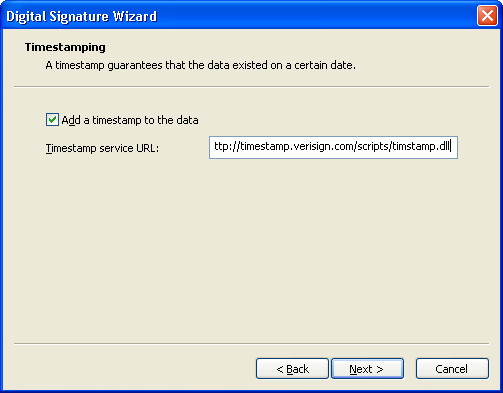
Fig: Add timestamp service url
This will successful sign the Microsoft executable with the digital signature. After the above steps, when you view the file properties, you’ll see the Digital-Signatures tab.


 本文讨论了如何在Windows系统中为可执行文件和DLL进行数字签名,以解决未签名文件导致的未知发布者警告问题,并提供了从Verisign或Thawte购买证书的步骤以及使用数字签名工具的详细指南。


 5703
5703

 被折叠的 条评论
为什么被折叠?


