


Swagger介绍(https://swagger.io/)
Simplify API development for users, teams, and enterprises with the Swagger open source and professional toolset.
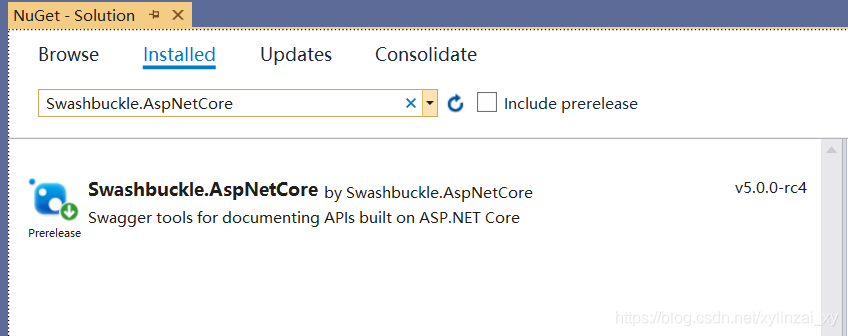
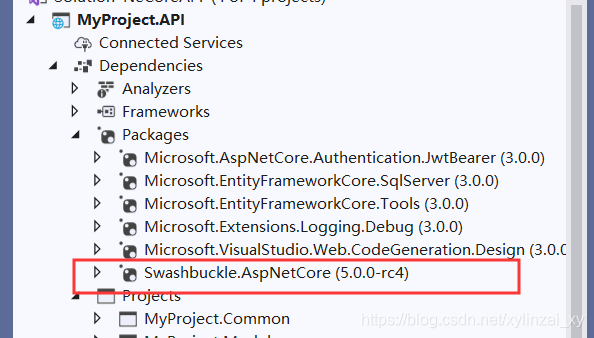
安装Swagger Package
通过Nuget来安装,输入“Swashbuckle.AspNetCore”,将需要安装的工程打勾,点击Install即可。
配置Swagger
打开Startup.cs类,在ConfigureServices方法中配置Swagger服务
 #region Swagger
            services.AddSwaggerGen(c =>
            {
                c.SwaggerDoc("v1", new OpenApiInfo
                {
                    Version = "v1",
                    Title = "My API",
                    Description = "My Web API HUB",
                    TermsOfService = new Uri("http://www.baidu.com"),
                    Contact = new OpenApiContact
                    {
                        Name = "Jonny Yan",
                        Email = "xylinzai@126.com",
                        Url = new Uri("http://www.baidu.com"),
                    },
                    License = new OpenApiLicense
                    {
                        Name = "Use under LICX",
                        Url = new Uri("http://www.baidu.com"),
                    }
                });

            });

            #endregion
编辑Config方法
#region Swagger
            app.UseSwagger();
            app.UseSwaggerUI(c =>
            {
                c.SwaggerEndpoint("/swagger/v1/swagger.json", "My Web API HUB");
                c.RoutePrefix = "";//路径配置,设置为空,表示直接在根域名(localhost:5000)访问该文件
            });
            #endregion
设置Swagger为默认页
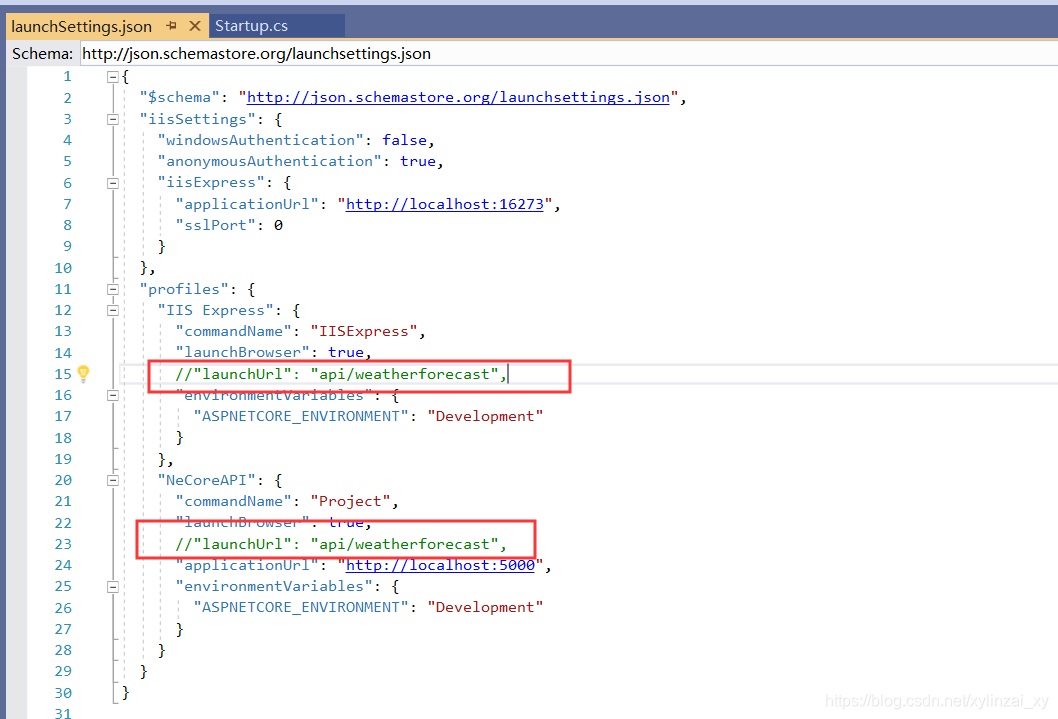
打开launchSettings.json文件,将launchUrl注销即可
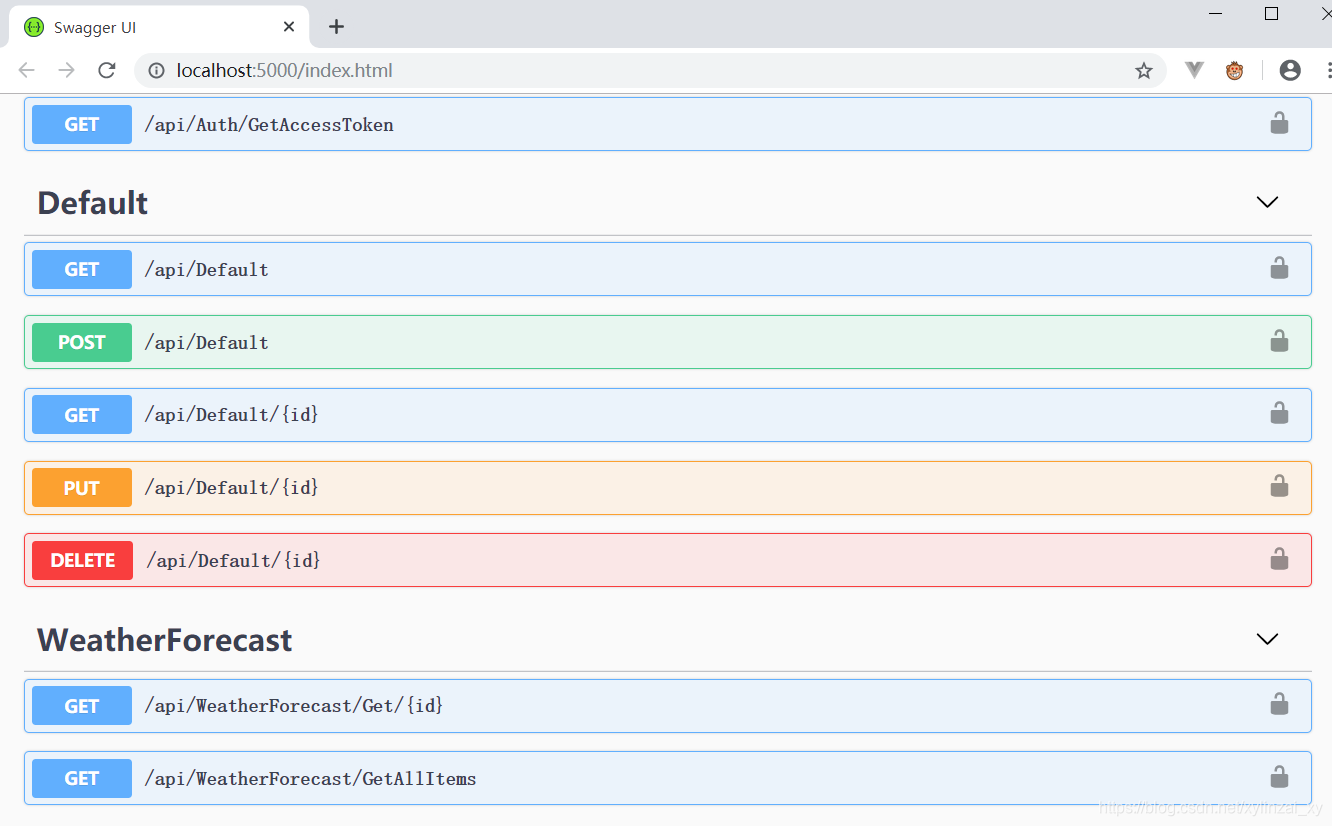
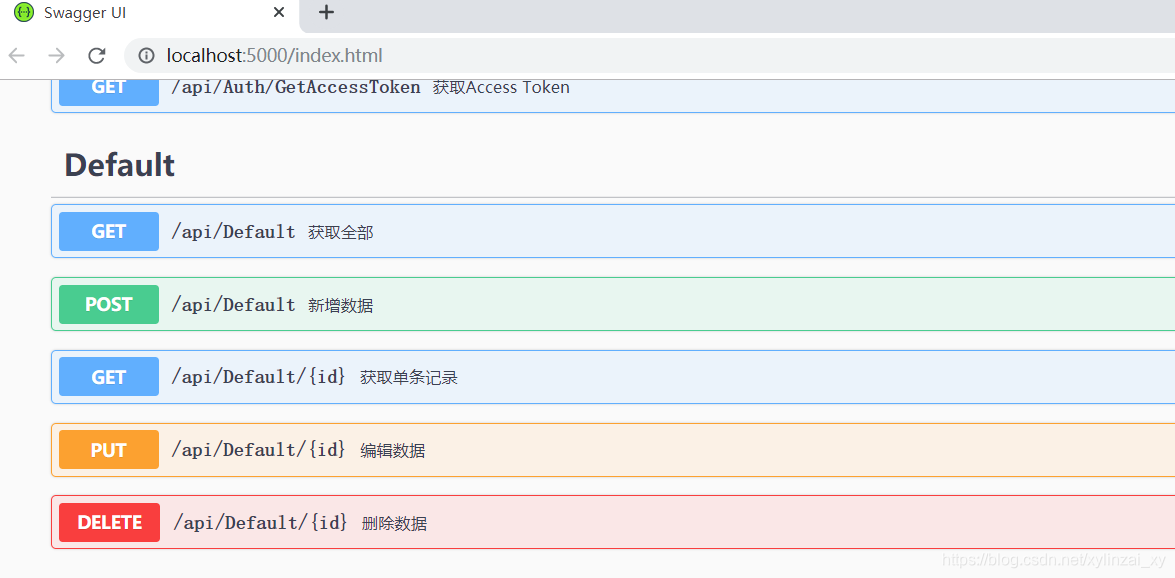
验证Swagger
按F5启动项目,如果页面显示Swagger home page则配置成功
显示Action注释
- 将注释信息输出到xml文件
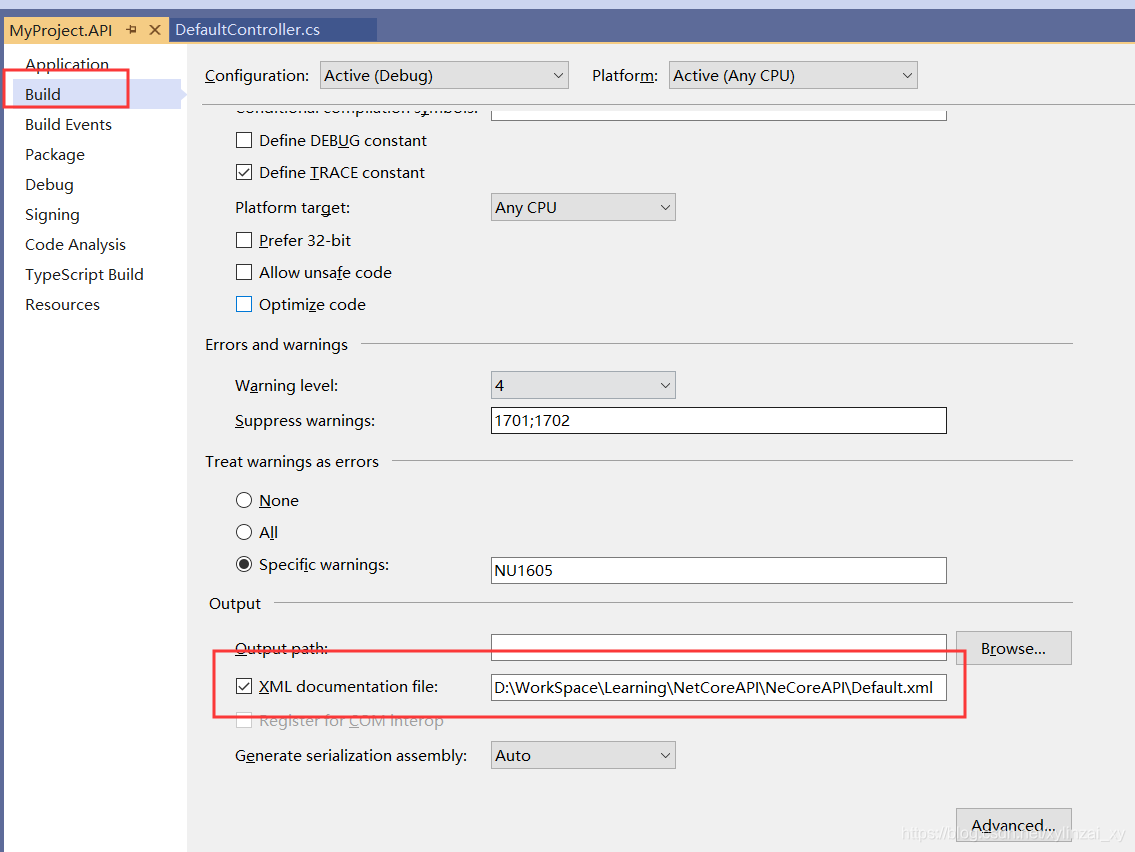
- 编辑Startup.cs文件,在注册Swagger服务中读取xml文件
    //读取Action注释
var basePath = Microsoft.DotNet.PlatformAbstractions.ApplicationEnvironment.ApplicationBasePath;
var xmlPath = Path.Combine(basePath, "Default.xml");
c.IncludeXmlComments(xmlPath, true);
- 按F5查看结果
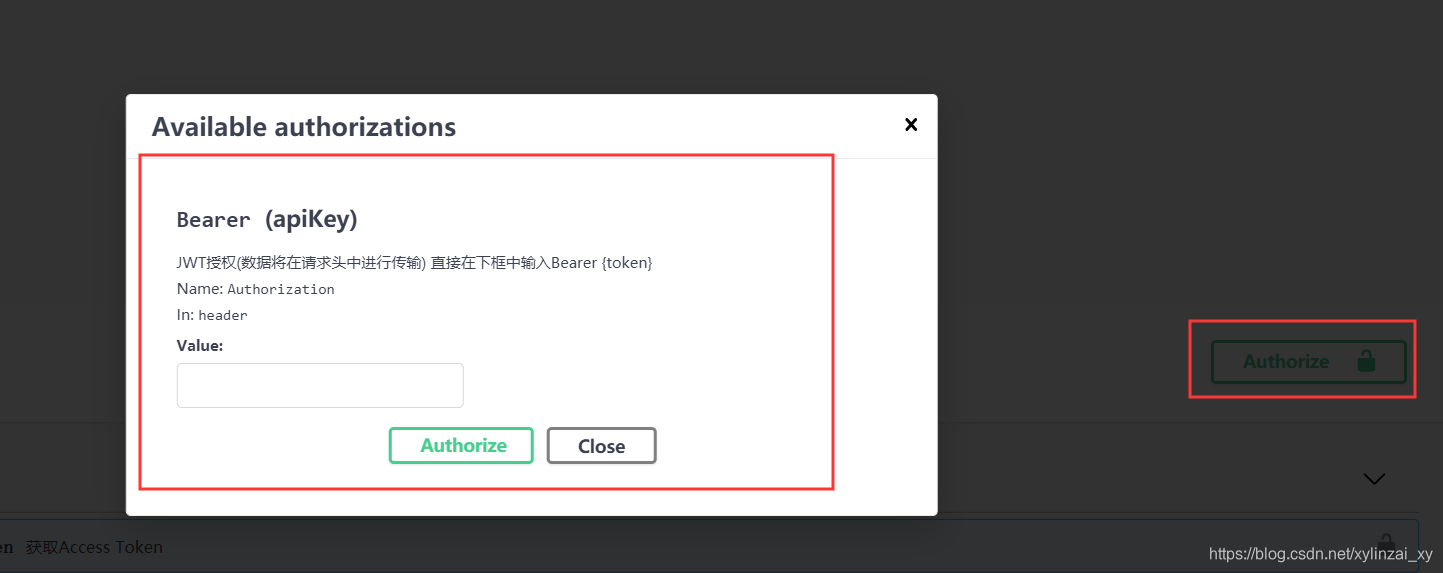
- 集成Authorization(后续章节回记录如何实现JWT认证)
打开Startup.cs文件,修改fanConfigureServices方法,在注册Swagger的地方增加安全认证定义
#region Token绑定到ConfigureServices
c.AddSecurityDefinition("Bearer", new OpenApiSecurityScheme
{
    Description = "JWT授权(数据将在请求头中进行传输) 直接在下框中输入Bearer {token}",
    Name = "Authorization",//jwt默认的参数名称
    In = ParameterLocation.Header,//jwt默认存放Authorization信息的位置(请求头中)
    Type = SecuritySchemeType.ApiKey
});
 c.AddSecurityRequirement(new OpenApiSecurityRequirement{
{
    new OpenApiSecurityScheme
        {
           Reference = new OpenApiReference{
           Id = "Bearer", //The name of the previously defined security scheme.
           Type = ReferenceType.SecurityScheme
            }
        },new List<string>()}
});
#endregion- 查看效果


 1003
1003

 被折叠的 条评论
为什么被折叠?
被折叠的 条评论
为什么被折叠?
 到【灌水乐园】发言


