


MapMixin.js文件
import "ol/ol.css";
import {Map, View,Overlay} from "ol";
import {TileArcGISRest, Vector as VectorSource} from "ol/source";
import {Tile as TileLayer, Vector as VectorLayer} from "ol/layer";
import {Fill, Stroke, Style, Circle} from "ol/style";
import GeoJSON from 'ol/format/GeoJSON.js';


import qxn from "@/assets/data/qxn";

export default {
    name: "MapView",
    data() {
        return {
            map: null,
            layers:{
                provinceLayer:null,
                pointLayer:null,
            },
            overlays:[],
        }
    },
    methods: {

        /***
         * 初始化地图
         */
        async initMap() {
            this.map = new Map({
                target: this.$refs.map,
                layers: [
                    //中国蓝黑底图
                    new TileLayer({
                        source: new TileArcGISRest({
                            url: 'http://map.geoq.cn/arcgis/rest/services/ChinaOnlineStreetPurplishBlue/MapServer',
                        })
                    }),
                ],
                //视图
                view: new View({
                    center: [105.42491875, 25.321520214843755],
                    zoom: 9,
                    projection: 'EPSG:4326',
                })
            });
        },

        /***
         * 加图层
         * @return {Promise<void>}
         */
        async initLayers() {
            //行政区划边界图层
            this.layers.provinceLayer = new VectorLayer({
                renderMode: "vector",
                source: new VectorSource(),
                zIndex: 0,
            });
            this.map.addLayer(this.layers.provinceLayer);

            //点位图层
            this.layers.pointLayer = new VectorLayer({
                renderMode: "vector",
                source: new VectorSource(),
                style: this.getPointStyle,
                zIndex: 100,
            });
            this.map.addLayer(this.layers.pointLayer);
        },

        /***
         * 加省市边界
         */
        addProvince() {
            qxn.features.forEach((featureJSON) => {
                let feature = new GeoJSON().readFeature(featureJSON);
                feature.set("name", feature.values_.NAME);
                feature.setStyle(new Style({
                    stroke: new Stroke({  //边框
                        color: "rgb(0, 200, 255, 0.8)",
                        width: 1
                    }),
                    fill: new Fill({    //填充
                        color: 'rgba(0, 200, 255, 0.2)'
                    })
                }));
                this.layers.provinceLayer.getSource().addFeature(feature);
                this.addProvinceOverlay(feature);
            });
        },

        /***
         * 获取style对象
         * @param feature
         */
        getPointStyle(feature) {
            let color;
            return new Style({
                image: new Circle({
                    radius: 8,
                    stroke: new Stroke({
                        color: 'rgba(0, 50, 20, 0.8)',
                        width: '1'
                    }),
                    fill: new Fill({
                        color: color,
                    })
                })
            })
        },

        /***
         * 加悬浮框
         * @param feature
         */
        addProvinceOverlay(feature) {
            //生成内容HTML元素
            let el = document.createElement("div");
            el.className = "province-overlay";
            el.innerHTML = feature.get("name"); // + "<br>数量:" + Math.ceil(Math.random() * 50); //模拟数据

            //创建overlay
            let overlay = new Overlay({
                element: el,
                offset: [-30, 5],
            });
            this.map.addOverlay(overlay);
            this.overlays.push(overlay);

            if (feature.getGeometry().getType() === 'Polygon') {
                overlay.setPosition(feature.getGeometry().getInteriorPoint().getCoordinates());
            } else {
                overlay.setPosition(feature.getGeometry().getInteriorPoints().getCoordinates()[0]);
            }
        },


    }
}
index.vue文件
async mounted() {
            //初始化地图
            await this.initMap();
            //加图层
            await this.initLayers();
            //加图层
            this.addProvince();
        },
效果图

写到这里功能已经实现了,但是细心的伙伴肯定发现市县的名称不是很显眼,这里我们就要想到给市县赋值的时候添加了它的class类名,如图:
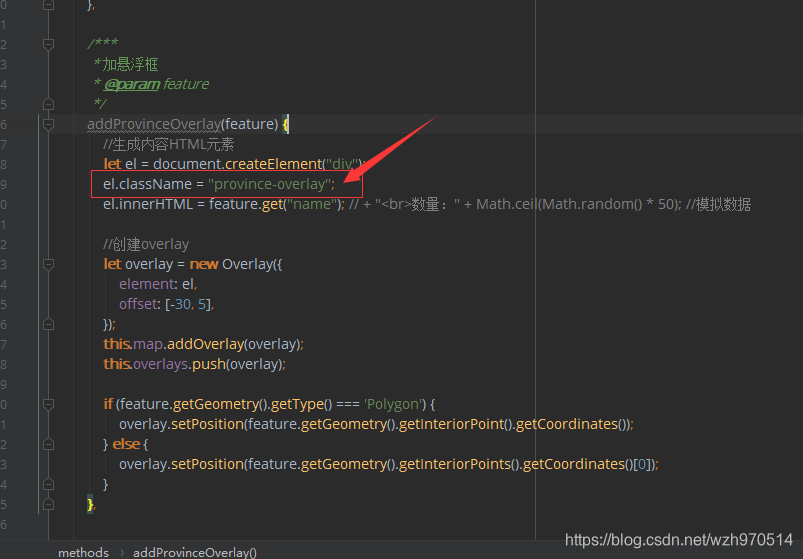
我们可以利用这个类名进行它的样式编码,要在app.vue页面上昂
.province-overlay {
      background-color: rgba(0, 0, 0, 0.6);
      font-size: 12px;
      color: rgba(255, 255, 255, 0.8);
      padding: 4px 8px;
      border-radius: 3px;
  }
效果图
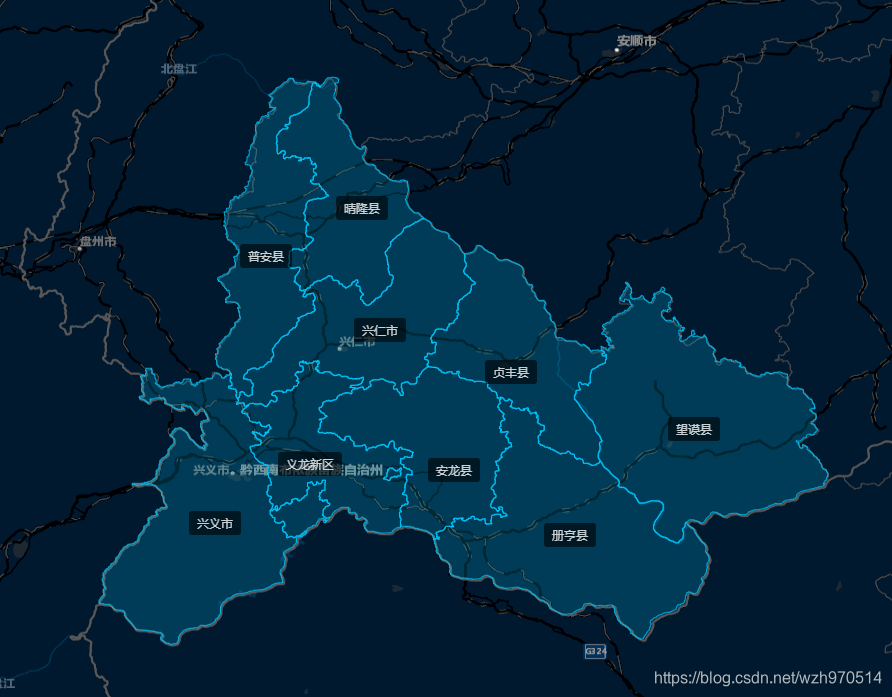
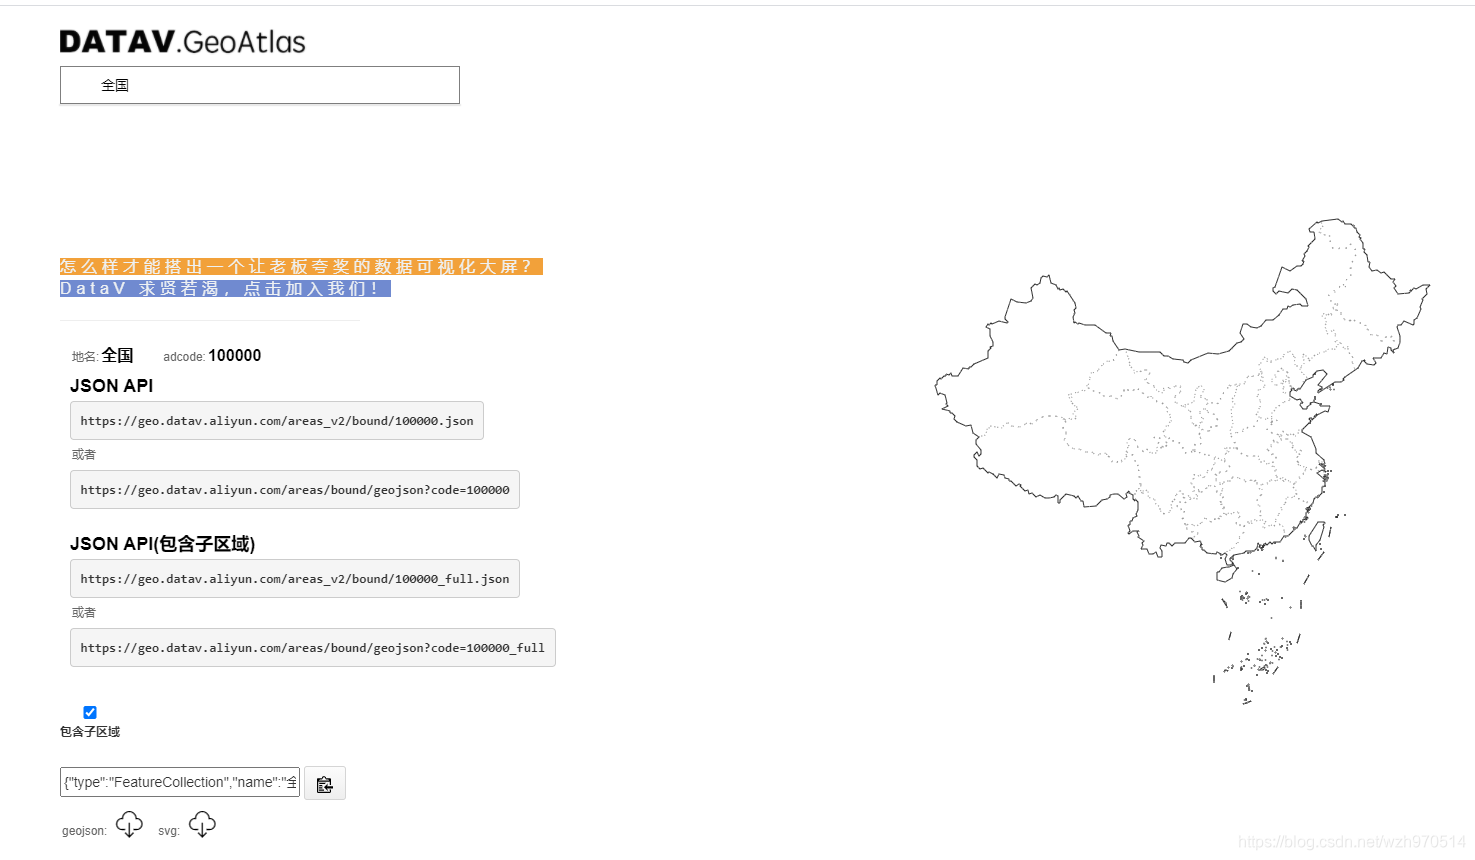
这样就显眼很多对吧,最后给伙伴们一个我常用的获取省市区域Json的网站,上文中用到的qxn.json也可以获取,所以我就没有放在这篇文章上了。
http://datav.aliyun.com/tools/atlas/#&lat=30.37018632615852&lng=106.68898666525287&zoom=3.5


 被折叠的 条评论
为什么被折叠?
被折叠的 条评论
为什么被折叠?
 到【灌水乐园】发言


