


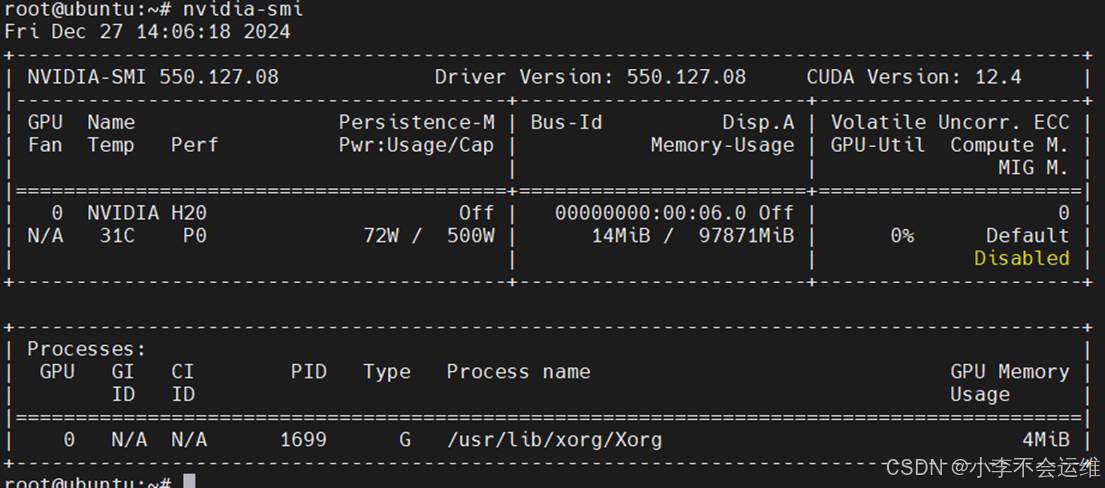
1、nvidia-driver 安装
|
Bash |
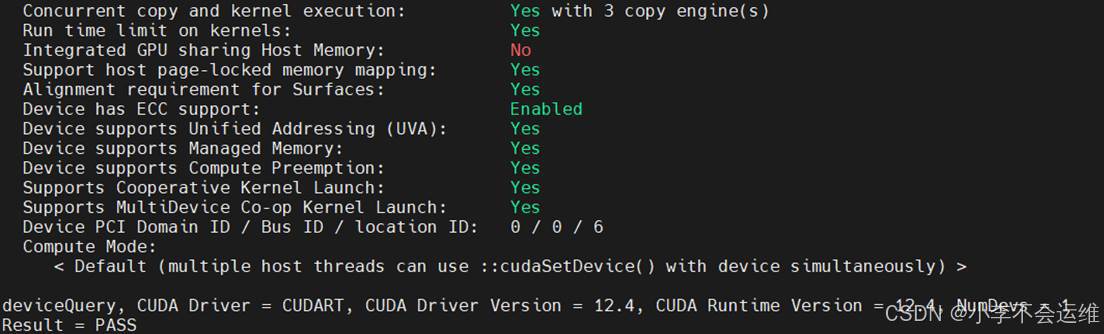
2、cuda 安装配置、测试
|
Bash |
3、pytorch安装配置、测试
|
Bash |
|
Bash |
|
Bash |
|
Bash |
您可能感兴趣的与本文相关的镜像

PyTorch 2.5
PyTorch 是一个开源的 Python 机器学习库,基于 Torch 库,底层由 C++ 实现,应用于人工智能领域,如计算机视觉和自然语言处理
 1090
1019
588
8547
2万+
1090
1019
588
8547
2万+

 被折叠的 条评论
为什么被折叠?
被折叠的 条评论
为什么被折叠?
 到【灌水乐园】发言


