


 本文介绍了如何在预学习阶段搭建verilator仿真环境,重点是通过示例——双控开关来说明。内容包括安装verilator、查看版本、编写C++例子及运行仿真的步骤,特别强调了verilator与传统仿真器的不同之处,如通过main.c提供激励测试。
一生一芯 预学习阶段 搭建verilator仿真环境 之 示例:双控开关
1、前言
一生一芯预学习 中需要安装4.210版本Verilator,通过git方式下载所需要版本。
2、步骤
1、官网链接: link.
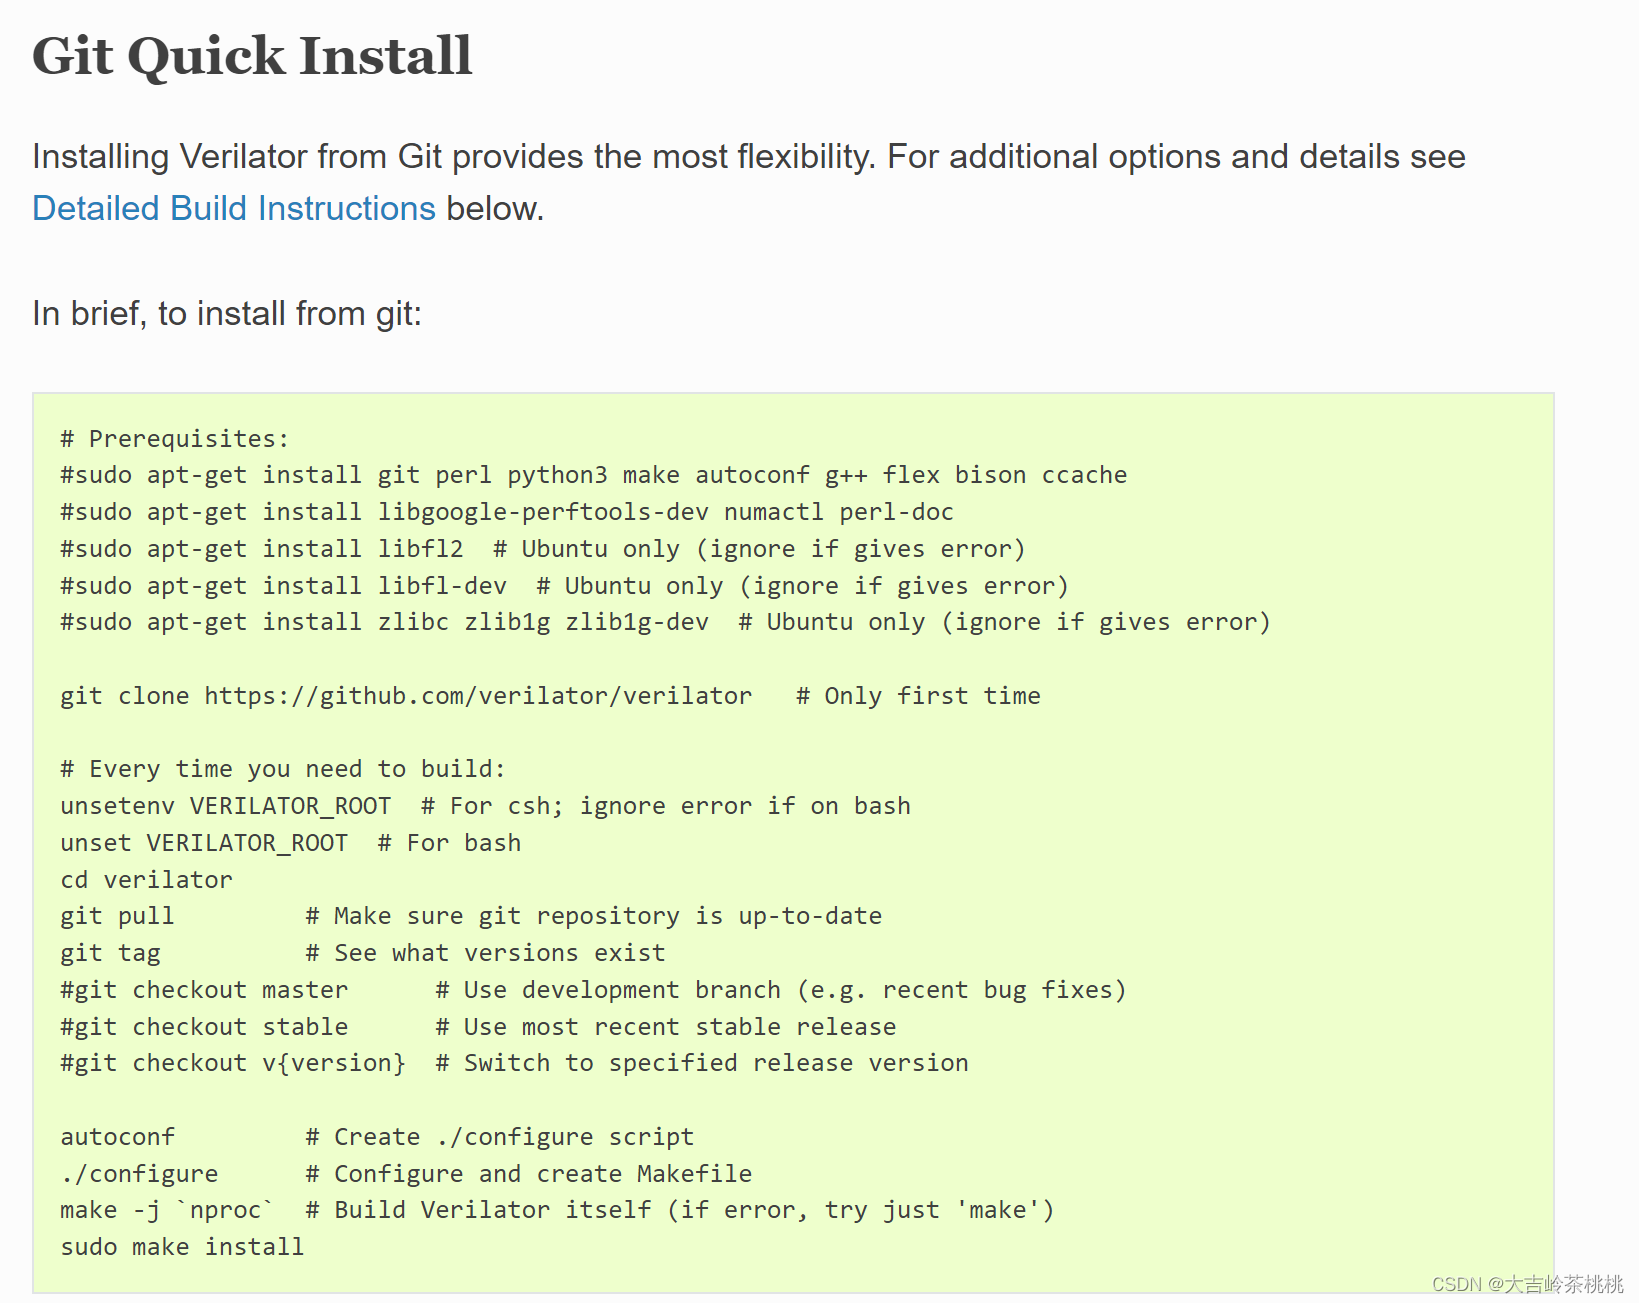
2、代码
#Prerequisites:
sudo apt-get install git perl python3 make autoconf g++ flex bison ccache
sudo apt-get install libgoogle-perftools-dev numactl perl-doc
sudo apt-get install libfl2 # Ubuntu only (ignore if gives error)
sudo apt-get install libfl-dev # Ubuntu only (ignore if gives error)
sudo apt-get install zlibc zlib1g zlib1g-dev # Ubuntu only (ignore if gives >error)
git clone https://github.com/verilator/verilator # Only first time
#Every time you need to build:
unsetenv VERILATOR_ROOT # For csh; ignore error if on bash
unset VERILATOR_ROOT # For bash
cd verilator
git pull # Make sure git repository is up-to-date
git tag # See what versions exist
#git checkout master # Use development branch (e.g. recent bug fixes)
#git checkout stable # Use most recent stable release
git checkout v4.210 # Switch to specified release version
autoconf # Create ./configure script
./configure # Configure and create Makefile
make -jnproc# Build Verilator itself (if error, try just ‘make’)
sudo make install
3 、查看版本
verilator --version
若输出:
Verilator 4.210 2021-07-07 rev v4.210
则表示安装成功.
4、C++例子
C++例子 官方步骤非常详细。
5、示例:双控开关
http://www.icfgblog.com/index.php/Digital/317.html
题目: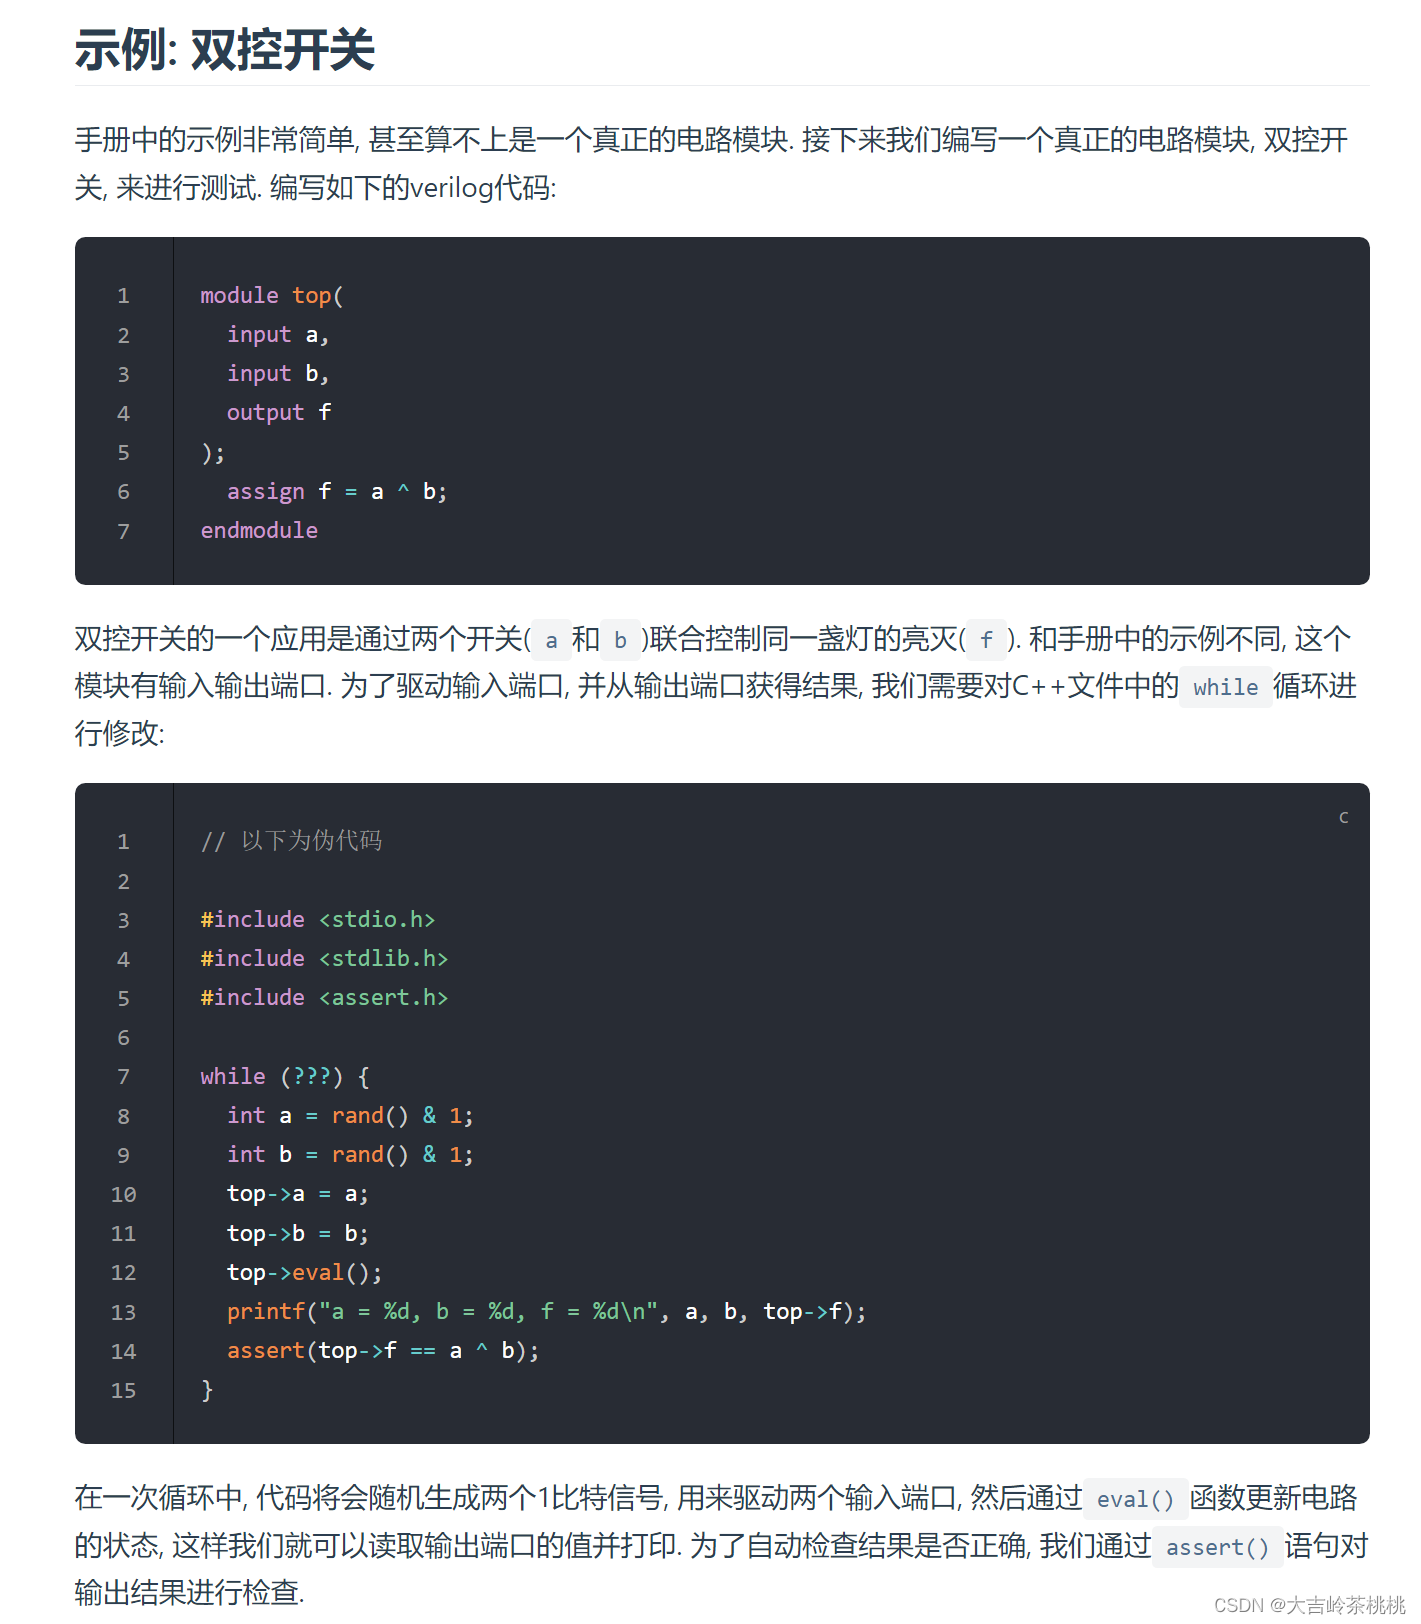
varilotar被称为是第四大仿真器,而且开源,chisel开源项目的仿真基本上是基于varilotar,follow了无数次git clone和make之后,也想打开这个黑盒看看。
1、模块准备
首先,假设我们写好一个模块,如our_OnOff.v:
>module top(
  input a,
  input b,
  output f
);
  assign f = a ^ b;
endmodule
若要验证功能,modelsim或vcs的套路便是写一个tb_Accumulator.v,但varilator与其不同,需要写一个main.c,里面包含了激励测试。
Verilator 不会简单地将 Verilog HDL 转换为 C++ 或 SystemC。Verilator 不仅可以翻译,还可以将代码编译为速度更快的优化与可选的线程分区模型,同时这些模型封装在C++/SystemC/Python模块中。
经过编译的 Verilog 模型,即使在单线程上执行的速度也比独立 SystemC 快 10 倍以上,并且在单线程上的执行速度比诸如 Icarus Verilog 之类的解释 Verilog 模拟器快 100 倍。多线程可能还会使速度提高 2-10 倍(在解释型模拟器上总共可以提高 200-1000 倍)。
sim_main.c 如下 sim_main.c
#include "verilated_vcd_c.h" //可选,如果要导出vcd则需要加上
#include "Vour_OnOff.h"
#include "stdio.h"
#include <stdlib.h>
vluint64_t main_time = 0; //initial 仿真时间
double sc_time_stamp()
{
return main_time;
}
int main(int argc, char **argv)
{
Verilated::commandArgs(argc, argv);
Verilated::traceEverOn(true); //导出vcd波形需要加此语句
VerilatedVcdC* tfp = new VerilatedVcdC; //导出vcd波形需要加此语句
Vour_OnOff *top = new Vour_OnOff("top"); //调用VAccumulator.h里面的IO struct
top->trace(tfp, 0);
tfp->open("wave.vcd"); //打开vcd
while (sc_time_stamp() < 20 && !Verilated::gotFinish()) { //控制仿真时间
int a = rand() & 1;
int b = rand() & 1;
top->a = a;
top->b = b;
top->eval();
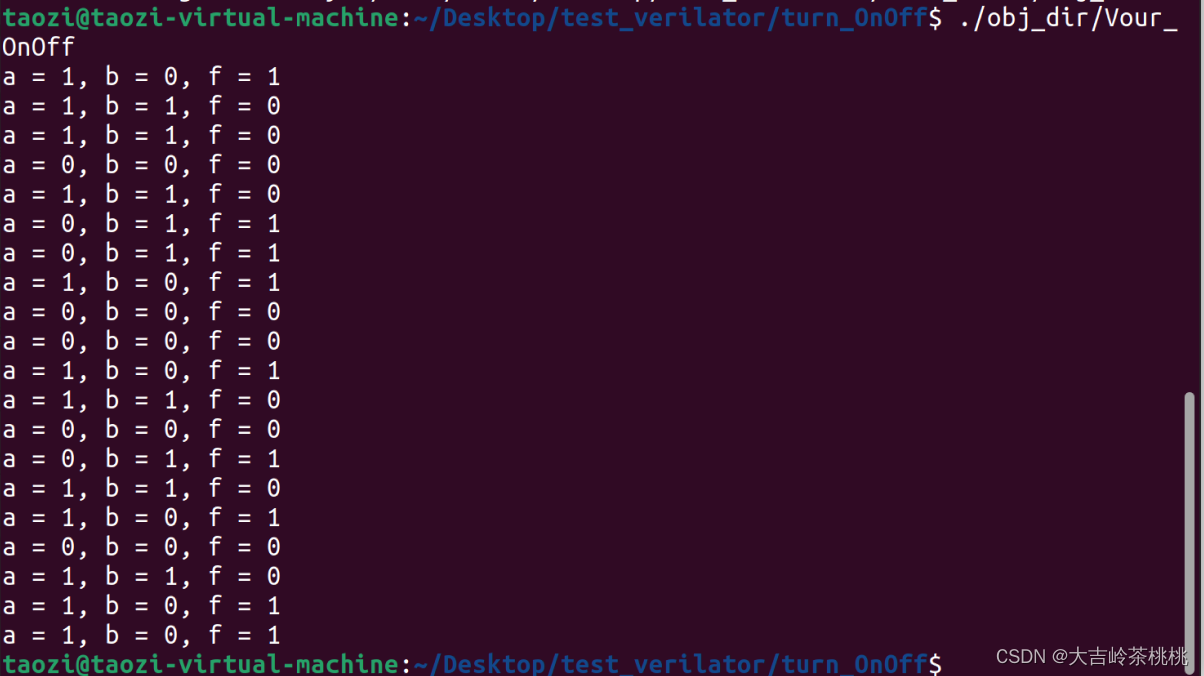
printf("a = %d, b = %d, f = %d\n", a, b, top->f);
tfp->dump(main_time); //dump wave
main_time++; //推动仿真时间
}
top->final();
tfp->close();
delete top;
return 0;
}
3、运行仿真
运行仿真分成三步:
a、生成目标文件夹
verilator -Wno-fatal our_OnOff.v main.c --top-module our_OnOff --cc --trace --exe
下面展示一些 内联代码片。
-Wno: 忽略非 fatal 的 warning
our_OnOff.v: 是设计文件
main.c"是主程序
--top-module:顶层模块名,注意是模块名,不是文件名
--cc:表明是C++,不过 c 程序也是支持的
--trace 表明会追踪波形,如果需要导出vcd 或者 fst 等其他波形文件,需要加上这个选项
--exe:生成可执行文件
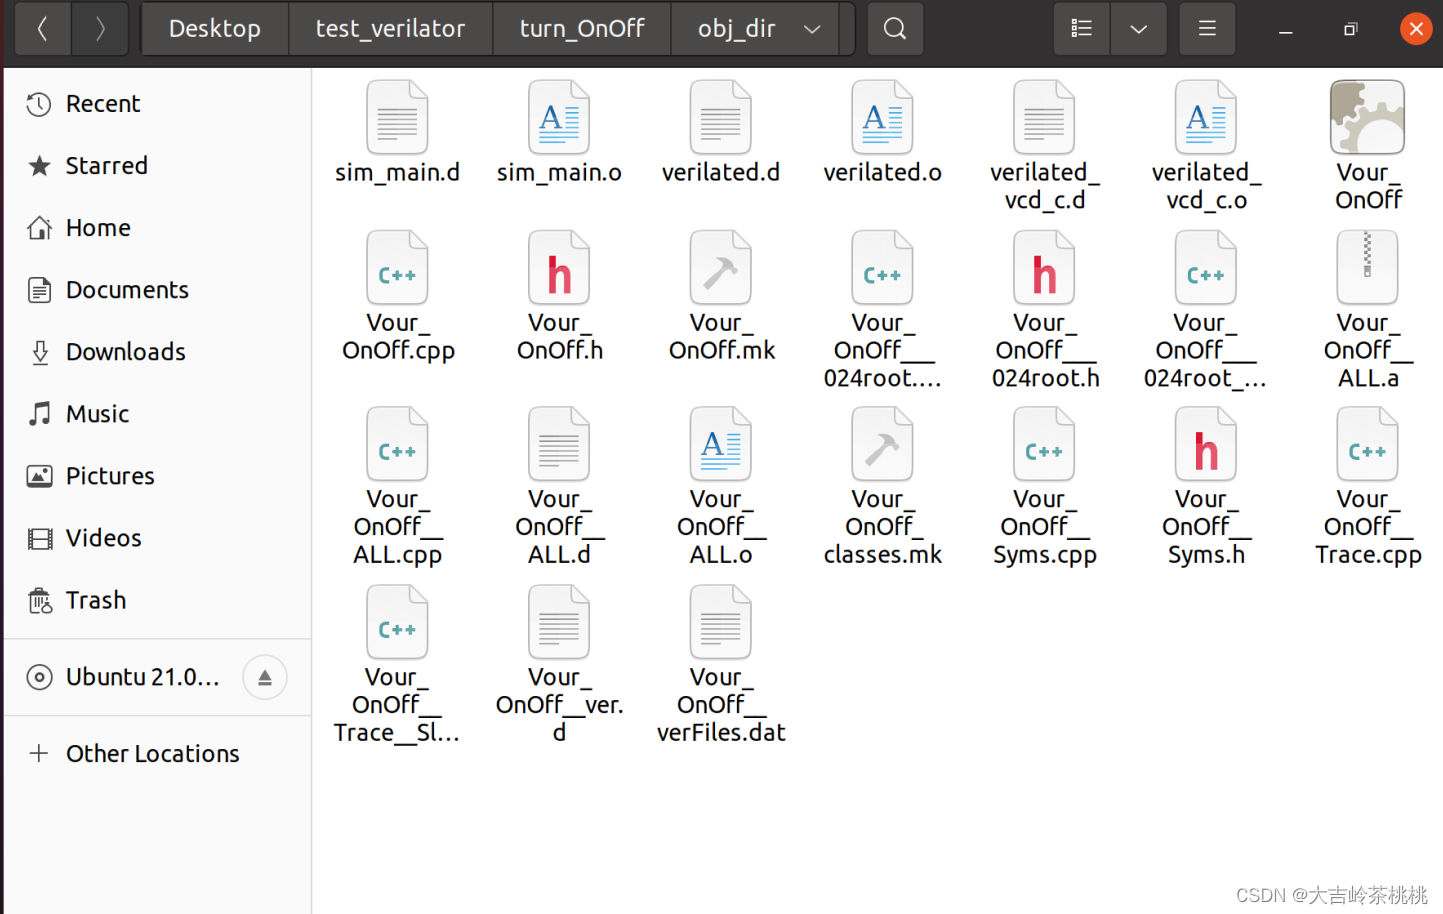
运行完后会在当前目录生成obj_dir文件夹,这么多文件不需要深究。
b、编译
make -C obj_dir -f our_OnOff.mk Vour_OnOff
make -C …/make-dir/
使用 -C 选项改变目录,你能看到 make 命令首先切到特定的目录下,在那执行,然后再切换回来。
make -f my_makefile
通过 -f 选项将其它文件看作 Makefile,通过这种方法,make 命令会选择扫描 .mk 来代替 Makefile。
Vour_OnOff.mk 也是生成出来的一个文件,在 obj_dir 文件夹里面,用于自动化的编译控制
最后一个参数是输出可执行文件的文件名,最好不要乱改,就"V" + “design_name”
c、运行和查看波形
./obj_dir/Vour_OnOff
gtkwave wave.vcd


 到【灌水乐园】发言


