 使用AutoUpgraderPro组件实现自动更新


 本文档详细介绍了如何使用AutoUpgraderPro组件进行软件自动更新的步骤,包括下载安装组件、创建项目、设置属性、编写事件处理代码以及展示运行效果。通过这个过程,开发者可以为自己的应用程序添加自动检查更新和升级的功能。
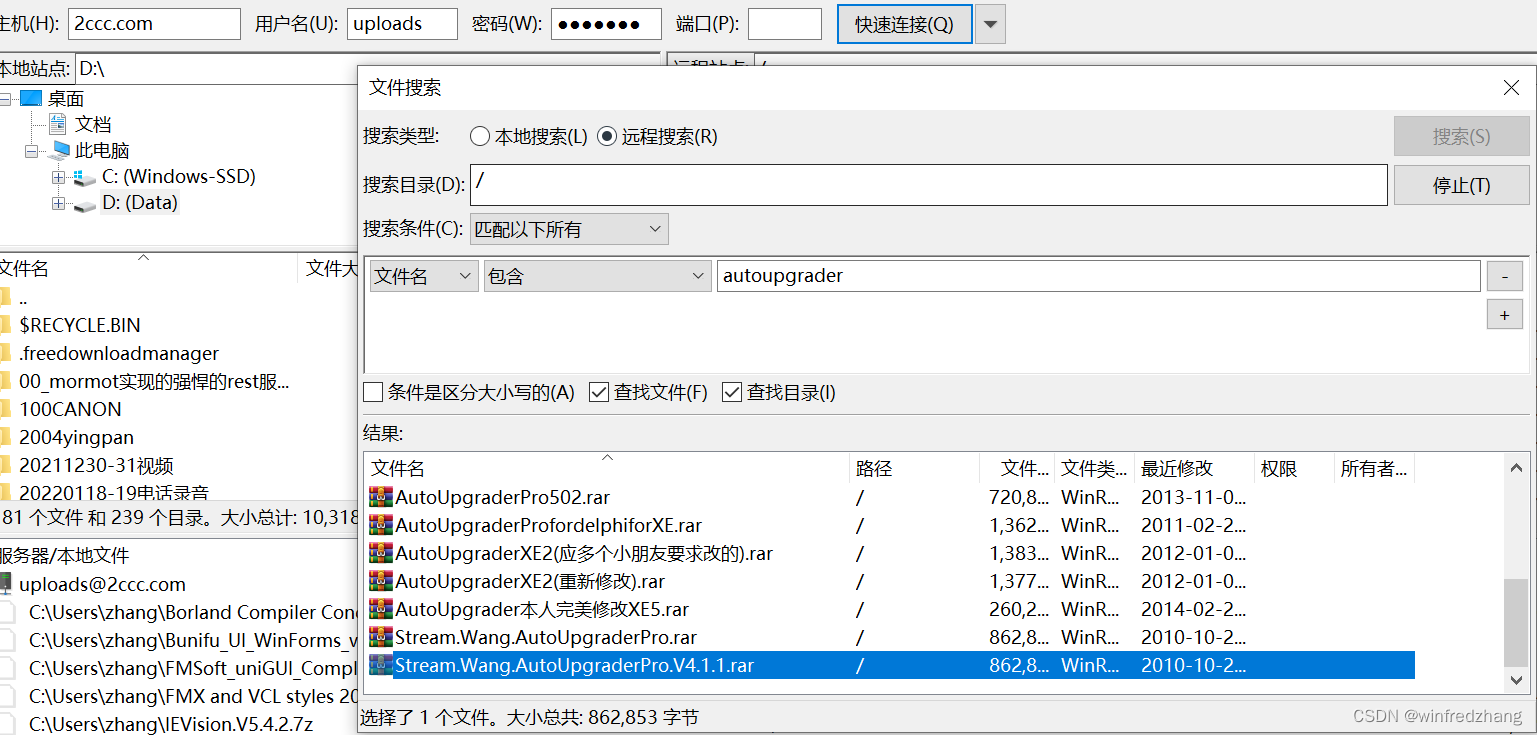
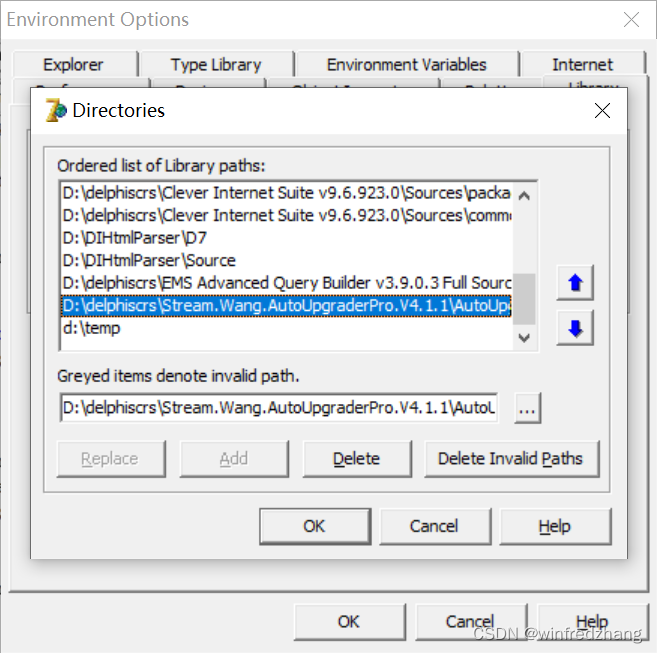
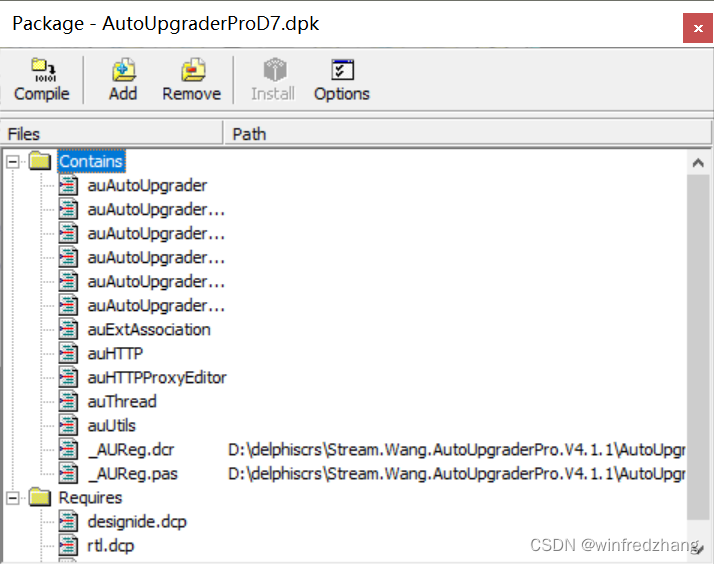
1、下载并安装AutoUpgraderPro组件。

2、新建项目,命名为AutoUpgraderProDemo(为了使用demo中的网上资源)作为名称。
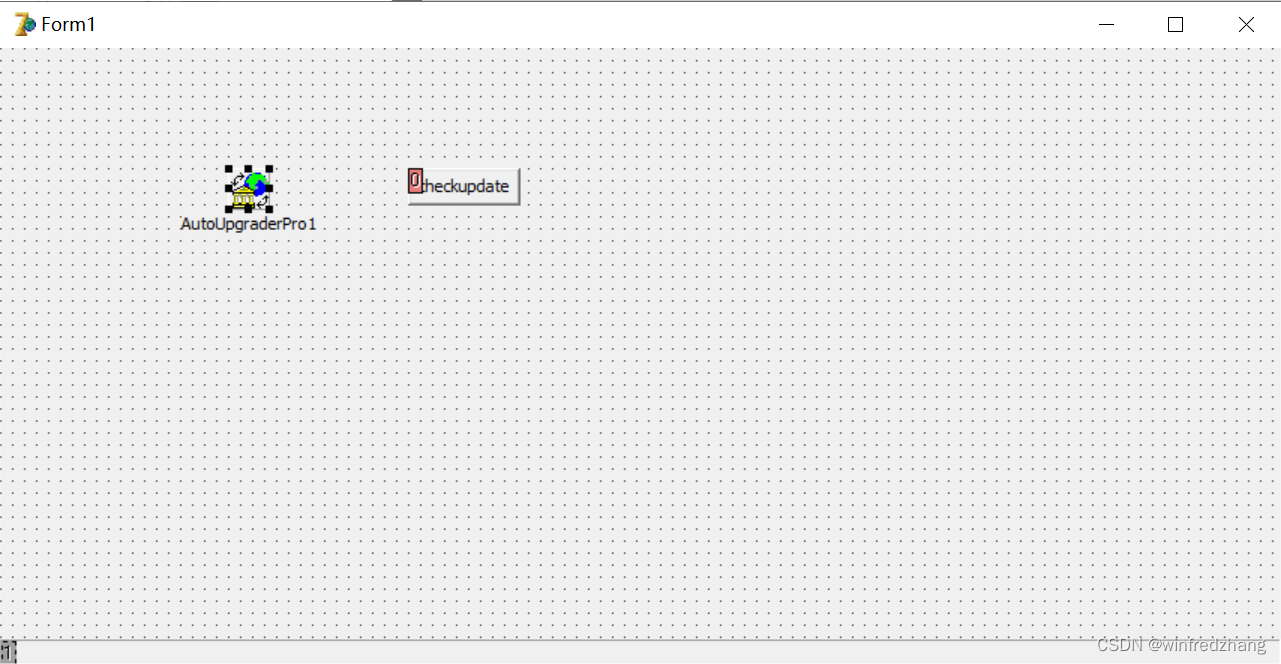
3、在窗体上拖拽一个auAutoUpgrader1组件。
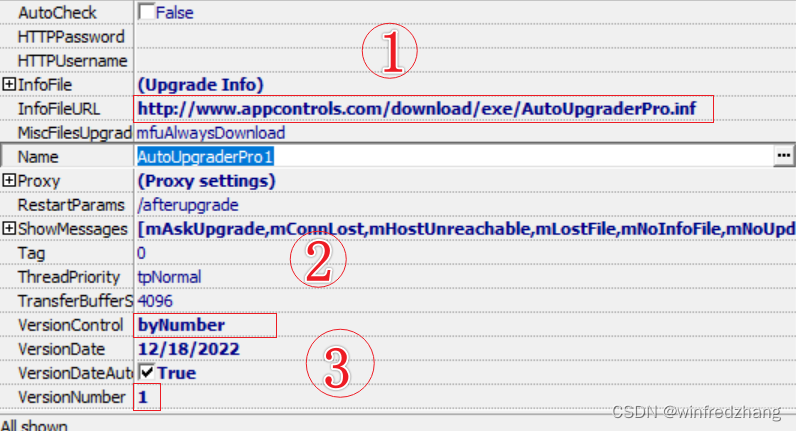
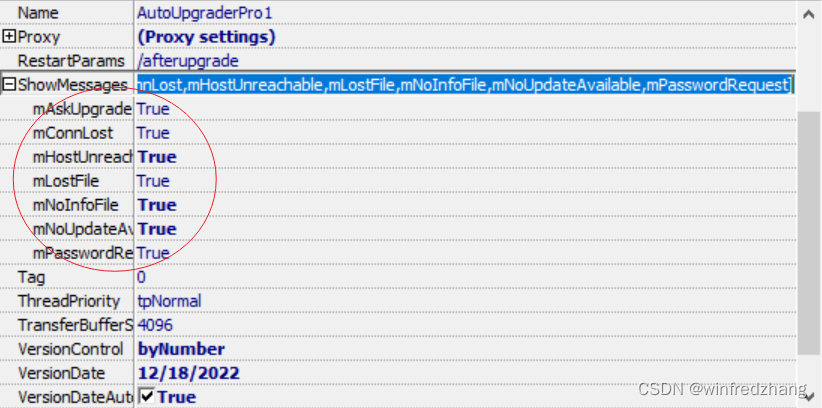
4、设置属性:
 InfoFileURL := 'http://www.appcontrols.com/download/exe/AutoUpgraderPro.inf';
    VersionControl := byNumber;
    VersionNumber := '1';
    ShowMessages := [mAskUpgrade, mConnLost, mHostUnreachable, mLostFile, mNoInfoFile, mNoUpdateAvailable, mPasswordRequest];
4、在组件的两个事件中编写如下代码:

procedure TForm1.AutoUpgraderPro1Aborted(Sender: TObject);
begin
 // upgrade aborted
  Caption := 'Upgrade aborted';
  ProgressBar1.Position := 0;

end;
procedure TForm1.AutoUpgraderPro1Progress(Sender: TObject;
  const FileURL: String; FileSize, BytesRead, ElapsedTime,
  EstimatedTimeLeft: Integer; PercentsDone, TotalPercentsDone: Byte;
  TransferRate: Single);
begin
 ProgressBar1.Position := PercentsDone;
end;
5、拖拽button1按钮组件和progressbar组件到窗口中,并在button的click事件编写代码:
procedure TForm1.Button1Click(Sender: TObject);
begin
  AutoUpgraderPro1.CheckUpdate;
end;
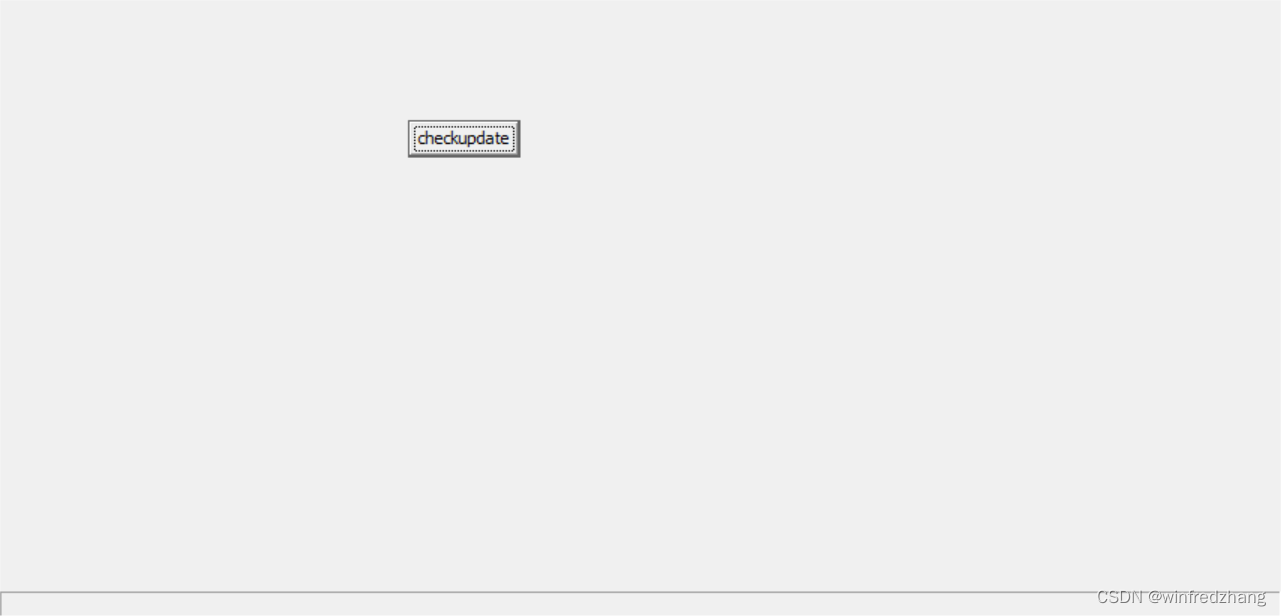
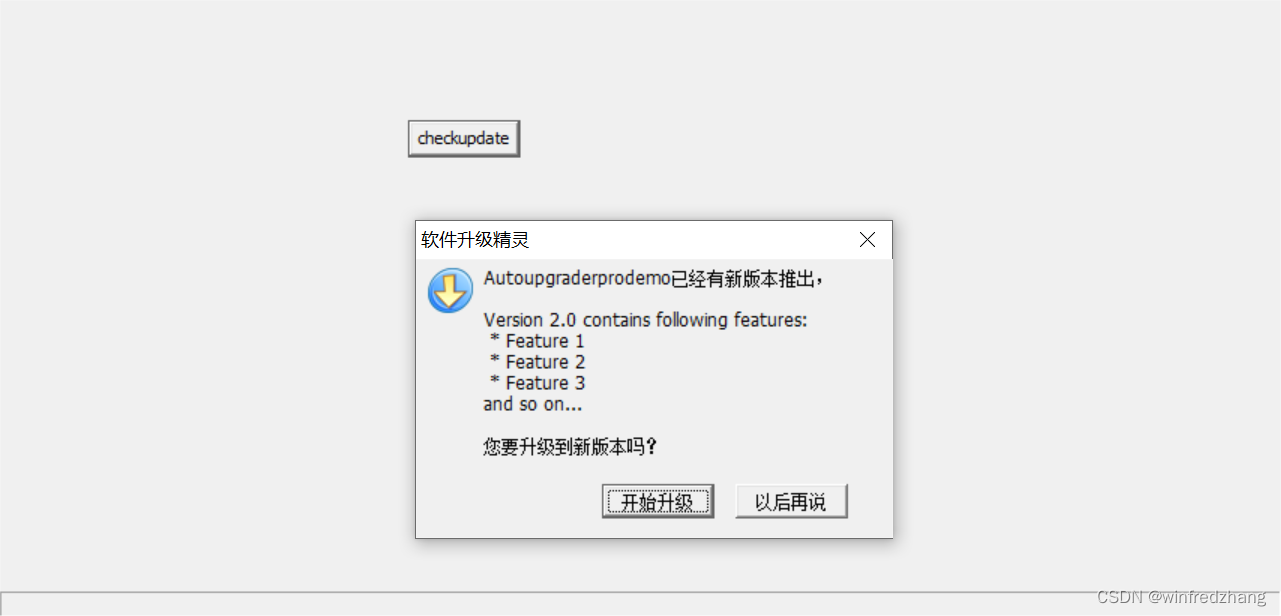
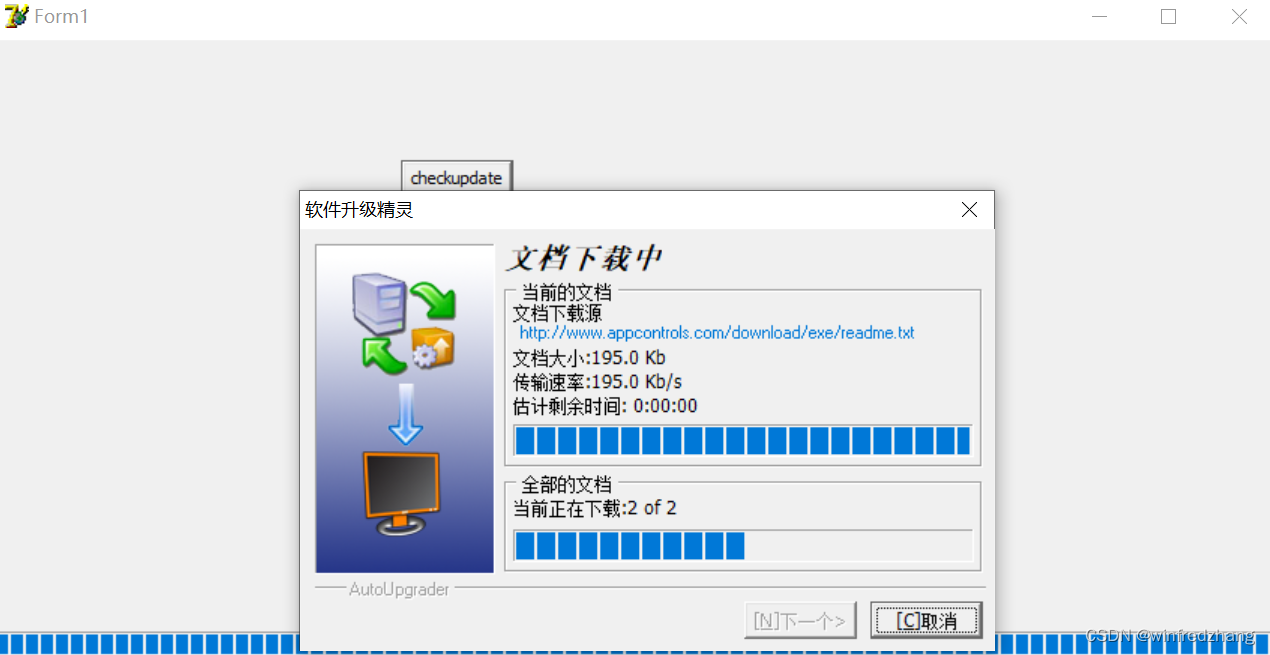
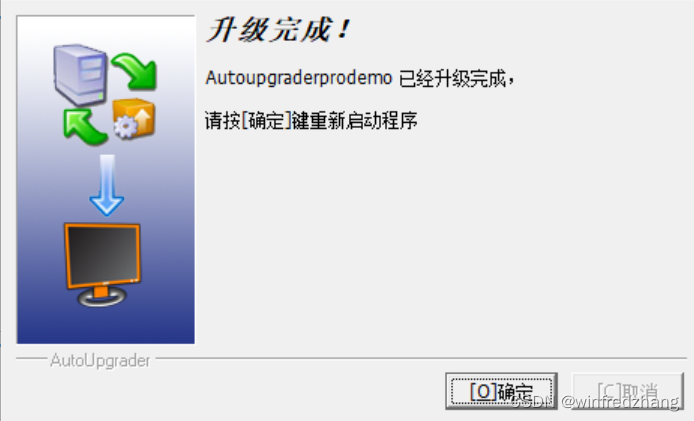
6、运行效果如下:


 419
419

 被折叠的 条评论
为什么被折叠?
被折叠的 条评论
为什么被折叠?
 到【灌水乐园】发言


