


App启动过程
用户在 Launcher 或其他界面中点击应用图标,用户的点击事件被传递给 ActivityManagerService(AMS),AMS 会检查目标应用的进程是否已运行。如果没有,AMS 会通过 zygote 创建一个新的应用进程。
App运行流程
zygote进程为App产生一个子进程,App进程运行在zygote产生的子进程当中,对于这个子进程来说,它的入口函数是ActivityThread.main()函数。(可在源码中查找,android.app.ActivityThread类下)
public static void main(String[] args) {
	Trace.traceBegin(Trace.TRACE_TAG_ACTIVITY_MANAGER, "ActivityThreadMain");

    // CloseGuard defaults to true and can be quite spammy.  We
    // disable it here, but selectively enable it later (via
    // StrictMode) on debug builds, but using DropBox, not logs.
    CloseGuard.setEnabled(false);

    Environment.initForCurrentUser();

    // Set the reporter for event logging in libcore
    EventLogger.setReporter(new EventLoggingReporter());

    // Make sure TrustedCertificateStore looks in the right place for CA certificates
    final File configDir = Environment.getUserConfigDirectory(UserHandle.myUserId());
    TrustedCertificateStore.setDefaultUserDirectory(configDir);

    Process.setArgV0("<pre-initialized>");

    Looper.prepareMainLooper();

    // Find the value for {@link #PROC_START_SEQ_IDENT} if provided on the command line.
    // It will be in the format "seq=114"
    long startSeq = 0;
    	if (args != null) {
			for (int i = args.length - 1; i >= 0; --i) {
			if (args[i] != null && args[i].startsWith(PROC_START_SEQ_IDENT)) {
				startSeq = Long.parseLong(
                   args[i].substring(PROC_START_SEQ_IDENT.length()));
            }
        }
		}
    ActivityThread thread = new ActivityThread();
    thread.attach(false, startSeq);

    if (sMainThreadHandler == null) {
        sMainThreadHandler = thread.getHandler();
    }

    if (false) {
        Looper.myLooper().setMessageLogging(new
        LogPrinter(Log.DEBUG, "ActivityThread"));
    }

    // End of event ActivityThreadMain.
    Trace.traceEnd(Trace.TRACE_TAG_ACTIVITY_MANAGER);
    Looper.loop();

    throw new RuntimeException("Main thread loop unexpectedly exited");
}
ActivityThread类
-
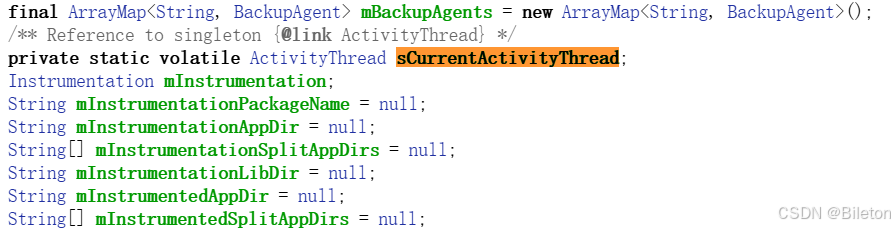
sCurrentActivityThread属性
在ActivityThread类中,有一个属性sCurrentActivityThread,用于全局保存创建的ActivityThread实例。
-
currentActivityThread()方法
在ActivityThread类中,有一个属性sCurrentActivityThread()方法,用于获取当前虚拟机创建的ActivityThread实例。
-
ActivityThread.main()
ActivityThread.main()是java中的入口main函数,ActivityThread.main()方法被调用,会创建一个 ActivityThread 实例,并启动事件循环。 -
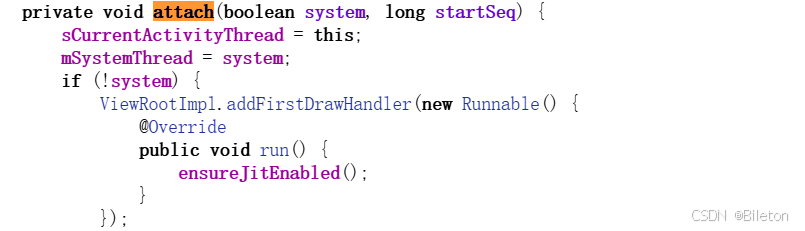
attach()
ActivityThread实例创建后,调用attach方法完成一系列的初始化工作。
-
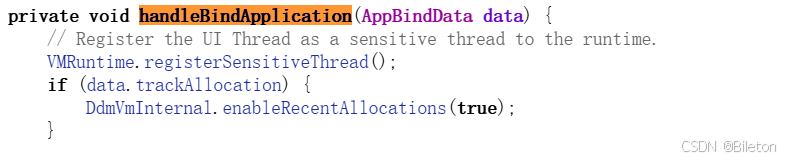
handleBindApplication()
handleBindApplication()是ActivityThread类中的一个重要方法,负责处理应用程序的绑定过程。
private void handleBindApplication(AppBindData data) {
		...
		// step 1: 创建LoadedApk对象
		data.info = getPackageInfoNoCheck(data.appInfo, data.compatInfo);
		...
		// step 2: 创建ContextImpl对象
		final ContextImpl appContext = ContextImpl.createAppContext(this, data.info);

		// step 3:创建Instrumentation
		mInstrumentation = new Instrumentation();

		// step 4:创建Application对象;在makeApplication函数中调用了newApplication,在该函数中又调用了app.attach(context),在attach中调用了Application.attachBaseContext函数
		Application app;
		app = data.info.makeApplication(data.restrictedBackupMode, null);
		mInitialApplication = app;

		// step 5:安装providers
		List<ProviderInfo> providers = data.providers;
		installContentProviders(app,providers);

		// step 6:执行Aplication.Create回调
		mInstrumentation.callApplicationOnCreate(app);
}
源码分析
-
handleBindApplication(AppBindData data)方法里的参数data
data是AppBindData类型
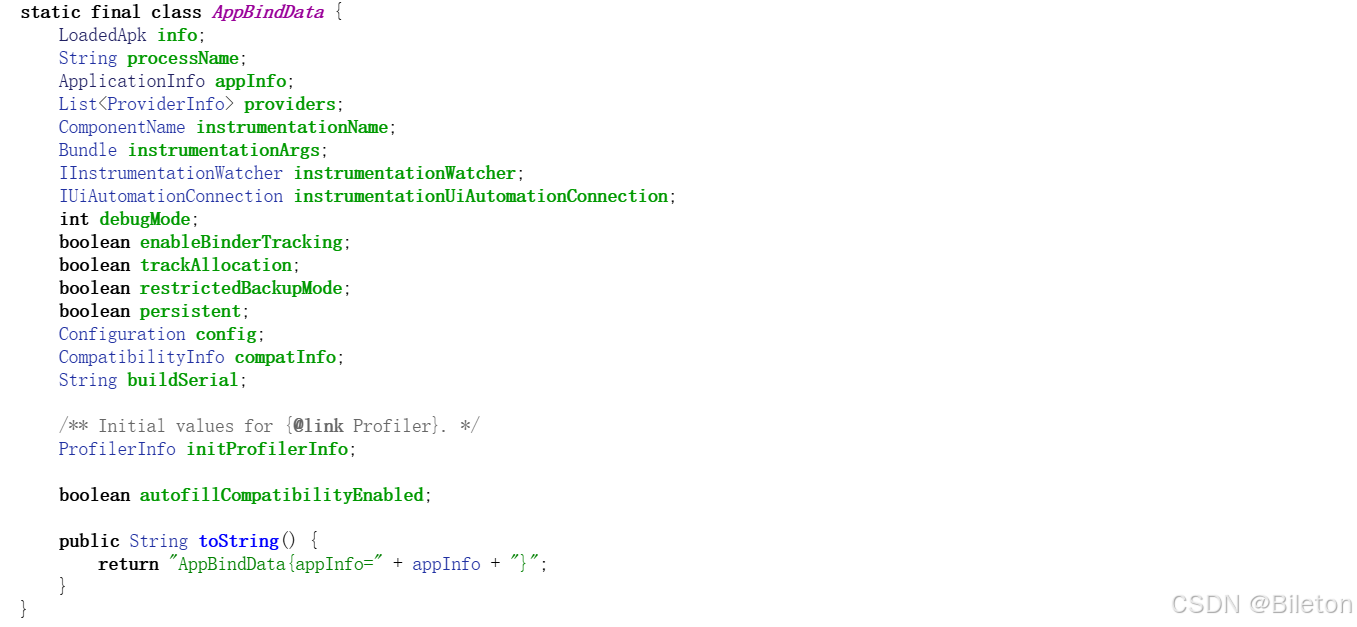
AppBindData类下有一个属性info,它是LoadedApk类型 -
LoadedApk类
LoadedApk类下有一个makeApplication方法,这里面有一个字段String appClass = mApplicationInfo.className
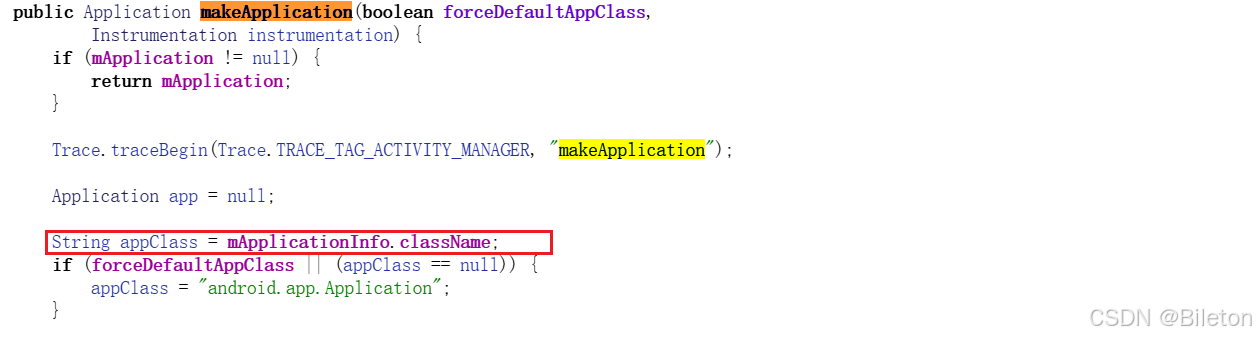
mApplicationInfo是ApplicationInfo类

还调用了Instrumentation对象的newApplication方法,用于创建Application实例。

-
ApplicationInfo类
在ApplicationInfo类下有一个属性className

ApplicationInfo类中的className属性在 Android 开发中用于指定应用程序的主 Application 类。它其实就是AndroidManifest.xml中的<application>标签中的android:name属性,它会获取到这个类名。在
ApplicationInfo类下有一个attach方法 -
Instrumentation类
newApplication方法是在Instrumentation类下的
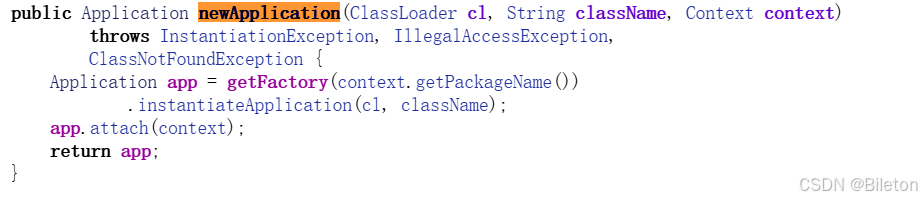
在newApplication方法里调用了一个app.attach方法,attach方法里调用了attachBaseContext(context);来附加上下文。

-
callApplicationOnCreate
最后调用callApplicationOnCreate方法。

总结
把上面的总结下来就是,Application 类是App的入口类,最先被加载,流程如下
加载Application类->构造Application对象->调用Application.attach()方法->调用attachBaseContext()方法->调用callApplicationOnCreate方法
App的入口类
在 Android 应用中,Application 类通常是应用的入口类,也是应用进程的第一个实例化对象。
Manifest.xml声明
<application
    android:name=".MyApplication"
    ... >
    <!-- 其他应用配置 -->
</application>


 被折叠的 条评论
为什么被折叠?
被折叠的 条评论
为什么被折叠?
 到【灌水乐园】发言


