


利用express实现前后端交互
express简介
Express 是一个基于 Node.js 的快速、简洁、灵活的 Web 应用程序框架,专门用于构建 Web 应用程序和 API。它是 Node.js 生态系统中最流行的框架之一,被广泛用于开发后端服务。
express的使用
安装
npm install express
新建一个文件:express.js
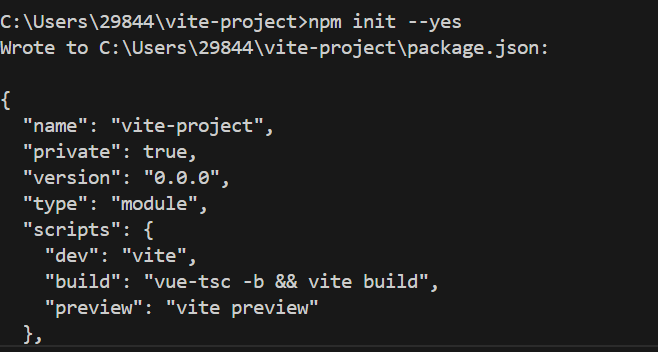
在根目录下输入:npm init --yes
在express.js中添加代码
import express from 'express';

const app = express();

app.get('/', (req, res) => {
  res.send('Hello World!');
});

app.listen(8000, () => {
  console.log('Server is running on http://localhost:8000');
});
打开express.js文件所在目录的中端
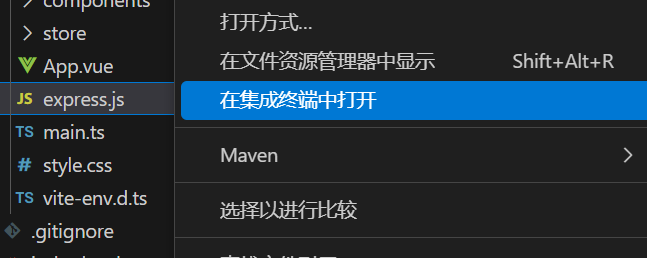
输入:node express.js

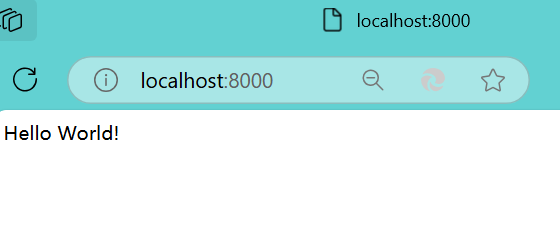
点开地址,即可看到客户端发送到服务器端的信息
实例(我是现学的的vue,所以直接按照vue代码写的)
客户端
创建一个文件夹express.vue,代码如下
<template>
    <button @click="sendRequest">点击发送请求</button>
<div class="res">
    {{ res }}
</div>
  </template>
  <script lang="ts">
  export default {
    name: 'express',
  }
  </script>
  <script setup lang="ts">
  import { ref } from 'vue';
  let res = ref('123');
function sendRequest() {
  // 发送请求的代码
  //1.创建对象
  const xhr=new XMLHttpRequest();
//2.初始化
xhr.open('GET','http://localhost:8000/server');
  //3.发送
  xhr.send();
  xhr.onreadystatechange=function(){
    if(xhr.readyState===4){
      if(xhr.status>=200&&xhr.status<300){
        res.value=xhr.response;
      }
    }
  }
  return res;
}


  </script>

  <style scoped>
    .res {
      margin-top: 20px;
      background: burlywood;
    }
  </style>
服务器端(也就是express)
express.js文件代码如下
import express from 'express';

const app = express();

app.get('/server', (req, res) => {
  res.setHeader('Access-Control-Allow-Origin',"*");
res.send('Hello ');
});

app.listen(8000, () => {
  console.log('Server is running on http://localhost:8000/server');
});
结果
点击发送请求按钮,客户端想服务端发送请求,然后得到了服务端的响应,原来客户端设置的默认123变成了服务端发送回来的hello

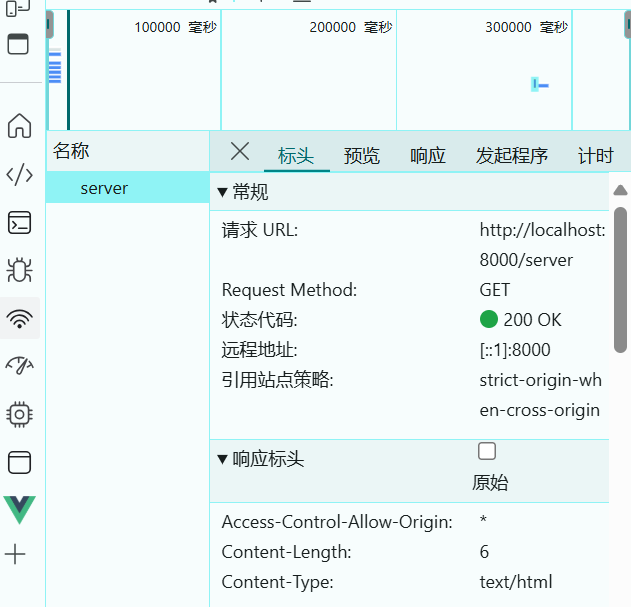
开发者模式
点击network可以查看


 被折叠的 条评论
为什么被折叠?
被折叠的 条评论
为什么被折叠?
 到【灌水乐园】发言


