


 本文详细介绍了Filebeat的安装过程,配置文件示例,以及如何利用其内置模块收集和处理日志,包括Nginx模块的使用和output配置。还展示了如何通过Processors进行数据过滤和增强。
目录
六、使用Processors(处理器)过滤和增强数据(扩展部分)
一、Filebeat安装
(一)下载地址:Filebeat 8.4.3 | Elastic https://www.elastic.co/cn/downloads/past-releases/filebeat-8-4-3
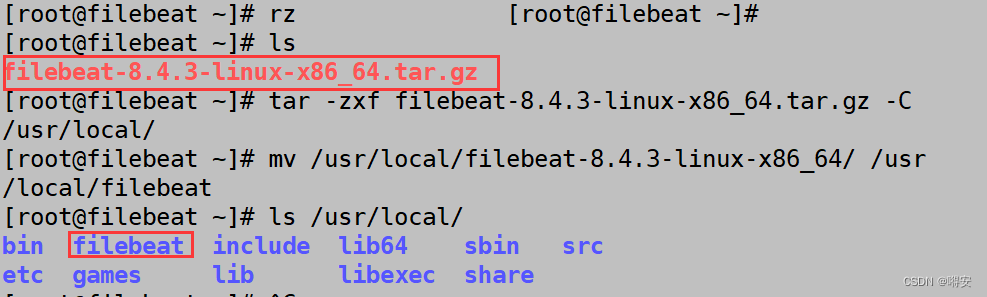
(二)解压到指定目录并改名
[root@filebeat ~]# ls
filebeat-8.4.3-linux-x86_64.tar.gz[root@filebeat ~]# tar -zxf filebeat-8.4.3-linux-x86_64.tar.gz -C /usr/local/
[root@filebeat ~]# mv /usr/local/filebeat-8.4.3-linux-x86_64/ /usr/local/filebeat
(三)配置systemd方式的Filebeat启动管理文件
[root@filebeat ~]# vim /usr/lib/systemd/system/filebeat.service
[Unit]
Description=Filebeat sends log files to Logstash or directly to Elasticsearch.
Wants=network‐online.target
After=network‐online.target
[Service]
ExecStart=/usr/local/filebeat/filebeat ‐c /usr/local/filebeat/filebeat.yml
Restart=always
[Install]
WantedBy=multi‐user.target
[root@filebeat ~]# systemctl daemon-reload
[root@filebeat ~]# systemctl start filebeat.service


二、Filebeat简单使用
(一)准备测试数据
[root@filebeat ~]# vim /tmp/access.log
123.127.39.50 ‐ ‐ [04/Mar/2021:10:50:28 +0800] "GET /logo.jpg HTTP/1.1" 200 14137"http://81.68.233.173/" "Mozilla/5.0 (Macintosh; Intel Mac OS X 10_13_6) AppleWebKit/537.36(KHTML, like Gecko) Chrome/88.0.4324.192 Safari/537.36" "‐"

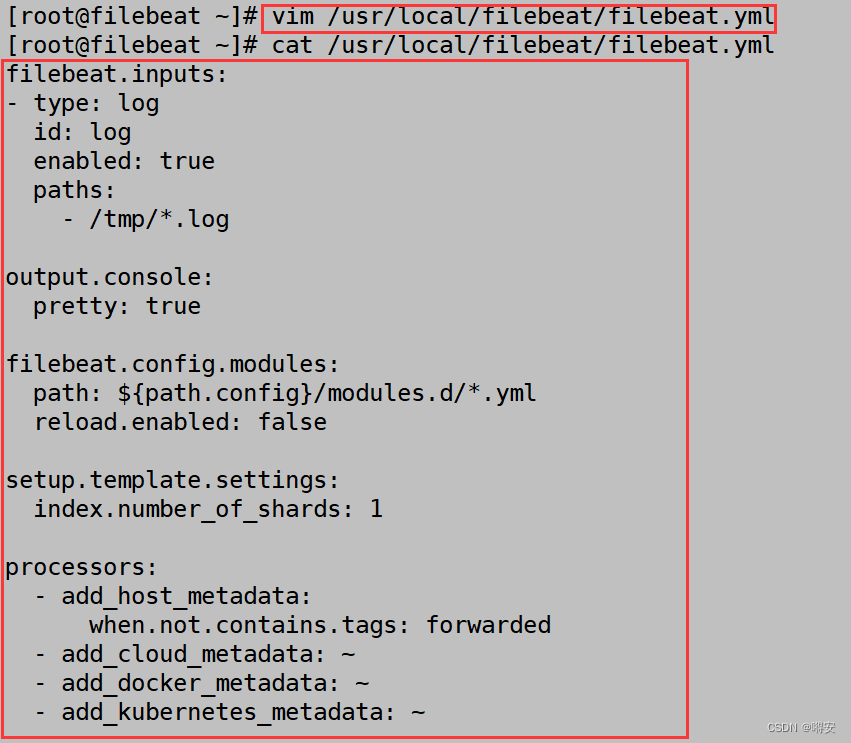
(二)配置Filebeat 的输入和输出
[root@filebeat ~]# vim /usr/local/filebeat/filebeat.yml
filebeat.inputs:
- type: log
id: log
enabled: true
paths:
- /tmp/*.log #改 指定需要收集日志的路径,支持通配符可以写多个output.console: #添加 输出到终端即屏幕上
pretty: truefilebeat.config.modules: # 内置的收集日志的模块配置文件的存放路径
path: ${path.config}/modules.d/*.yml
reload.enabled: false # 当模块的配置文件有更新时,此程序是否要自动加载,false不加载,true 加载setup.template.settings:
index.number_of_shards: 1processors:
- add_host_metadata:
when.not.contains.tags: forwarded
- add_cloud_metadata: ~
- add_docker_metadata: ~
- add_kubernetes_metadata: ~
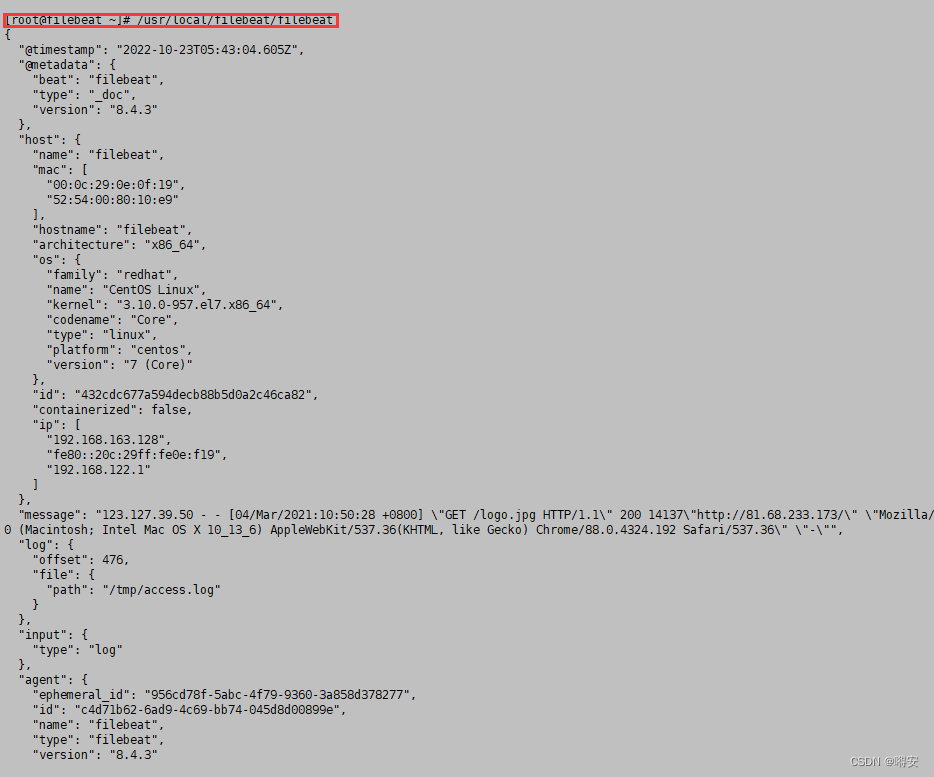
(三)运行观察输出
[root@filebeat ~]# /usr/local/filebeat/filebeat
#找不到配置文件可使用-c指定配置文件位置
[root@filebeat ~]# /usr/local/filebeat/filebeat -c /usr/local/filebeat/filebeat.yml
三、专用日志搜集模块
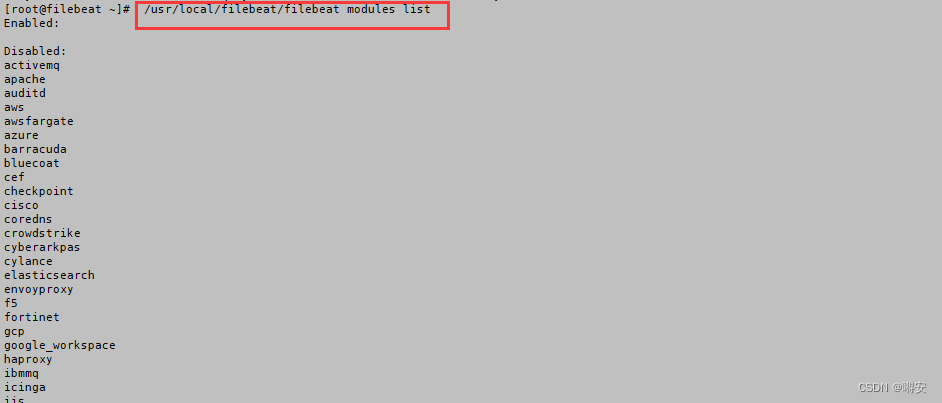
(一)查看可启用的模块列表
[root@filebeat ~]# /usr/local/filebeat/filebeat modules list
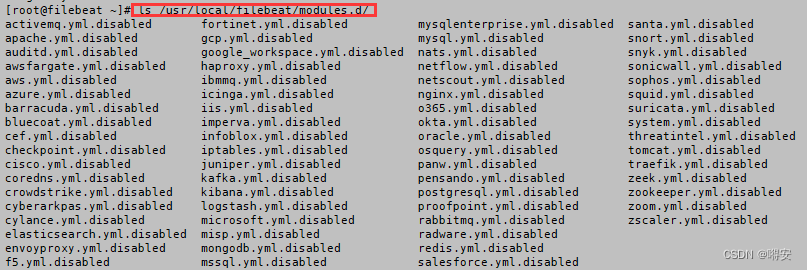
(二)模块配置文件存储位置
[root@filebeat ~]# ls /usr/local/filebeat/modules.d/
(三)启用模块
[root@filebeat ~]# /usr/local/filebeat/filebeat modules enable 模块名
(四)禁用模块
[root@filebeat ~]# /usr/local/filebeat/filebeat modules disable 模块名
四、示例模块-Nginx 模块
(一)准备Nginx示例文件
#访问日志示例文件
[root@filebeat ~]# vim /var/log/access.log
#错误日志示例文件
[root@filebeat ~]# vim /var/log/error.log


(二)启用 nginx 模块
[root@filebeat ~]# /usr/local/filebeat/filebeat modules enable nginx

(三)情景1:使用模块默认的日志路径
修改 modules.d/nginx.yml 文件内容如下:
[root@filebeat ~]# cd /usr/local/filebeat/
[root@filebeat filebeat]# vim modules.d/nginx.yml
nginx 模块搜集日志的默认路径是:
/var/log/nginx/access.log*
/var/log/nginx/error.log*

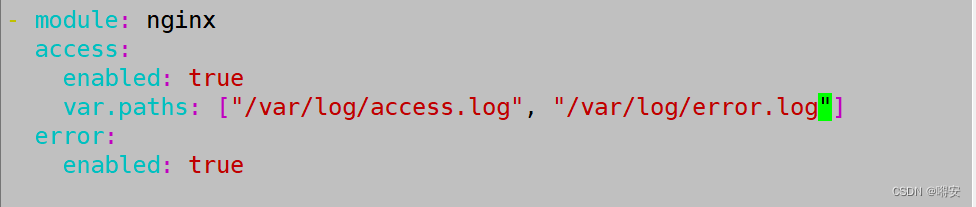
(四)情景2:使用非默认路径(适用于所有的模块)
[root@filebeat filebeat]# vim modules.d/nginx.yml
var.paths: ["/var/log/access.log", "/var/log/error.log"]
(五)调用模块进行测试:
[root@filebeat filebeat]# ./filebeat -e
五、配置output
(一)output 类型:
console: 终端屏幕
elasticsearch: 存放日志,并提供查询
logstash: 进一步对日志数据进行处理
kafka: 消息队列
⚠filebeat 运行的时候,以上的 output 只可配置其中的一种。
(二)输出完整Json数据中的某些字段
[root@filebeat filebeat]# vim filebeat.yml
output.console:
codec.format:
string: '%{[@timestamp]} %{[message]}'
pretty: true

六、使用Processors(处理器)过滤和增强数据(扩展部分)
(一)可以在配置中定义处理器,以便在事件发送到配置的输出之前对其进行处理。libbeat库提供以下处理器:
1.减少导出字段的数量
2.使用其他元数据增强事件
3.执行其他处理和解码
(二)去重日志中的某些行
[root@filebeat filebeat]# vim filebeat.yml
- drop_event:
when:
regexp:
message: "^ABC" # message为自定义字段

(三)向输出的数据中添加某些自定义字段
[root@filebeat filebeat]# vim filebeat.yml
- add_fields:
target: project # 要添加的自定义字段key名称
fields:
name: myproject
id: '574734885120952459'
age: 20

(四)从事件中删除某些字段
下面的配置示例是删除顶级字段 input 和 顶级字段 ecs 中的 version 字段:
⚠ 注意: 事件中的 "@timestamp 和 type 字段是无法删除的。
[root@filebeat filebeat]# vim filebeat.yml
processors:
- drop_fields:
fields: ["agent", "ecs.version"]
ignore_missing: false #false 表示,字段名不存在则会返回错误。为 true 不会返回错误。


 1807
1807

 被折叠的 条评论
为什么被折叠?
被折叠的 条评论
为什么被折叠?
 到【灌水乐园】发言


