


目录
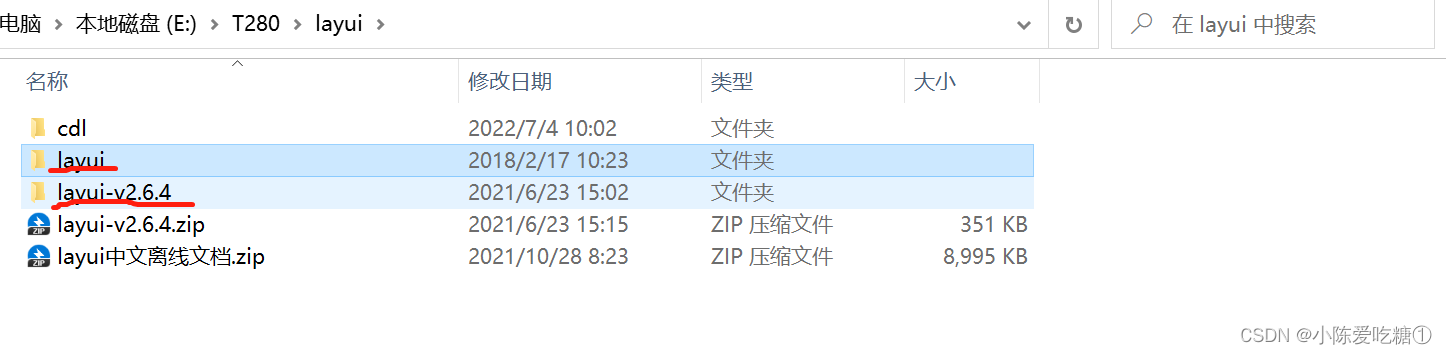
一、找到可以下载layui的压缩包
什么是layui: layui(谐音:类 UI) 是一套开源的 Web UI 解决方案,采用自身经典的模块化规范,并遵循原生 HTML/CSS/JS 的开发方式,极易上手,拿来即用。其风格简约轻盈,而组件优雅丰盈,从源代码到使用方法的每一处细节都经过精心雕琢,非常适合网页界面的快速开发。layui 区别于那些基于 MVVM 底层的前端框架,却并非逆道而行,而是信奉返璞归真之道。准确地说,它更多是面向后端开发者,你无需涉足前端各种工具,只需面对浏览器本身,让一切你所需要的元素与交互,从这里信手拈来。
官方网站:https://www.layui.com/(已下线)
参考地址:http://layui.org.cn/demo/index.html(可以用,非官网)
将layui下载到了本地,那么可将其完整地放置到你的项目目录(或静态资源服务器),并在页面中分别引入:
<!-- 引入 layui.css -->
<link rel="stylesheet" href="xxx/layui.css">
<!-- 引入 layui.js -->
<script src="xxx/layui.js"></script>
二、搭建坏境
将jar包导入,使用别人的框架
测试导入的框架能不能用
运行web.xml
结果: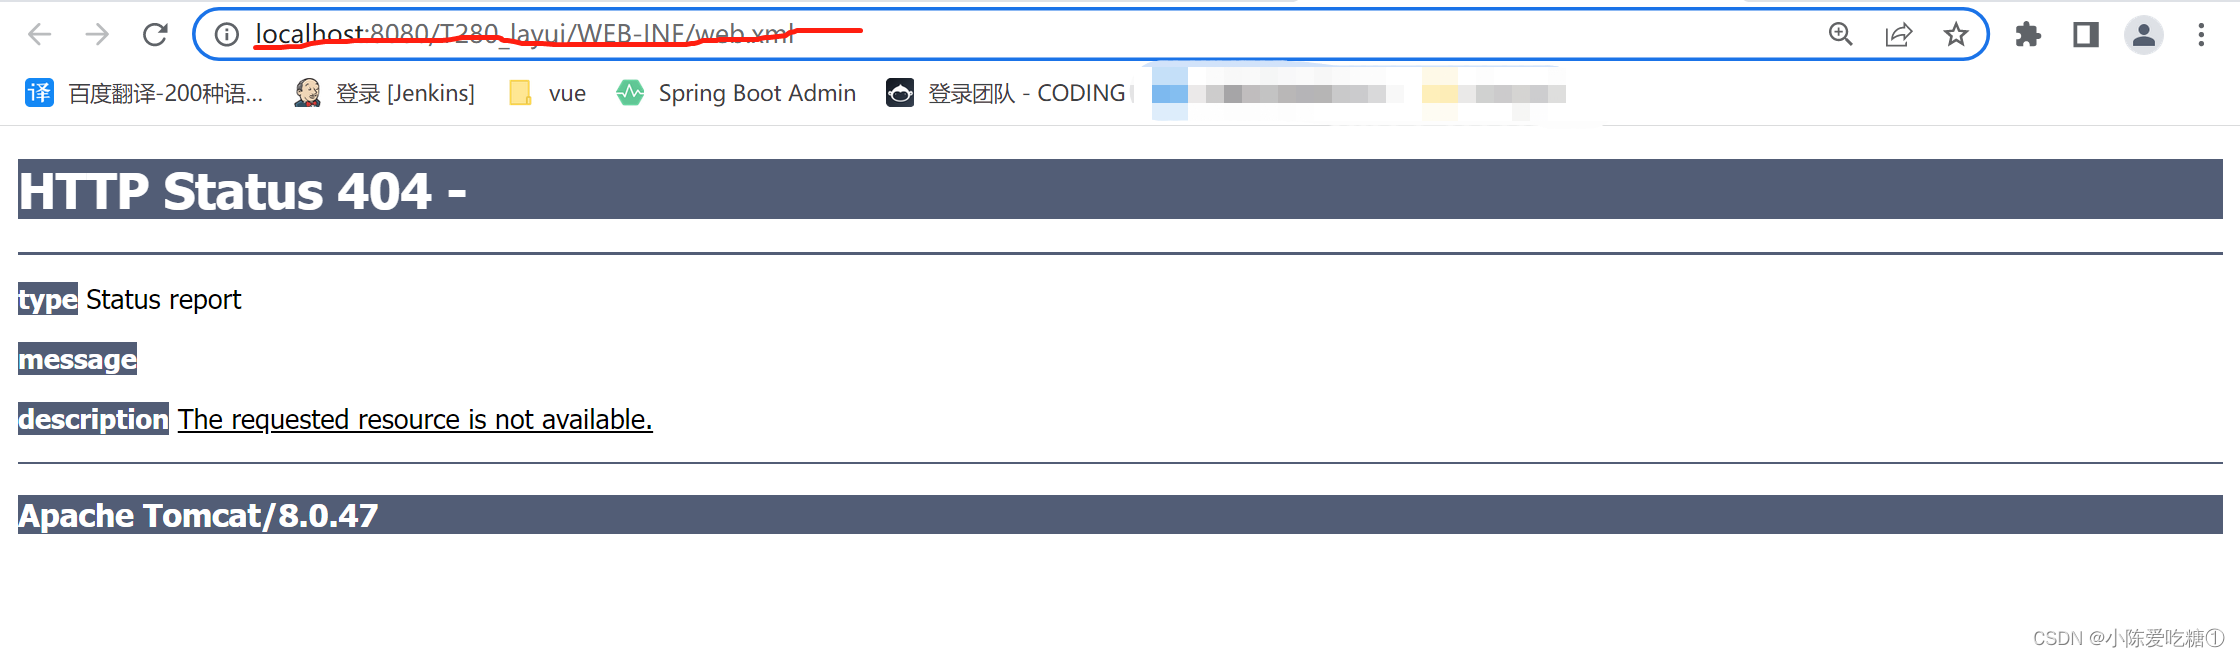
将图中画红线部分copy一下
改为
http://localhost:8080/T280_layui/blog.action?methodName=list
结果
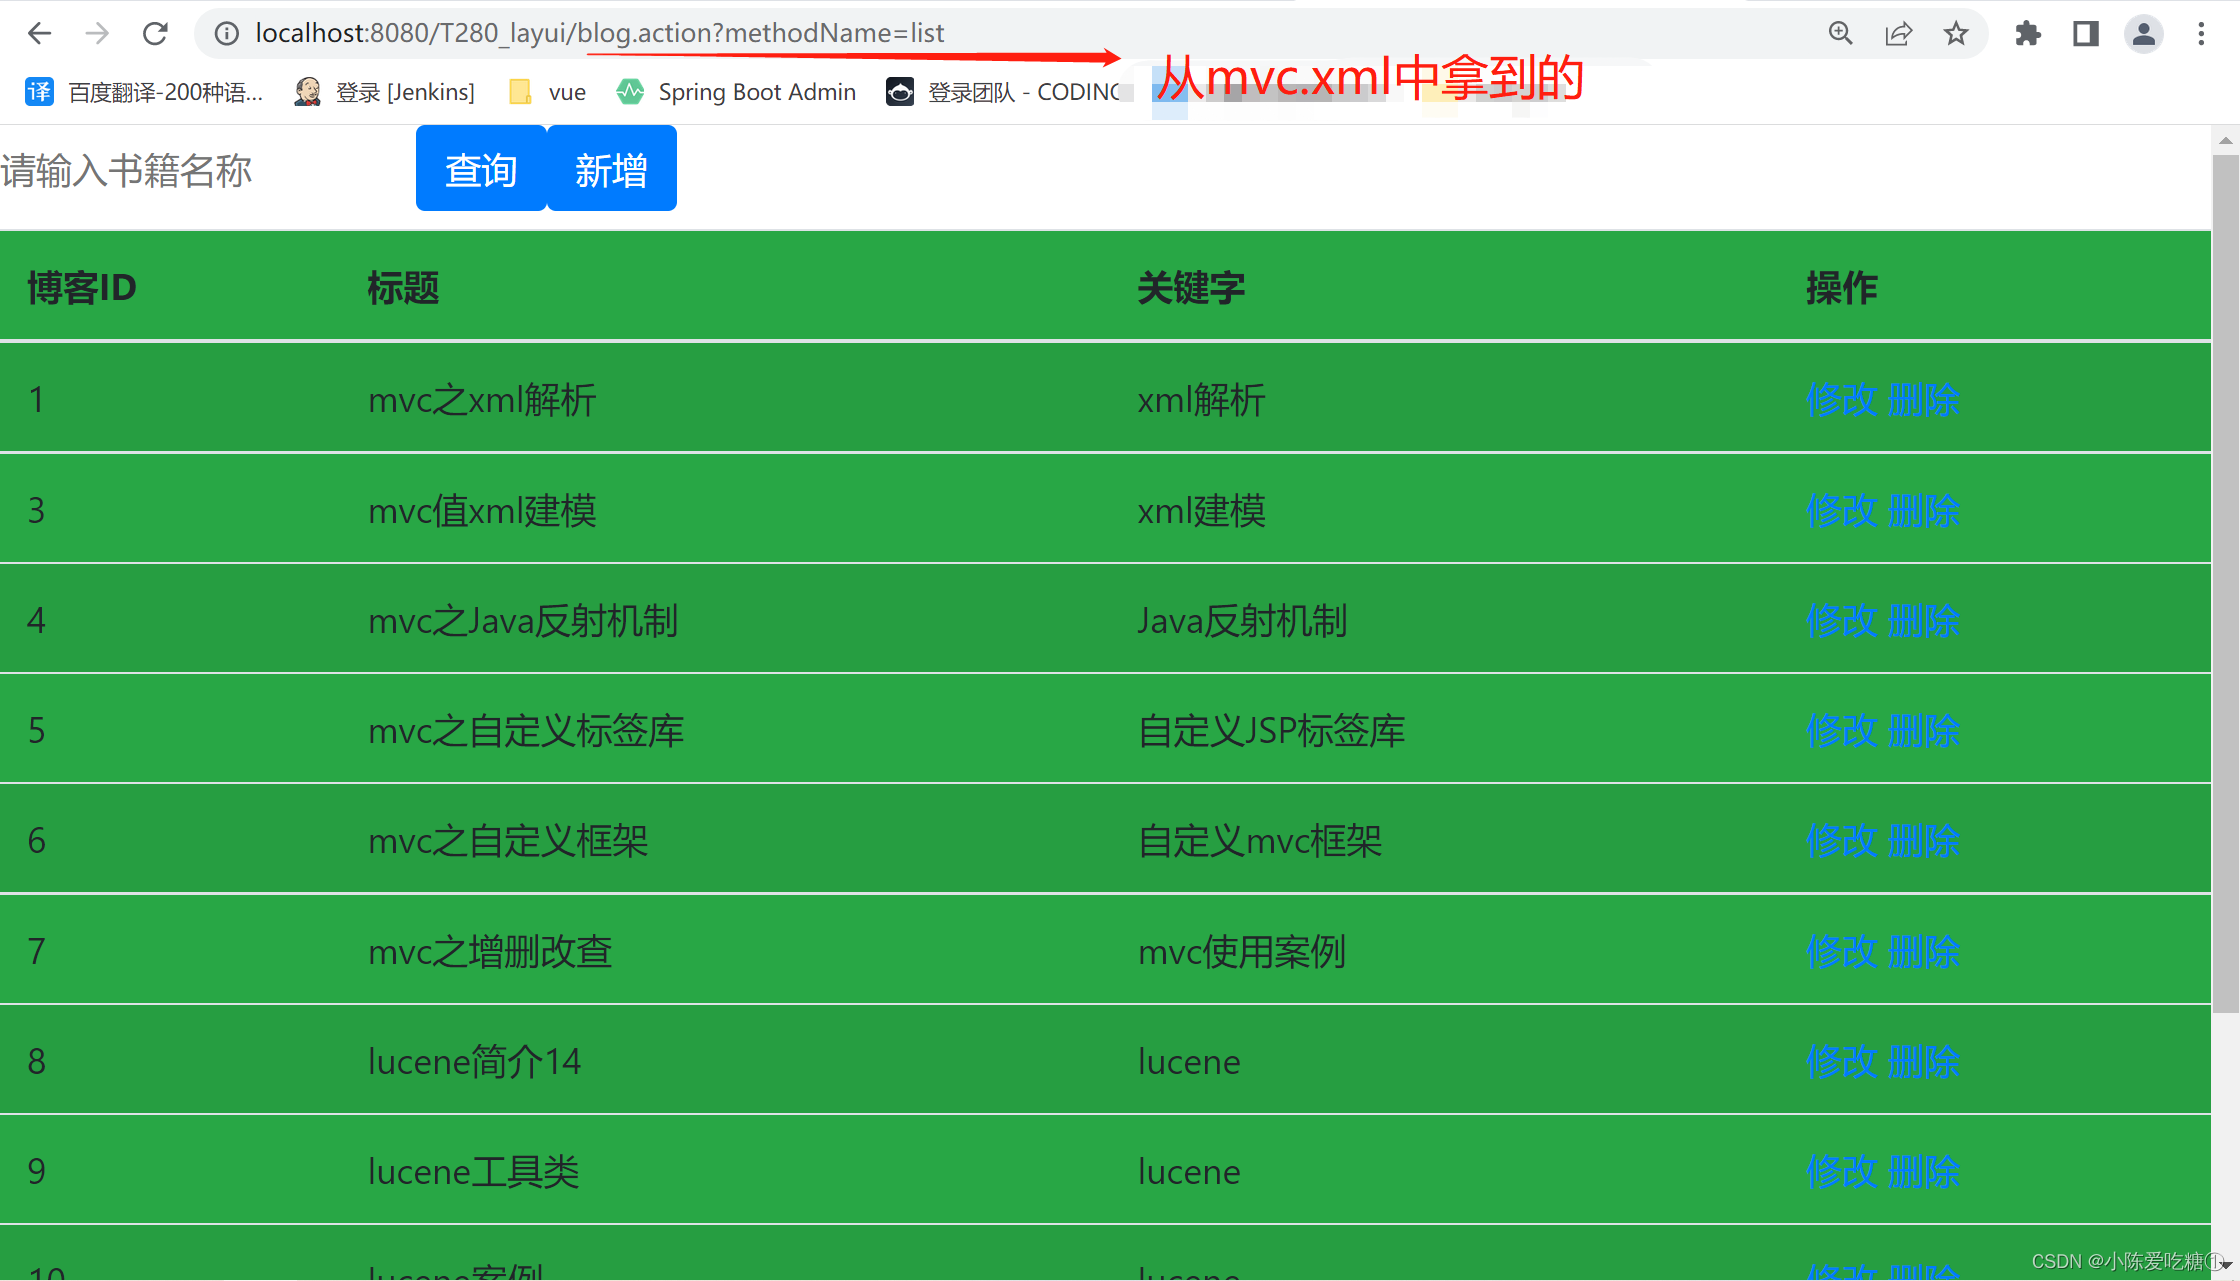
能够跳出一个对应的界面 说明该框架没问题可以使用
mvc.xml的配置文件
<?xml version="1.0" encoding="UTF-8"?>
<config>
	<action path="/blog" type="com.zking.web.BlogAction">
		<forward name="list" path="/blogList.jsp" redirect="false" />
		<forward name="toList" path="/blog.action?methodName=list"
			redirect="true" />
		<forward name="toEdit" path="/blogEdit.jsp" redirect="false" />
	</action>

<!-- 	<action path="/meetingInfo" type="com.zking.web.MeetingInfoAction"> -->
<!-- 		<forward name="list" path="/meetingInfoList.jsp" redirect="false" /> -->
<!-- 		<forward name="toList" path="/meetingInfo.action?methodName=list" -->
<!-- 			redirect="true" /> -->
<!-- 		<forward name="toEdit" path="/meetingInfoEdit.jsp" redirect="false" /> -->
<!-- 	</action> -->

<!-- 	<action path="/solrBlog" type="com.test.web.SolrBlogAction"> -->
<!-- 		<forward name="list" path="/solrBlogList.jsp" redirect="false" /> -->
<!-- 		<forward name="toList" path="/solrBlog.action?methodName=list" -->
<!-- 			redirect="true" /> -->
<!-- 		<forward name="toEdit" path="/solrBlogEdit.jsp" redirect="false" /> -->
<!-- 	</action> -->

	<action path="/studentBlog" type="com.test.web.StudentBlogAction">
		<forward name="list" path="/studentBlogList.jsp" redirect="false" />
		<forward name="toList" path="/studentBlog.action?methodName=list" redirect="true" />
		<forward name="toEdit" path="/studentBlogEdit.jsp" redirect="false" />
	</action>

	<action path="/solrBlog" type="com.xiaoli.web.SolrBlogAction">
		<forward name="list" path="/solrBlogList.jsp" redirect="false" />
		<forward name="toList" path="/solrBlog.action?methodName=list" redirect="true" />
		<forward name="toEdit" path="/solrBlogEdit.jsp" redirect="false" />
	</action>


</config>
注意:测试一定要改config.properties中数据库的库名
三、使用layui
1、测试使用
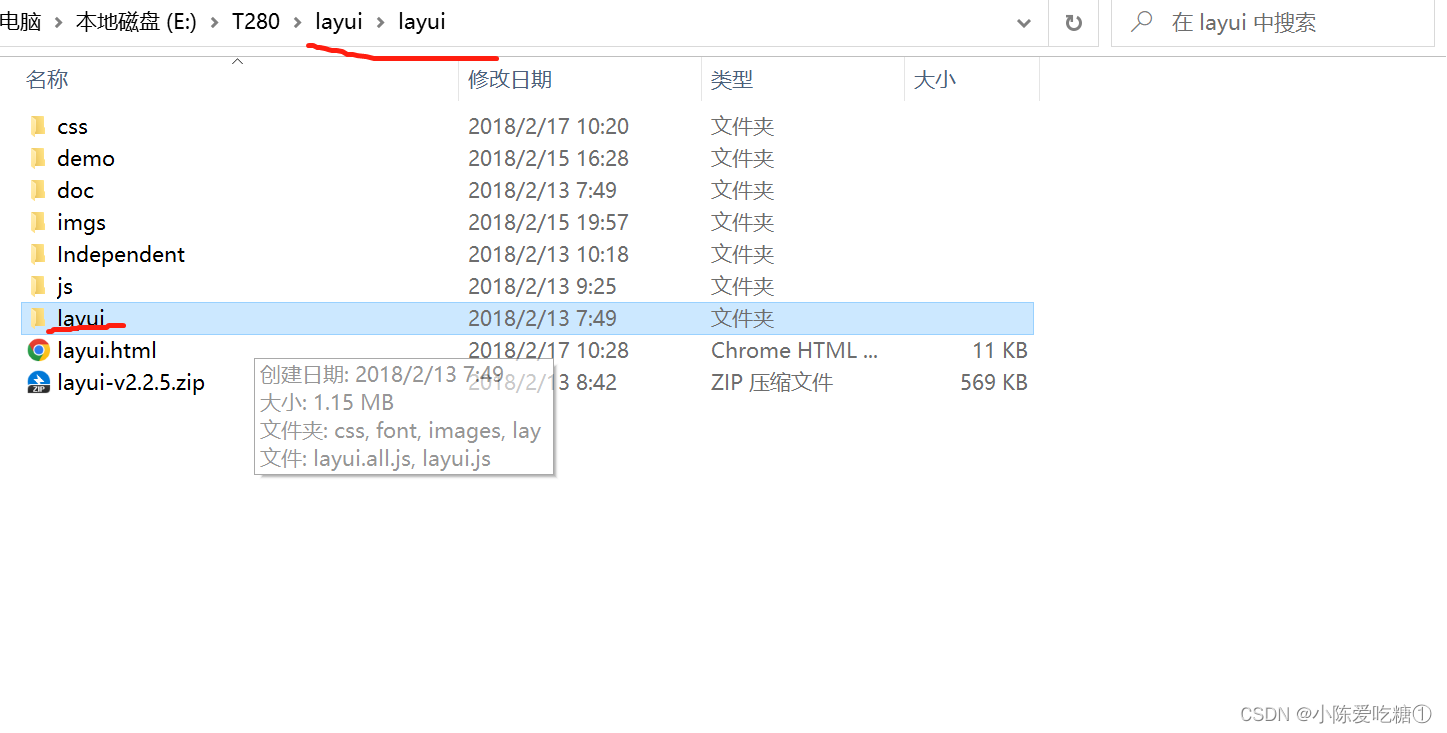
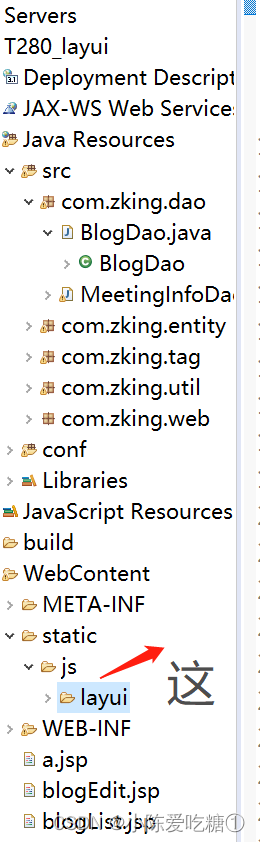
在WebContent中建一个文件夹static在建一个文件夹js属于static的子文件夹,将layui从网页中下载解压,打开选中layui的一个文件夹复制进static
在页面中分别引入:
<!-- 引入 layui.css -->
<link rel="stylesheet" href="xxx/layui.css">
<!-- 引入 layui.js -->
<script src="xxx/layui.js"></script>ctrl+c拷贝文件全名
ctrl+shift+r按照全名查找文件 替换href在加上绝对路径
测试:
<%@ page language="java" contentType="text/html; charset=UTF-8"
    pageEncoding="UTF-8"%>
<!DOCTYPE html PUBLIC "-//W3C//DTD HTML 4.01 Transitional//EN" "http://www.w3.org/TR/html4/loose.dtd">
<html>
<head>
<meta http-equiv="Content-Type" content="text/html; charset=UTF-8">
<title>Insert title here</title>
<!-- 引入 layui.css -->
<!-- ctrl+c拷贝文件全名
ctrl+shift+r按照全名查找文件 替换href -->
  <link rel="stylesheet" href="${pageContext.request.contextPath}/static/js/layui/css/layui.css">
<!-- 引入 layui.js -->
  <script src="${pageContext.request.contextPath}/static/js/layui/layui.js"></script>
</head>
<body>
<script>
layui.use(['layer', 'form'], function(){
  var layer = layui.layer
  ,form = layui.form;

  layer.msg('Hello World');
});
</script>
</body>
</html>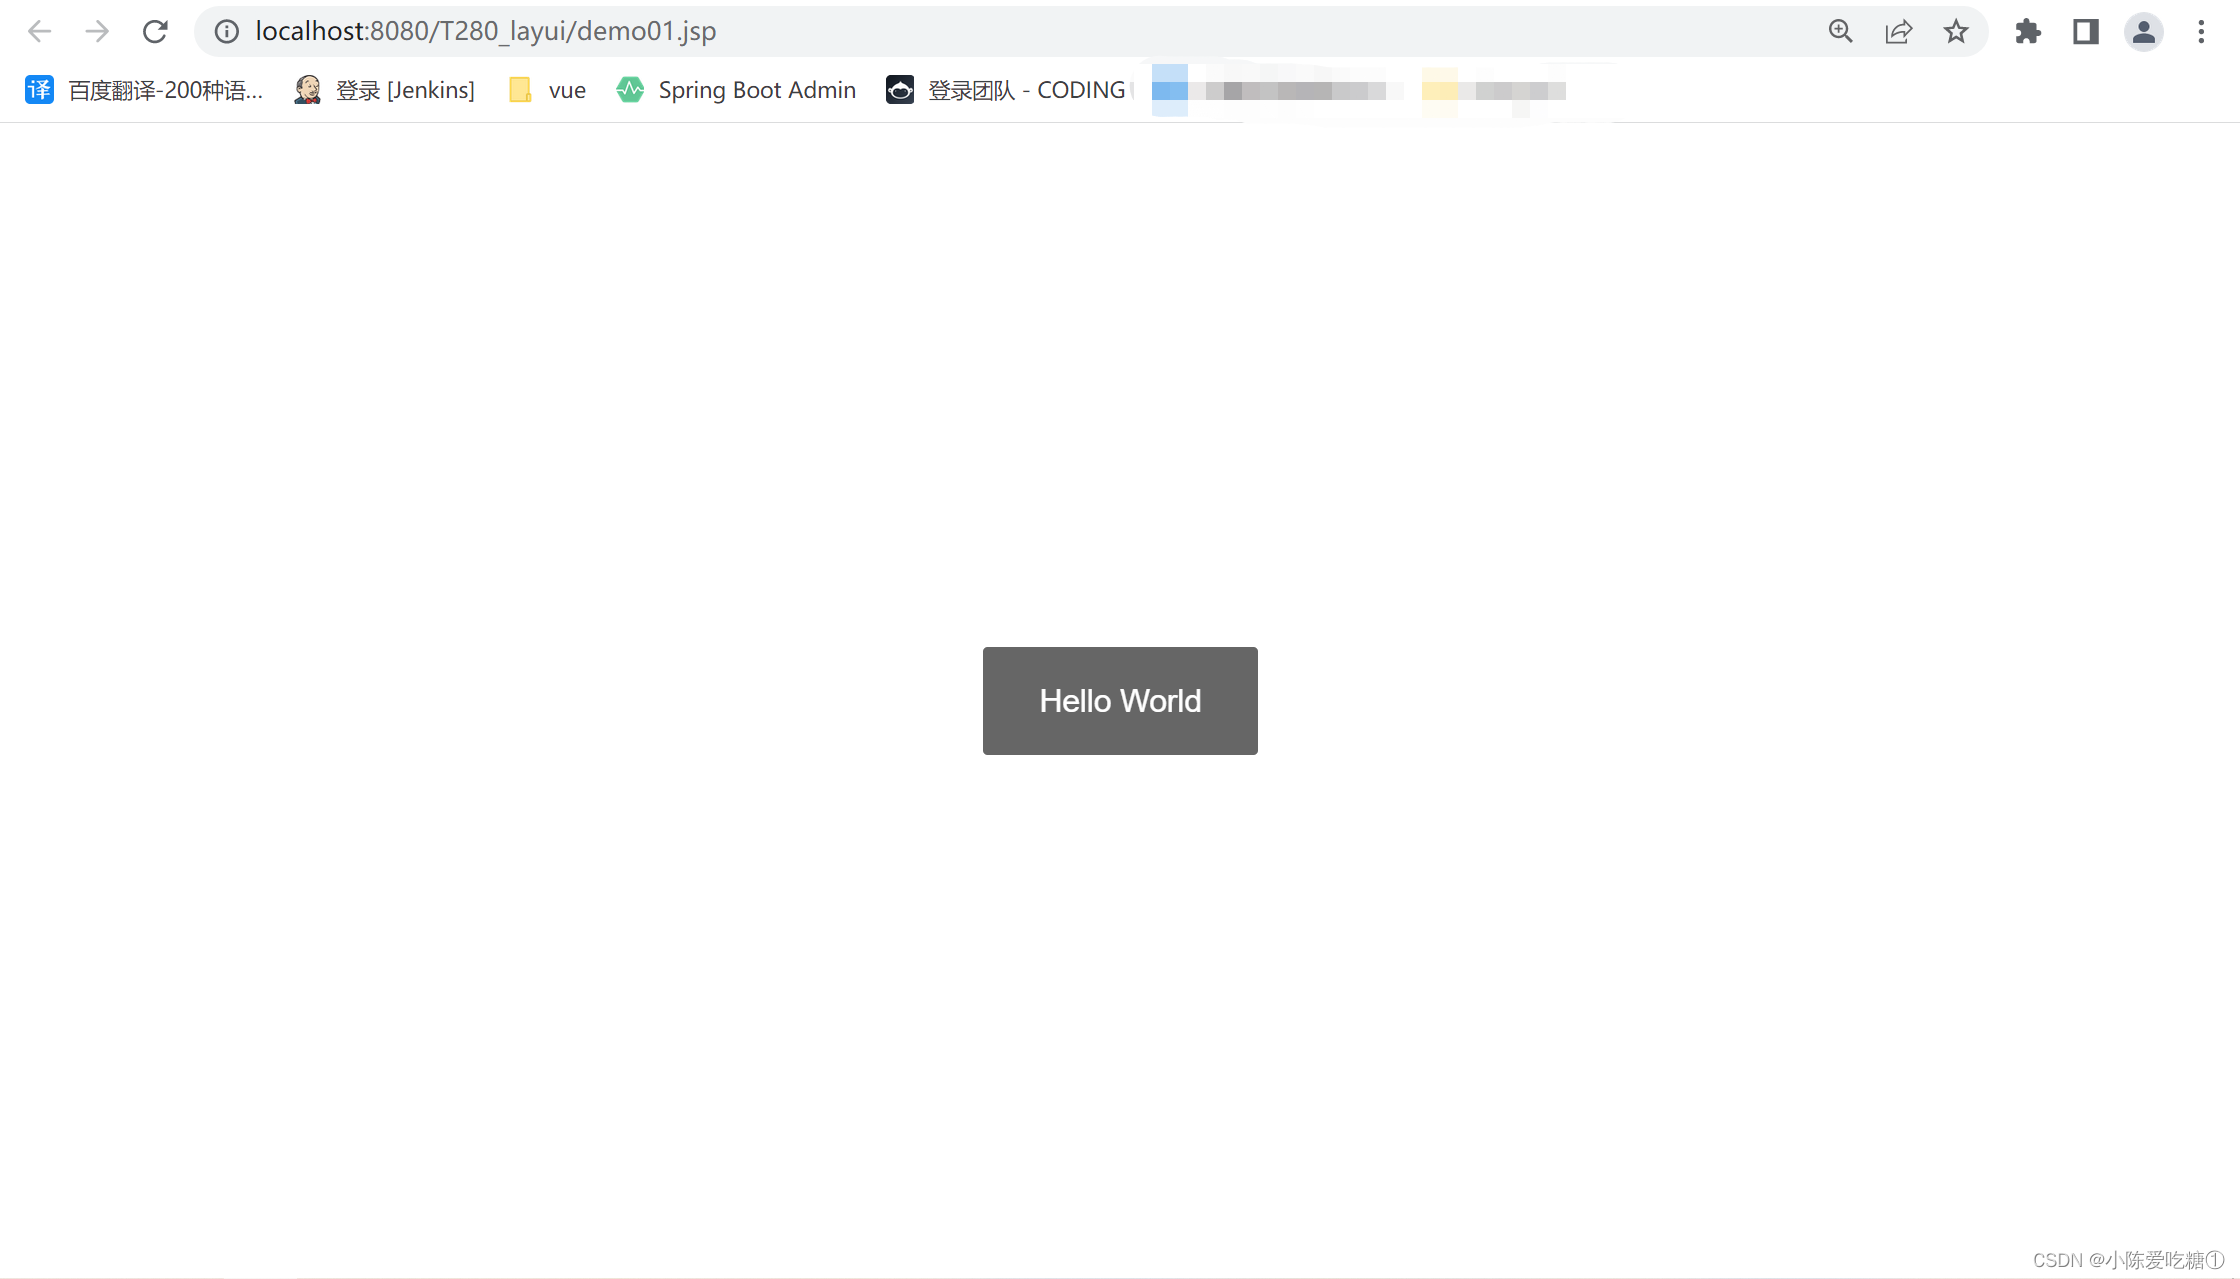
案列
<%@ page language="java" contentType="text/html; charset=UTF-8"
pageEncoding="UTF-8"%>
<!DOCTYPE html PUBLIC "-//W3C//DTD HTML 4.01 Transitional//EN" "http://www.w3.org/TR/html4/loose.dtd">
<html>
<head>
<meta http-equiv="Content-Type" content="text/html; charset=UTF-8">
<title>Insert title here</title>
<!-- 引入 layui.css -->
<!-- ctrl+c拷贝文件全名
ctrl+shift+r按照全名查找文件 替换href -->
<link rel="stylesheet" href="${pageContext.request.contextPath}/static/js/layui/css/layui.css">
<!-- 引入 layui.js -->
<script src="${pageContext.request.contextPath}/static/js/layui/layui.js"></script>
</head>
<body>
请输入:<input type="text" value="默认值" id="layui_demo1_input">
<button id="layui_demo1_btn">点我</button>
<script>
/* 导入js相对应的模块 jquery.js
* 将模块赋值给变量
*/
layui.use(['layer', 'form','jquery'], function(){
var layer = layui.layer
,form = layui.form
,$ = layui.jquery;
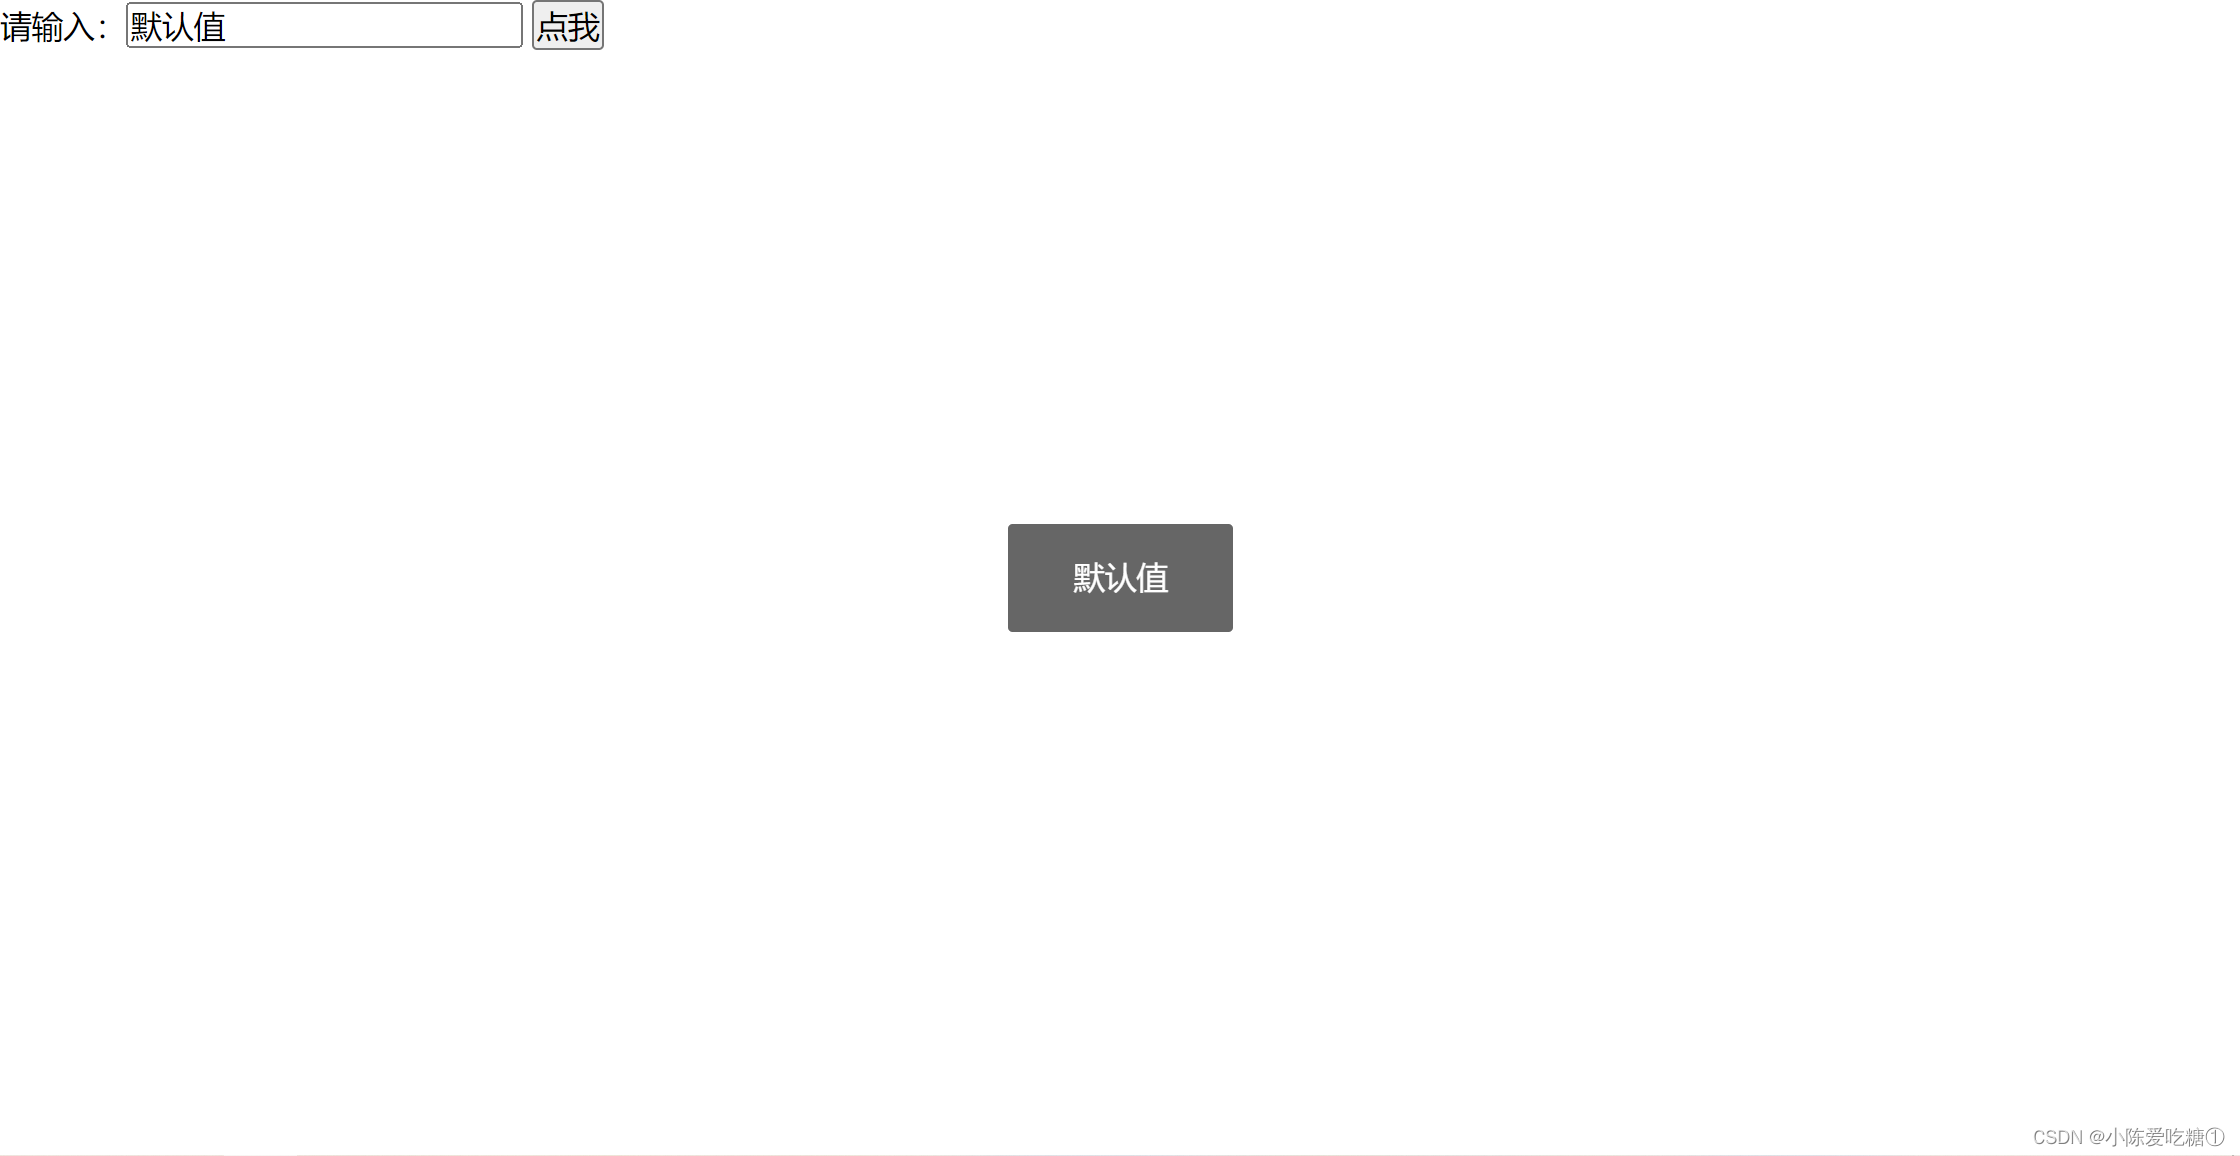
$("#layui_demo1_btn").click(function(){
var layui_demo1_input = $("#layui_demo1_input").val();
layer.msg(layui_demo1_input);
});
layer.msg('Hello World');
});
</script>
</body>
</html>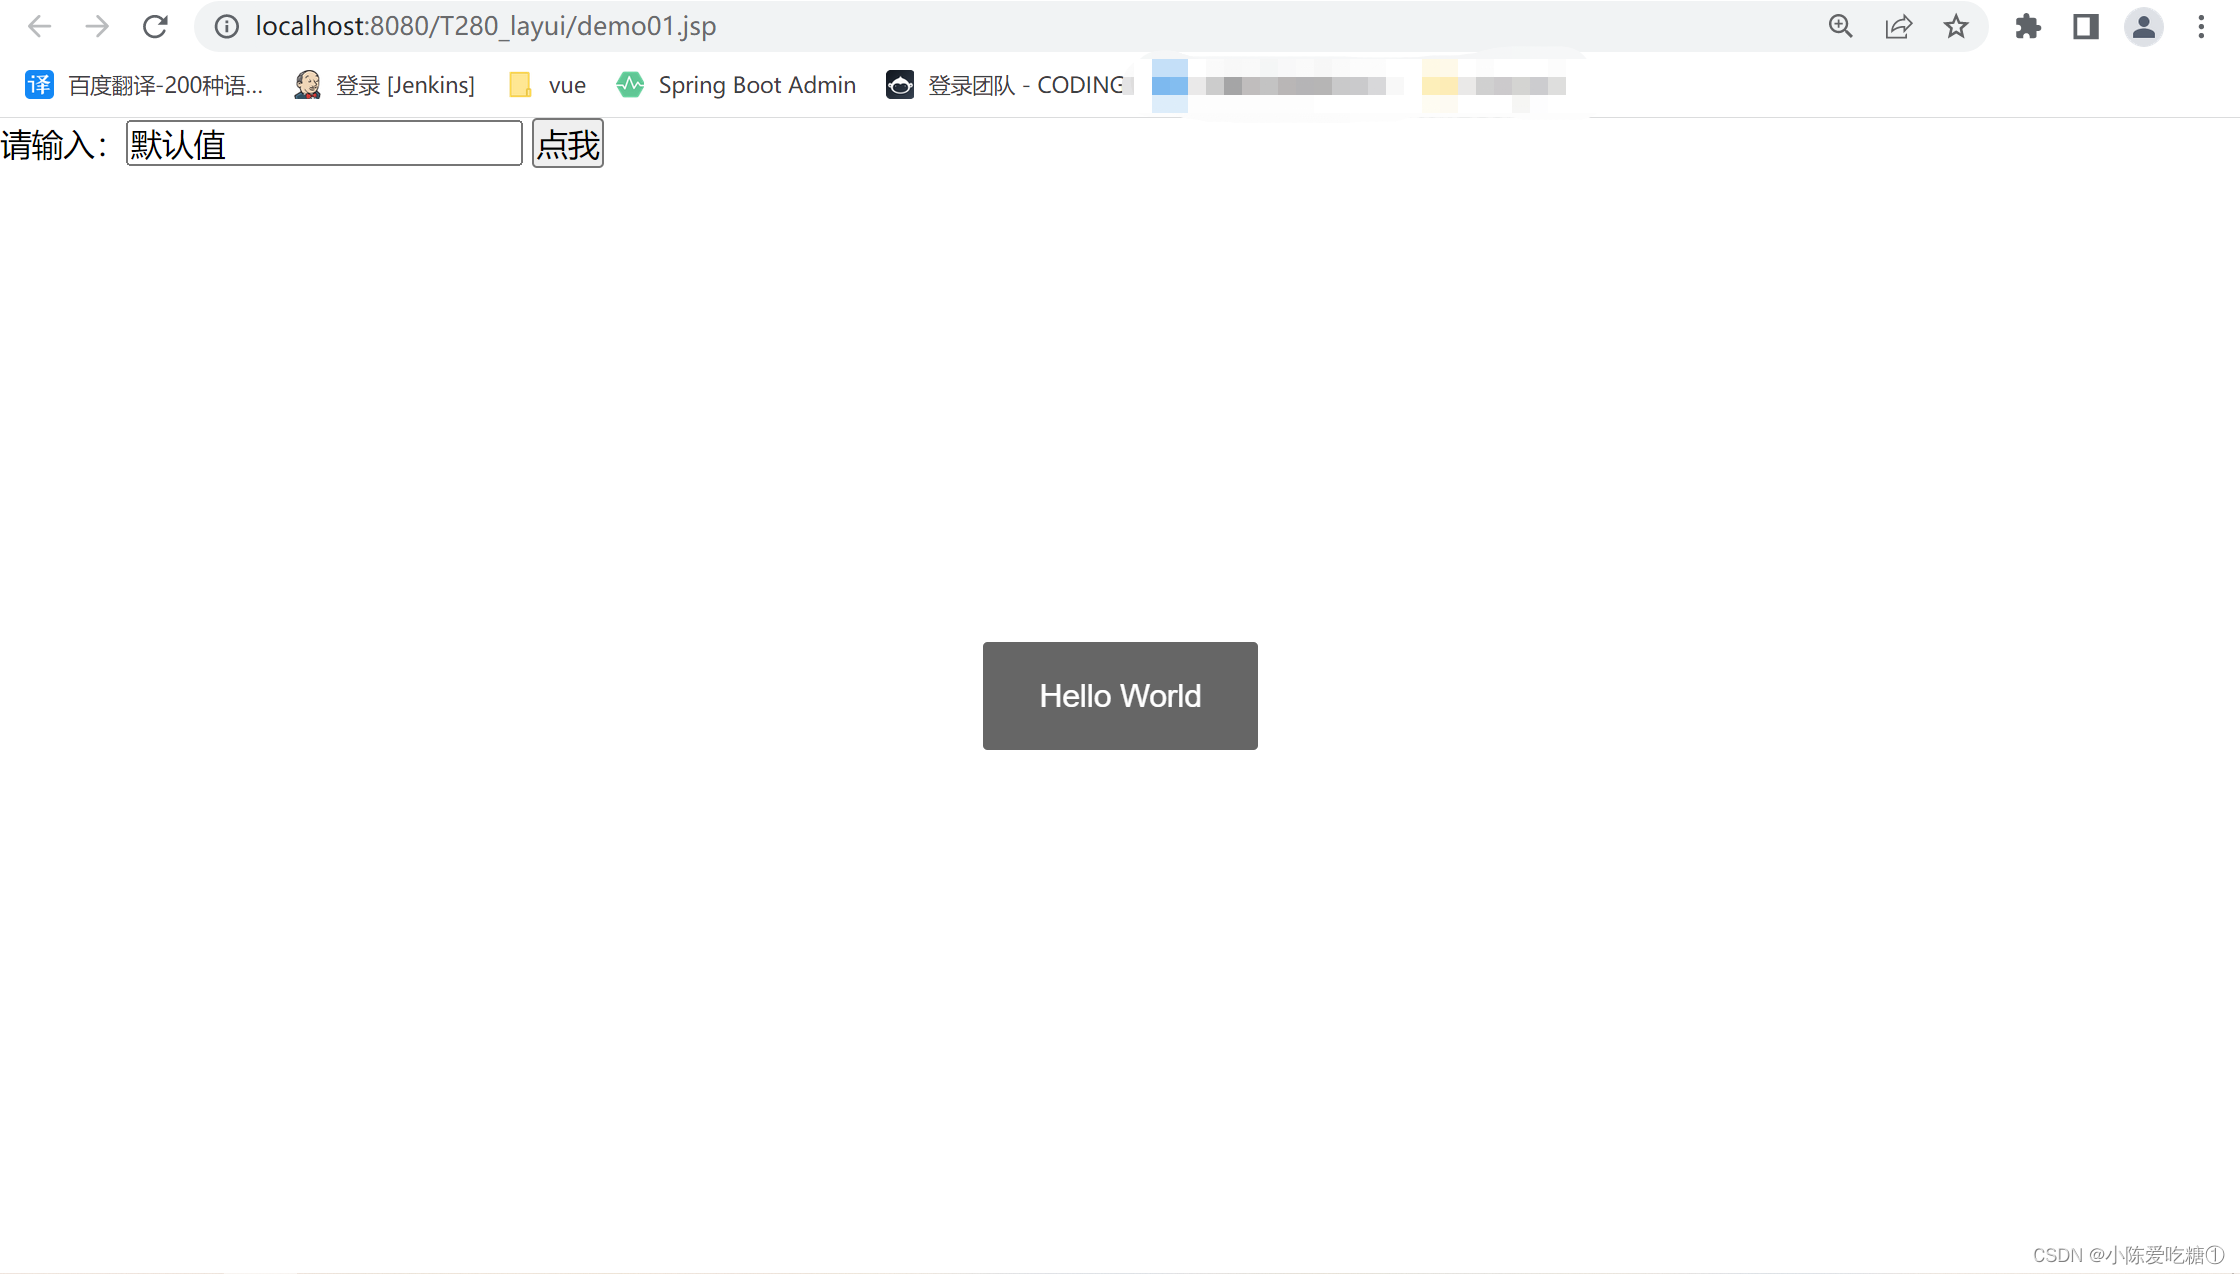
当点击 点我 时
2、自定义模块 可参考文档
在static中建一个文件夹名为mymodule在其里面建一个js的文件夹,在js中新建mymod.js的文件
mymod.js
/**
扩展一个 mymod 模块
**/
layui.define(function(exports){ //提示:模块也可以依赖其它模块,如:layui.define('mod1', callback);
var obj = {
hello: function(str){
alert('Hello '+ (str||'mymod'));
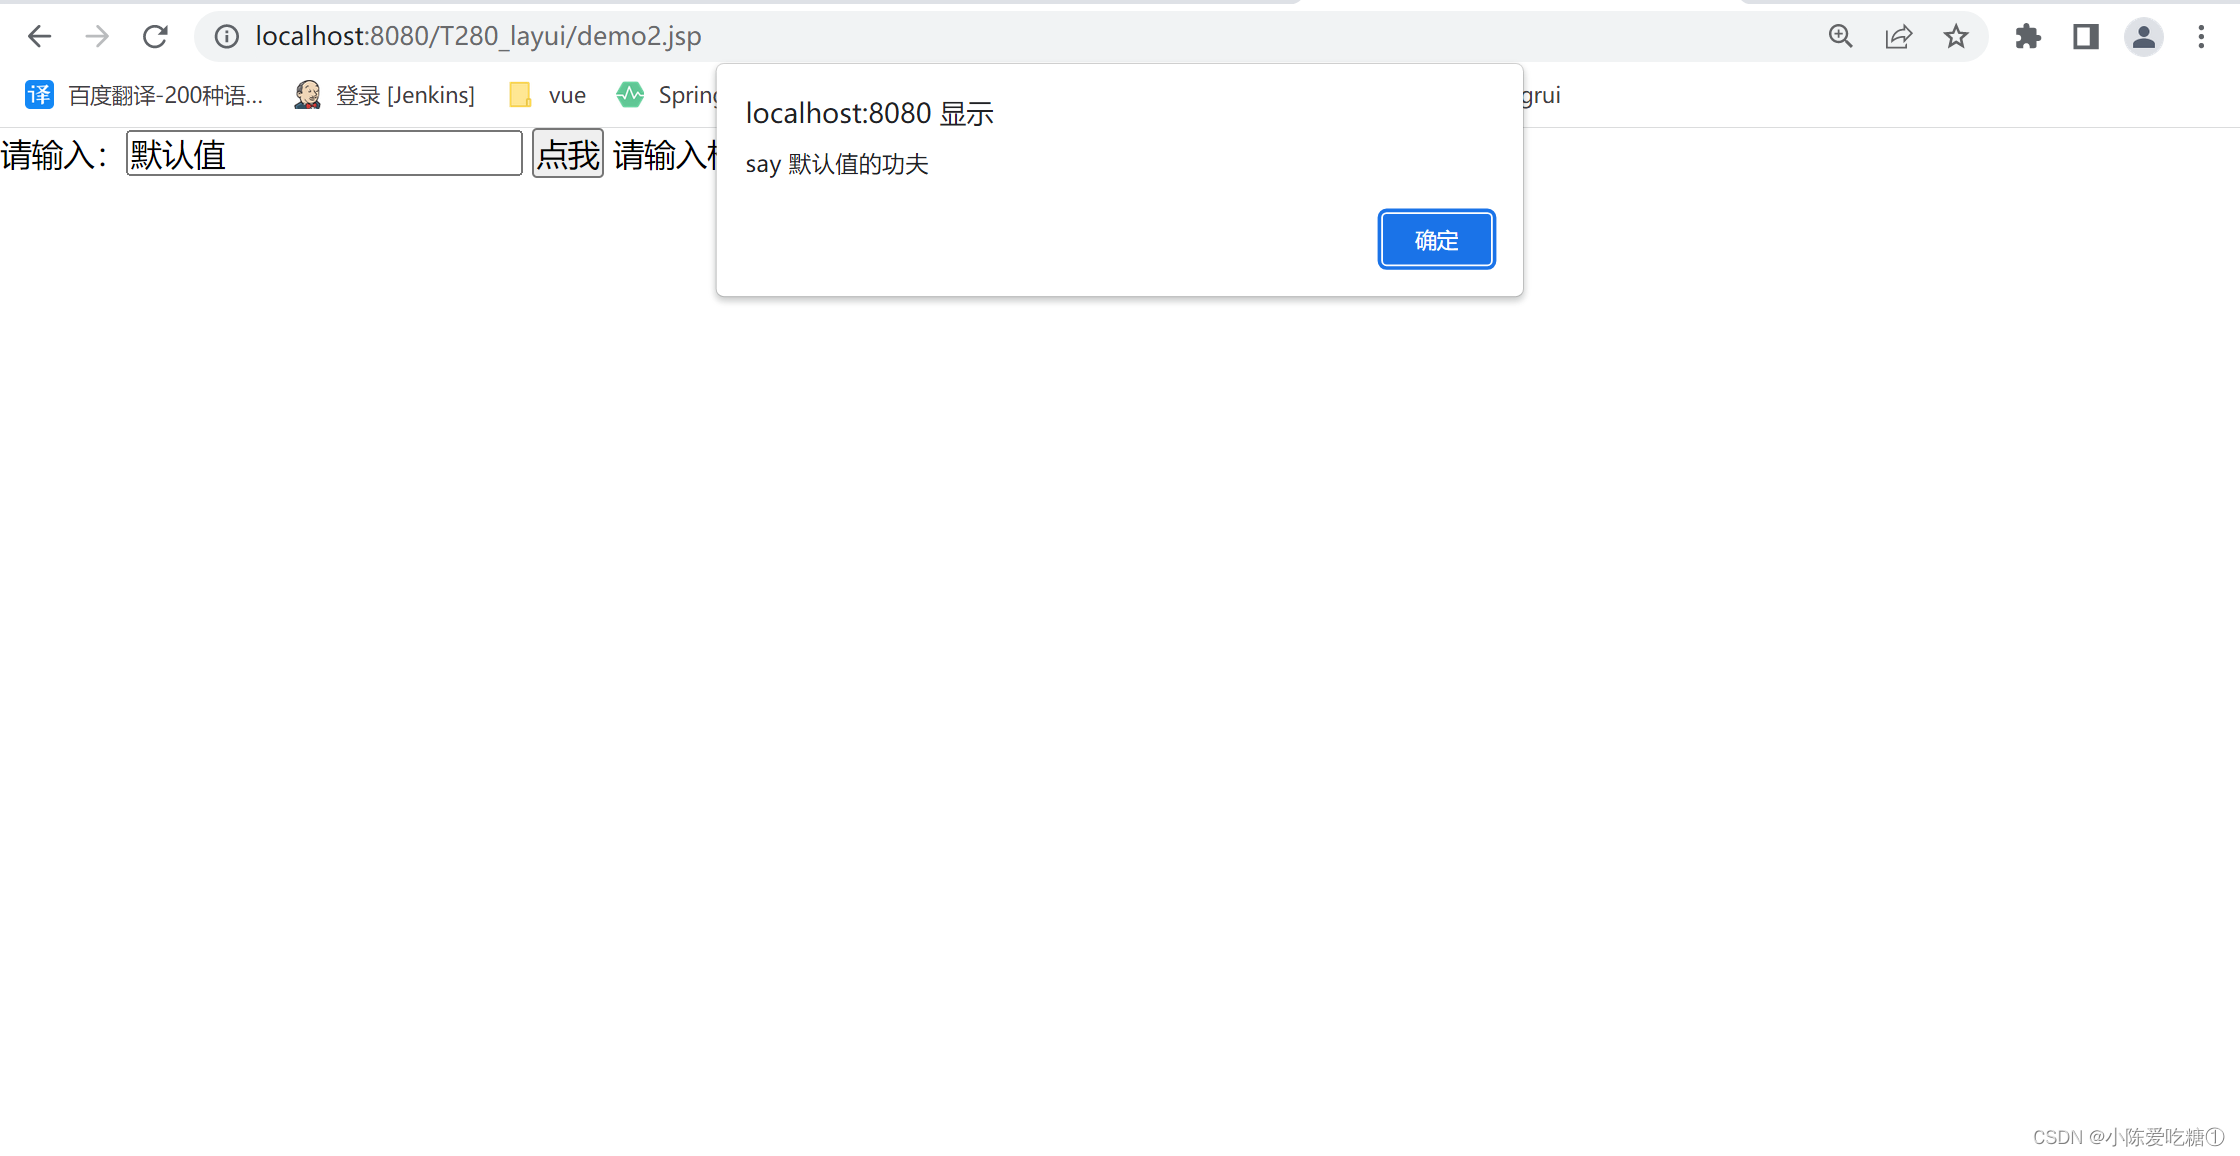
},say: function(str){
alert('say '+ (str||'mymod'));
}
};
//输出 mymod 接口
exports('mymod', obj);
});在和 mymod.js同级建一个mymodule_config.js的配置文件
//config的设置是全局的
layui.config({
  base: 'static/js/layui/mymodule/js/' //假设这是你存放拓展模块的根目录
}).extend({ //设定模块别名
  mymod: 'mymod' //如果 mymod.js 是在根目录,也可以不用设定别名
});
测试自定义模块是否可用
<%@ page language="java" contentType="text/html; charset=UTF-8"
    pageEncoding="UTF-8"%>
<!DOCTYPE html PUBLIC "-//W3C//DTD HTML 4.01 Transitional//EN" "http://www.w3.org/TR/html4/loose.dtd">
<html>
<head>
<meta http-equiv="Content-Type" content="text/html; charset=UTF-8">
<title>Insert title here</title>
<!-- 引入 layui.css -->
<!-- ctrl+c拷贝文件全名
ctrl+shift+r按照全名查找文件 替换href -->
  <link rel="stylesheet" href="${pageContext.request.contextPath}/static/js/layui/css/layui.css">
<!-- 引入 layui.js -->
  <script src="${pageContext.request.contextPath}/static/js/layui/layui.js"></script>

   <script src="${pageContext.request.contextPath}/static/js/layui/mymodule/js/mymod.js"></script>
   <script src="${pageContext.request.contextPath}/static/js/layui/mymodule/mymodule_config.js"></script>
<!-- /T280_layui/WebContent/static/js/layui/mymodule/js/mymod.js
/T280_layui/WebContent/static/js/layui/mymodule/mymodule_config.js -->
</head>
<body>
请输入:<input type="text" value="默认值" id="layui_demo1_input">
<button id="layui_demo1_btn">点我</button>
请输入相关文字:<input type="text" value="默认值" id="layui_demo2_input">
<button id="layui_demo2_btn">自定义模块2</button>
<script>
/* 导入js相对应的模块  jquery.js
 * 将模块赋值给变量
 */
layui.use(['layer', 'form','jquery','mymod'], function(){
  var layer = layui.layer
  ,form = layui.form
  ,mymod = layui.mymod
  ,$ = layui.jquery;
  $("#layui_demo1_btn").click(function(){
	var layui_demo1_input = $("#layui_demo1_input").val();
	layer.msg(layui_demo1_input);
  });

  //给自定义模块按钮添加点击事件
  $("#layui_demo2_btn").click(function(){
	  var layui_demo2_input = $("#layui_demo2_input").val();
		mymod.say(layui_demo2_input);
	  });
  //layer.msg('Hello World');
});
</script>
</body>
</html>
结果: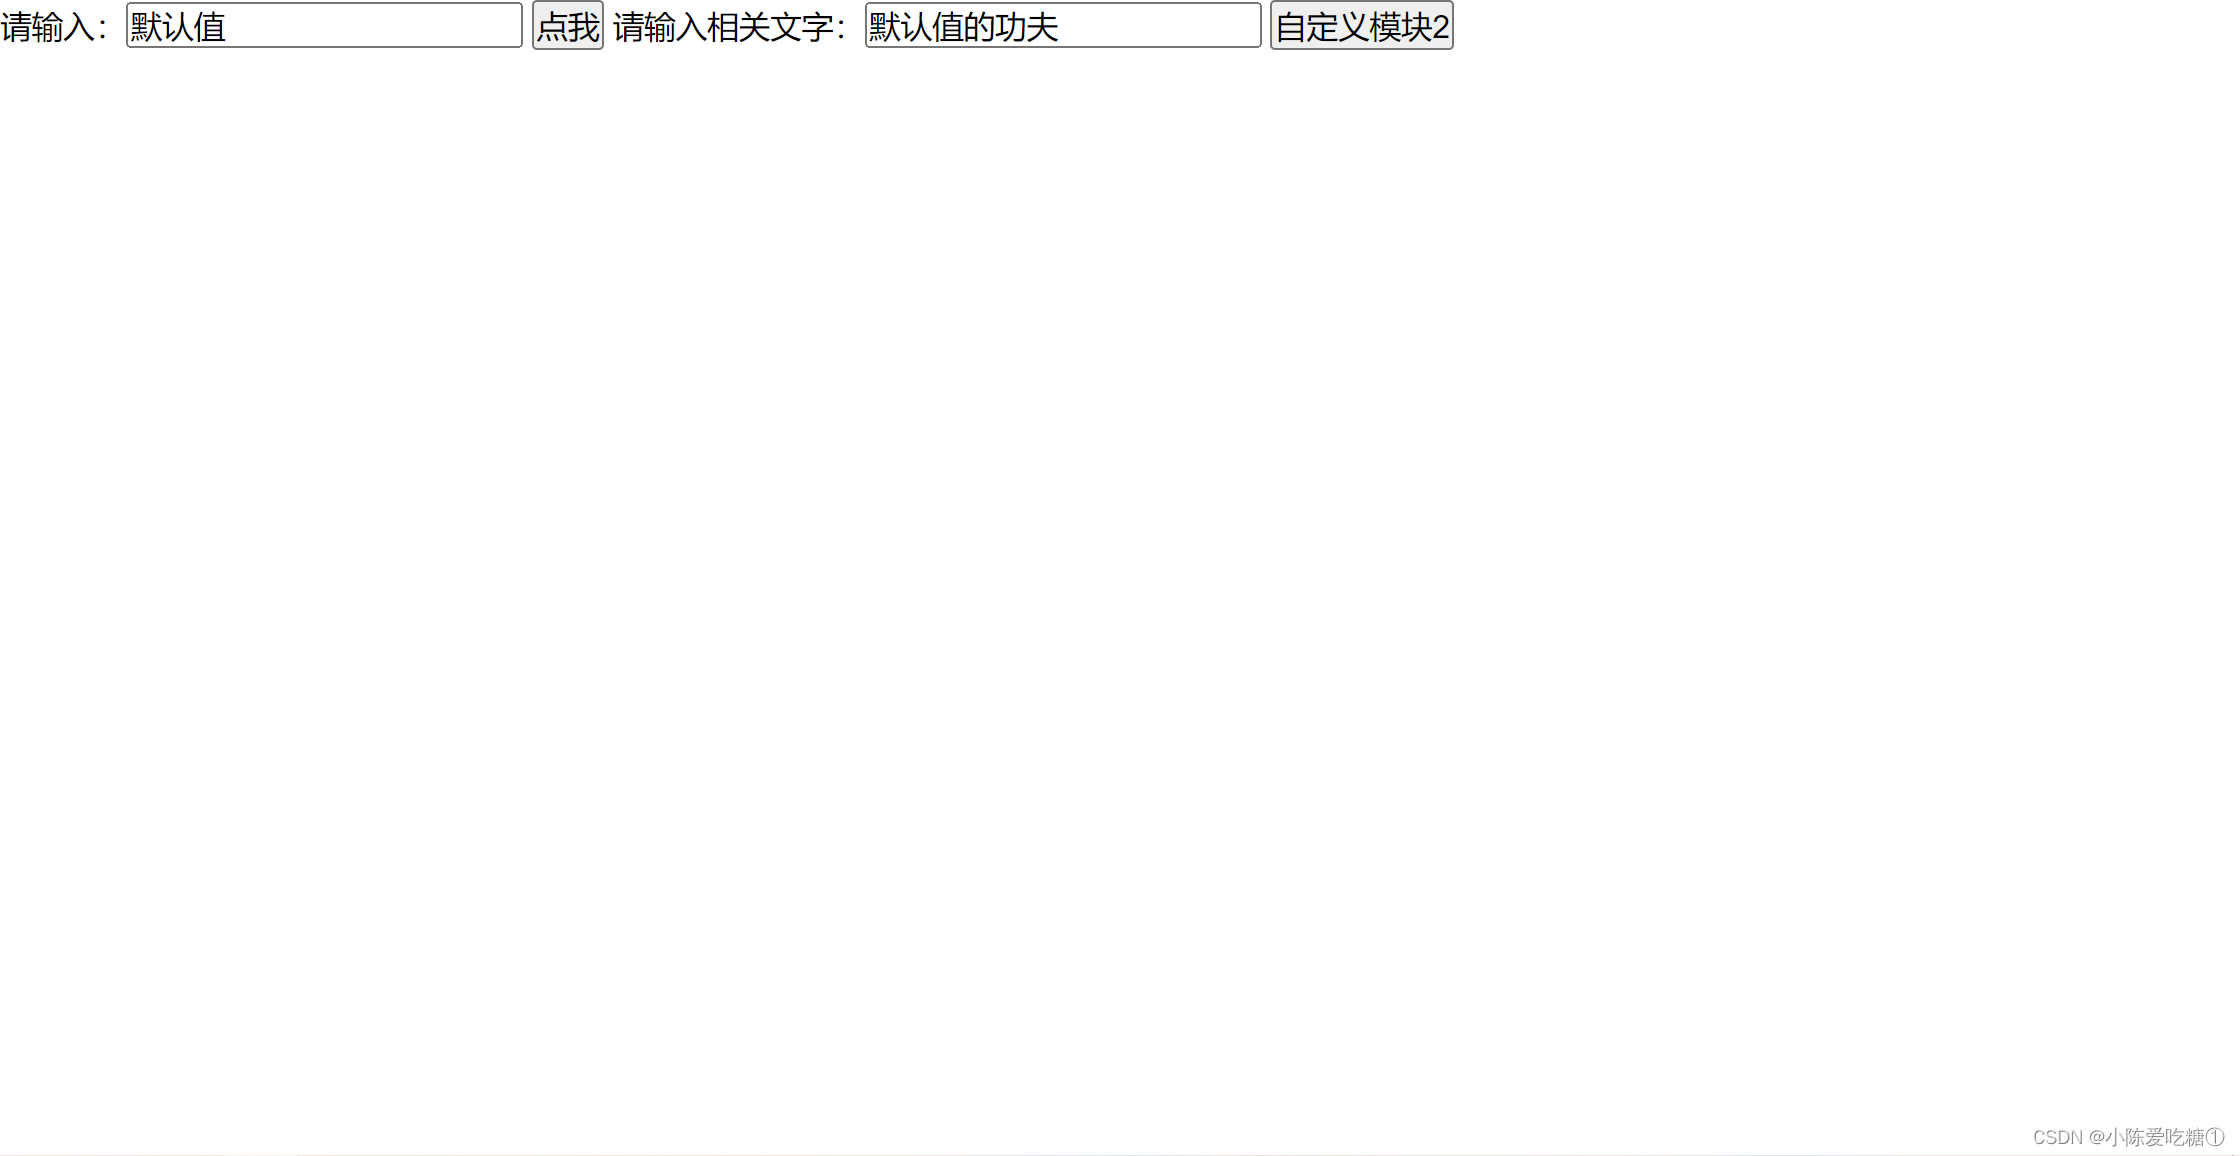
四、layui登录基本功能的实现
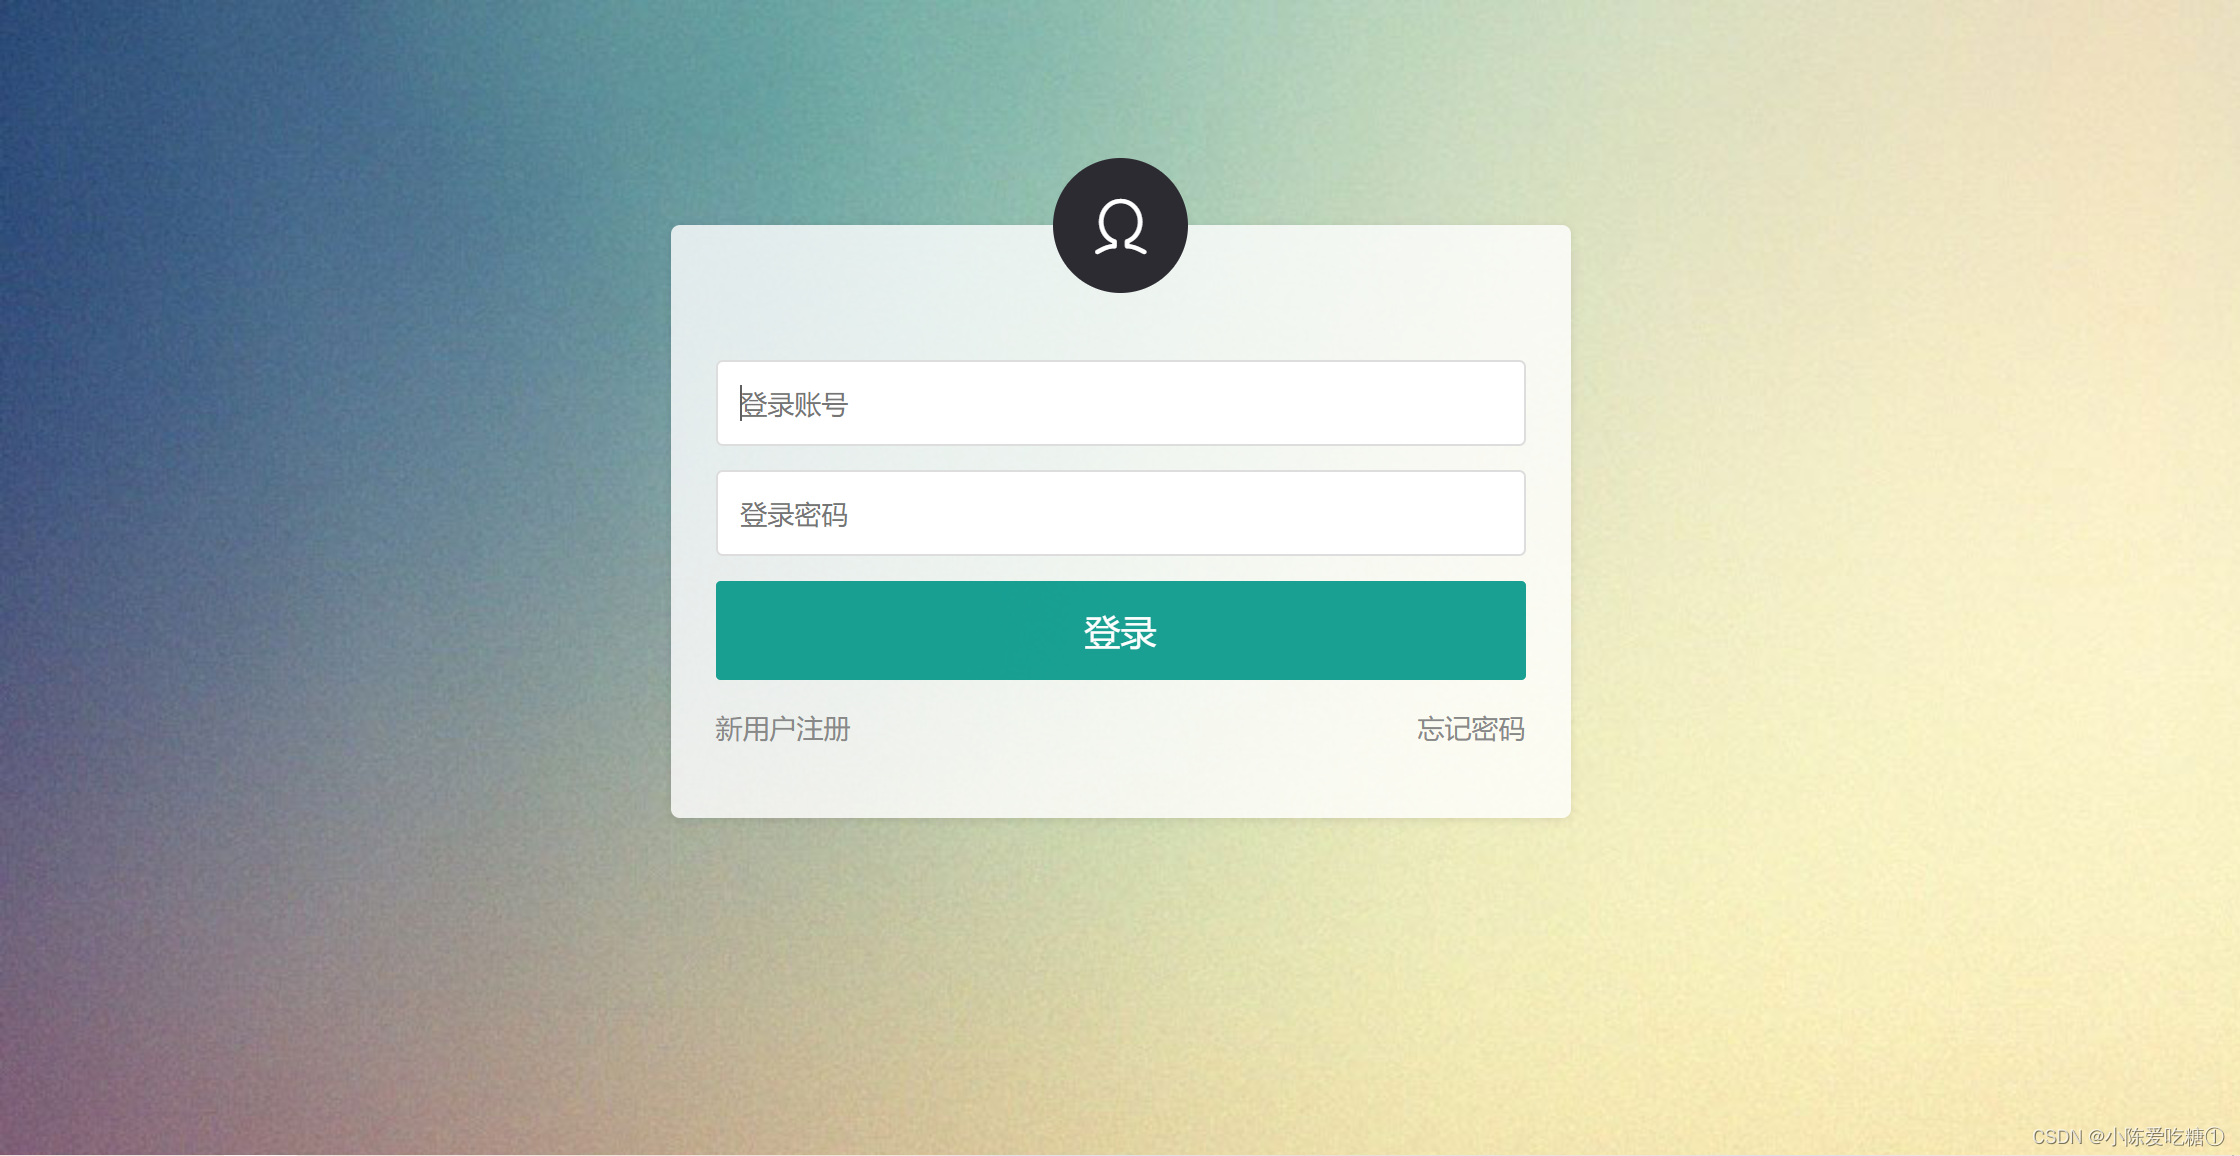
将登录页面布置好,引用别人的界面,新建一个页面,导入样式
<%@ page language="java" contentType="text/html; charset=UTF-8"
    pageEncoding="UTF-8"%>
    <%@ include file="common/header.jsp" %>
<!DOCTYPE html PUBLIC "-//W3C//DTD HTML 4.01 Transitional//EN" "http://www.w3.org/TR/html4/loose.dtd">
<html>
    <head>
        <meta name="viewport" content="width=device-width,initial-scale=1.33,minimum-scale=1.0,maximum-scale=1.0">
        <meta http-equiv="Content-Type" content="text/html; charset=utf-8">
        <meta http-equiv="X-UA-Compatible" content="IE=edge">
        <meta name="renderer" content="webkit">
        <title>会员登录-演示网站</title>
        <meta http-equiv="Content-Language" content="zh-CN">
        <link rel="stylesheet" rev="stylesheet" href="${pageContext.request.contextPath}/static/css/iconfont.css" type="text/css" media="all">
        <link rel="stylesheet" rev="stylesheet" href="${pageContext.request.contextPath}/static/css/login.css" type="text/css" media="all">
        <style> body{color:#;}a{color:#;}a:hover{color:#;}.bg-black{background-color:#;}.tx-login-bg{background:url(${pageContext.request.contextPath}/static/images/bg.jpg) no-repeat 0 0;}</style>
    </head>
    <body class="tx-login-bg">
        <div class="tx-login-box">
            <div class="login-avatar bg-black"><i class="iconfont icon-wode"></i></div>
				<ul class="tx-form-li row">
					<li class="col-24 col-m-24"><p><input type="text" id="username" placeholder="登录账号" class="tx-input"></p></li>
					<li class="col-24 col-m-24"><p><input type="password" id="password" placeholder="登录密码" class="tx-input"></p></li>
					<li class="col-24 col-m-24"><p class="tx-input-full"><button id="login" class="tx-btn tx-btn-big bg-black">登录</button></p></li>
					<li class="col-12 col-m-12"><p><a href="#" class="f-12 f-gray">新用户注册</a></p></li>
					<li class="col-12 col-m-12"><p class="ta-r"><a href="#" class="f-12 f-gray">忘记密码</a></p></li>
				</ul>
            </div>
    </body>
</html>
写一个实体类
package com.zking.entity;

public class User {
	private String username;
	private String password;

	public String getUsername() {
		return username;
	}
	public void setUsername(String username) {
		this.username = username;
	}
	public String getPassword() {
		return password;
	}
	public void setPassword(String password) {
		this.password = password;
	}

	public User() {
		// TODO Auto-generated constructor stub
	}
	public User(String username, String password) {
		this.username = username;
		this.password = password;
	}
	@Override
	public String toString() {
		return "User [username=" + username + ", password=" + password + "]";
	}


}
写一个user.action
package com.zking.web;
import java.util.HashMap;
import java.util.Map;
import javax.servlet.http.HttpServletRequest;
import javax.servlet.http.HttpServletResponse;
import org.apache.catalina.util.RequestUtil;
import com.zking.entity.User;
import com.zking.framework.ActionSupport;
import com.zking.framework.ModelDriver;
import com.zking.util.ResponseUtil;
public class UserAction extends ActionSupport implements ModelDriver<User>{
private User user = new User();
// 写一个方法处理前台的请求
public String login(HttpServletRequest req, HttpServletResponse resp) {
Map<String, Object> map = new HashMap<String, Object>();
if("zhangsan".equals(user.getUsername()) && "123456".equals(user.getPassword())) {
// 登录成功
map.put("code", 200);
map.put("msg", "成功");
}
else {
// 登录失败
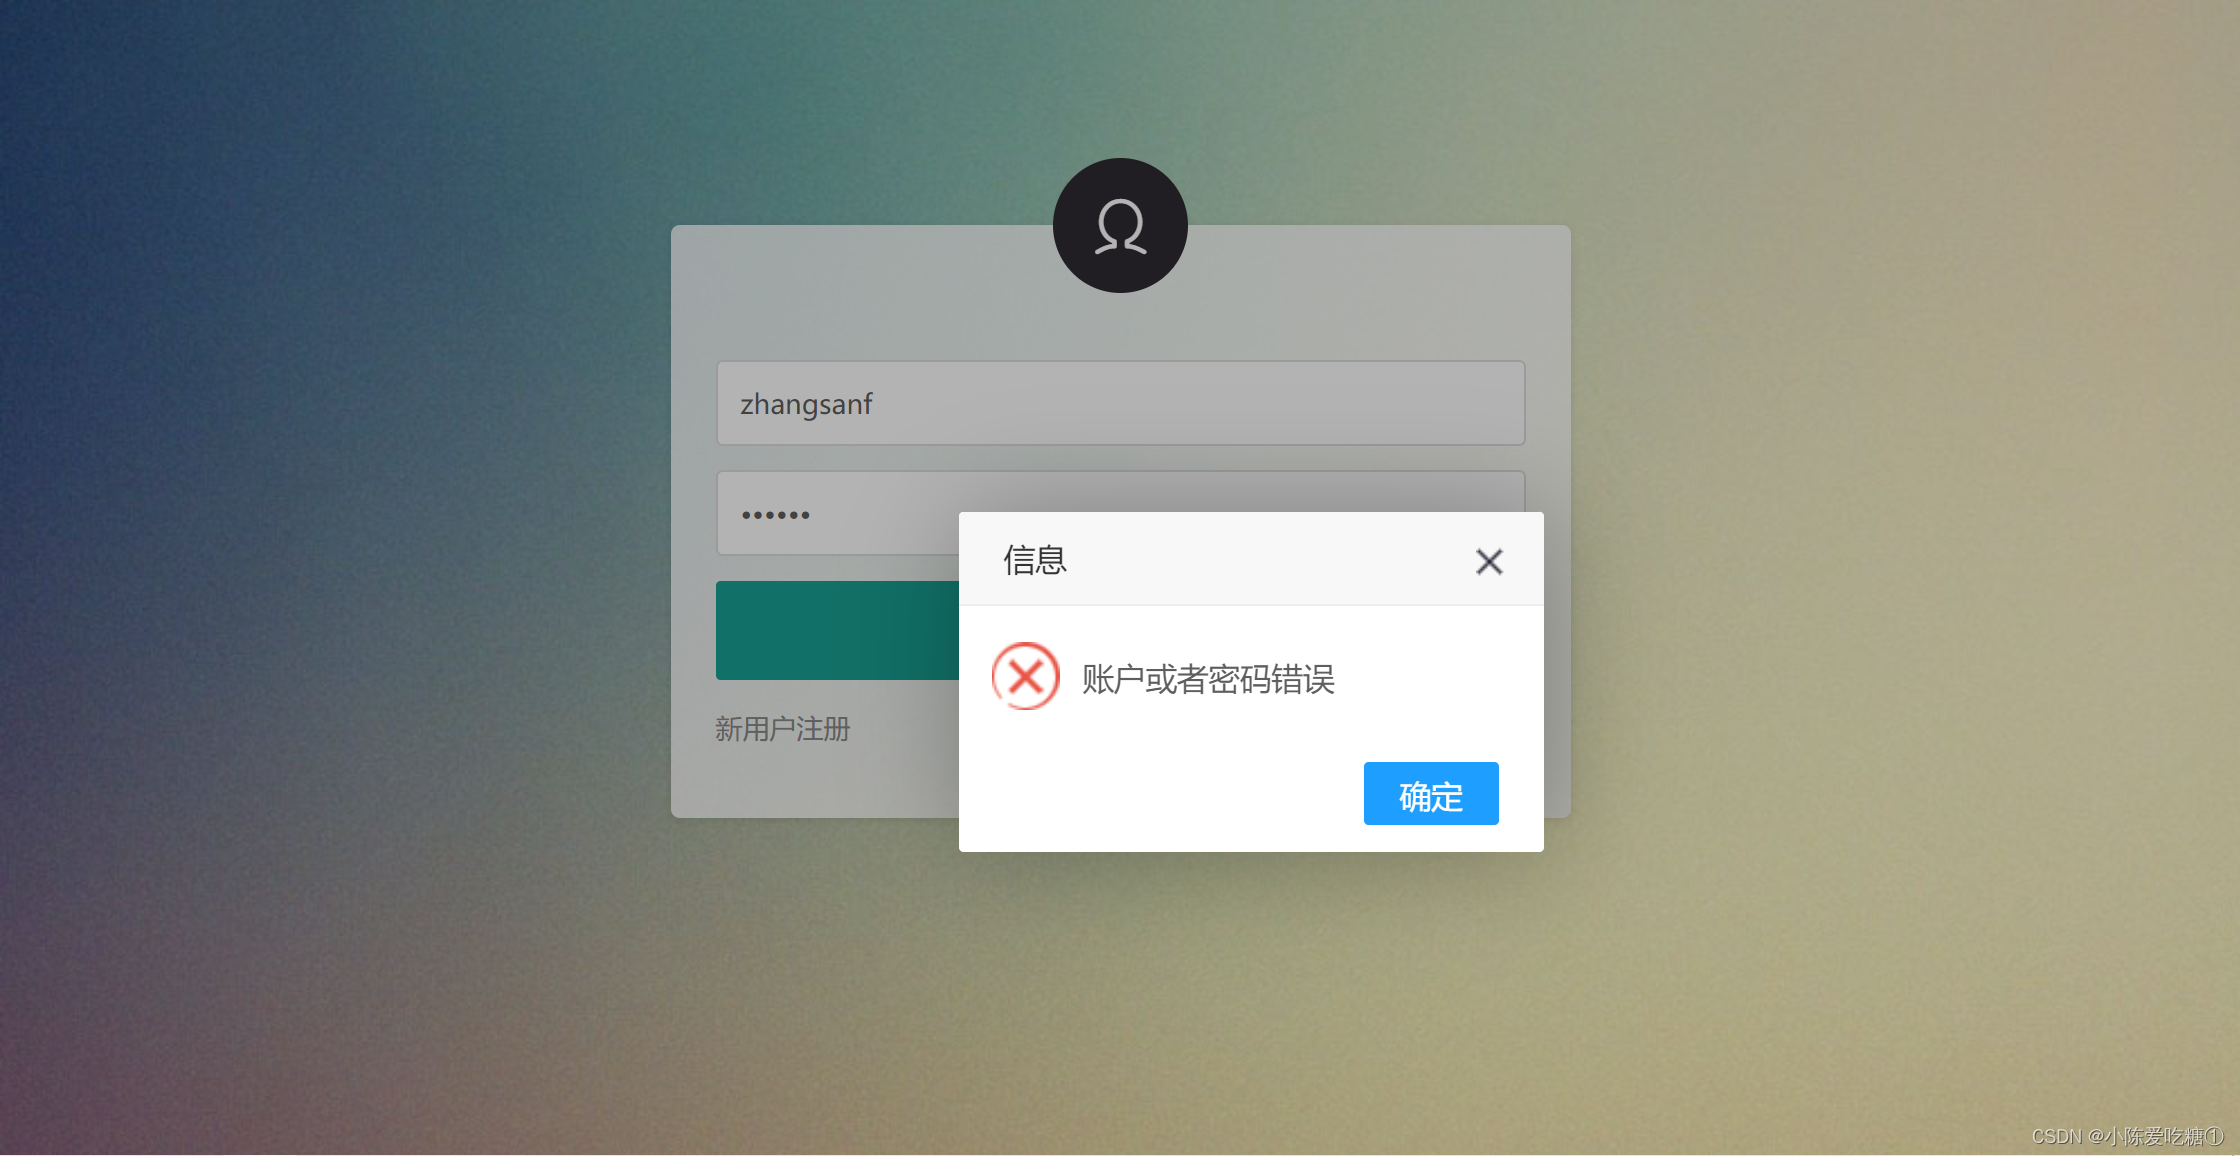
map.put("code", 0);
map.put("msg", "账户或者密码错误");
}
try {
ResponseUtil.writeJson(resp, map);
} catch (Exception e) {
// TODO Auto-generated catch block
e.printStackTrace();
}
return null;
}
@Override
public User getModel() {
return user;
}
}
配置文件
<?xml version="1.0" encoding="UTF-8"?>
<config>
	<action path="/blog" type="com.zking.web.BlogAction">
		<forward name="list" path="/blogList.jsp" redirect="false" />
		<forward name="toList" path="/blog.action?methodName=list"
			redirect="true" />
		<forward name="toEdit" path="/blogEdit.jsp" redirect="false" />
	</action>

	<action path="/user" type="com.zking.web.UserAction">
	</action>


</config>
使用
<%@ page language="java" contentType="text/html; charset=UTF-8"
    pageEncoding="UTF-8"%>
    <%@ include file="common/header.jsp" %>
<!DOCTYPE html PUBLIC "-//W3C//DTD HTML 4.01 Transitional//EN" "http://www.w3.org/TR/html4/loose.dtd">
<html>
    <head>
        <meta name="viewport" content="width=device-width,initial-scale=1.33,minimum-scale=1.0,maximum-scale=1.0">
        <meta http-equiv="Content-Type" content="text/html; charset=utf-8">
        <meta http-equiv="X-UA-Compatible" content="IE=edge">
        <meta name="renderer" content="webkit">
        <title>会员登录-演示网站</title>
        <meta http-equiv="Content-Language" content="zh-CN">
        <link rel="stylesheet" rev="stylesheet" href="${pageContext.request.contextPath}/static/css/iconfont.css" type="text/css" media="all">
        <link rel="stylesheet" rev="stylesheet" href="${pageContext.request.contextPath}/static/css/login.css" type="text/css" media="all">
        <style> body{color:#;}a{color:#;}a:hover{color:#;}.bg-black{background-color:#;}.tx-login-bg{background:url(${pageContext.request.contextPath}/static/images/bg.jpg) no-repeat 0 0;}</style>
    </head>
    <body class="tx-login-bg">
        <div class="tx-login-box">
            <div class="login-avatar bg-black"><i class="iconfont icon-wode"></i></div>
				<ul class="tx-form-li row">
					<li class="col-24 col-m-24"><p><input type="text" id="username" placeholder="登录账号" class="tx-input"></p></li>
					<li class="col-24 col-m-24"><p><input type="password" id="password" placeholder="登录密码" class="tx-input"></p></li>
					<li class="col-24 col-m-24"><p class="tx-input-full"><button id="login" class="tx-btn tx-btn-big bg-black">登录</button></p></li>
					<li class="col-12 col-m-12"><p><a href="#" class="f-12 f-gray">新用户注册</a></p></li>
					<li class="col-12 col-m-12"><p class="ta-r"><a href="#" class="f-12 f-gray">忘记密码</a></p></li>
				</ul>
            </div>
            <script type="text/javascript">
            	layui.use(['jquery','layer'],function(){
            		let $ = layui.jquery
            		,layer = layui.layer;//es6
            		$("#login").click(function() {
						//alert(123);
						$.ajax({
							url:"${pageContext.request.contextPath}/user.action?methodName=login"
									,dataType:'json'
									,data:{
										username:$("#username").val(),
										password:$("#password").val()
									}
									,success:function(data){
										//console.log(data);
										if(data.code == 200){
											layer.alert(data.msg,{icon: 1});
										}
										else{
											layer.alert(data.msg,{icon: 2});
										}

									}

						});
					});
            	});


            </script>

    </body>
</html>
运行:
优化UserAction
package com.zking.web;

import java.util.HashMap;
import java.util.Map;

import javax.servlet.http.HttpServletRequest;
import javax.servlet.http.HttpServletResponse;

import org.apache.catalina.util.RequestUtil;

import com.zking.entity.User;
import com.zking.framework.ActionSupport;
import com.zking.framework.ModelDriver;
import com.zking.util.R;
import com.zking.util.ResponseUtil;

public class UserAction extends ActionSupport implements ModelDriver<User>{

	private User user = new User();

//	写一个方法处理前台的请求
//	public String login(HttpServletRequest req, HttpServletResponse resp) {
//		Map<String, Object> map = new HashMap<String, Object>();
//		if("zhangsan".equals(user.getUsername()) && "123456".equals(user.getPassword())) {
////			登录成功
//			map.put("code", 200);
//			map.put("msg", "成功");
//
//		}
//		else {
////			登录失败
//			map.put("code", 0);
//			map.put("msg", "账户或者密码错误");
//		}
//		try {
//			ResponseUtil.writeJson(resp, map);
//		} catch (Exception e) {
//			// TODO Auto-generated catch block
//			e.printStackTrace();
//		}
//		return null;
//	}

	public String login(HttpServletRequest req, HttpServletResponse resp) {
		try {
			if("zhangsan".equals(user.getUsername()) && "123456".equals(user.getPassword())) {
//				登录成功
				ResponseUtil.writeJson(resp, new R().data("code", 200).data("msg","成功"));

			}
			else {
//				登录失败
				ResponseUtil.writeJson(resp, new R().data("code", 0).data("msg","账户或密码错误"));
			}
		} catch (Exception e) {
			// TODO: handle exception
		}
		return null;
	}

	@Override
	public User getModel() {
		return user;
	}

}
<%@ page language="java" contentType="text/html; charset=UTF-8"
pageEncoding="UTF-8"%>
<%@ include file="common/header.jsp" %>
<!DOCTYPE html PUBLIC "-//W3C//DTD HTML 4.01 Transitional//EN" "http://www.w3.org/TR/html4/loose.dtd">
<html>
<head>
<meta name="viewport" content="width=device-width,initial-scale=1.33,minimum-scale=1.0,maximum-scale=1.0">
<meta http-equiv="Content-Type" content="text/html; charset=utf-8">
<meta http-equiv="X-UA-Compatible" content="IE=edge">
<meta name="renderer" content="webkit">
<title>会员登录-演示网站</title>
<meta http-equiv="Content-Language" content="zh-CN">
<link rel="stylesheet" rev="stylesheet" href="${pageContext.request.contextPath}/static/css/iconfont.css" type="text/css" media="all">
<link rel="stylesheet" rev="stylesheet" href="${pageContext.request.contextPath}/static/css/login.css" type="text/css" media="all">
<style> body{color:#;}a{color:#;}a:hover{color:#;}.bg-black{background-color:#;}.tx-login-bg{background:url(${pageContext.request.contextPath}/static/images/bg.jpg) no-repeat 0 0;}</style>
</head>
<body class="tx-login-bg">
<div class="tx-login-box">
<div class="login-avatar bg-black"><i class="iconfont icon-wode"></i></div>
<ul class="tx-form-li row">
<li class="col-24 col-m-24"><p><input type="text" id="username" placeholder="登录账号" class="tx-input"></p></li>
<li class="col-24 col-m-24"><p><input type="password" id="password" placeholder="登录密码" class="tx-input"></p></li>
<li class="col-24 col-m-24"><p class="tx-input-full"><button id="login" class="tx-btn tx-btn-big bg-black">登录</button></p></li>
<li class="col-12 col-m-12"><p><a href="#" class="f-12 f-gray">新用户注册</a></p></li>
<li class="col-12 col-m-12"><p class="ta-r"><a href="#" class="f-12 f-gray">忘记密码</a></p></li>
</ul>
</div>
<script type="text/javascript">
layui.use(['jquery','layer'],function(){
let $ = layui.jquery
,layer = layui.layer;//es6
$("#login").click(function() {
//alert(123);
$.ajax({
url:"${pageContext.request.contextPath}/user.action?methodName=login"
,dataType:'json'
,data:{
username:$("#username").val(),
password:$("#password").val()
}
,success:function(data){
//console.log(data);
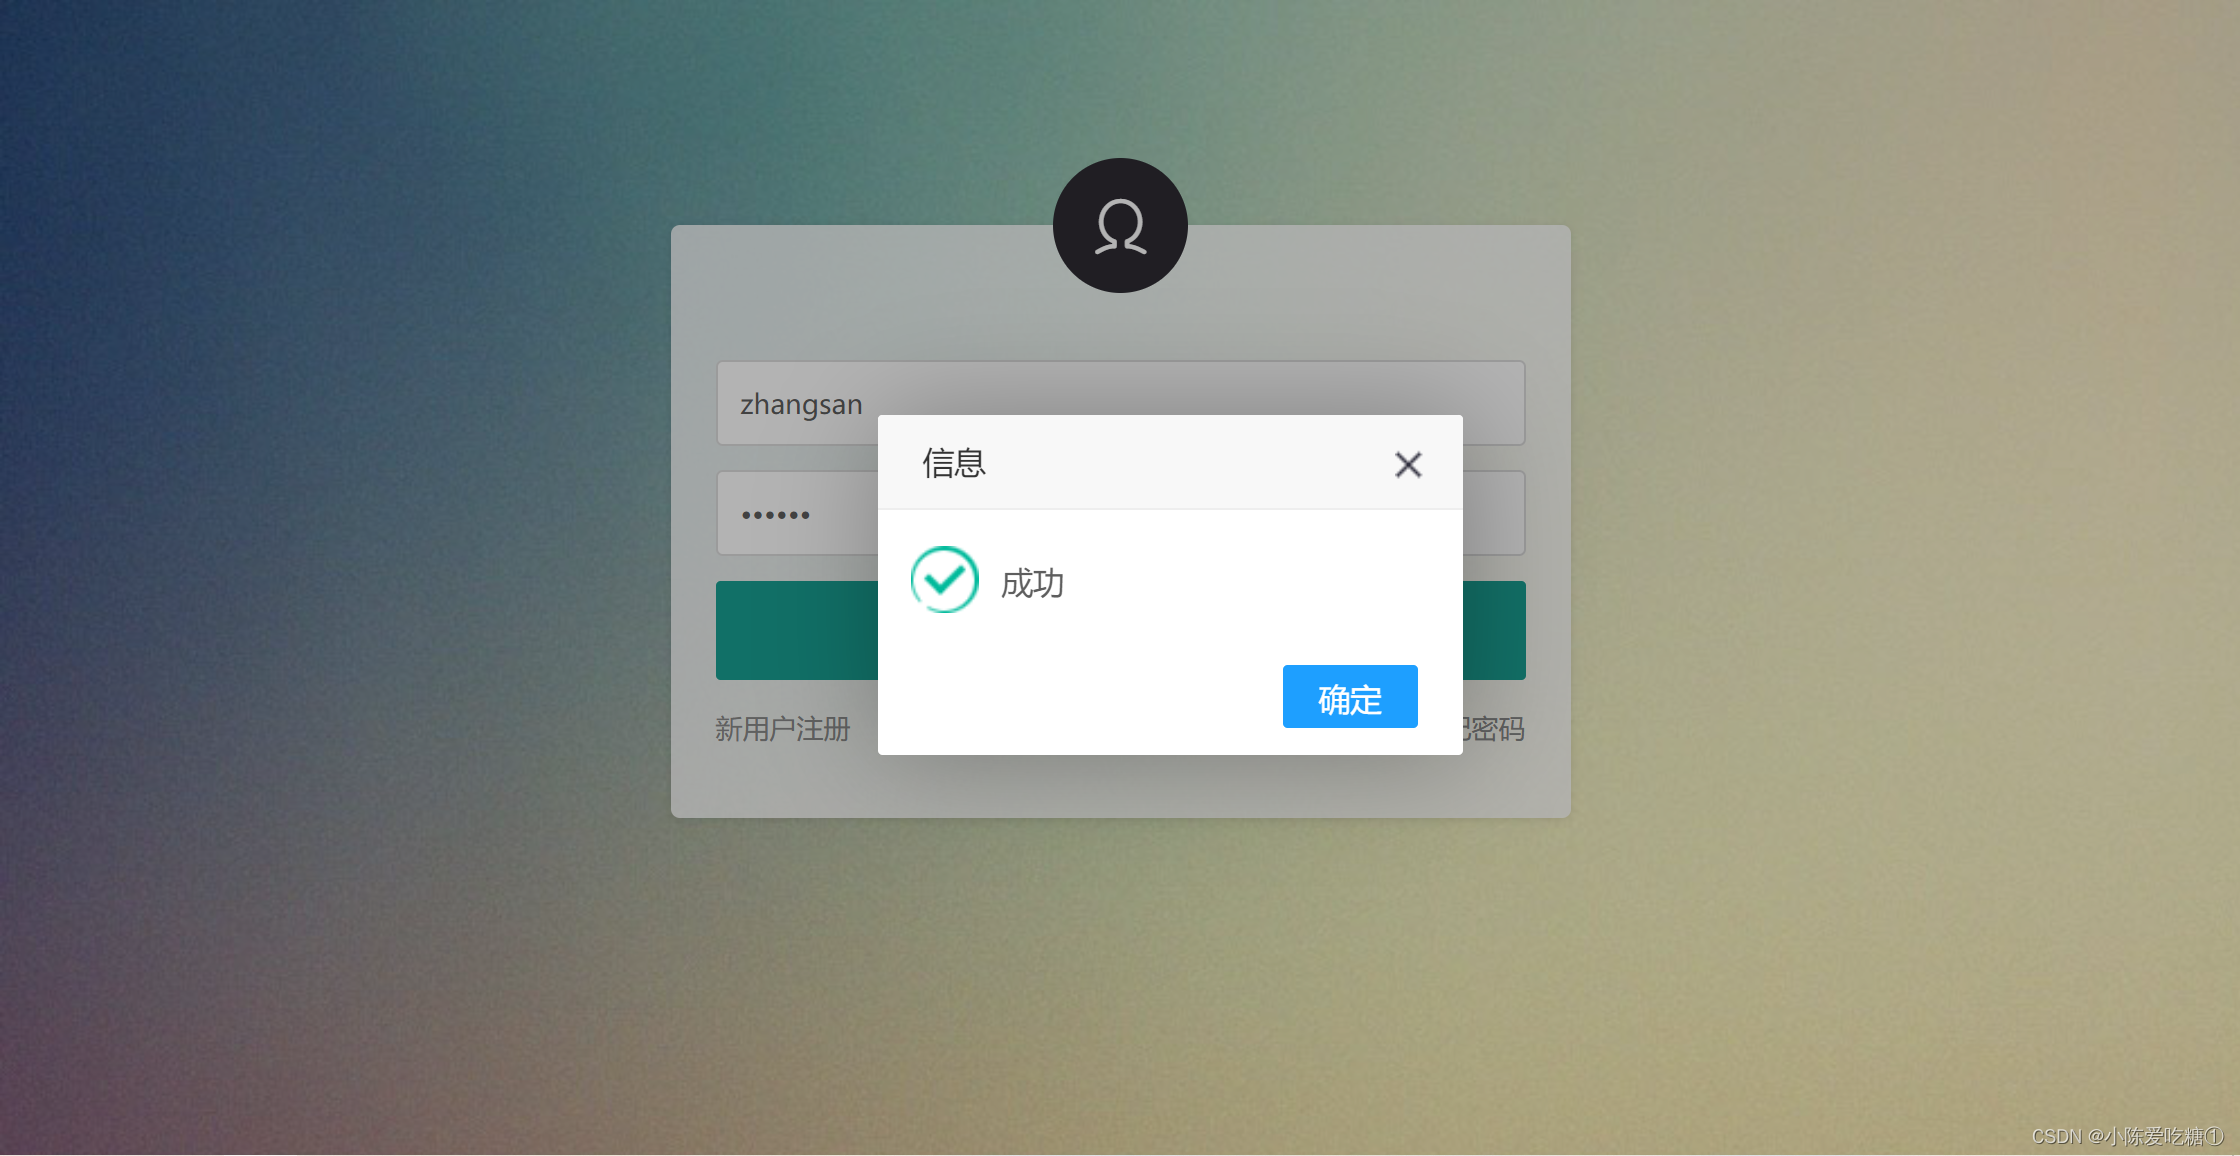
if(data.code == 200){
layer.alert(data.msg,{icon: 1});
location.href='main.jsp';
}
else{
layer.alert(data.msg,{icon: 2});
}
}
});
});
});
</script>
</body>
</html>
登录成功后
main.jsp
<%@ page language="java" contentType="text/html; charset=UTF-8"
    pageEncoding="UTF-8"%>
<!DOCTYPE html PUBLIC "-//W3C//DTD HTML 4.01 Transitional//EN" "http://www.w3.org/TR/html4/loose.dtd">
<html>
<head>
<meta http-equiv="Content-Type" content="text/html; charset=UTF-8">
<title>Insert title here</title>
</head>
<body>
主界面搭建

</body>
</html>


 619
619

 被折叠的 条评论
为什么被折叠?
被折叠的 条评论
为什么被折叠?
 到【灌水乐园】发言


