


你正在学习一个很有用的技术栈:Vue 3 + Vite + Element Plus。我会帮助你一步步安装和理解它们,并带你做一个简单的小项目。这些步骤会很简单,好像是给12岁小孩的教程一样。
一、认识和安装工具
-
Node.js
Vue 和 Vite 都依赖 Node.js 来运行。Node.js 是一种让你在电脑上运行 JavaScript 的工具。- 点击这里下载Node.js。
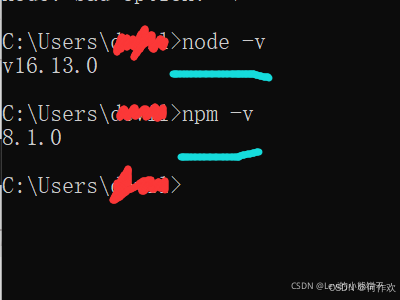
- 下载安装后,在命令行(Terminal 或 cmd)输入
node -v,看看是否安装成功。
-
Vue 3
Vue 是一个前端框架,帮助你创建网页和应用。Vue 3 是最新版本,功能更强大也更简单。我们会用 Vue 3 来构建页面。 -
Vite
Vite 是一个快速的工具,用来启动和运行 Vue 项目。它就像是给你一个可以快速看到网页效果的工具。- 等会儿我们用 Vite 来创建项目。
-
Element Plus
Element Plus 是一个为 Vue 设计的 UI 组件库。它里面有很多好看的按钮、表单、表格等等,帮助你快速构建好看的网页。
-----
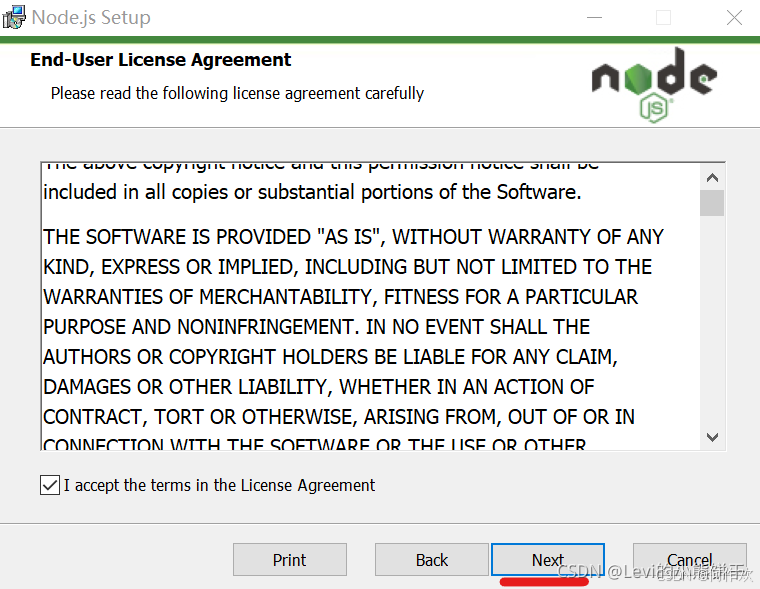
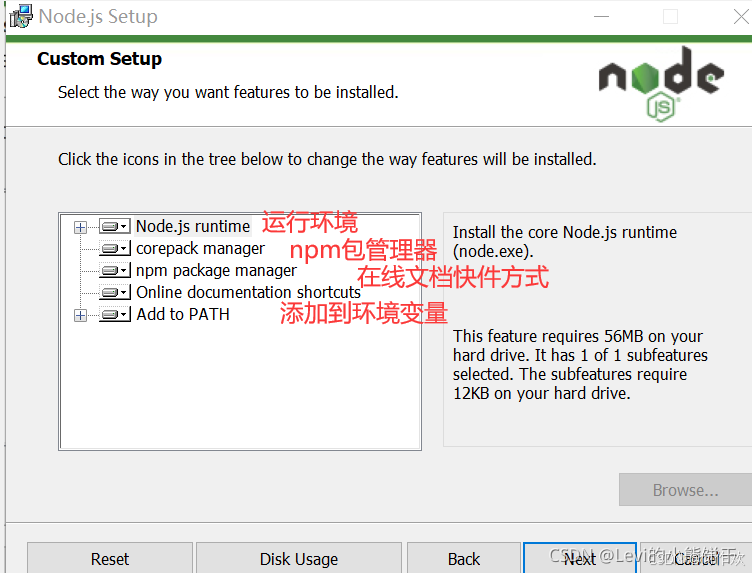
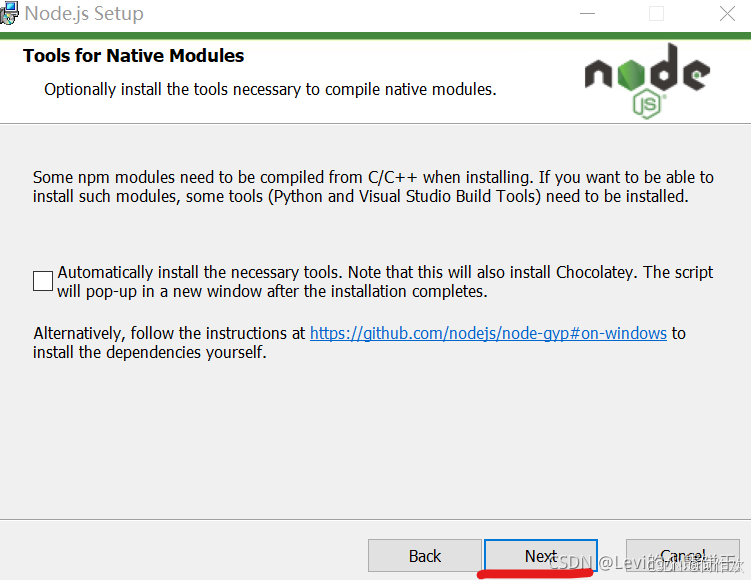
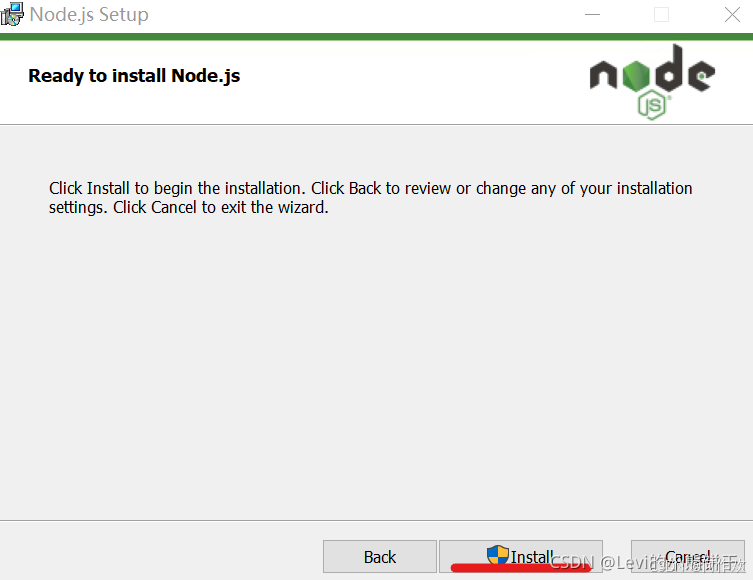
安装Node.js
-----
-
下载包
2.安装
3.测试
4.修改全局模块路径和缓存路径(可选,大家自行选择是否修改)
当我们在执行npm install express -g命令时,g表示global全局。会默认下载到c盘,c盘一般作为系统盘,尽量把一些程序安装到其他盘,来减少c盘空间的占用
它的默认路径为:【C:\Users\用户名\AppData\Roaming\npm】。
这里将全局模块(文件夹名:node_global)和缓存(文件夹名:node_cache)放在了nodejs安装目录下,在你的nodejs安装目录下创建创建两个文件夹,名称分别为:node_global和node_cache,在node_global文件夹下再建一个node_modules文件夹,配置环境变量用
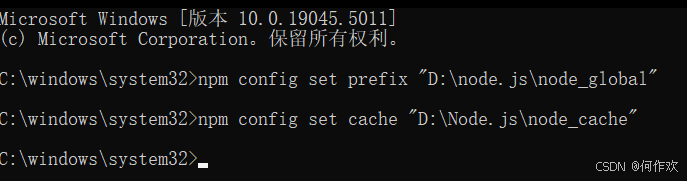
win+R打开运行窗口,输入cmd,再输入以下两条指令
npm config set prefix "创建的node_global文件夹所在路径"
npm config set cache "创建的node_cache文件夹所在路径"


npm config set prefix "D:\node.js\node_global"

npm config set cache "D:\Node.js\node_cache"
 5.高级系统设置-----环境变量
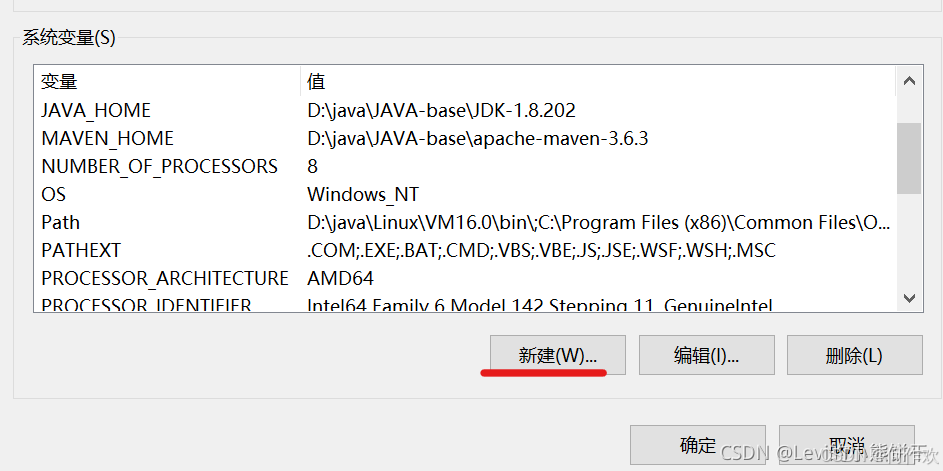
①在系统变量中,新建,变量名:NODE_PATH 变量值:node_global文件夹下的node_modules文件夹。如:E:\develop\nodejs\node_global\node_modules

②修改用户变量中的Path变量,将默认的npm路径修改为新建的node_global路径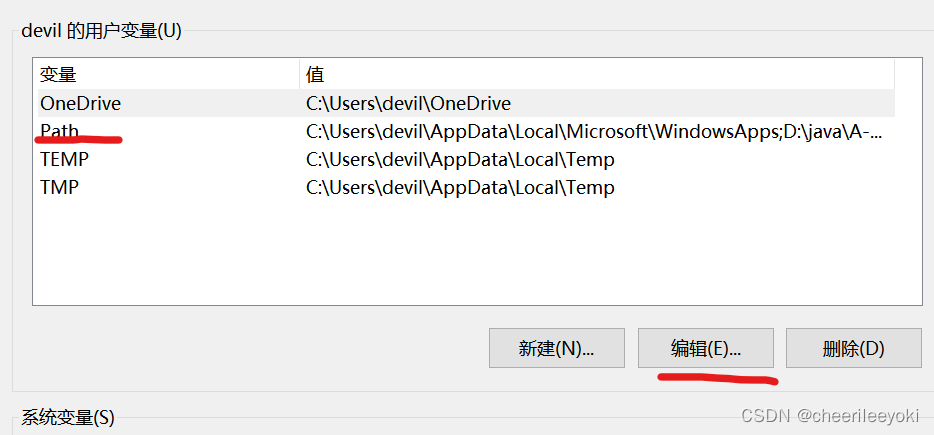
下图的环境变量改成我们之前自己新建的那个global的路径。

----------------------------------------------------node.js安装结束------------------------------------------------------
二、安装步骤
1. 安装 Vue 3 和 Vite
-
打开命令行(Terminal 或 cmd)。
- 在 Windows 可以用
cmd,在 Mac 可以用Terminal。
- 在 Windows 可以用
-
创建一个项目文件夹:
在命令行中输入:
mkdir my-vue-app
cd my-vue-app
-
这将创建一个叫“my-vue-app”的文件夹,并进入到这个文件夹里。
-
在文件夹内,输入以下命令,创建一个 Vue 3 项目:
npm create vite@latest
报错:
C:\Users\123\Desktop\my-vue-app>npm create vite@latest
npm error code EPERM
npm error syscall mkdir
npm error path D:\Node.js\node_cache\_cacache
npm error errno -4048
npm error Error: EPERM: operation not permitted, mkdir 'D:\Node.js\node_cache\_cacache'
npm error     at async mkdir (node:internal/fs/promises:858:10)
npm error     at async Object.insert (D:\node.js\node_modules\npm\node_modules\cacache\lib\entry-index.js:126:5)
npm error     at async CacheEntry.store (D:\node.js\node_modules\npm\node_modules\make-fetch-happen\lib\cache\entry.js:308:7)
npm error     at async fetch (D:\node.js\node_modules\npm\node_modules\make-fetch-happen\lib\fetch.js:98:7)
npm error     at async RegistryFetcher.packument (D:\node.js\node_modules\npm\node_modules\pacote\lib\registry.js:90:19)
npm error     at async RegistryFetcher.manifest (D:\node.js\node_modules\npm\node_modules\pacote\lib\registry.js:128:23)
npm error     at async getManifest (D:\node.js\node_modules\npm\node_modules\libnpmexec\lib\index.js:27:22)
npm error     at async missingFromTree (D:\node.js\node_modules\npm\node_modules\libnpmexec\lib\index.js:65:22)
npm error     at async D:\node.js\node_modules\npm\node_modules\libnpmexec\lib\index.js:182:32
npm error     at async Promise.all (index 0) {
npm error   errno: -4048,
npm error   code: 'EPERM',
npm error   syscall: 'mkdir',
npm error   path: 'D:\\Node.js\\node_cache\\_cacache'
npm error }
npm error
npm error The operation was rejected by your operating system.
npm error It's possible that the file was already in use (by a text editor or antivirus),
npm error or that you lack permissions to access it.
npm error
npm error If you believe this might be a permissions issue, please double-check the
npm error permissions of the file and its containing directories, or try running
npm error the command again as root/Administrator.
npm error Log files were not written due to an error writing to the directory: D:\Node.js\node_cache\_logs
npm error You can rerun the command with --loglevel=verbose to see the logs in your terminal

C:\Users\123\Desktop\my-vue-app>
这是怎么回事
解决:你遇到的 EPERM 错误是一个权限问题,通常发生在 Windows 系统中。它的意思是你没有足够的权限在指定路径下创建文件或文件夹。以管理员身份运行命令行:
-
接着,它会问你项目名称,你可以输入
my-vue-app或者随便起一个名字。选择 "Vue"(就是安装 Vue 3)。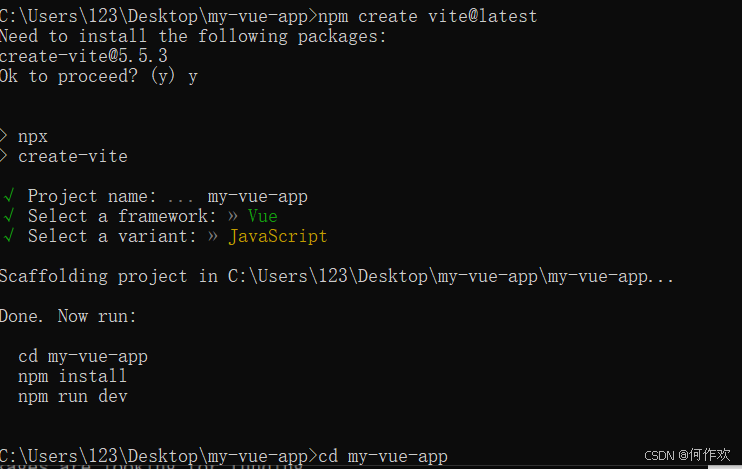
-
进入项目文件夹并安装依赖:
输入以下命令:
cd my-vue-app
npm install
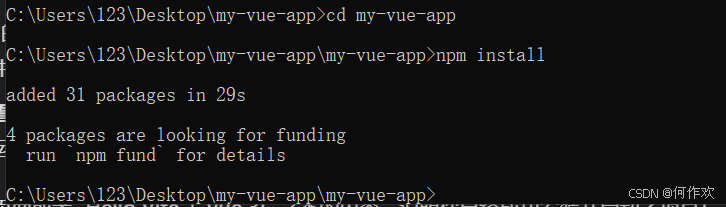
项目依赖已经成功安装了!输出中的关键提示是 added 31 packages in 29s,这表示 npm 已经成功下载并安装了所需的依赖包。
-
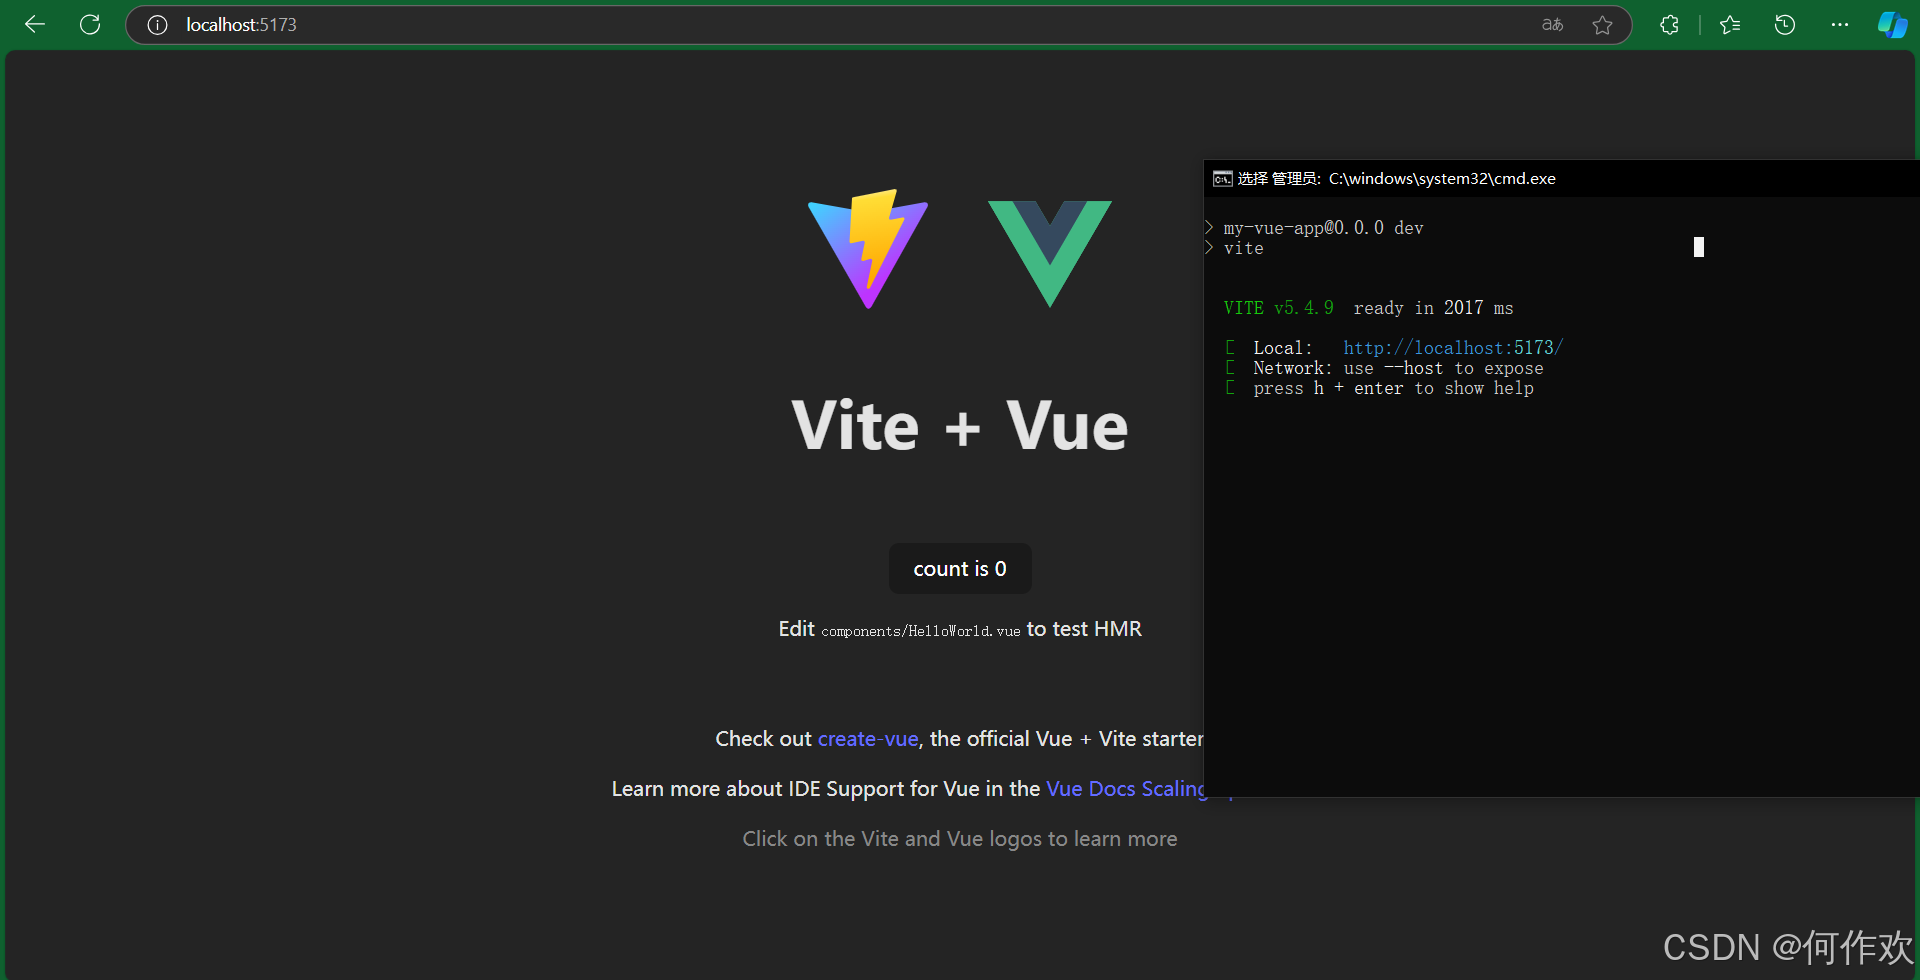
启动开发服务器: 在命令行中输入:
npm run dev这将启动 Vite 的开发服务器,接着它会显示一个 URL(通常是
http://localhost:3000),你可以在浏览器中访问这个地址,查看项目运行情况。 -
打开浏览器查看项目: 打开你的浏览器,在地址栏输入
http://localhost:3000,看看你的 Vue 项目是否成功运行。
2. 安装 Element Plus
- 安装 Element Plus:
在你的项目文件夹中,输入以下命令:
npm install element-plus
三、创建一个简单的项目
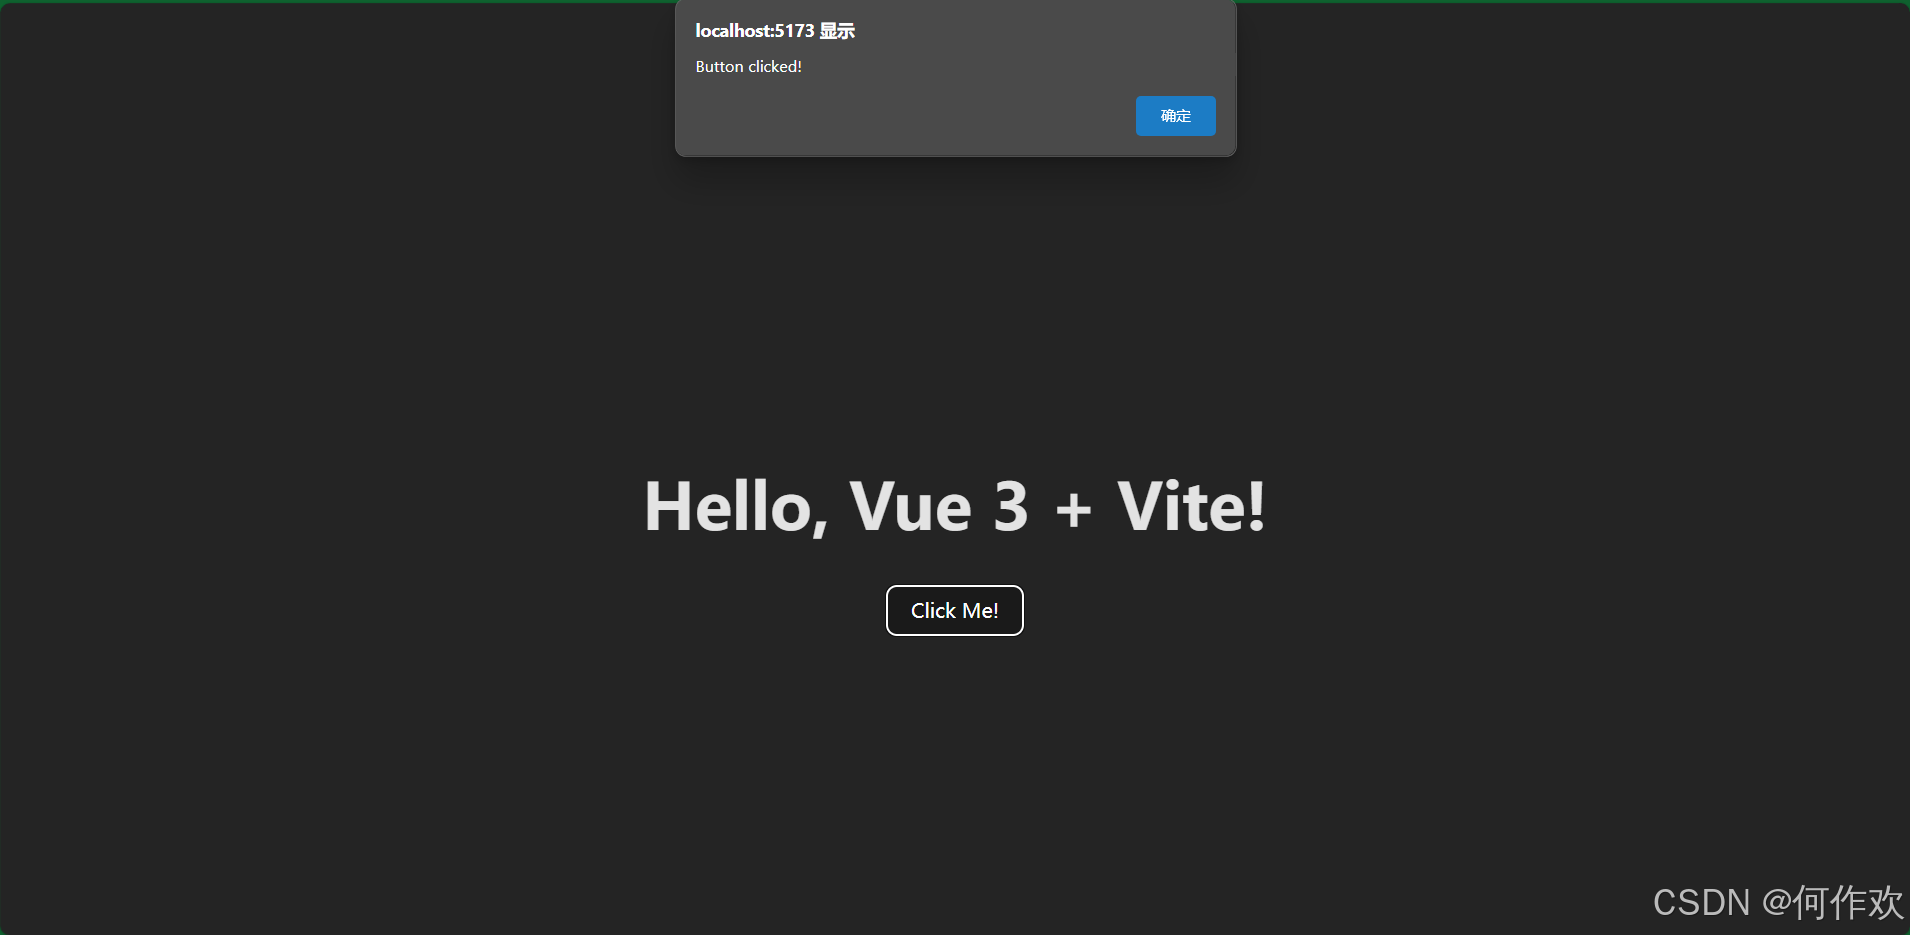
接下来,我们来做一个小项目,显示一个带按钮的网页。
-
打开项目文件夹
用你喜欢的编辑器打开这个项目,比如 VS Code。 -
修改
src/App.vue文件
在项目的src文件夹里找到App.vue文件,然后把它内容改成下面这样:
<template>
  <div id="app">
    <!-- 显示欢迎标题 -->
    <h1>Hello, Vue 3 + Vite!</h1>
    <!-- 使用 Element Plus 的按钮组件,点击时调用 showAlert 方法 -->
    <el-button @click="showAlert">Click Me!</el-button>
  </div>
</template>

<script>
import { defineComponent } from 'vue';          // 引入 Vue 的 defineComponent 方法
import { ElButton } from 'element-plus';        // 引入 Element Plus 的 ElButton 组件

export default defineComponent({
  // 注册组件中使用的子组件
  components: {
    ElButton,                                   // 注册 ElButton,以便在模板中使用
  },
  // 定义组件的方法
  methods: {
    // showAlert 方法,当按钮被点击时触发
    showAlert() {
      alert('Button clicked!');                 // 弹出提示框,显示信息
    }
  }
});
</script>

<style>
/* 为 id 为 app 的元素设置样式 */
#app {
  text-align: center;      /* 文本居中对齐 */
  margin-top: 50px;        /* 顶部外边距 50 像素 */
}
</style>
-
解释:
- 这个页面有一个标题“Hello, Vue 3 + Vite!”。
- 还有一个按钮“Click Me”,点击它会弹出一个提示框。
1.
<template>部分
- 模板标签:所有的 HTML 代码需要放在
<template>标签内。- 指令和事件:
@click:这是 Vue 中的事件绑定语法,@click="方法名"表示当点击元素时,调用对应的方法。2.
<script>部分
模块导入:
import { defineComponent } from 'vue';:从 Vue 框架中导入必要的函数或对象。import { ElButton } from 'element-plus';:从 Element Plus 库中导入按钮组件。组件定义:
export default defineComponent({ ... });:使用defineComponent定义并导出组件。组件选项:
components:注册在模板中使用的子组件。methods:定义组件中的方法,这些方法可以在模板中通过事件绑定来调用。3.
<style>部分
- CSS 样式:可以直接在这里编写针对这个组件的样式。
- 作用域:
- 默认情况下,样式是全局的。如果希望样式只作用于当前组件,可以使用
<style scoped>。
-
运行项目
回到命令行,输入:npm run dev
四、总结
现在你已经:
- 安装了 Node.js。
- 用 Vite 创建了一个 Vue 3 项目。
- 安装并使用了 Element Plus 组件库。
- 创建了一个简单的项目,包含标题和按钮,点击按钮会显示提示框。
这样,你已经掌握了基本的安装和操作流程!继续深入学习的话,你可以尝试在页面上添加更多的元素,比如表单、表格等,Element Plus 提供了很多组件。


 1226
1226

 被折叠的 条评论
为什么被折叠?
被折叠的 条评论
为什么被折叠?
 到【灌水乐园】发言


