


 本文介绍了如何创建一个SpringBoot项目,添加必要的依赖如Mybatis-Plus和Lombok,配置数据库连接,以及如何使用BaseMapper接口简化开发。同时提到了启动类的@MapperScan注解用于扫描Mapper接口,以便于Spring识别和使用。
1. 创建springboot工程,一路就行(pom文件的版本自己改)
2. 引入相关依赖springboot和mp依赖(默认安装lombok插件)
<dependencies>
        <dependency>
            <groupId>org.springframework.boot</groupId>
            <artifactId>spring-boot-starter</artifactId>
        </dependency>
        <dependency>
            <groupId>org.springframework.boot</groupId>
            <artifactId>spring-boot-starter-test</artifactId>
            <scope>test</scope>
            <exclusions>
                <exclusion>
                    <groupId>org.junit.vintage</groupId>
                    <artifactId>junit-vintage-engine</artifactId>
                </exclusion>
            </exclusions>
        </dependency>
        <!-- mybatis-plus -->
        <dependency>
            <groupId>com.baomidou</groupId>
            <artifactId>mybatis-plus-boot-starter</artifactId>
            <version>3.0.5</version>
        </dependency>
        <!-- mysql -->
        <dependency>
            <groupId>mysql</groupId>
            <artifactId>mysql-connector-java</artifactId>
        </dependency>
        <!-- lombok用来简化实体类 -->
        <dependency>
            <groupId>org.projectlombok</groupId>
            <artifactId>lombok</artifactId>
        </dependency>
    </dependencies>
3. 修改配置文件application.properties(后续用yml)
(springboot2.2版本后要加上cj和时区)
spring.datasource.driver-class-name=com.mysql.cj.jdbc.Driver
spring.datasource.url=jdbc:mysql://localhost:3306/mybatis_plus?serverTimezone=GMT%2B8
spring.datasource.username=root
#自己的密码
spring.datasource.password=xxx
# mybatis 日志配置,方便显示输出
mybatis-plus.configuration.log-impl=org.apache.ibatis.logging.stdout.StdOutImpl
4. 创建实践类
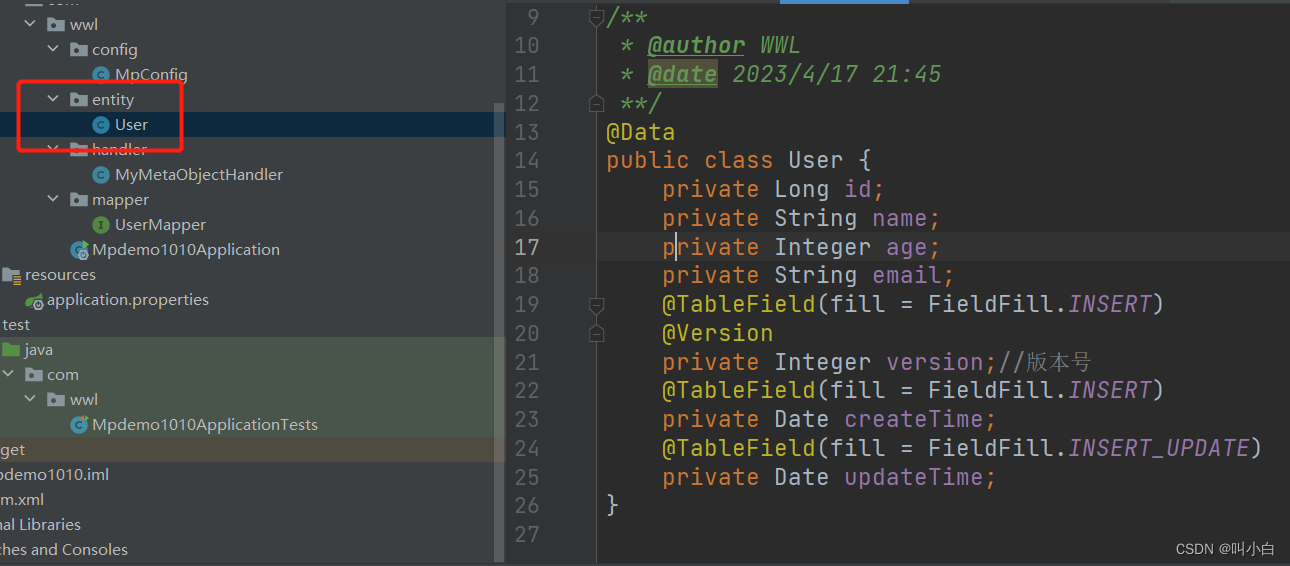
5. 创建对应的mapper接口,但是不需要再有对应的xml文件。
直接继承BaseMapper接口。(mp的巨大特点)
记得加上@Repository等,方便被spring识别,后续可被@Autowired使用。

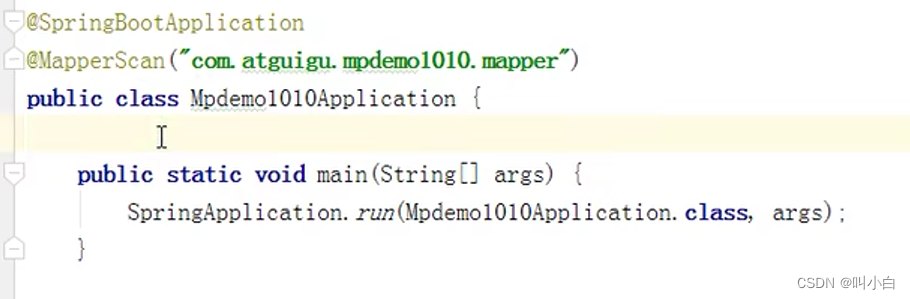
6. 标记启动类。添加
@MapperScan("com.xxx.mapper")到启动类上(因为后续要查接口的类,但是接口没有对应实现类,就会找不到接口,使用MapperScan方便查询)
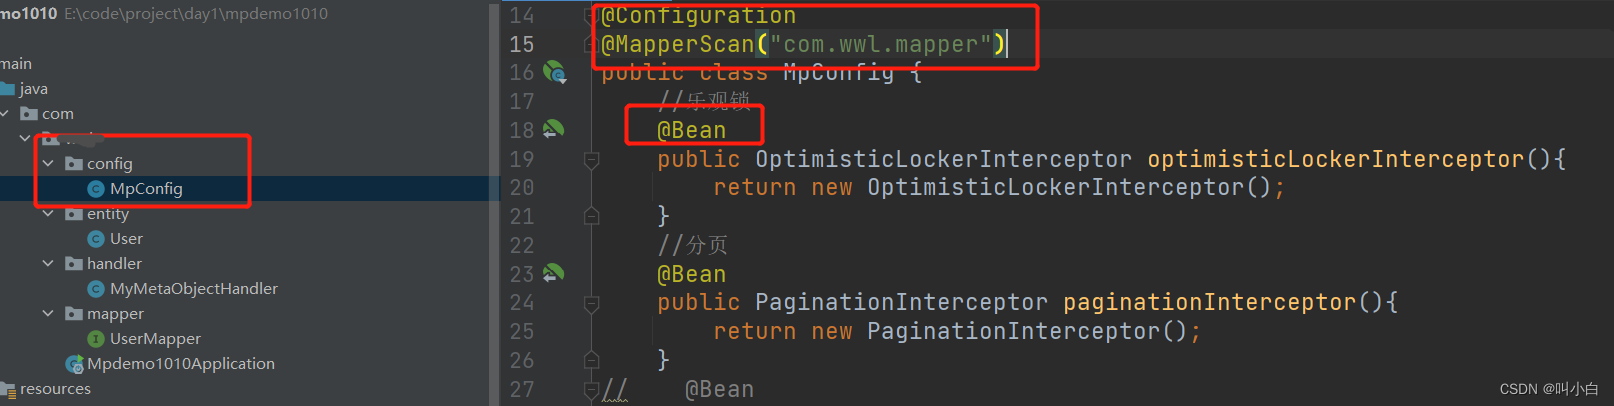
后续添加到配置类上。(bean必须在configuration注解下使用)
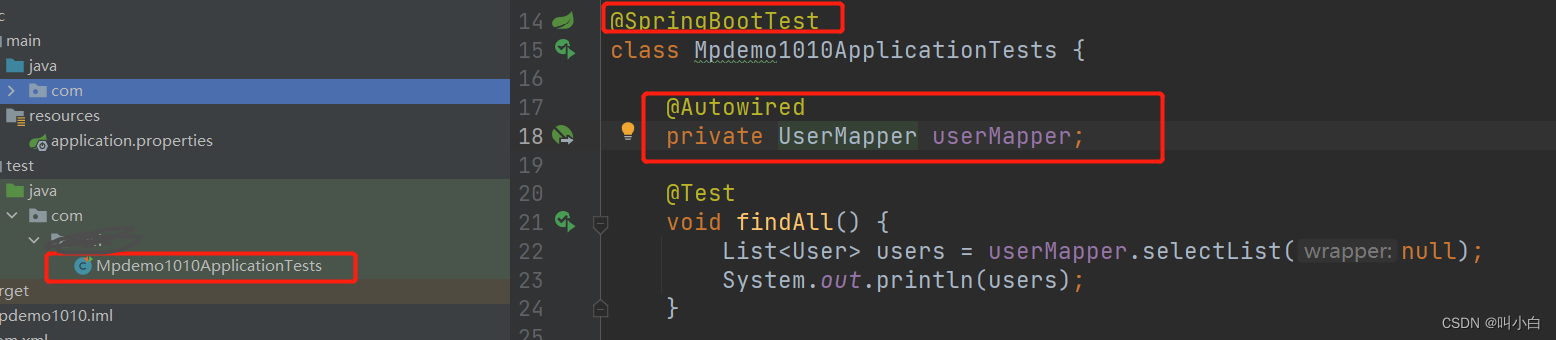
7. 测试。
先导入对应的接口对象(自动创建),后续测试方法调用对象方法。


 2399
2399

 被折叠的 条评论
为什么被折叠?
被折叠的 条评论
为什么被折叠?
 到【灌水乐园】发言


