


本期跟为小伙伴们,带来的技术是 自建 yum,当你听到自建yum源的时候,你一定 会感觉到烦或者困惑,但是本期一定是不一样的自建yum 源。
1、通过iso 搭建yum 源
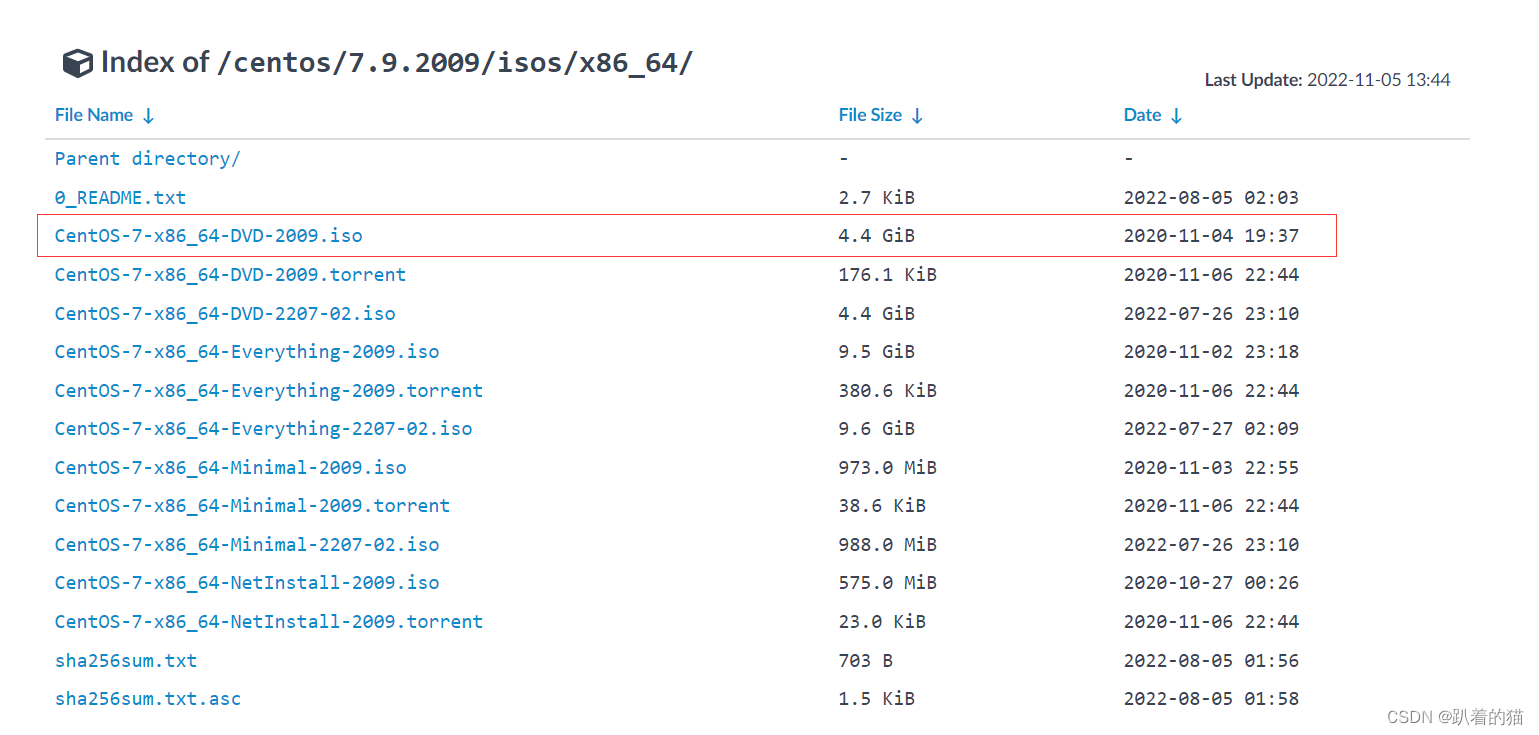
将iso 文件 挂载到服务器或者上传至服务器上,(注意一般我们都是使用的常规的DVD)
mkdir -p /data/centos/mirrors  #创建目录

mount -o loop CentOS-7-x86_64-DVD-2003.iso /media  #将iso文件挂载到/media目录下,文件时只读,如果你以及将iso挂载就不需要执行这步

cp -rf /media/* /data/centos/mirrors/  将iso的文件拷贝到我们创建的目录上

cd /etc/yum.repos.d/

rm -rf ./*

cat > CentOS-Base.repo <<EOF
[centos]
name=CentOS - Base
baseurl=file:///data/centos/mirrors/
gpgcheck=0
enabled=1
EOF

yum clean all  #清理yum缓存
yum makecache  #建立新的缓存
此时我们构建的yum源只可以本地使用,因此我们将这种本地的设置为web的,这样所有内网的服务器都可以使用。
安装nginx ,如果不会的可以查看一下文件来部署。
(3条消息) nginx 部署_趴着的猫的博客-优快云博客_nginx 部署
安装成功后对 nginx 服务进行配置
cp -f conf/nginx.conf conf/nginx.conf-bak
vim conf/nginx.conf
http {
include mime.types;
default_type application/octet-stream;
autoindex on;
autoindex_exact_size on;
autoindex_localtime on;
server {
listen 80;
server_name localhost;
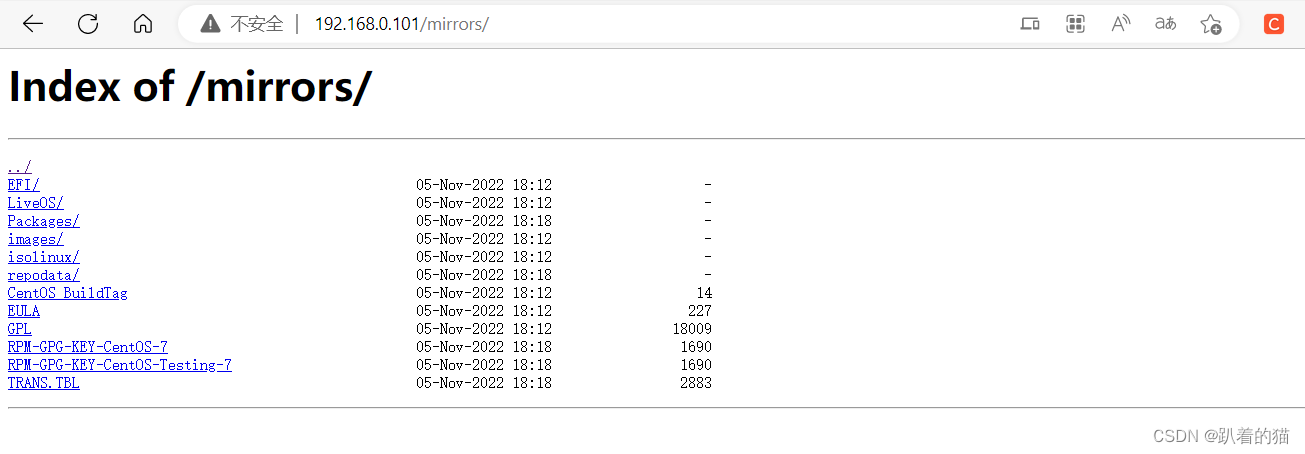
root /data/centos/;
}
}
./sbin/nginx -t #检查配置文件
./sbin/nginx 启动
 访问 一下试试,没问题
在客户端设置:
cd /etc/yum.repos.d/
[root@localhost yum.repos.d]# rm -rf ./*
[root@localhost yum.repos.d]# cat >/etc/yum.repos.d/CentOS-Base.repo<<EOF
[centos]
name=CentOS-$releasever - Base
baseurl=http://192.168.0.101/mirrors/
gpgcheck=0
enabled=1
EOF

yum clean all  #清理yum缓存
yum makecache  #建立新的缓存
2、使用RPM包搭建YUM仓库
在 nginx 服务端 执行
 wget -O /etc/yum.repos.d/CentOS-Base.repo https://mirrors.aliyun.com/repo/Centos-7.repo  #换成公网源

yum clean all #清理缓存
yum makecache #创建新缓存

#假如我们要安装httpd 服务
mkdir -p  /data/newcentos/
yum install --downloadonly --downloaddir=/data/newcentos/ httpd #只下载不安装


yum -y install createrepo #安装createrepo软件,用于生成yum仓库数据库的软件
createrepo -pdo /data/newcentos/ /data/newcentos/  #初始化repodata索引文件
createrepo --update /data/newcentos/ #每加入或者更新一个rpm包就要更新一下
将nginx 配置文件里的 “root /data/centos/; ” 更改为 “root /data/newcentos/;” 重启nginx 并更改 客户端 的 CentOS-Base.repo
cat CentOS-Base.repo

[centos]
name=CentOS- - Base
baseurl=http://192.168.0.101/
gpgcheck=0
enabled=1
这种方式 需要客户端和服务端的环境是一致的,如果环境不一致,则又可能 客户端的依赖比服务端的依赖多。
3、企业级YUM仓库搭建
在服务端设置
yum -y install  rsync git vim  #安装部署

mkdir -p /data/mirrors #创建yum仓库目录

rsync -avzuP rsync://mirrors.tuna.tsinghua.edu.cn/centos/ /data/mirrors/centos/
rsync -avzuP rsync://mirrors.tuna.tsinghua.edu.cn/epel/ /data/mirrors/epel/

#将公网(清华源)的yum源 同步到 自己的服务端,如果磁盘小的话需要扩容
如果你还需 同步Ubuntu的 可以根据上面的格式自动同步,然后写成脚本 每日自动同步即可
服务端的nginx 配置文件更改为
root /data/mirrors/;
客户端的yum 配置文件为
[centos]
name=CentOS- - Base
baseurl=http://192.168.0.101/centos/$releasever/os/$basearch/
gpgcheck=0
enabled=1


 被折叠的 条评论
为什么被折叠?
被折叠的 条评论
为什么被折叠?
 到【灌水乐园】发言


