


 本文详细介绍了Nginx的安装、运行控制、配置文件解析,特别是访问控制和虚拟主机设置。从Nginx概述到编译安装,再到通过HTTP_STUB_STATUS模块进行状态统计,接着讲解了基于授权和客户端IP的访问控制策略。最后,深入探讨了基于域名、端口和IP的虚拟主机配置方法。
文章目录
在各种网站服务器软件中,除了Apache HTTP Server外,还有一款轻量级的HTTP服务器软件–Nginx,其稳定,高效的特性逐渐被越来越多的用户认可
其将源代码以类BSD许可证的形式发布,因它的稳定性、丰富的功能集、示例配置文件和低系统资源的消耗而闻名
其特点是:占有内存少,并发能力强
中国大陆使用nginx网站用户有:百度、京东、新浪、网易、腾讯、淘宝等。
一:Nginx服务基础
1.1:Nginx概述
一款高性能、轻量级Web服务软件
稳定性高
系统资源消耗低
对HTTP并发连接的处理能力高
单台物理服务器可支持30 000 ~ 50000个并发请求
占用内存少,并发能力强
1.2:Nginx编译安装(过程)
安装支持软件
[root@localhost ~]# yum -y install gcc gcc-c++ make pcre-devel zlib-devel
创建运行用户、组
[root@localhost ~]# useradd -M -S /sbin/nologin nginx '//-M 不创建家目录'
编译安装Nginx
先mount.cifs挂载宿主机中的nginx软件包文件夹
[root@localhost ~]# tar zxvf nginx-1.12.2.tar.gz
[root@localhost ~]# cd nginx-1.12.0
[root@localhost nginx-1.12.0]# ./configure \
--prefix=/usr/local/nginx \
--user=nginx \
--group=nginx \
--with-http_stub_ status_ module	'//开启stub_status状态统计模块'
[root@localhost nginx-1.12.0]# make && make install
[root@localhost nginx-1.12.0]# ln -s /usr/local/nginx/sbin/nginx  /usr/local/sbin	'//nginx命令执行路径优化'
[root@locaThost nginx-1.12.0]# ls -l /usr/local/sbin/nginx
Irwxrwxrwx 1root root27 5月16 16:50 /usr/local/sbin/nginx ->/usr/local/nginx/sbin/nginx
1.3:运行控制(实验过程)
检查配置文件
[root@localhost ~]# nginx -t '//检查'
启动、重载配置、停止Nginx
[root@localhost ~]# nginx '//启动'
[root@localhost ~]# netstat -anpt | grep nginx
tcp 0 0 0.0.0.0:80 0.0.0.0:* LISTEN 7180/nginx: master
[root@localhost ~]# yum -y install elinks
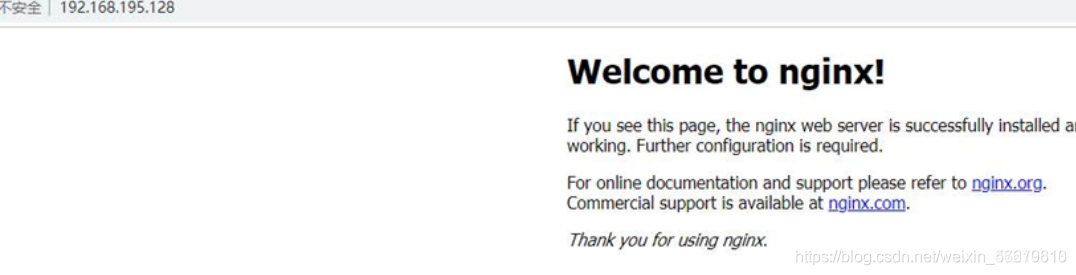
[root@localhost ~]# elinks http://localhost '//显示"Welcome to nginx!"页面,表明Nginx服务已经正常运行'
[root@localhost ~]# killall -s HUP nginx '//-S选项指定信号种类,HUP信号表示重载配置'
[root@localhost ~]# killall -s QUIT nginx '//QUIT信号表示退出进程'
Nginx添加为系统服务
使用systemctl工具进行管理
[root@localhost ~]# vim /lib/systemd/system/nginx.service		'//添加使用systemctl工具进行管理'
[Unit]
Description=nginx	'//描述'
After=network.target	'//描述服务类别'

[Service]
Type=forking	'//后台运行形势'
PIDFile =/usr/local/nginx/logs/nginx.pid	'//PID文件位置'
ExecStart=/usr/local/nginx/sbin/nginx		'//启动服务'
ExecReload=/usr/bin/kill -S HUP $MAINPID	'//根据PID重载配置'
ExecStop=/usr/bin/kill -S QUIT $MAINPID		'//根据PID终止进程'
PrivateTmp=true

[Install]
WantedBy=multi-user.target
[root@localhost ~]# chmod 754 /lib/systemd/system/nginx.service
此时,开启服务,关闭防火墙,就可以访问nginx网址了
1. [root@localhost init.d]# service nginx start
2. [root@localhost init.d]# systemctl stop firewalld
3. [root@localhost init.d]# setenforce 0
4. [root@localhost init.d]# netstat -ntap | grep nginx
1.4:配置文件nginx.conf
全局配置
1. #user nobody;
2. worker_ processes 1;
3. #error_ log logs/error.log;
4. #pid logs/nginx.pid;
1/O时间配置
1. events {
2.   use epoll;
3.   worker connections 4096;
4. }
HTTP配置
1.  http {
2.   ....
3.   access_log logs/access.log main;
4.   sendfile	on;
5.   ...
6.   keepalive_ _timeout 65;
7.   server {
8. 	listen  80;
9. 	server name localhost;
10. 	charset utf-8;
11. 	location / {
12. 		root html;
13. 		index index.html index.php; }
14. 	error_ page 500 502 503 504 /50x.html;
15. 	location = /50x.html {
16.  	root html; }}
17. }
1.5:Nginx的访问状态统计(实验过程)
启用HTTP_ STUB_ STATUS状态统计模块
配置编译参数时添加–with-http stub status module
nginx -V查看已安装的Nginx是否包含HTTP_ STUB _STATUS模块
1.  [root@localhost ~]# nginx -V
2. nginx version: nginx/1.12.0
3. built by gcc 4.8.5 20150623 (Red Hat 4.8.5-11) (GCC)
4. configure arguments: --prefix=/usr/local/nginx --user=nginx --
5. group= nginx --with-http_ stub_ status_ module
修改nginx.conf配置文件
[
1. root@localhost ~]# nginx -V
2. nginx version: nginx/1.12.0
3. built by gcc 4.8.5 20150623 (Red Hat 4.8.5-11) (GCC)
4. configure arguments: --prefix=/usr/local/nginx --user=nginx --
5. group= nginx --with-http_ stub_ status_ module
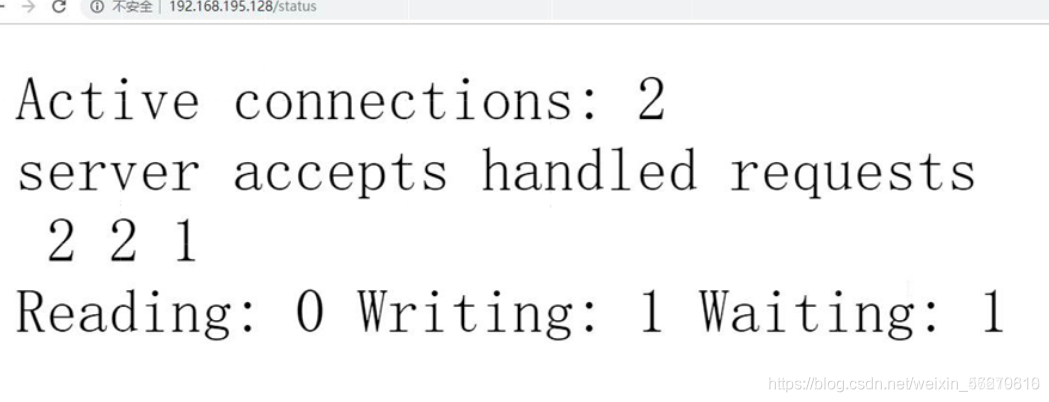
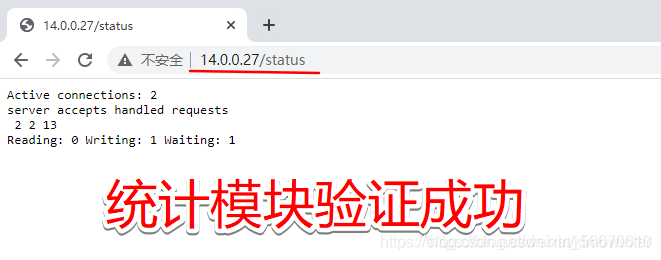
统计模块验证
[root@localhost ~]# cd /opt
将软件包拷贝到当前目录
[root@localhost opt]# ls
nginx-1.12.2.tar.gz  rh
[root@localhost opt]# iptables -F   ##关闭防火墙
[root@localhost opt]# setenforce 0   ##关闭增强型核心防护
[root@localhost opt]# yum install gcc gcc-c++ pcre pcre-devel zlib-devel -y    ##安装环境依赖包
[root@localhost opt]# tar xzvf nginx-1.12.2.tar.gz   ##解压到当前路径
[root@localhost opt]# cd nginx-1.12.2/
[root@localhost nginx-1.12.2]# useradd -M -s /sbin/nologin nginx    ##创建一个管理用户管理nginx
[root@localhost nginx-1.12.2]# ./configure \
  --prefix=/usr/local/nginx \
  --user=nginx \
  --group=nginx \
  --with-http_stub_status_module
[root@localhost nginx-1.12.2]# make && make install
[root@localhost nginx-1.12.2]# ln -s /usr/local/nginx/sbin/nginx /usr/local/bin/   ##创建软连接方便使用
 [root@localhost nginx-1.12.2]# vim /etc/init.d/nginx   ##编辑一个管理脚本,service管理
#!/bin/bash
#chkconfig:-  99 20
#description:Nginx Service Control Script
PROG="/usr/local/nginx/sbin/nginx"
PIDF="/usr/local/nginx/logs/nginx.pid"
case "$1" in
 start)
  $PROG
 ;;
stop)
   kill -s QUIT $(cat $PIDF)
 ;;
restart)
 $0 stop
 $0 start
 ;;
reload)
 kill -s HUP $(cat $PIDF)
 ;;
 *)
   echo "Usage:$0{start|stop|restart|reload}"
   exit 1
esac
exit 0
[root@localhost nginx-1.12.2]# chmod +x /etc/init.d/nginx   ##给执行权限
[root@localhost nginx-1.12.2]# chkconfig --add /etc/init.d/nginx    ##添加到service管理
[root@localhost nginx-1.12.2]# service nginx start   ##开启服务
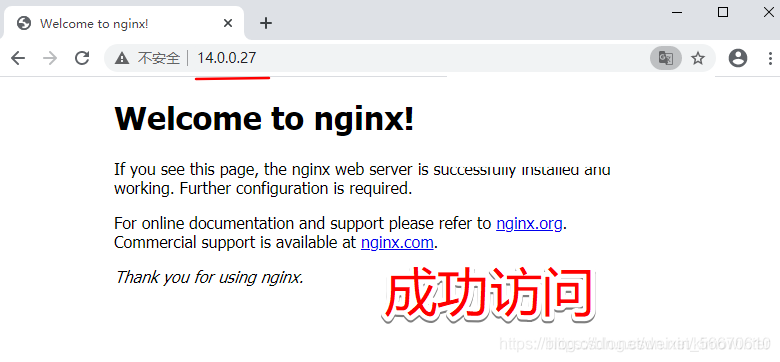
在win10 虚拟机验证
1. [root@localhost nginx-1.12.2]# cd conf/
2. [root@localhost conf]# vim nginx.conf
3. location /status {
4.             stub_status on;
5.             access_log off;
6.         }
7. [root@localhost conf]# service nginx stop
8. [root@localhost conf]# service nginx start
在win10虚拟机中验证
二:Nginx访问控制
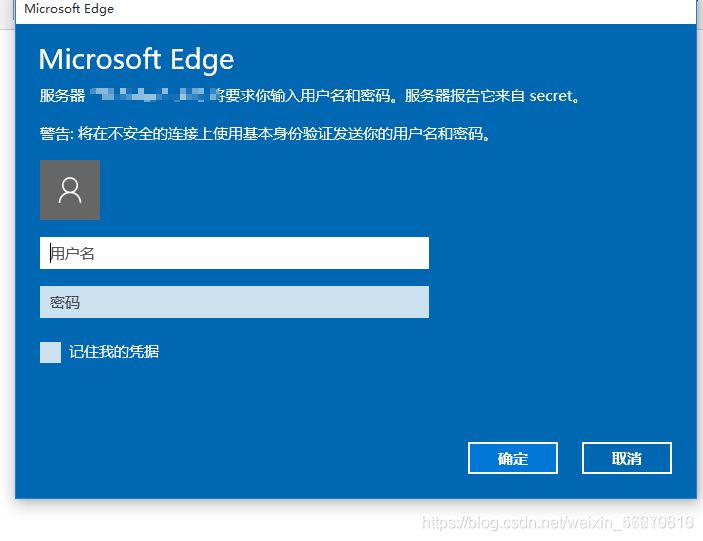
2.1:基于授权的访问控制
配置步骤与Apache基本一致
生成用户密码认证文件
修改主配置文件对相应目录,添加认证配置项
重启服务,访问测试
生成用户密码认证文件
1. [root@localhost ~]# nginx -V
2. nginx version: nginx/1.12.0
3. built by gcc 4.8.5 20150623 (Red Hat 4.8.5-11) (GCC)
4. configure arguments: --prefix=/usr/local/nginx --user=nginx --
5. group= nginx --with-http_ stub_ status_ module
修改主配置文件对相应目录,添加认证配置项
1. [root@localhost ~]# nginx -V
2. nginx version: nginx/1.12.0
3. built by gcc 4.8.5 20150623 (Red Hat 4.8.5-11) (GCC)
4. configure arguments: --prefix=/usr/local/nginx --user=nginx --
5. group= nginx --with-http_ stub_ status_ module
重启服务,访问测试
1. [root@localhost ~]# nginx -V
2. nginx version: nginx/1.12.0
3. built by gcc 4.8.5 20150623 (Red Hat 4.8.5-11) (GCC)
4. configure arguments: --prefix=/usr/local/nginx --user=nginx --
5. group= nginx --with-http_ stub_ status_ module
此时访问网页会要求输入账号密码
2.2:基于客户端的访问控制
通过客户端IP地址,决定是否允许对页面访问
配置规则
deny IP/IP段:拒绝某个IP或IP段的客户端访问
allow IP/IP段:允许某个IP或IP段的客户端访问
规则从上往下执行,如匹配则停止,不再往下匹配
配置步骤
修改主配置文件nginx.conf,添加相应配置项。
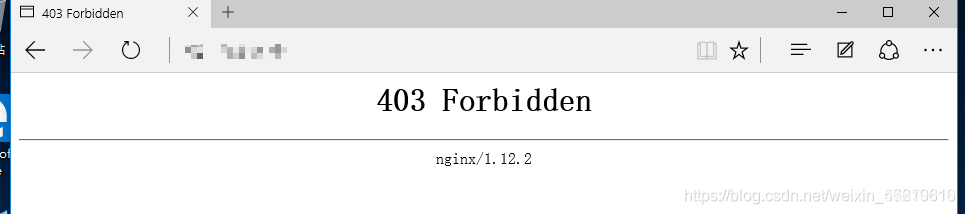
除主机192.168.195.128之外允许其他客户端访问
1. [root@localhost ~]# nginx -V
2. nginx version: nginx/1.12.0
3. built by gcc 4.8.5 20150623 (Red Hat 4.8.5-11) (GCC)
4. configure arguments: --prefix=/usr/local/nginx --user=nginx --
5. group= nginx --with-http_ stub_ status_ module
访问测试,会报错403
三:Nginx虚拟主机
3.1:Nginx虚拟主机应用
Nginx支持的虚拟主机有三种
基于域名的虚拟主机
基于IP的虚拟主机
基于端口的虚拟主机
通过"server{}" 配置段实现
3.2:基于域名的虚拟Web主机
配置步骤
准备网站目录及测试文件
1. [root@localhost ~]# nginx -V
2. nginx version: nginx/1.12.0
3. built by gcc 4.8.5 20150623 (Red Hat 4.8.5-11) (GCC)
4. configure arguments: --prefix=/usr/local/nginx --user=nginx --
5. group= nginx --with-http_ stub_ status_ module
调整nginx.conf配置文件
1. [root@localhost ~]# nginx -V
2. nginx version: nginx/1.12.0
3. built by gcc 4.8.5 20150623 (Red Hat 4.8.5-11) (GCC)
4. configure arguments: --prefix=/usr/local/nginx --user=nginx --
5. group= nginx --with-http_ stub_ status_ module
这个简单,和通过域名访问即可
3.3:基于端口的虚拟web主机
配置步骤
修改配置文件
1.  [root@localhost ~]# nginx -V
2. nginx version: nginx/1.12.0
3. built by gcc 4.8.5 20150623 (Red Hat 4.8.5-11) (GCC)
4. configure arguments: --prefix=/usr/local/nginx --user=nginx --
5. group= nginx --with-http_ stub_ status_ module
3.4:基于IP的虚拟web主机
配置步骤
主机配置两个IP地址
修改配置文件
1. [root@localhost ~]# nginx -V
2. nginx version: nginx/1.12.0
3. built by gcc 4.8.5 20150623 (Red Hat 4.8.5-11) (GCC)
4. configure arguments: --prefix=/usr/local/nginx --user=nginx --
5. group= nginx --with-http_ stub_ status_ module


 903
903

 被折叠的 条评论
为什么被折叠?
被折叠的 条评论
为什么被折叠?
 到【灌水乐园】发言


