


Zabbix 安装
Zabbix 安装
Zabbix 分为两种版本: LTS 和标准版本
官方文档:https://www.zabbix.com/cn/life_cycle_and_release_policy
Zabbix LTS
LTS 代表“长期支持版本”。Zabbix LTS 版本每一年半发布一次,且为 Zabbix 客户提供五年的支持服务
- 3 年全面支持 - 支持修复基础的、紧急的以及安全性上的问题
- 2 年最低限度支持 - 仅限支持修复紧急的和安全性上的问题
Zabbix LTS(长期支持)版本没有任何额外的或隐藏的消费成本。Zabbix 是一个 100% 开源软件,每个 人都可以下载使用。
Zabbix LTS 特点:
- 支持期限更长,例如:为潜在的安全问题及 bug 迭代更新
- 令人期待的高质量更新以及全新的功能点
- 快速更新,可适用于多变的复杂环境
- 在版本升级方面,更容易规划管理
**Zabbix 安装要求:**https://www.zabbix.com/documentation/6.0/zh/manual/installation/requirements
1. 安装 Zabbix Server
二进制包安装: 官方提供了二进制包安装的方法,可以支持 CentOS 和 Debian/Ubuntu 的安装
源码编译安装: 部署繁琐,生产环境定制安装可以使用
基于容器安装: 测试环境使用
官方包仓库: https://repo.zabbix.com/
镜像源: https://mirrors.aliyun.com/zabbix/
https://mirrors.tuna.tsinghua.edu.cn/zabbix/
1.1 二进制包安装 Zabbix Server
官方文档:https://www.zabbix.com/download
二进制包安装 Zabbix 官方参考文档: https://www.zabbix.com/documentation/6.0/zh/manual/installation/install_from_packages
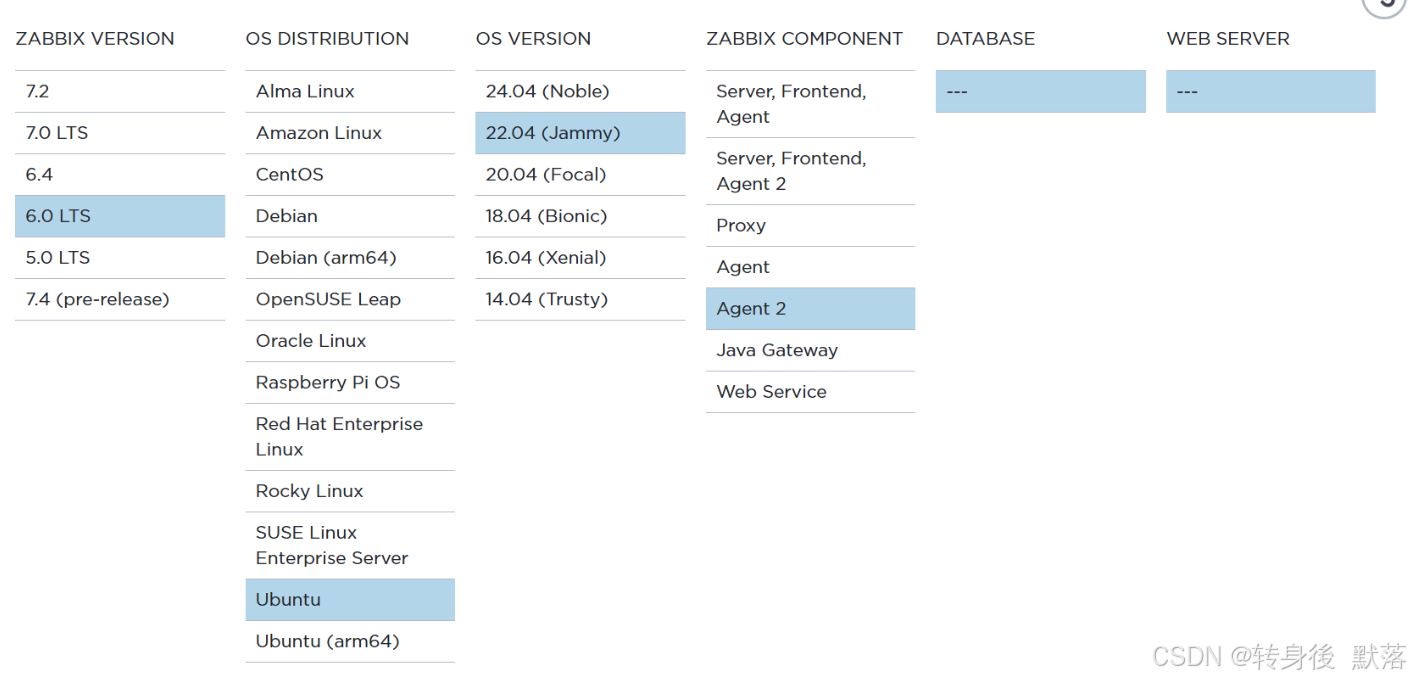
Ubuntu22.04 安装 Zabbix Server 6.0
选择好对应的组件
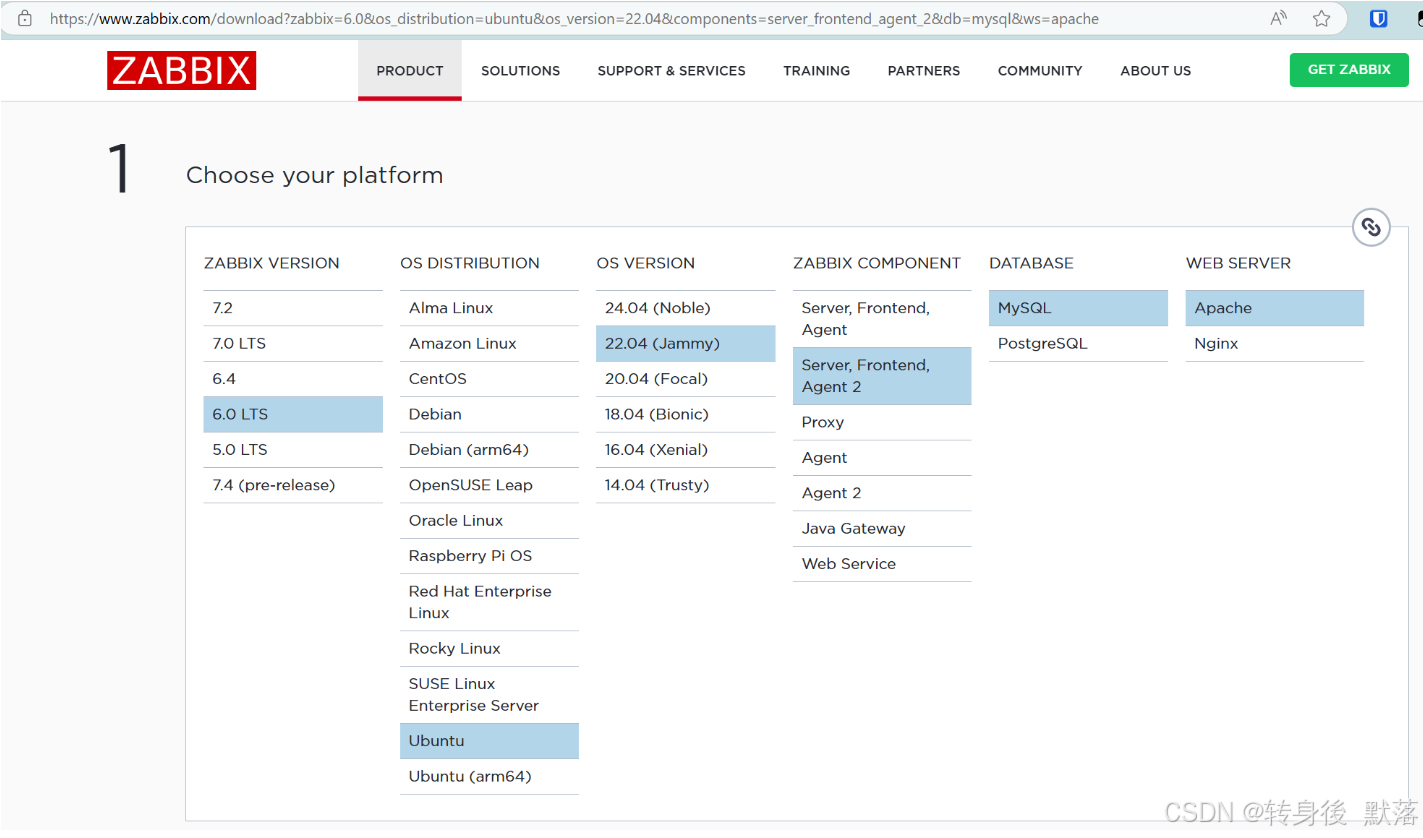
按照下图的步骤安装
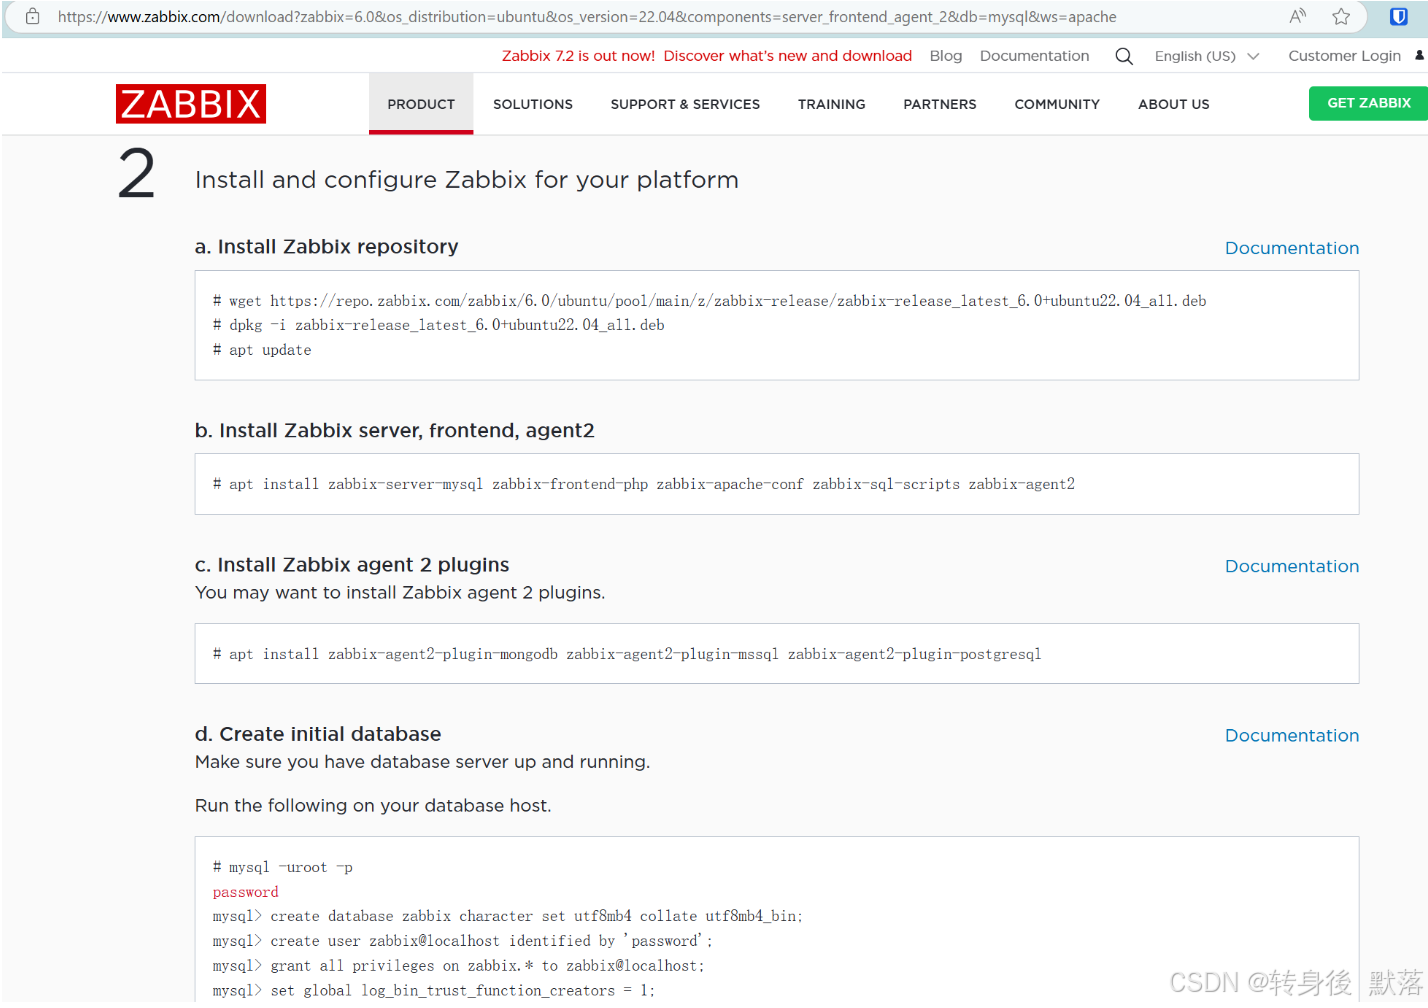
# 官网镜像下载
[root@Ubuntu2204 ~]#wget https://repo.zabbix.com/zabbix/6.0/ubuntu/pool/main/z/zabbix-release/zabbix-release_latest_6.0+ubuntu22.04_all.deb
[root@Ubuntu2204 ~]#dpkg -i zabbix-release_latest_6.0+ubuntu22.04_all.deb
[root@Ubuntu2204 ~]#cat /etc/apt/sources.list.d/zabbix.list

# 镜像加速更新为国内源
[root@Ubuntu2204 ~]#sed -i.bak 's#https://repo.zabbix.com#https://mirrors.aliyun.com/zabbix#' /etc/apt/sources.list.d/zabbix.list
[root@Ubuntu2204 ~]#cat /etc/apt/sources.list.d/zabbix.list
[root@Ubuntu2204 ~]#apt update

# 安装 Zabbix server, frontend, agent2 包
[root@Ubuntu2204 ~]#apt install -y zabbix-server-mysql zabbix-frontend-php zabbix-apache-conf zabbix-sql-scripts zabbix-agent2

# 安装 Zabbix agent2 插件
[root@Ubuntu2204 ~]#apt install -y zabbix-agent2-plugin-mongodb zabbix-agent2-plugin-mssql zabbix-agent2-plugin-postgresql

# 安装 MySQL
[root@Ubuntu2204 ~]#apt -y install mysql-server

# 创建初始数据库 (MySQL 默认的 root 密码为空)
[root@Ubuntu2204 ~]#mysql -uroot -p
Enter password: # 直接回车
Welcome to the MySQL monitor.  Commands end with ; or \g.
Your MySQL connection id is 8
Server version: 8.0.41-0ubuntu0.22.04.1 (Ubuntu)

Copyright (c) 2000, 2025, Oracle and/or its affiliates.

Oracle is a registered trademark of Oracle Corporation and/or its
affiliates. Other names may be trademarks of their respective
owners.

Type 'help;' or '\h' for help. Type '\c' to clear the current input statement.

mysql> create database zabbix character set utf8mb4 collate utf8mb4_bin;
Query OK, 1 row affected (0.01 sec)

mysql> create user zabbix@localhost identified by 'password';
Query OK, 0 rows affected (0.02 sec)

mysql> grant all privileges on zabbix.* to zabbix@localhost;
Query OK, 0 rows affected (0.00 sec)

mysql> set global log_bin_trust_function_creators = 1;
Query OK, 0 rows affected, 1 warning (0.00 sec)

mysql> quit;
Bye

# 导入初始架构和数据,系统将提示您输入新创建的密码
[root@Ubuntu2204 ~]#zcat /usr/share/zabbix-sql-scripts/mysql/server.sql.gz | mysql --default-character-set=utf8mb4 -uzabbix -p zabbix
Enter password: # 输入password 是这里创建的密码(create user zabbix@localhost identified by 'password';)

# 导入数据库架构后禁用 log_bin_trust_function_creators 选项
[root@Ubuntu2204 ~]#mysql -uroot -p
Enter password:
Welcome to the MySQL monitor.  Commands end with ; or \g.
Your MySQL connection id is 12
Server version: 8.0.41-0ubuntu0.22.04.1 (Ubuntu)

Copyright (c) 2000, 2025, Oracle and/or its affiliates.

Oracle is a registered trademark of Oracle Corporation and/or its
affiliates. Other names may be trademarks of their respective
owners.

Type 'help;' or '\h' for help. Type '\c' to clear the current input statement.

mysql> set global log_bin_trust_function_creators = 0;
Query OK, 0 rows affected, 1 warning (0.00 sec)

mysql> quit;
Bye

# 为 Zabbix server 配置数据库
[root@Ubuntu2204 ~]#vim /etc/zabbix/zabbix_server.conf

DBPassword=password

# 启动 Zabbix server 和 agent 进程
[root@Ubuntu2204 ~]#systemctl restart zabbix-server zabbix-agent2 apache2
[root@Ubuntu2204 ~]#systemctl enable zabbix-server zabbix-agent2 apache2
打开 Zabbix UI 网页
# 安装中文包
[root@Ubuntu2204 ~]#apt -y install language-pack-zh-hans
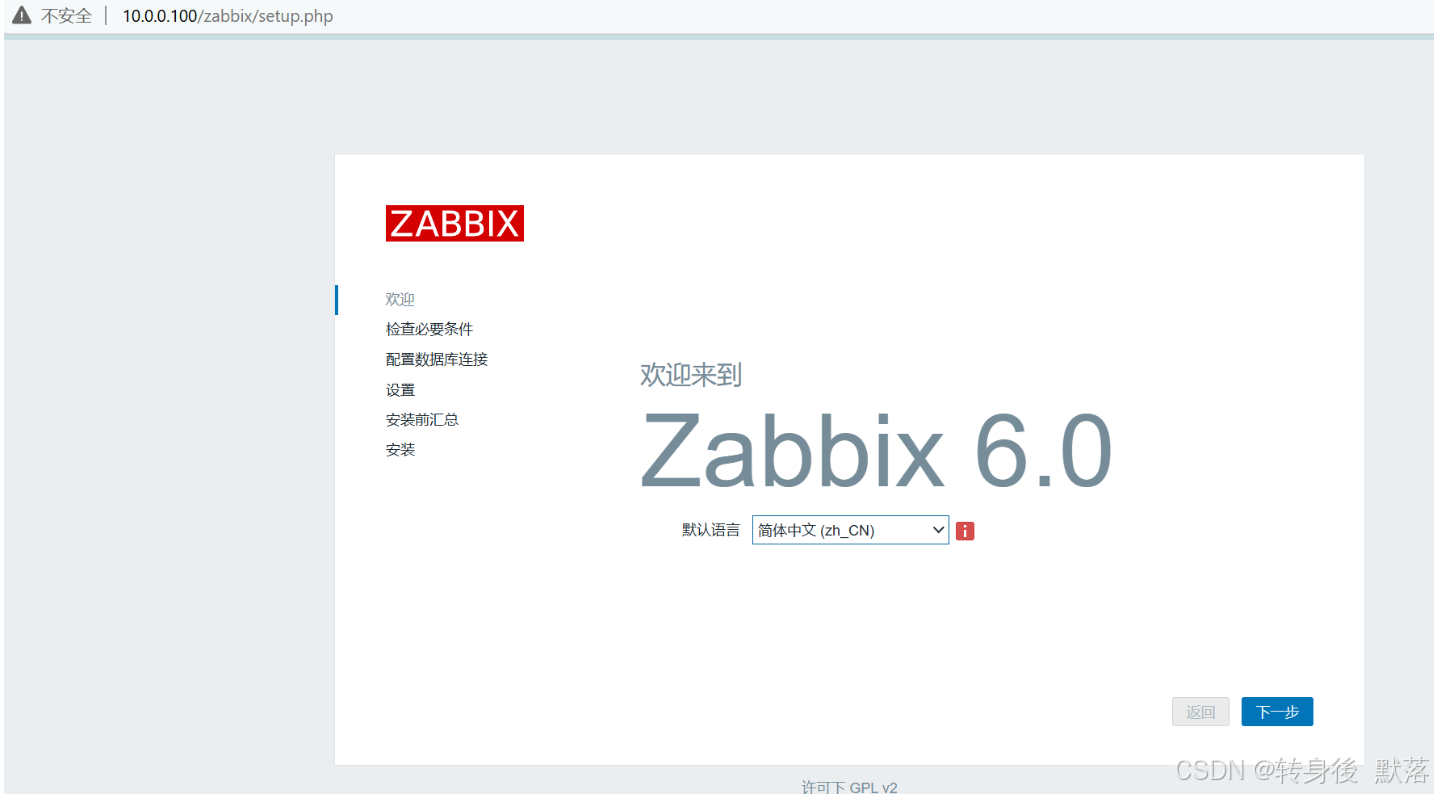
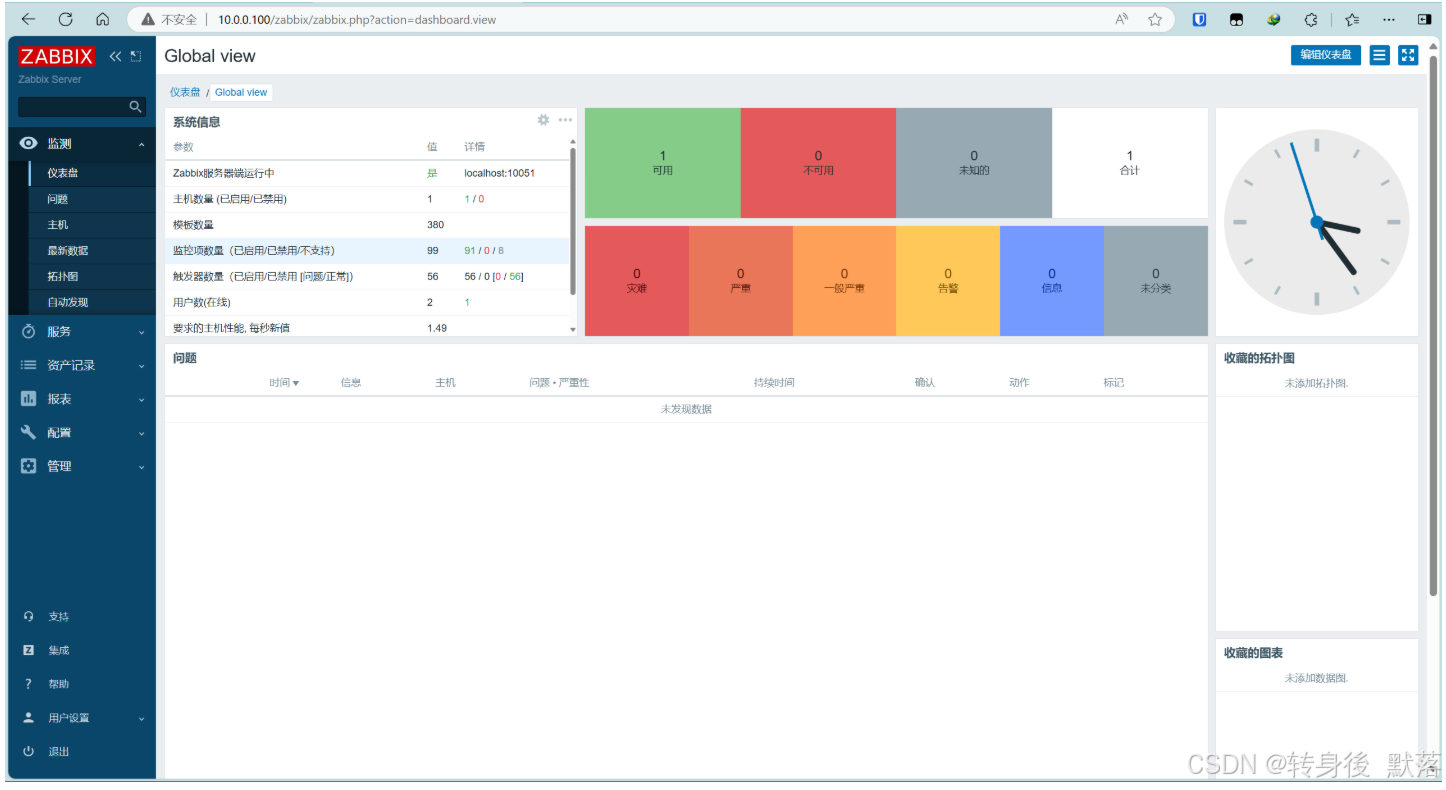
使用 Apache Web 服务器时,Zabbix UI 的默认 URL 为 http://host/zabbix
初始页面,可以修改语言
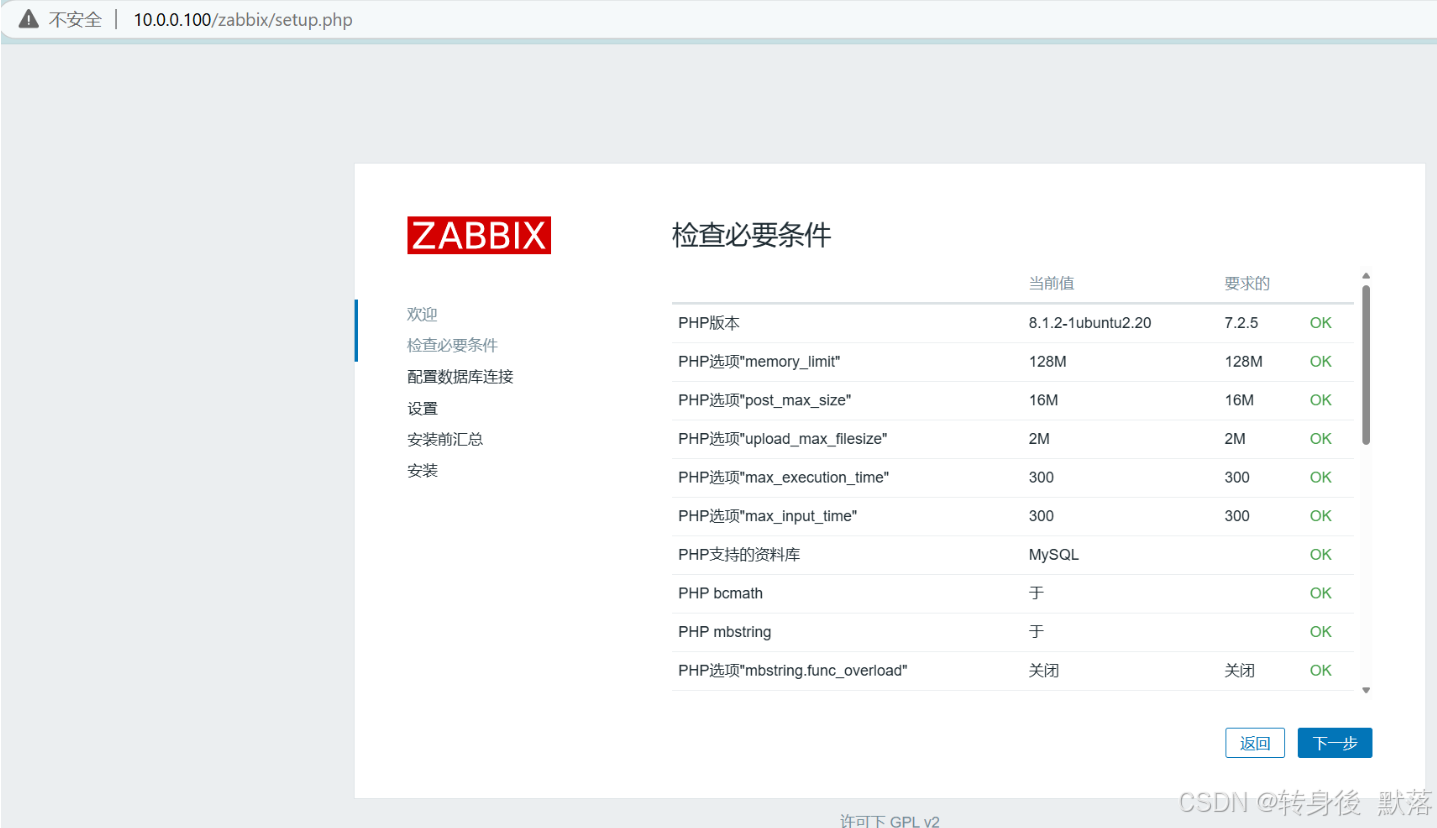
检查必要条件
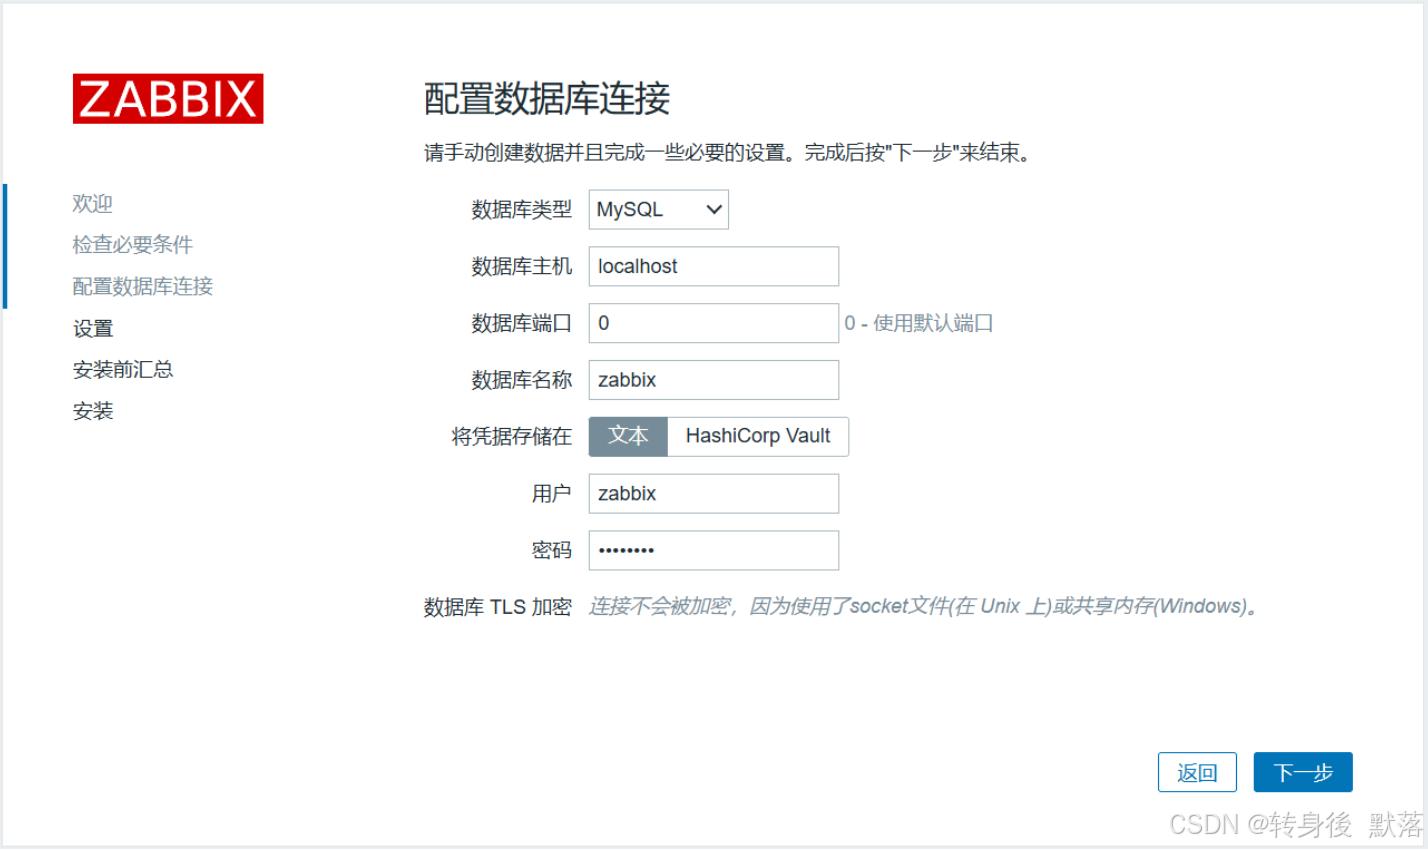
配置数据库连接
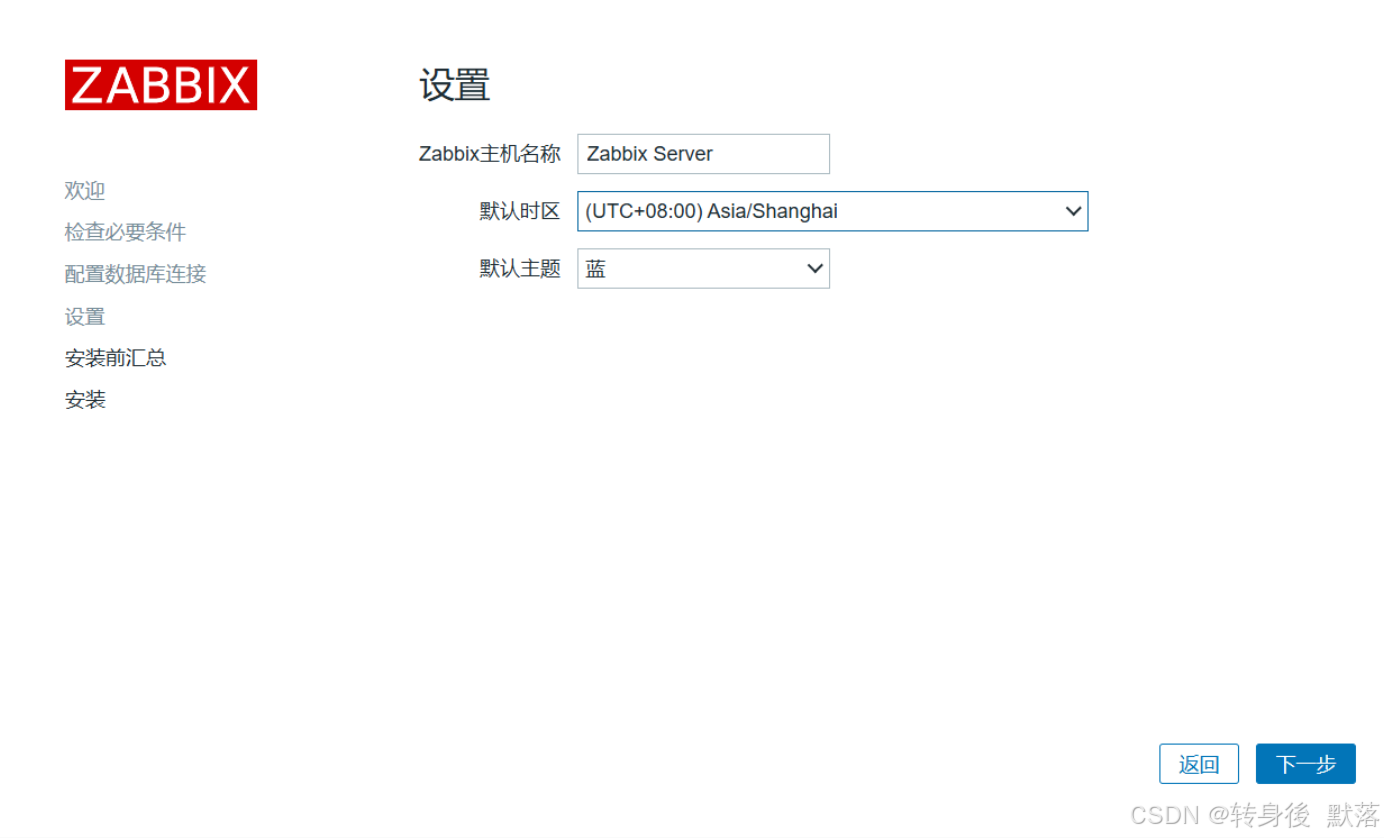
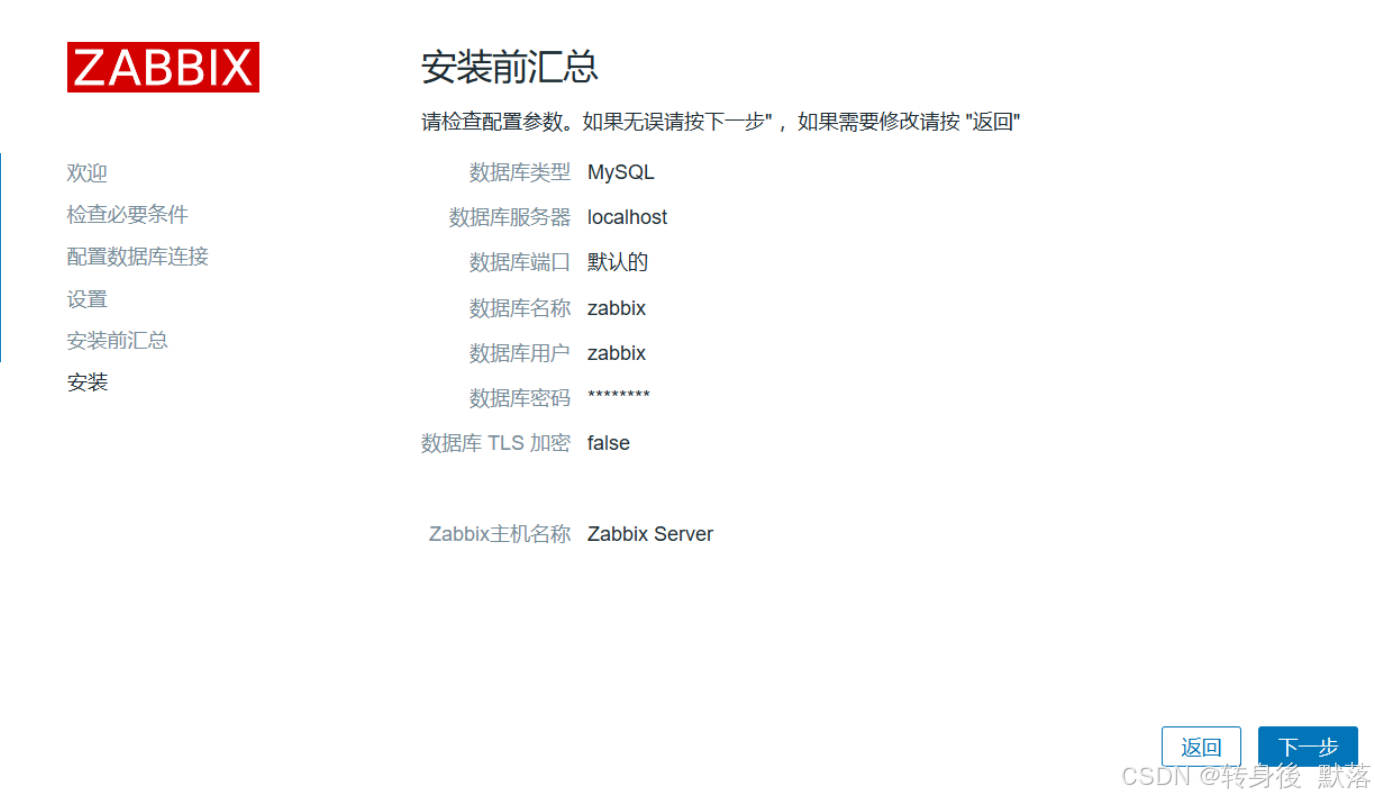
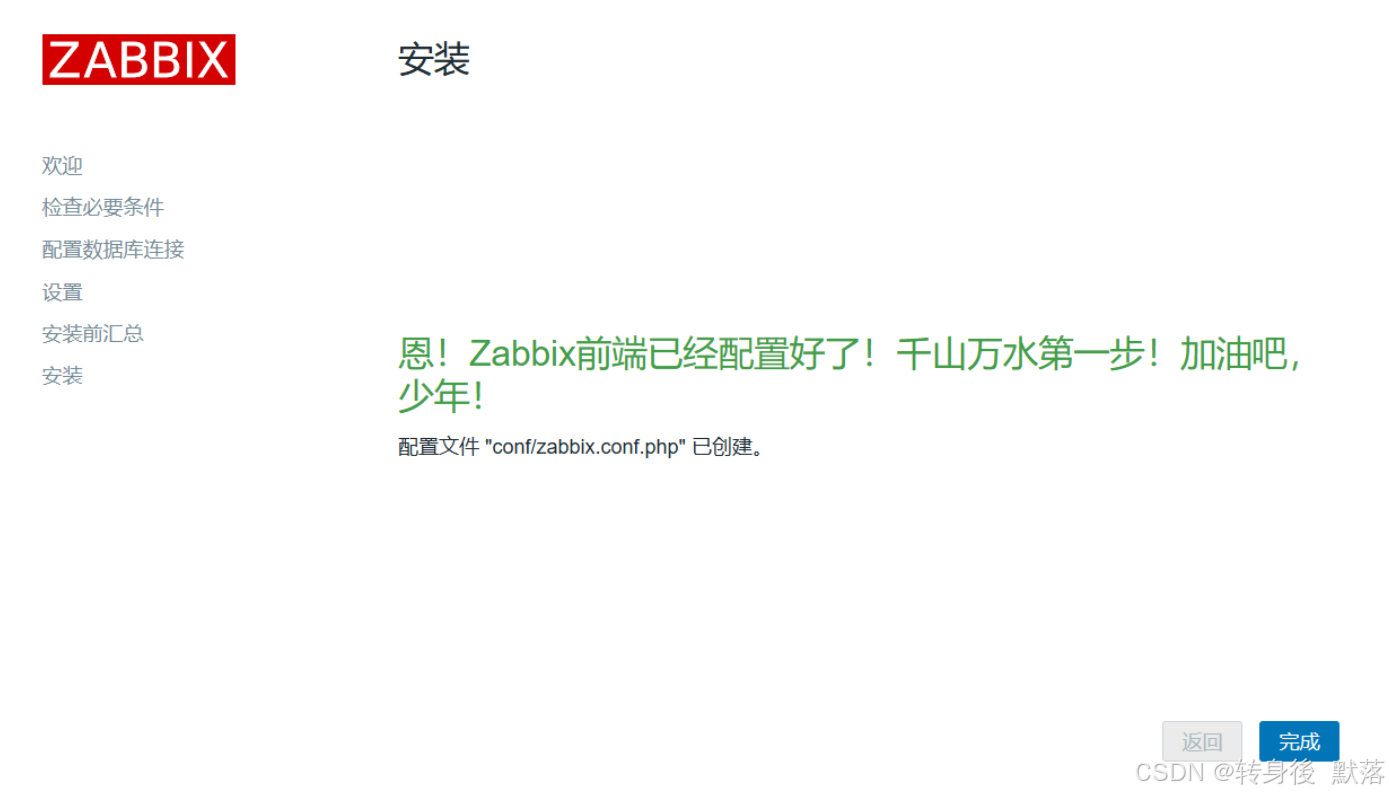
指定主机名称和时区
登录 Web 管理页面,第一次登录, 默认的用户名是 Admin,密码是 zabbix
上面所填写的内容保存在下面文件中
[root@Ubuntu2204 ~]#cat /usr/share/zabbix/conf/zabbix.conf.php
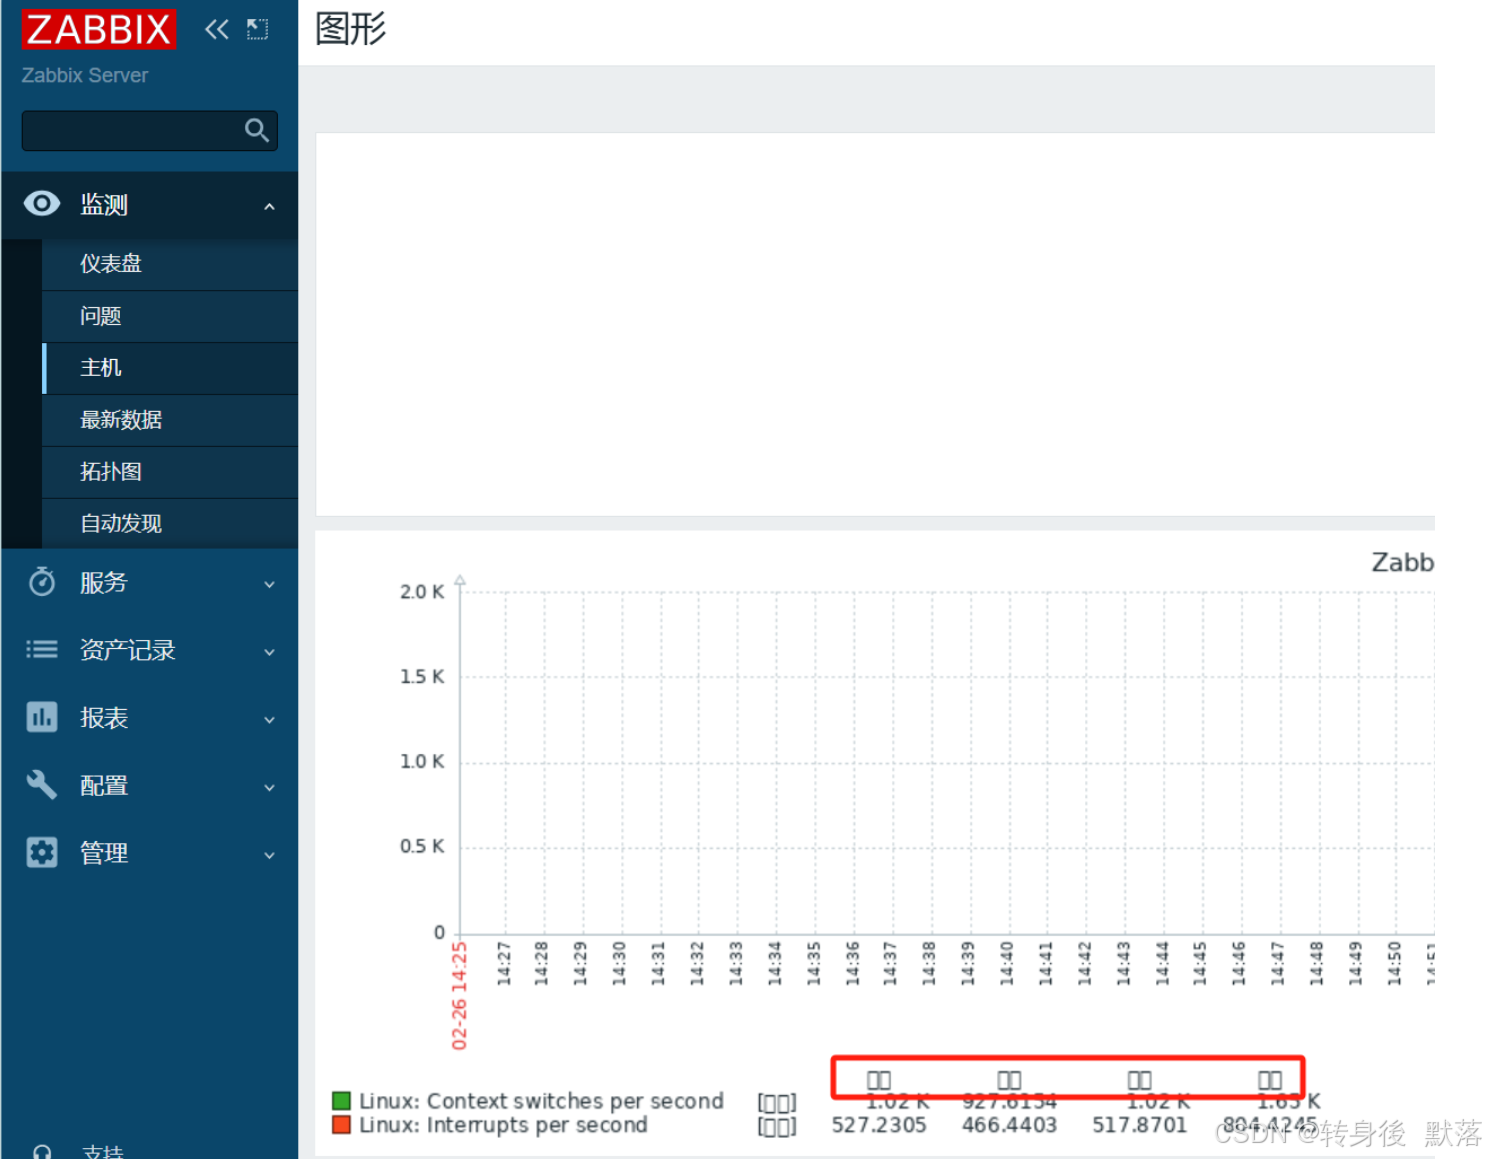
中文字体乱码解决
在 Windows 中找一个中文字体
Win + R 键后输入 fonts
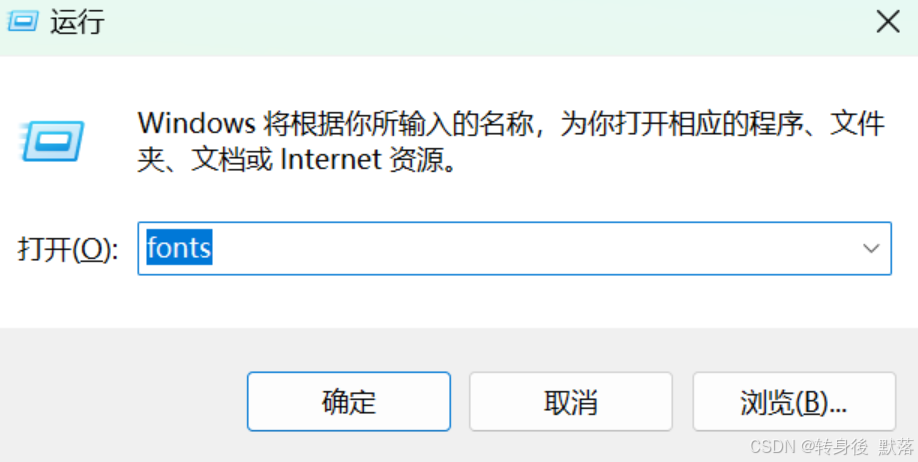
选择里面自己喜欢的字体复制一个到桌面

将字体上传到 Zabbix Server
[root@Ubuntu2204 ~]#ls
SIMLI.TTF

# 替换默认字体
[root@Ubuntu2204 ~]#mv /usr/share/fonts/truetype/dejavu/DejaVuSans.ttf{,.bak}
[root@Ubuntu2204 ~]#mv SIMLI.TTF /usr/share/fonts/truetype/dejavu/DejaVuSans.ttf
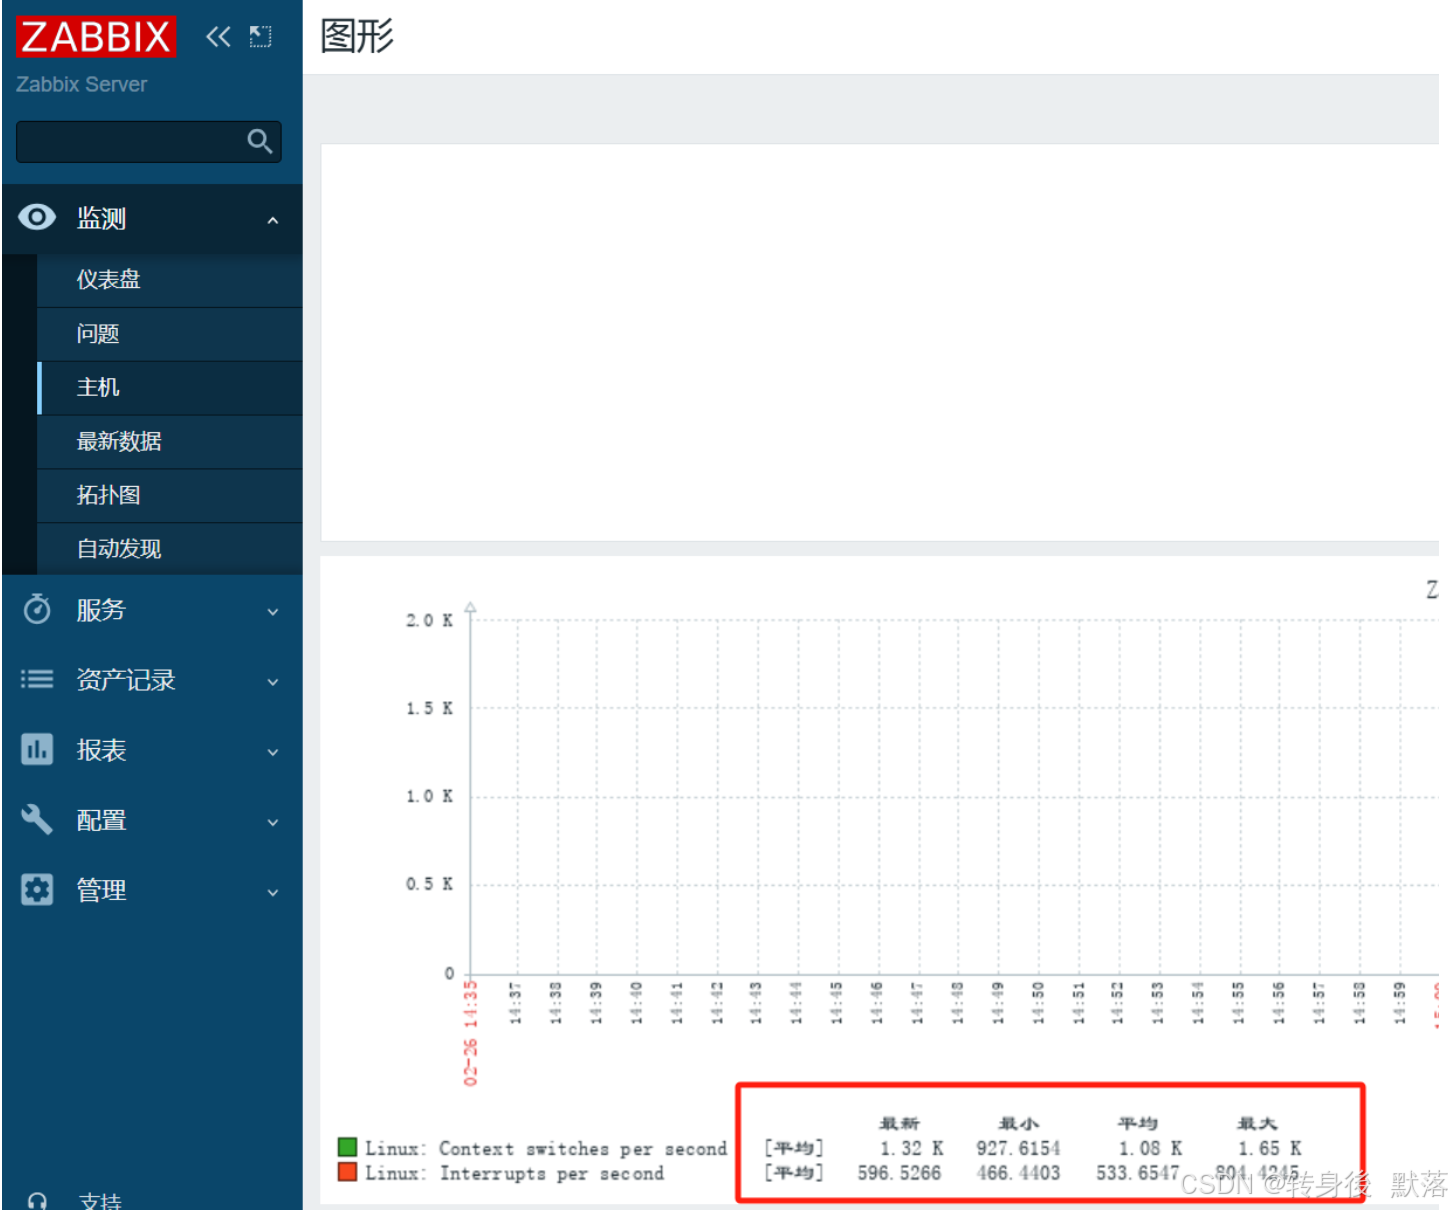
再次查看 Web 显示正常
2. 安装 Zabbix Agent
Zabbix Agent 需要安装到被监控的主机上,它负责定期收集各项数据,并发送到 zabbix server 端
zabbix server 将数据存储到数据库中,zabbix web 访问数据库在前端进行展现和绘图。
Zabbix agent 2 是新一代的 Zabbix agent
Zabbix Agent2 特点
- 减少 TCP 连接的数量
- 基于 go 开发,支持更大的并发性检查
- 插件易于扩展。插件应该能够
- 提供琐碎的检查,包括只有几个简单的代码行
- 提供复杂的检查,包括长期运行的脚本和独立的数据收集,并定期发回数据
- 是 Zabbix agent 的替代版版本(因为它支持所有以前的功能)
- agent2 是多线程模式,agent 是多进程模式
安装Zabbix Agent 有三种方式
- 包安装
- 二进制安装
- 编译安装
2.1 包安装 Zabbix Agent2
选择好对应的版本,按照步骤安装

# 安装 Zabbix 仓库
[root@Ubuntu2204 ~]#wget https://repo.zabbix.com/zabbix/6.0/ubuntu/pool/main/z/zabbix-release/zabbix-release_latest_6.0+ubuntu22.04_all.deb
[root@Ubuntu2204 ~]#dpkg -i zabbix-release_latest_6.0+ubuntu22.04_all.deb

# # 镜像加速更新为国内源
[root@Ubuntu2204 ~]#sed -i.bak 's#https://repo.zabbix.com#https://mirrors.aliyun.com/zabbix#' /etc/apt/sources.list.d/zabbix.list
[root@Ubuntu2204 ~]#cat /etc/apt/sources.list.d/zabbix.list
[root@Ubuntu2204 ~]#apt update

# 安装 Zabbix agent2
[root@Ubuntu2204 ~]#apt install -y zabbix-agent2

# 安装 Zabbix agent2 插件
[root@Ubuntu2204 ~]#apt install -y zabbix-agent2-plugin-mongodb zabbix-agent2-plugin-mssql zabbix-agent2-plugin-postgresql

# 修改配置
[root@Ubuntu2204 ~]#vim /etc/zabbix/zabbix_agent2.conf

Server=10.0.0.100	# 必须指向Zabbix Server

# 启动 Zabbix agent2 进程
[root@Ubuntu2204 ~]#systemctl restart zabbix-agent2
[root@Ubuntu2204 ~]#systemctl enable zabbix-agent2


 3030
3030

 被折叠的 条评论
为什么被折叠?
被折叠的 条评论
为什么被折叠?
 到【灌水乐园】发言


