


 本文详细介绍了如何搭建Spring Cloud Config分布式配置中心,包括创建git仓库、配置config服务器、配置config客户端,以及启动并测试访问。通过Config,可以实现微服务应用的集中化配置管理,并确保配置更新时,服务能够实时获取到最新配置。
目录
一、config介绍
1、用来为分布式系统中的基础设施和微服务应用提供集中化的外部配置支持,分为服务端和客户端两个部分。
2、服务端也称为分布式配置中心,它是一个独立的微服务应用,用来连接配置仓库并为客户端提供获取配置信息、加密\解密信息等访问接口。
3、客户端是微服务架构中的各个微服务应用或基础设施,他们通过指定的配置中心来管理应用资源与业务相关的配置内容,并在启动的时候从配置中心获取和加载配置信息。
二、当前项目环境
zuul作为网关可以远程调用item-service、user-service、order-service。现在需要添加config,配置这四个的配置文件yml。

三、配置config仓库
1、创建空文件夹
在此项目目录下创建空的文件夹,命名为config作为仓库的名称

2、导入application.yml配置文件
将item-service、user-service、order-service和zuul的yml文件复制到config仓库中,并且修改名称为item-service-dev.yml、user-service-dev.yml、order-service-dev.yml、zuul-dev.yml
注意:需要将四个模块中的application.yml文件清空

3、修改yml配置文件
这里默认的配置中心配置优先级高,会覆盖客户端的所有配置,包括命令行的参数。
会使服务搭建的集群的命令行参数失效,比如:--service.port=8001和--service.port=8002.
需要通过配置spring.cloud.config.override-none:true来保证不会被修改。
注意:这里需要将四个配置文件都修改,下图是item-service-dev修改后的效果

#向注册中心注册的"服务ID"
spring:
  application:
    name: item-service
  #默认配置中心配置优先级高,配置中心配置会覆盖客户端的所有配置,包括命令行参数配置
  cloud:
    config:
      override-none: true

#商品:8001
#用户:8101
#订单:8201
server:
  port: 8001

#defaultZone - 默认地点
#如果使用云服务器,可以由服务商提供不同的地点的服务器
eureka:
  client:
    service-url:
      defaultZone: http://eureka1:2001/eureka,http://eureka2:2002/eureka
4、将config仓库上传到gitHub仓库
//TODO 如何配置与上传代码到gitHub的文章
四、配置config服务器
1、创建项目
2、配置pom
加入eureka和config依赖
<dependency>
     <groupId>org.springframework.cloud</groupId>
     <artifactId>spring-cloud-config-server</artifactId>
</dependency>
<dependency>
      <groupId>org.springframework.cloud</groupId>
      <artifactId>spring-cloud-starter-netflix-eureka-client</artifactId>
</dependency>
3、配置yml
服务名称为config-server,端口使用6001,配置自己的gitHub仓库以及用户名密码
spring:
  application:
    name: config-server

  cloud:
    config:
      server:
        git:
          uri: https://github.com/自己的仓库路径
          searchPaths: config
          username: 自己的账户
          password: 自己的密码

server:
  port: 6001

eureka:
  client:
    service-url:
      defaultZone: http://eureka1:2001/eureka, http://eureka2:2002/eureka
其中,gitHub相关的属性说明如下:
spring.cloud.config.server.git.uri=配置git仓库位置
spring.cloud.config.server.git.searchPaths=配置仓库路径下的相对搜索位置,可以配置多个
spring.cloud.config.server.git.username=访问git仓库的用户名
spring.cloud.config.server.git.password=访问git仓库的密码
我自己的仓库配置图为:
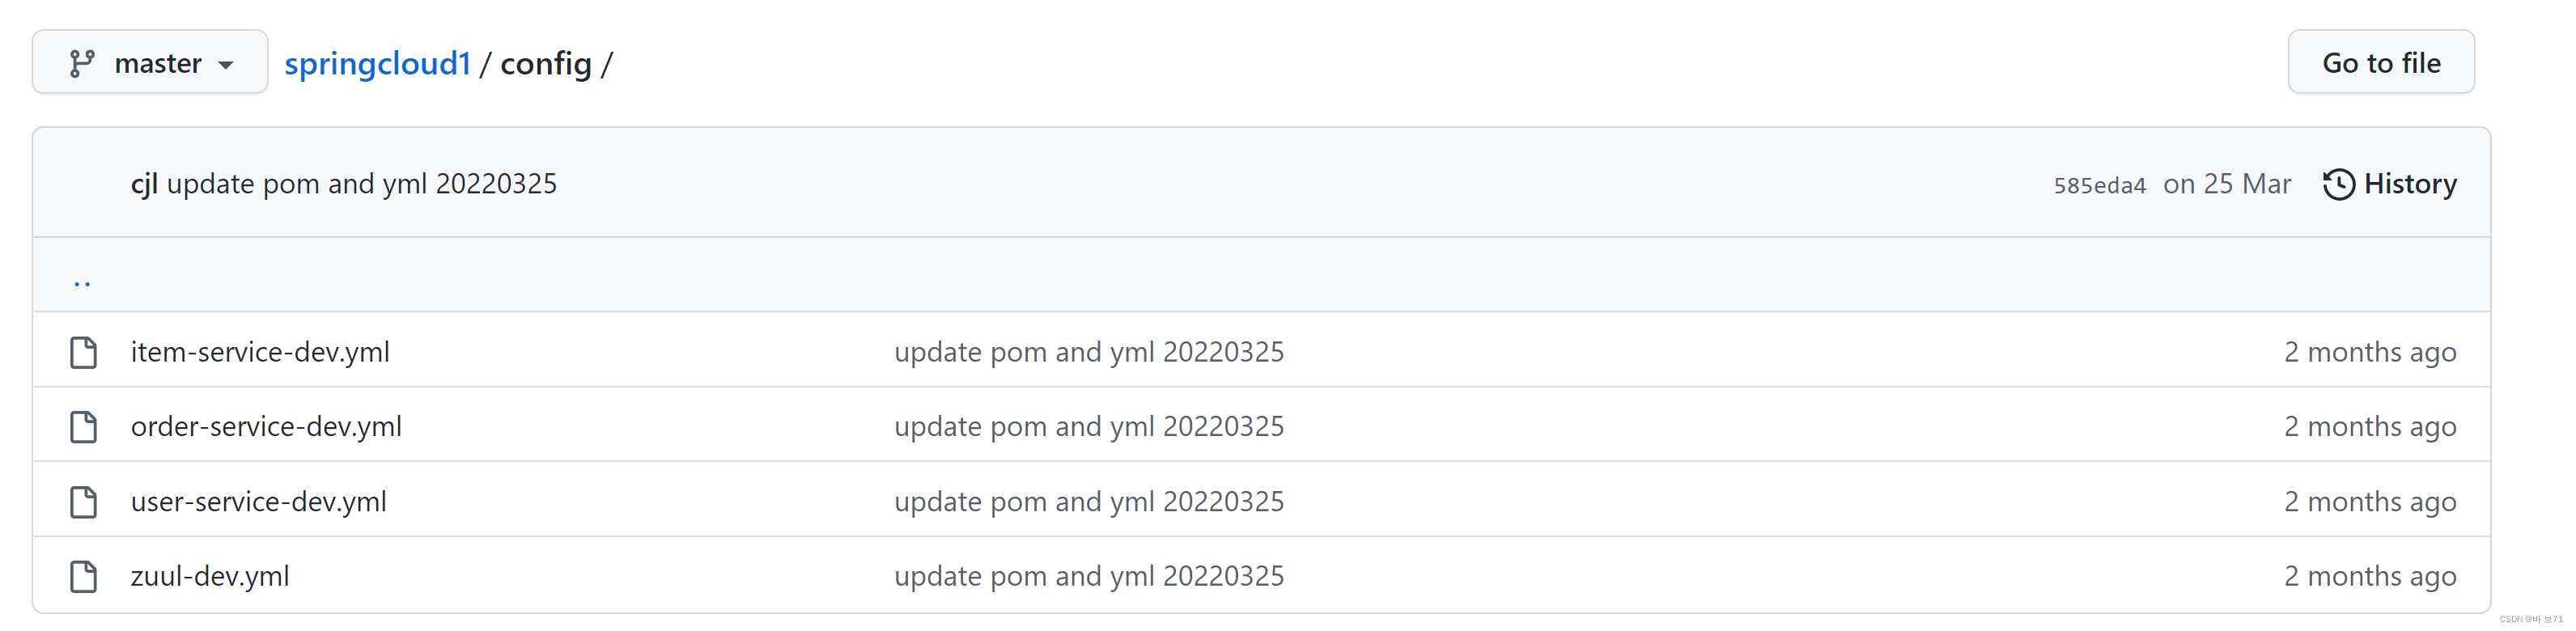
4、主程序
添加@EnableConfigServer和@EnableDiscoveryClient注解
package cn.tedu.sp12;

import ...;

@EnableConfigServer
@EnableDiscoveryClient
@SpringBootApplication
public class Sp12ConfigApplication {

    public static void main(String[] args) {
        SpringApplication.run(Sp12ConfigApplication.class, args);
    }

}
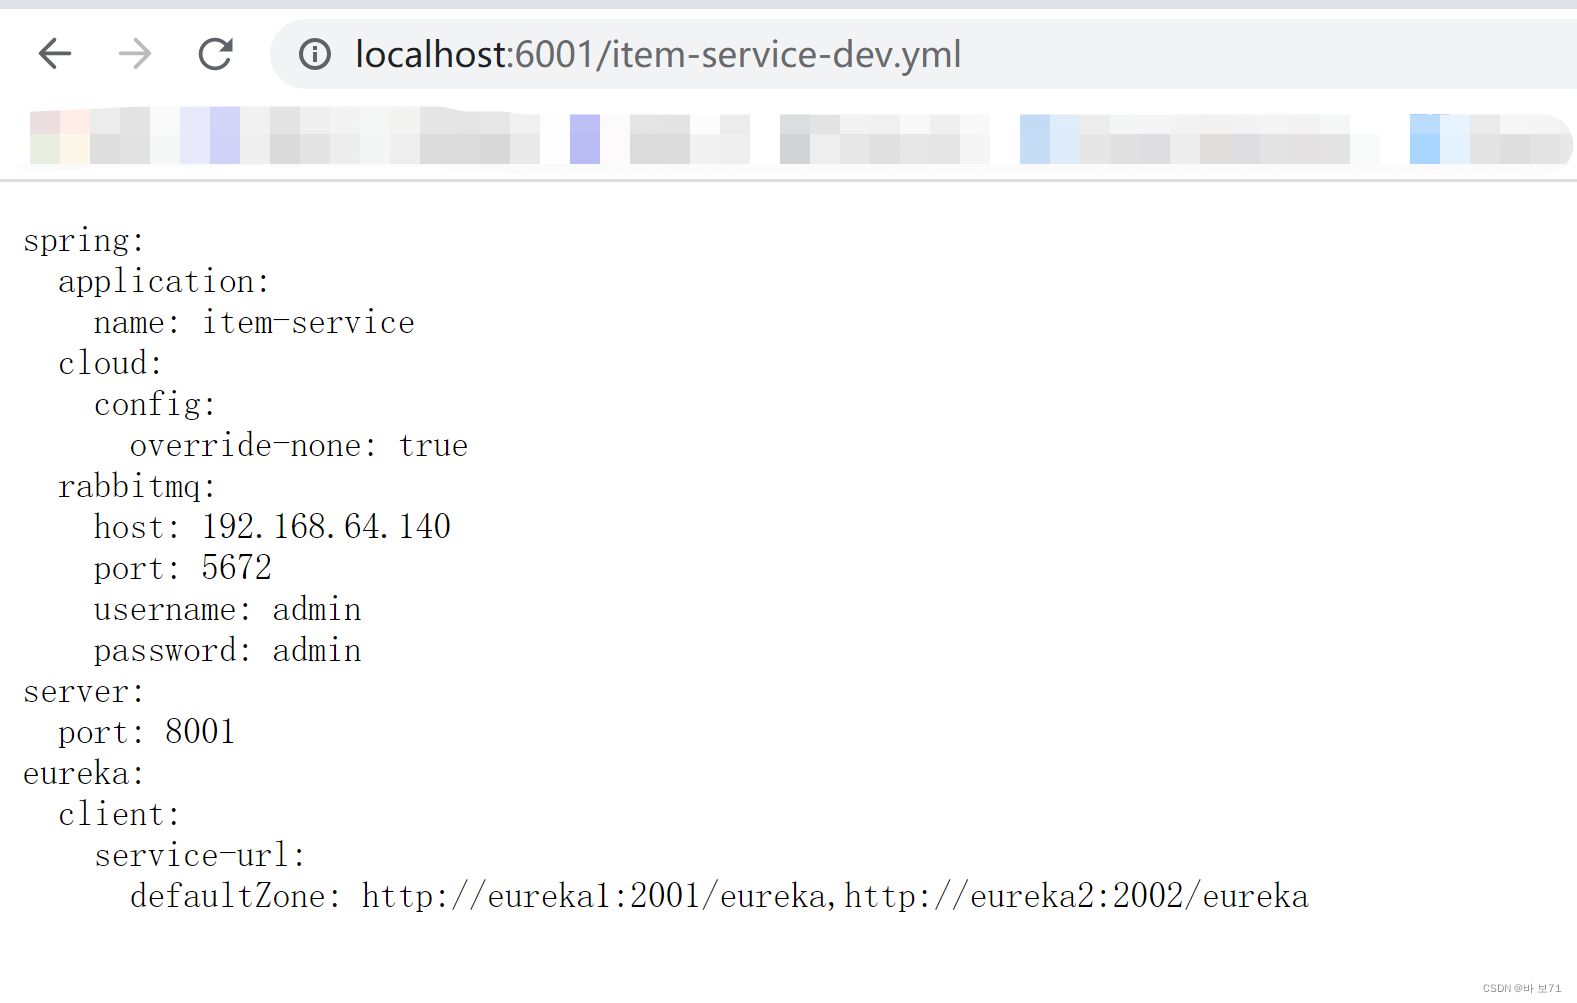
5、启动项目,测试访问
可以通过以下两种格式访问
http://localhost:6001/item-service/dev

http://localhost:6001/item-service-dev.yml
五、配置config客户端
需要修改item-service、user-service、order-service和zuul这四个模块
1、编辑pom
四个模块分别添加config client依赖
<dependency>
	<groupId>org.springframework.cloud</groupId>
	<artifactId>spring-cloud-starter-config</artifactId>
</dependency>
2、创建bootstrap.yml
bootstrap.yml,引导配置文件,先于application.yml加载
item-service
spring:
  cloud:
    config:
      discovery:
        enabled: true
        service-id: config-server
      name: item-service
      profile: dev

eureka:
  client:
    service-url:
      defaultZone: http://eureka1:2001/eureka, http://eureka2:2002/eureka
user-service
spring:
  cloud:
    config:
      discovery:
        enabled: true
        service-id: config-server
      name: user-service
      profile: dev

eureka:
  client:
    service-url:
      defaultZone: http://eureka1:2001/eureka, http://eureka2:2002/eureka
order-service
spring:
  cloud:
    config:
      discovery:
        enabled: true
        service-id: config-server
      name: order-service
      profile: dev

eureka:
  client:
    service-url:
      defaultZone: http://eureka1:2001/eureka, http://eureka2:2002/eureka
zuul
spring:
  cloud:
    config:
      discovery:
        enabled: true
        service-id: config-server
      name: zuul
      profile: dev

eureka:
  client:
    service-url:
      defaultZone: http://eureka1:2001/eureka, http://eureka2:2002/eureka
3、启动服务,观察信息
启动item-service、user-service、order-service、zuul,观察启动时,获取到的yml配置信息


 568
568

 被折叠的 条评论
为什么被折叠?
被折叠的 条评论
为什么被折叠?
 到【灌水乐园】发言


