


 文章详细介绍了在Linux系统上配置和使用几种常见的文件传输协议,包括vsftpd的安装与匿名上传设置,http服务的开启与网页创建,以及Samba和NFS的共享配置。在过程中遇到了权限问题,通过修改配置文件和权限设置得到了解决。
可以用来传输的协议
1.vsftpd..
2.nfs
3.samba
4.http
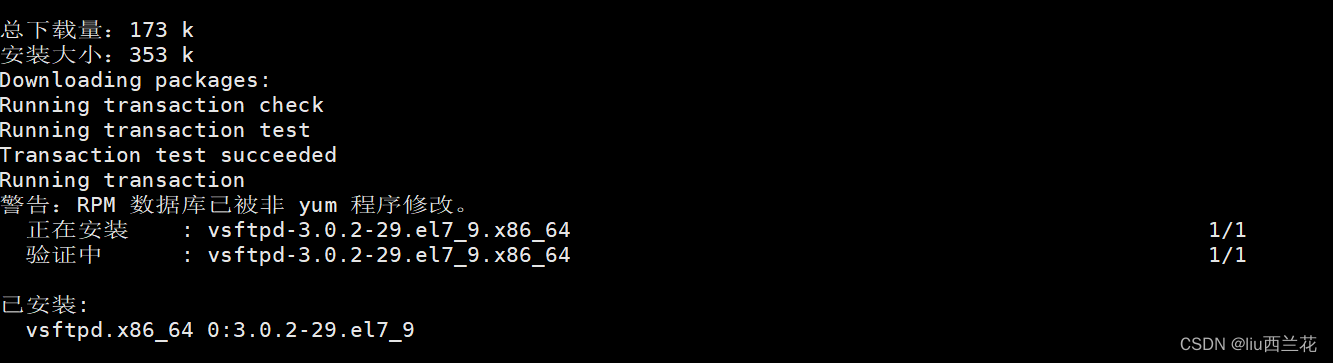
安装vsftp
yum -y install vsftpd
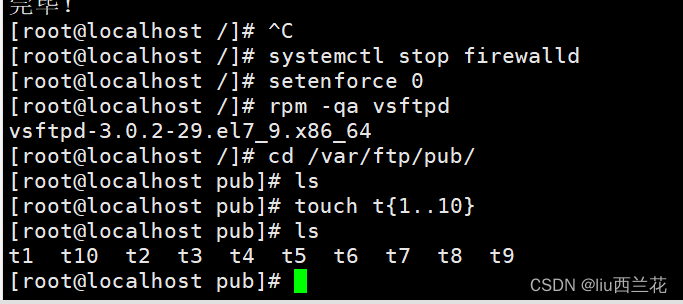
关闭防火墙
systemctl stop firewalld
setenforce 0 -----临时关闭一哈sellinux
查看安装
创建测试文件
开启vsftpd
[root@localhost ~]# systemctl start vsftpd && systemctl enable vsftpd
Created symlink from /etc/systemd/system/multi-user.target.wants/vsftpd.service to /usr/lib/systemd/system/vsftpd.service.
[root@localhost ~]#
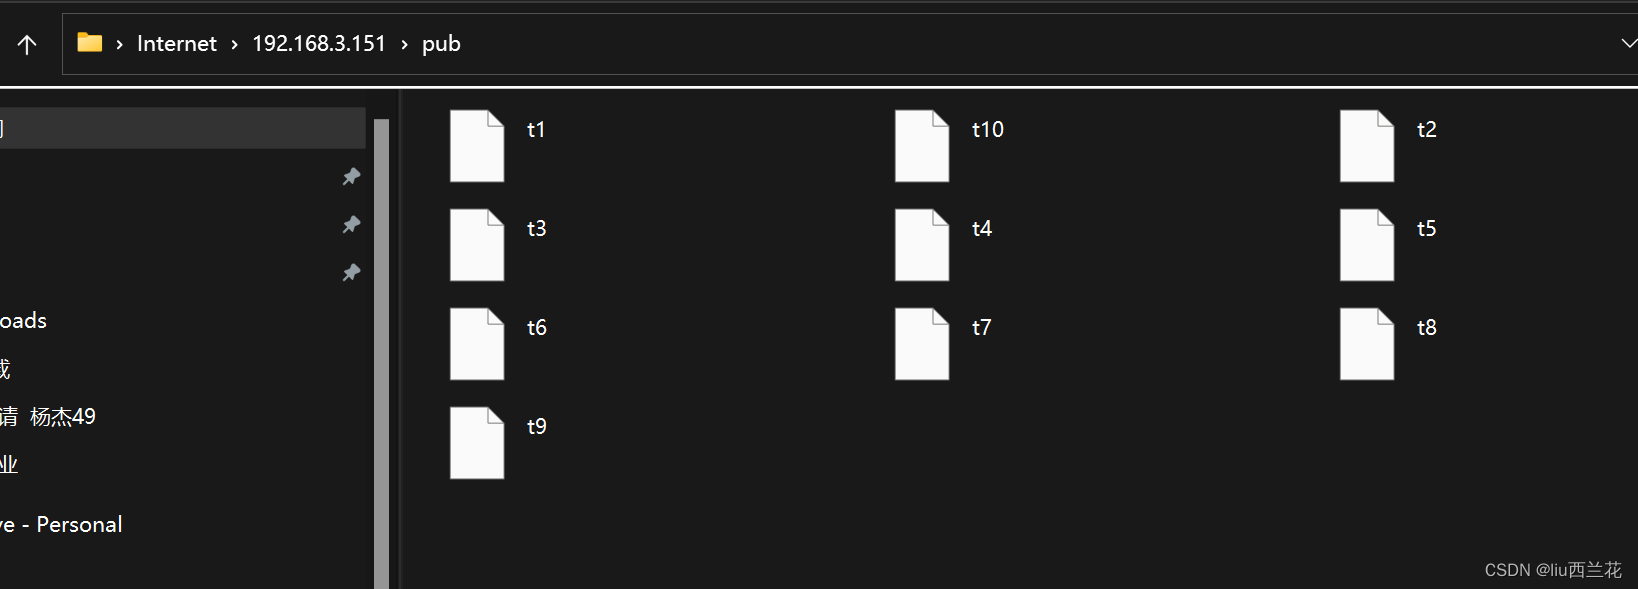
查看IP地址
本机访问OK
命令行查看:
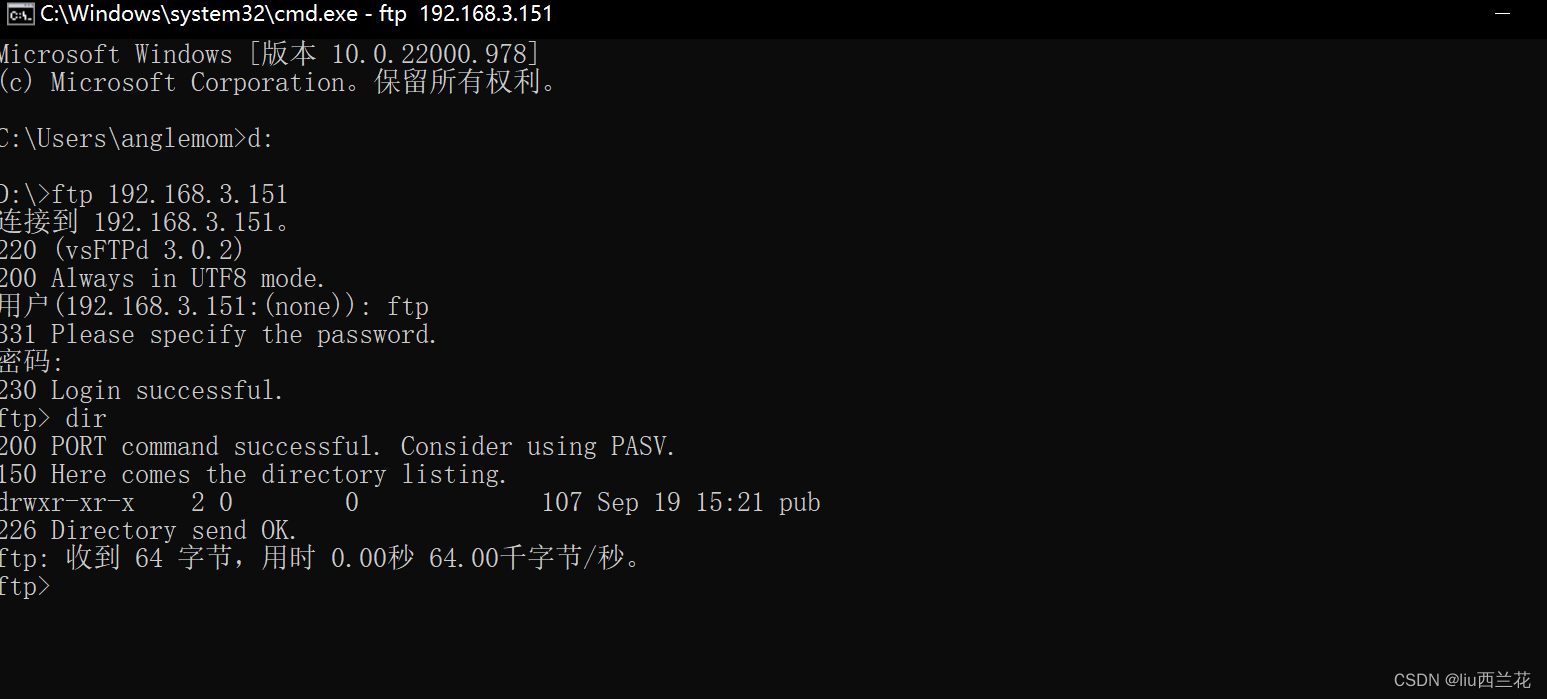
下载到本地
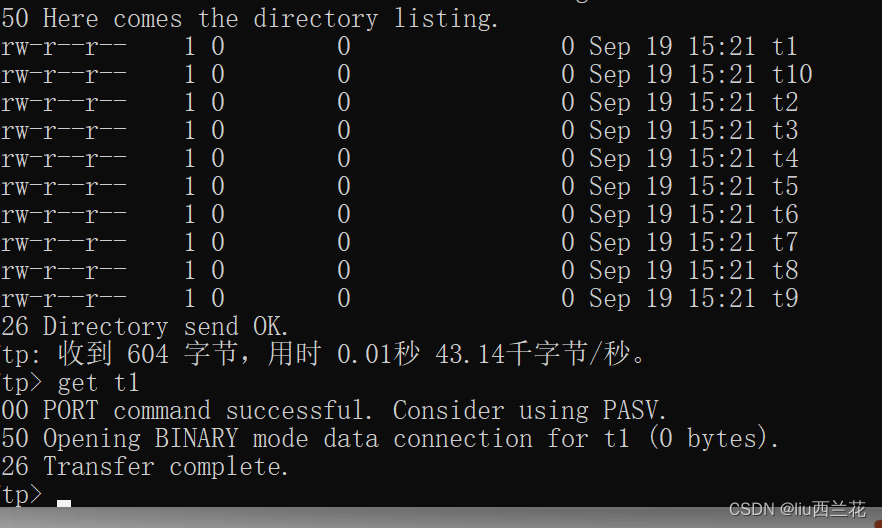
上传不行

2.开启匿名上传
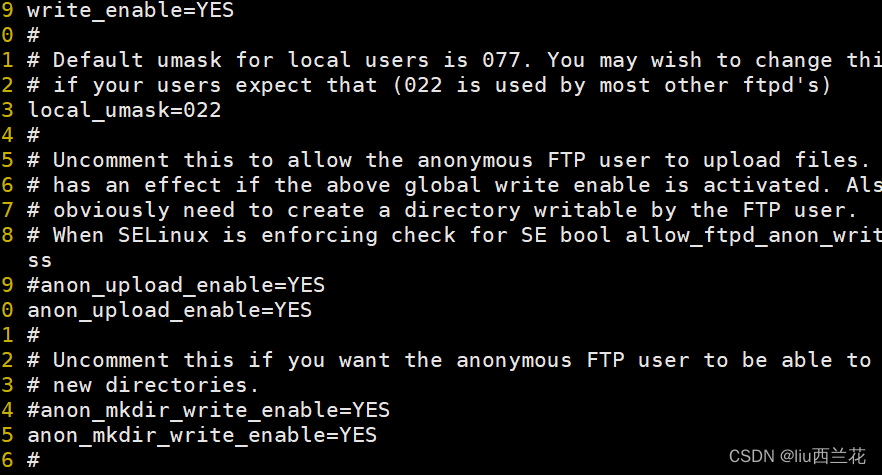
anon_mkdir_write_enable=YES 打开匿名写入
36 anon_other_write_enable=YES 其他可以写入
重启服务

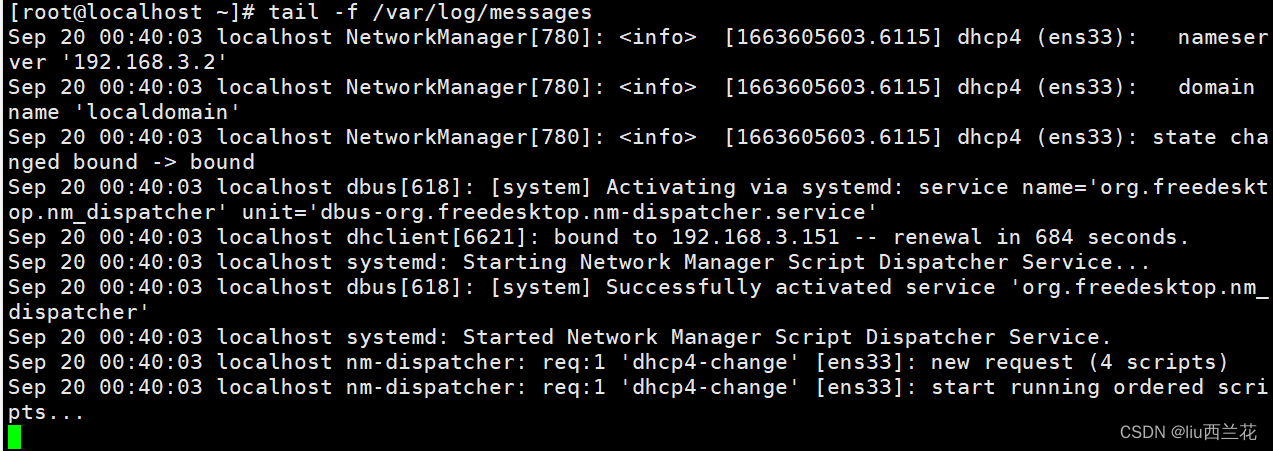
然后连接被拒绝就去查日志
[root@localhost ~]# tail -f /var/log/messages

2.http文件共享
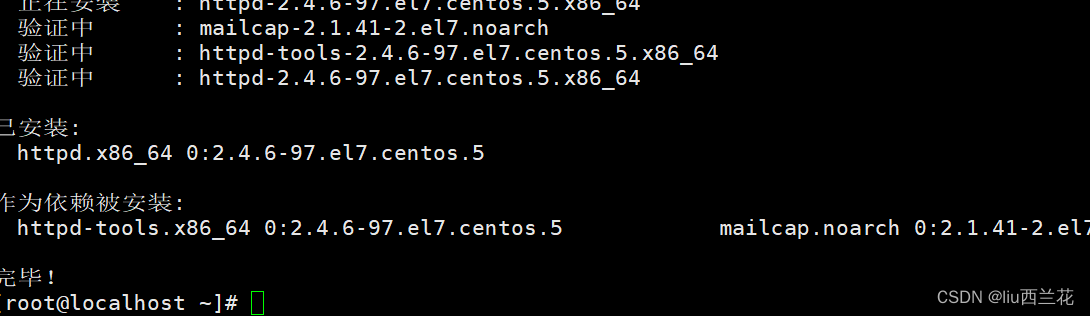
yum -y install httpd
安装成功
systemctl start httpd 开启服务
查看80表示成功开启服务

[root@localhost ~]# cd /var/www/html/ 进入网站口
[root@localhost html]# pwd
/var/www/html
[root@localhost html]# ls
[root@localhost html]# echo "wodefirstwangye"
wodefirstwangye
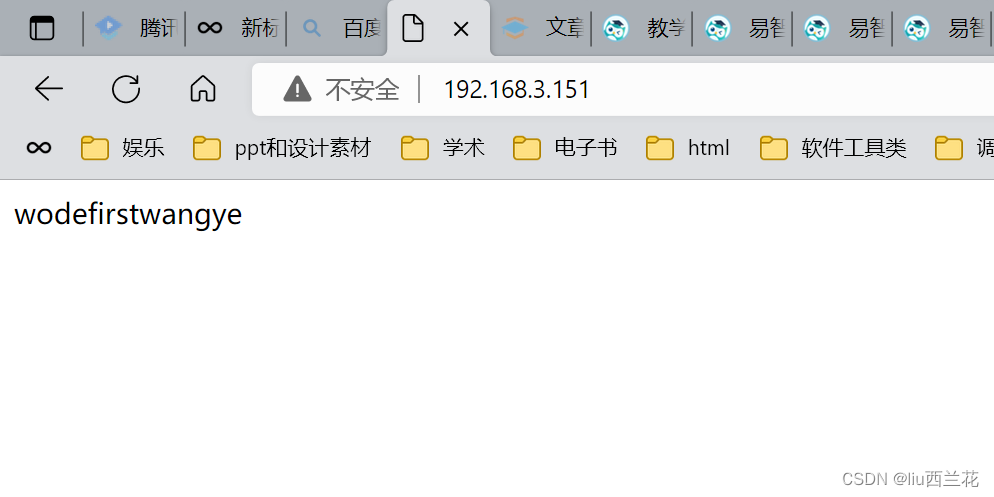
[root@localhost html]# echo "wodefirstwangye" > index.html 写个网站
[root@localhost html]# curl 127.0.0.1
wodefirstwangye
[root@localhost html]#
在本机也成功显示
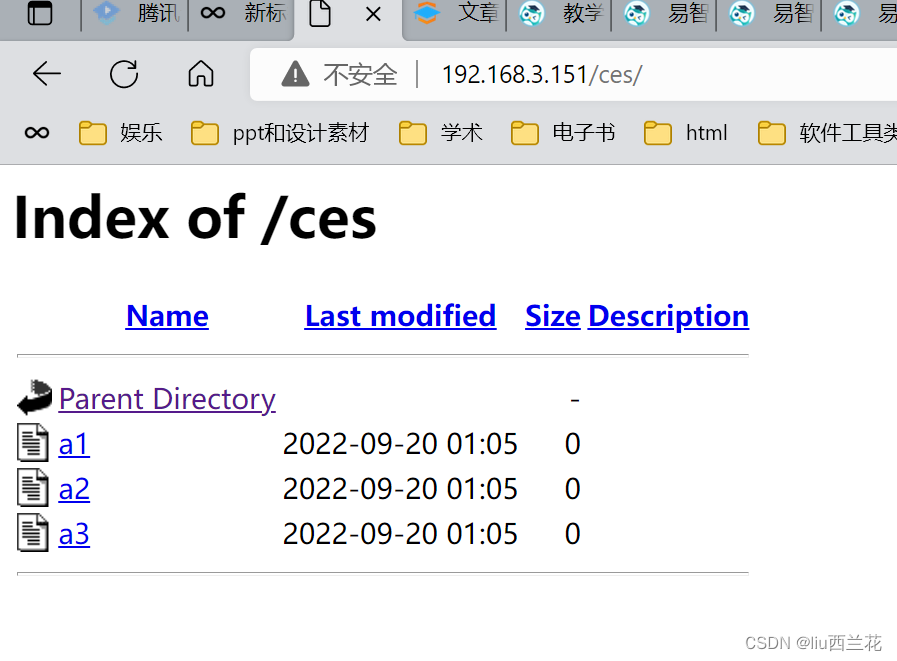
root@localhost html]# mkdir ces
[root@localhost html]# cd ces/
[root@localhost ces]# touch a{1..3}
[root@localhost ces]#
在网站目录下创建了一下测试文件,可以访问
3 samba分享
yum -y install samba
检查安装

启动服务
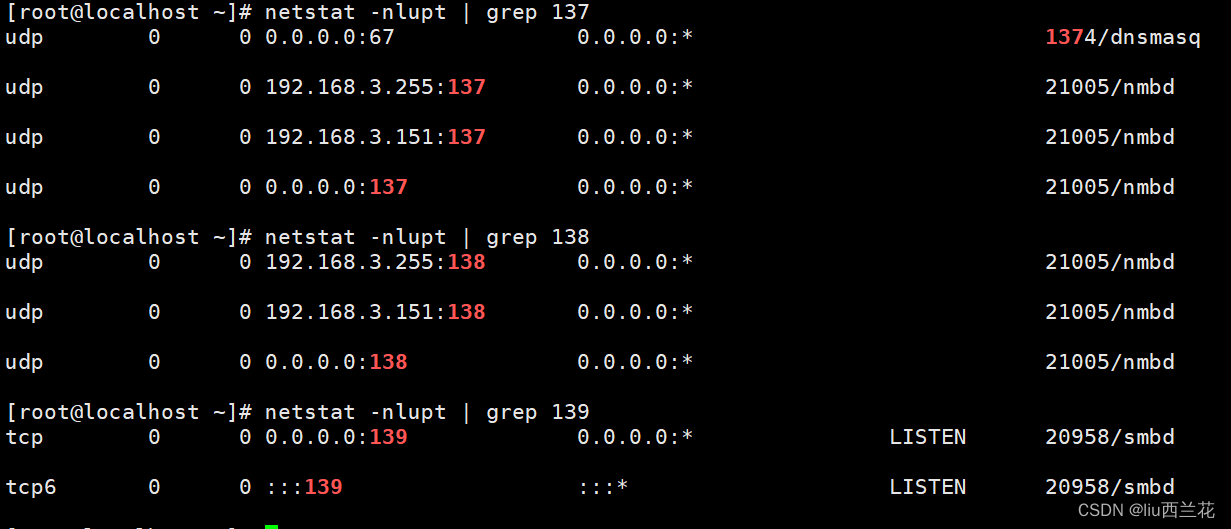
[root@localhost ~]# systemctl start smb //侦听tcp139端口 文件共享
[root@localhost ~]# systemctl start nmb // 侦听udp137 138端口 处理浏览器共享,计算机域名。
OK
查看端口使用情况
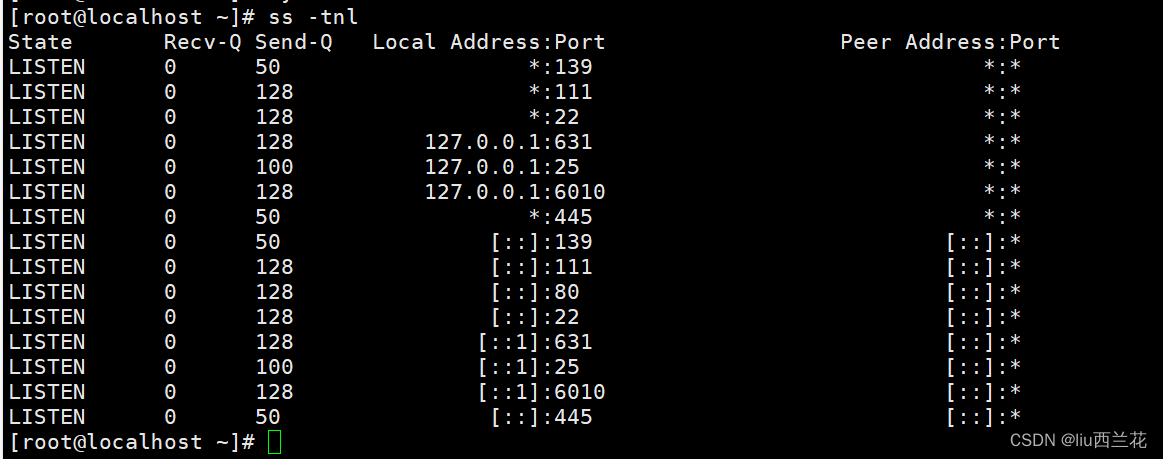
相应端口也是开放
然后编辑samba的配置文件
vi /etc/samba/smb.conf
最后加入:
[share]
comment = zhe si wo d wenjian 共享备注
path = /data 共享的目录
guest ok = yse 使用用户名和密码登陆
writeable = yes 可以写入
[root@localhost ~]# vi /etc/samba/smb.conf
[root@localhost ~]# systemctl restart nmb 重启服务
[root@localhost ~]# systemctl restart nmb
[root@localhost ~]# systemctl stop firewalld
[root@localhost ~]#
但是没有访问成功
安装nfs服务并创建共享文件
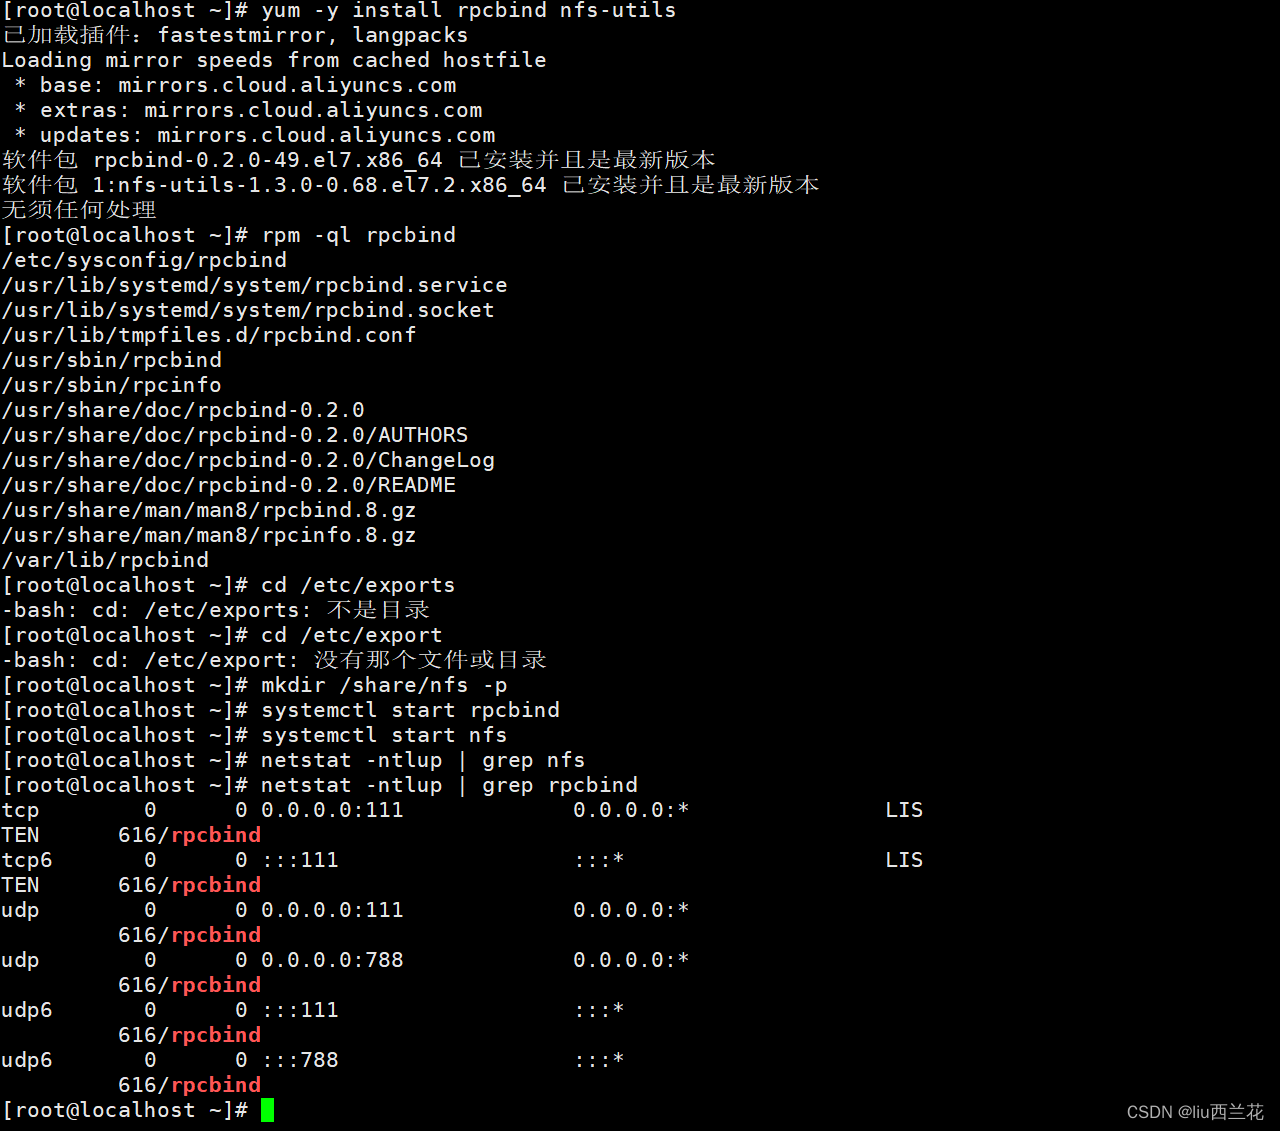
分析只能写入
重启nfs和rpcbind
[root@localhost ~]# systemctl restart rpcbind
[root@localhost ~]# systemctl restart nfs
[root@localhost ~]#
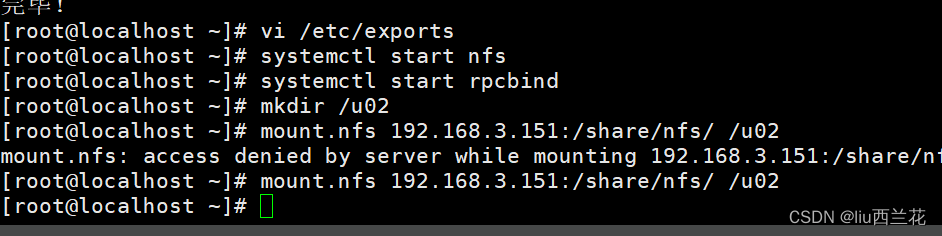
下面配置客户端
一样打开nfs服务
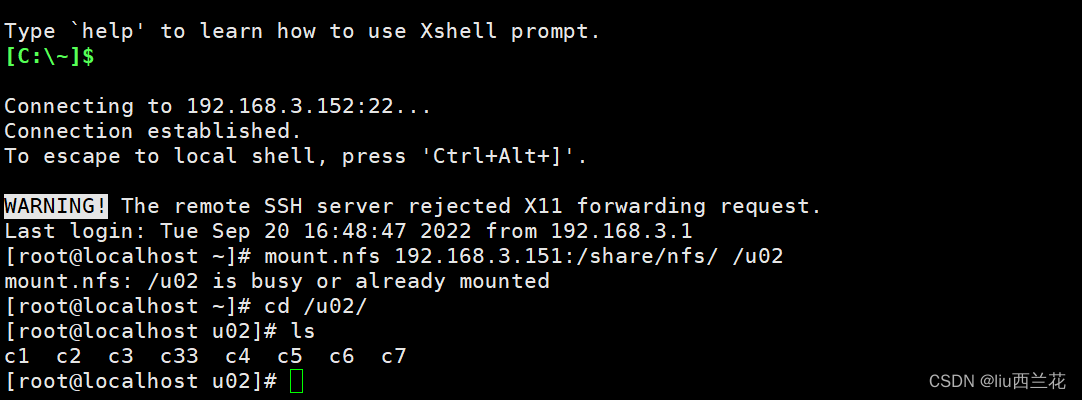
mount.nfs 192.168.3.151:/share/nfs/ /u02 ?? 将服务端的分享目录挂载到 本机的u02目录
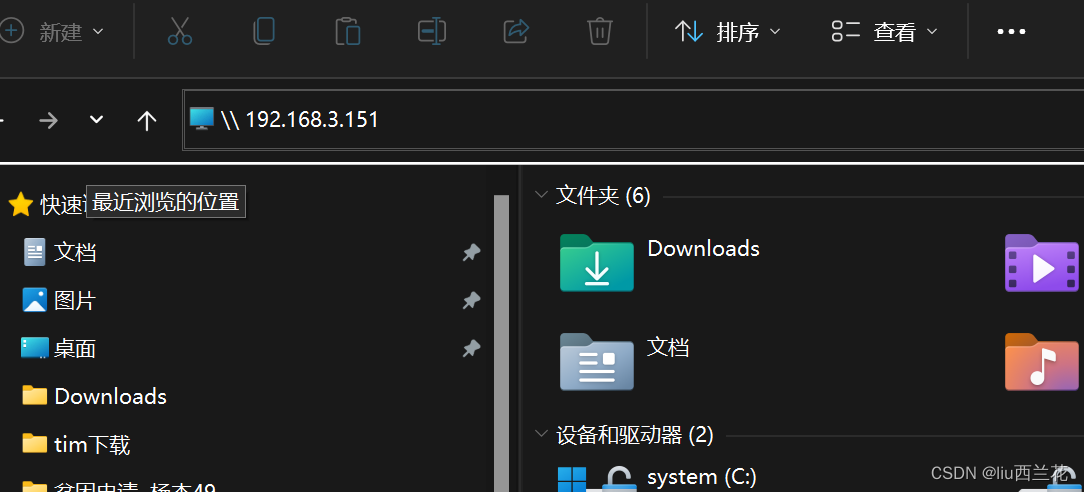
在客户端查看实现了共享
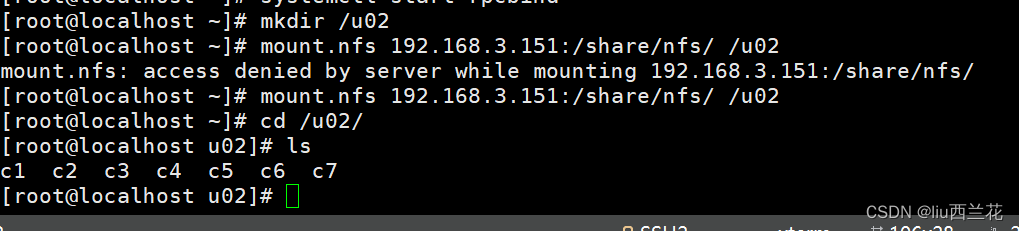
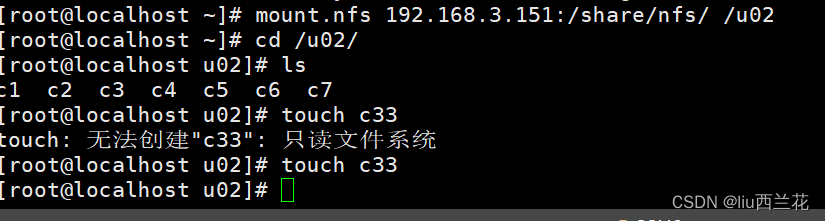
发现客户端没有写入权限,于是在服务器端:
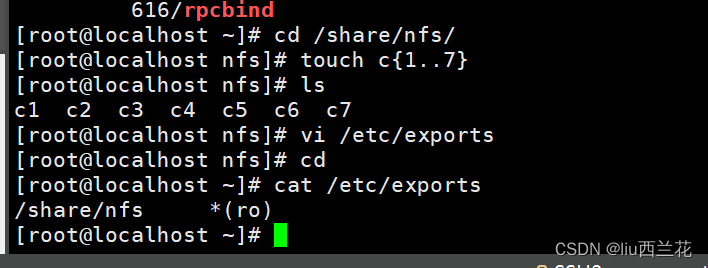
[root@localhost ~]# cat /etc/exports
/share/nfs *(ro) 只读 改为rw
[root@localhost ~]# systemctl restart rpcbind
[root@localhost ~]# systemctl restart nfs
[root@localhost ~]# vi /etc/exports
[root@localhost ~]# chmod o+w /share/nfs/ 给共享目录加入写入权限
[root@localhost ~]#
改了就OK了
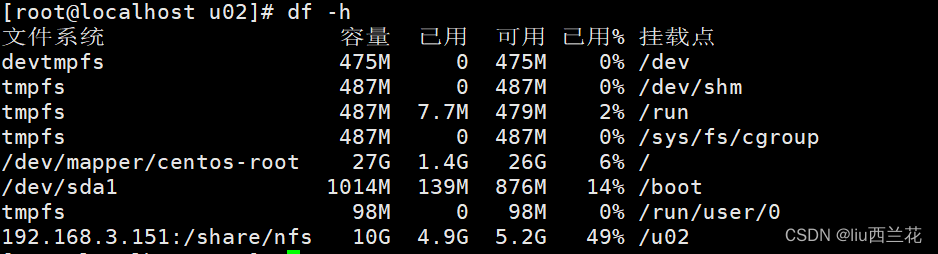
查看映射关系
发现无法自动挂载
编辑挂载点 vi /etc/fstab
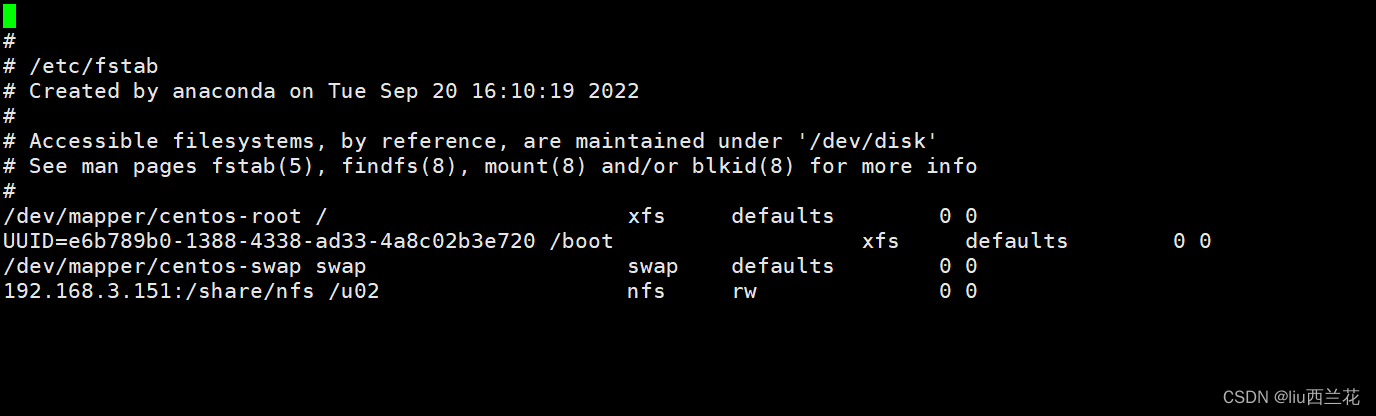
设置成了开机自动挂载
测试成功


 2432
2432

 被折叠的 条评论
为什么被折叠?
被折叠的 条评论
为什么被折叠?
 到【灌水乐园】发言


