


目录
this 指针的引出
代码演示:
class Data
{
public:
	// 初始化
	void Init(int year = 1946, int month = 2, int day = 14)
	{
		_year = year;
		_month = month;
		_day = day;
	}

	// 打印
	void Print()
	{
		cout << _year << "/" << _month << "/" << _day << endl;
	}

private:
	int _year;
	int _month;
	int _day;
};

int main()
{
	Data d1;

	d1.Init(2024, 12, 9);
	d1.Print();

	return 0;
}
以上是一个简单的日期类,在类中的成员函数的参数中,还隐藏了一个参数,那就是 this 指针
也就是说 Init 函数其实有 4 个参数,Print 函数有 1 个参数
这个参数就是 Data* this ,这个参数是编译器加上的,而且在函数中,也是通过 this 指针进行访问的年月日,并且在调用主函数时,也加上的对象的地址的
以上的代码原本的样子:
class Data
{
public:
	// 初始化
	void Init(Data* this, int year = 1946, int month = 2, int day = 14)
	{
		this->_year = year;
		this->_month = month;
		this->_day = day;
	}

	// 打印
	void Print()
	{
		cout << this->_year << "/" << this->_month << "/" << this->_day << endl;
	}

private:
	int _year;
	int _month;
	int _day;
};

int main()
{
	Data d1;

	d1.Init(&d1, 2024, 12, 9);
	d1.Print(&d1);

	return 0;
}
以上只是编译器自动加上 this 指针的一系列操作,但是在实际中不能在形参或者实参中手动加上 this 指针,加上就会报错,但是能在类中使用 this 指针
加上就会报错: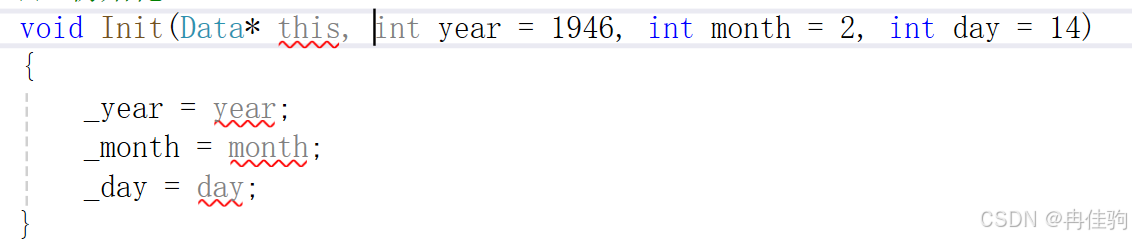
在类中使用 this 指针指向变量(正常运行):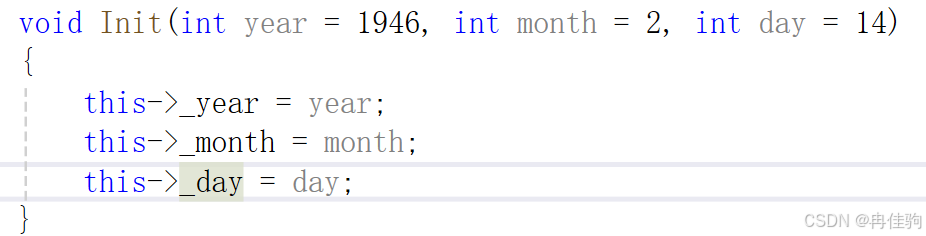
这也进一步证明了 this 指针的存在
经典面试题
代码演示:
class A
{
public:
	void Print()
	{
		cout << "void Print()" << endl;
	}

private:
	int _a;
};

int main()
{
	A* p = nullptr;

	p->Print();

	return 0;
}
问:以上代码编译的结果为?
A. 编译报错
B. 程序崩溃
C.正常运行
正确答案是:C
解析:
虽然 p 是空指针,但是调用函数不需要在 p 中找函数地址,因为在上一章就讲解到了类里面的成员函数不是独立的,而是放在公共代码段的,所以当执行 p->Print() 这句代码的时候,是直接在公共代码段调用了 Print 函数,所以可以正常运行
代码验证:


 1251
1251

 被折叠的 条评论
为什么被折叠?
被折叠的 条评论
为什么被折叠?
 到【灌水乐园】发言


