


 本文详细介绍了如何在VS2019中使用CMake编译VTK8.2.0库,包括解压VTK,新建bin文件夹,配置CMake,生成和安装过程,以及解决生成库和运行时可能遇到的问题,如DLL缺失和路径设置等。
首先我们需要一个VS2019,一个CMAKE,一个VTK8.2.0的包:
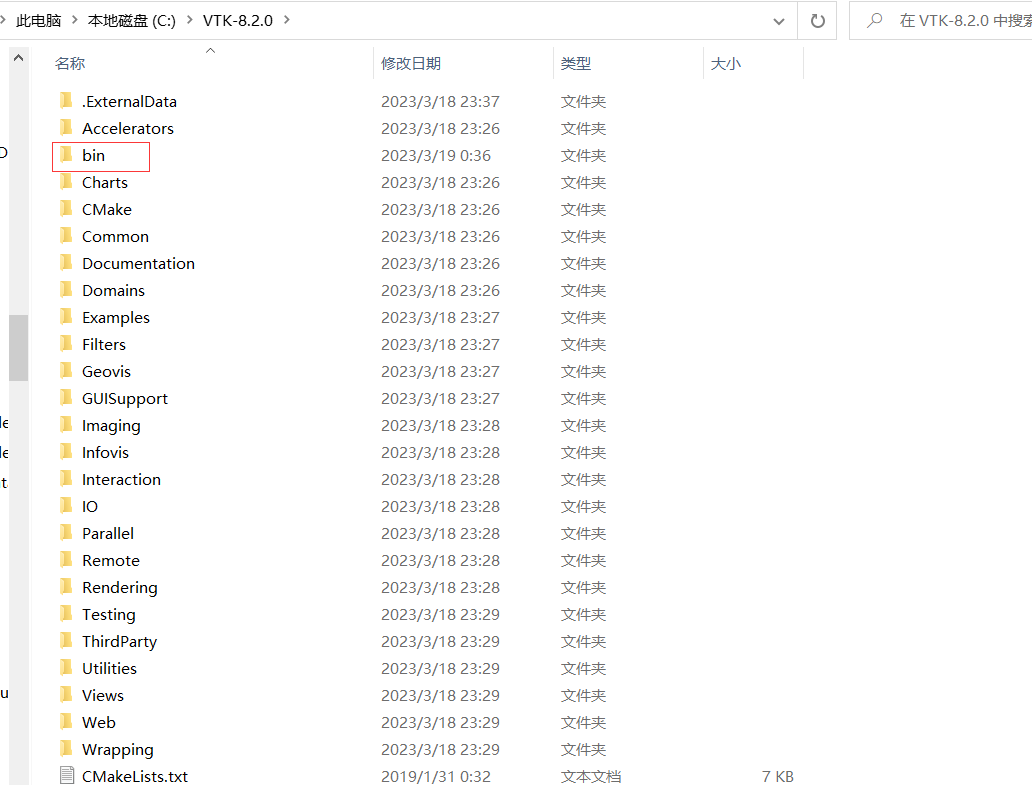
先把VTK解压,在VTK文件夹里新建一个bin文件夹和一个install文件夹,存放cmake结果和最终lib库:
然后用cmake来编译VTK:
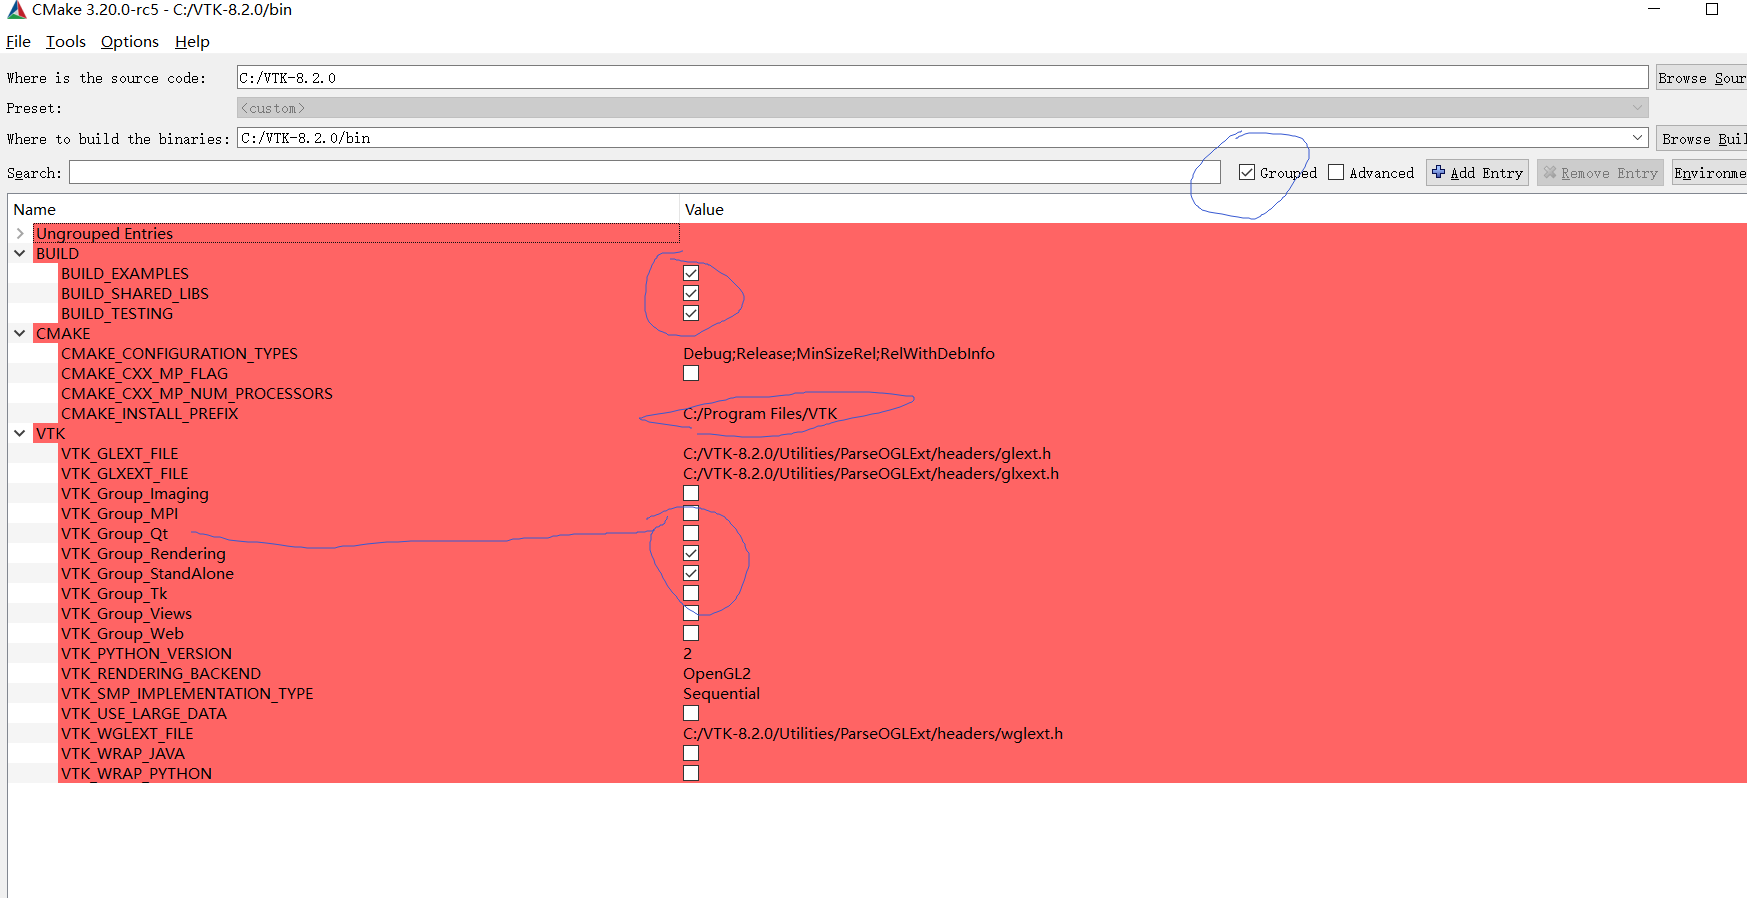
按照图中所示,勾选我勾选的几项,QT不勾选,如果你电脑中没有QT,你勾选了CMAKE也会找不到而报错。

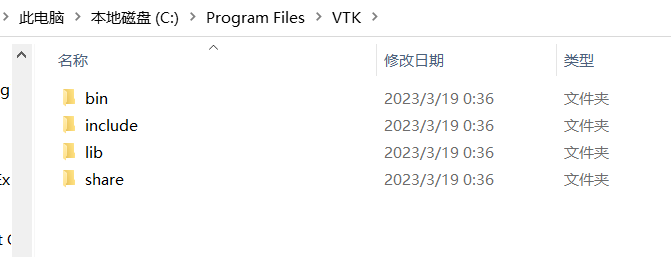
C:\Program Files\VTK:
可以改成自己的目录:VTK-8.2.0\Install
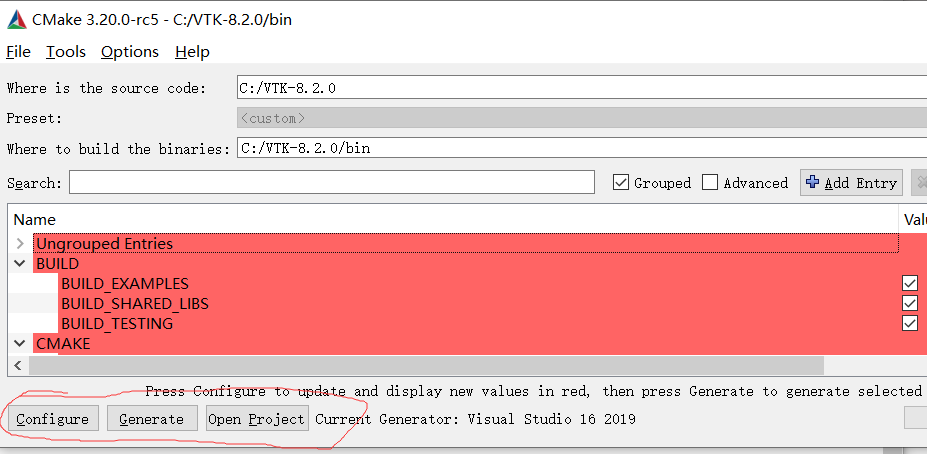
然后执行configure、Generate、OpenProject。
打开工程会打开这样的一个VS2019界面:
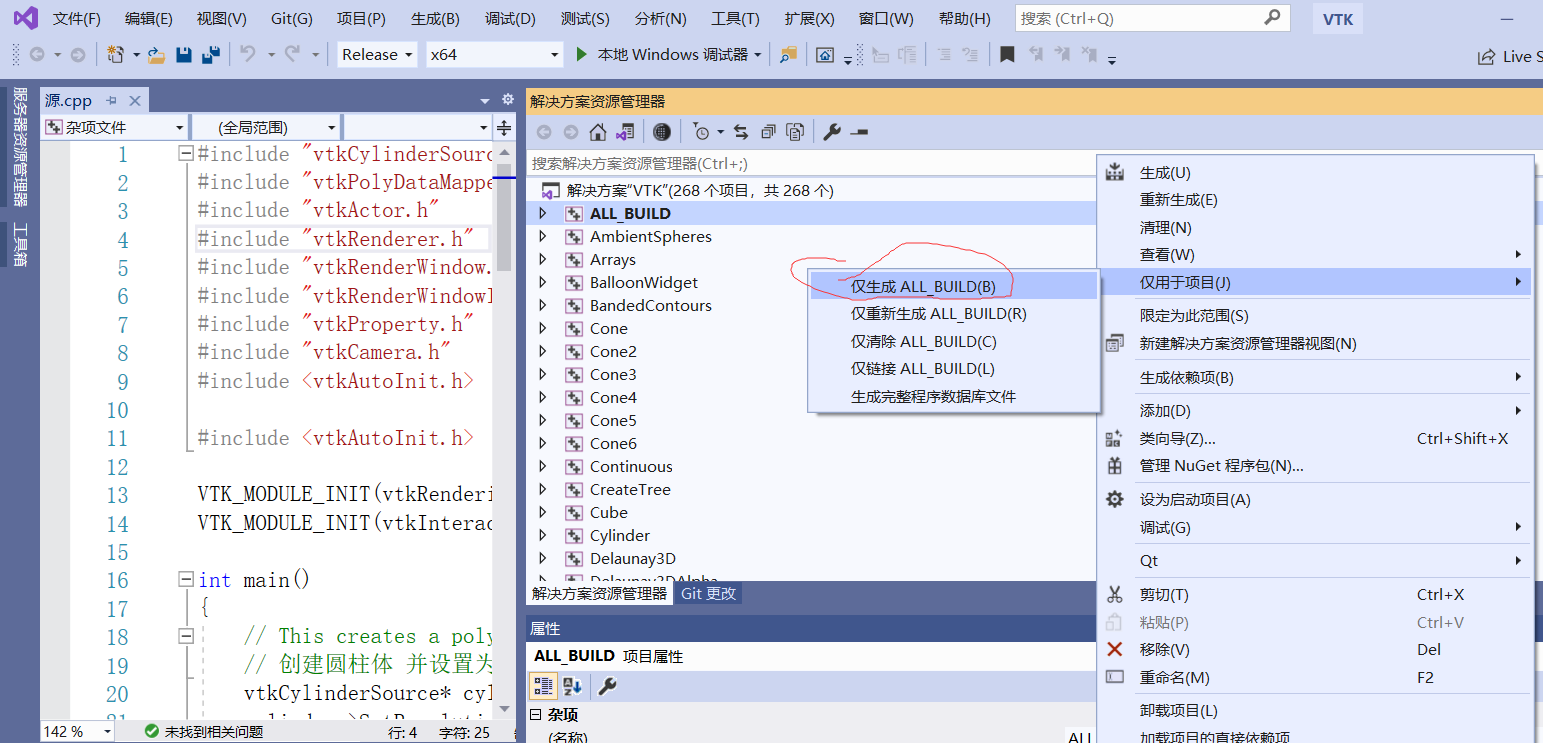
在里面生成ALL_BUILD就可以将库生成到上面Cmake设置的目录
原本为C:\Program Files\VTK:
可以改成自己的目录:VTK-8.2.0\Install
如果没有生成这个目录,说明生成失败了。
注意,如果它默认是C:/programe file(x86)/vtk。需要改一下,可能写不进去。
(注意,这里有个坑,在生成上。来自:VTK8.2.0在Windows10+VS2017+Qt 5.12环境下编译安装-优快云博客)
此时选择【生成】-->【批生成】
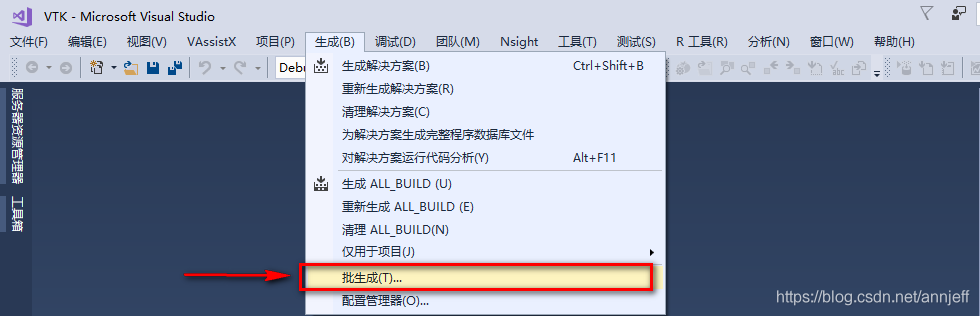
在ALL_BUILD Release x64 栏 勾选 √---->点击【生成】
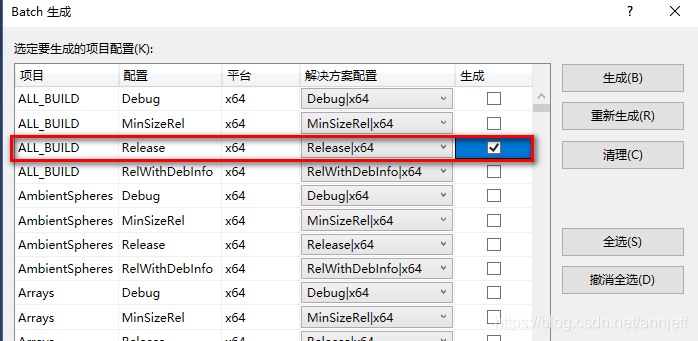
然后再点击生成,才能生成有效的库。我很多库有问题,重装了一次才发现这里有个坑。
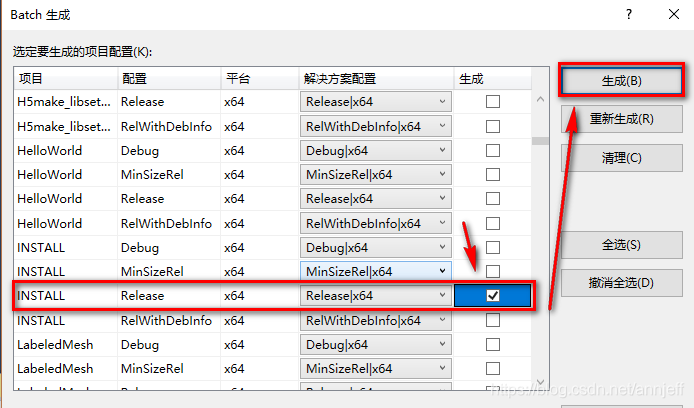
上面的完成了ALL_BUILD的生成,还差一步INSTALL的生成:
把刚刚勾选的ALL_BUILD Release后面的√去掉,下拉,在INSTALL Release后面勾选。这一步就是在安装VTK的Release版本。其本质就是生成Release版本的库文件:
如果成功生成就可以在VS中新建一个项目:

代码如下:
#include "vtkCylinderSource.h"
#include "vtkPolyDataMapper.h"
#include "vtkActor.h"
#include "vtkRenderer.h"
#include "vtkRenderWindow.h"
#include "vtkRenderWindowInteractor.h"
#include "vtkProperty.h"
#include "vtkCamera.h"
#include <vtkAutoInit.h>

#include <vtkAutoInit.h>

VTK_MODULE_INIT(vtkRenderingOpenGL2)
VTK_MODULE_INIT(vtkInteractionStyle)

int main()
{
    // This creates a polygonal cylinder model with eight circumferential facets.
    // 创建圆柱体 并设置为八边形圆柱体
    vtkCylinderSource* cylinder = vtkCylinderSource::New();
    cylinder->SetResolution(8);

    // The mapper is responsible for pushing the geometry into the graphics
    // library. It may also do color mapping, if scalars or other attributes
    // are defined.
    // 将上面定义好的图形推送到图形库中
    vtkPolyDataMapper* cylinderMapper = vtkPolyDataMapper::New();
    cylinderMapper->SetInputConnection(cylinder->GetOutputPort());

    // The actor is a grouping mechanism: besides the geometry (mapper), it
    // also has a property, transformation matrix, and/or texture map.
    // Here we set its color and rotate it -22.5 degrees.
    // 设置纹理 颜色 点击后的旋转角度
    vtkActor* cylinderActor = vtkActor::New();
    cylinderActor->SetMapper(cylinderMapper);
    cylinderActor->GetProperty()->SetColor(1.0000, 0.3882, 0.2784);
    cylinderActor->RotateX(3.0);
    cylinderActor->RotateY(-45.0);

    // Create the graphics structure. The renderer renders into the
    // render window. The render window interactor captures mouse events
    // and will perform appropriate camera or actor manipulation
    // depending on the nature of the events.
    // 创建图形结构 渲染器会将其渲染到渲染窗口 渲染窗口的交互器捕获鼠标事件并执行适当的相机或操作
    vtkRenderer* ren1 = vtkRenderer::New();
    vtkRenderWindow* renWin = vtkRenderWindow::New();
    renWin->AddRenderer(ren1);
    vtkRenderWindowInteractor* iren = vtkRenderWindowInteractor::New();
    iren->SetRenderWindow(renWin);

    // Add the actors to the renderer, set the background and size
    // 将反应器添加到渲染器中,设置渲染厚度额背景和初始尺寸
    ren1->AddActor(cylinderActor);
    ren1->SetBackground(0.1, 0.2, 0.4);
    renWin->SetSize(400, 400);

    // We'll zoom in a little by accessing the camera and invoking a "Zoom"
    // method on it.
    // 缩放渲染后的图形
    ren1->ResetCamera();
    ren1->GetActiveCamera()->Zoom(1.5);
    renWin->Render();

    // This starts the event loop and as a side effect causes an initial render.
    // 开始渲染
    iren->Start();

    // Exiting from here, we have to delete all the instances that
    // have been created.
    // 开始退出,清空所有创建的对象
    cylinder->Delete();
    cylinderMapper->Delete();
    cylinderActor->Delete();
    ren1->Delete();
    renWin->Delete();
    iren->Delete();

    return 0;
}
如果运行成功则会顺利运行不报错。如果报错找不到vtkCommoncore-8.2.dll时,在VS2019的调试器里添加:
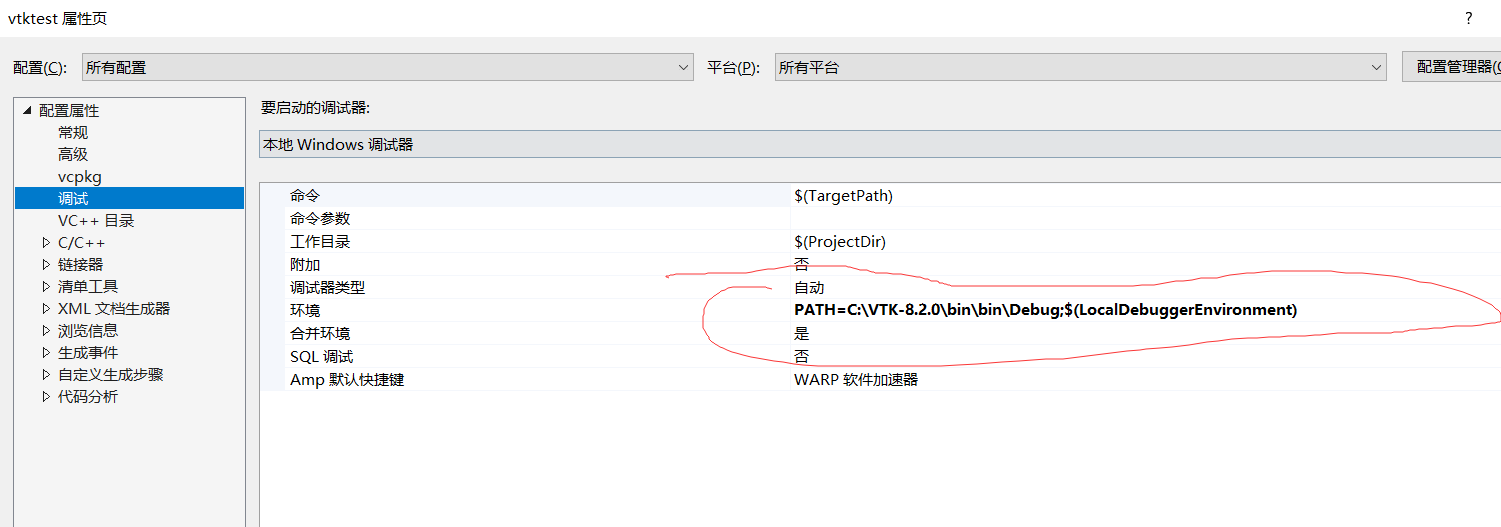
这样就能正常了。
如果还搞不定,就说明dll路径有问题,VTK中编译好的没有放进VS中。
在C:\Program Files\VTK\bin中,找到对应的.dll文件,如vtkImagingSources-8.2.dll.dll,复制到路径C:\VTK-8.2.0\bin\bin\Debug下面。就能被VS2019读取了。


 277
277

 被折叠的 条评论
为什么被折叠?
被折叠的 条评论
为什么被折叠?
 到【灌水乐园】发言


