


 本文详细介绍了如何使用Android的Fragment、Activity来设计一个类似微信的APP首页,包括底部导航栏的布局、顶部标题的设置、界面跳转的实现以及源代码的展示。通过XML和Java代码的解析,展示了从界面设计到功能实现的完整流程。
一.设计目标
完成类微信的门户页面框架设计,APP最少必须包含4个tab页面。框架设计需要使用fragment,activity,不得使用UNIAPP技术进行开发(H5或者小程序)
二.功能说明
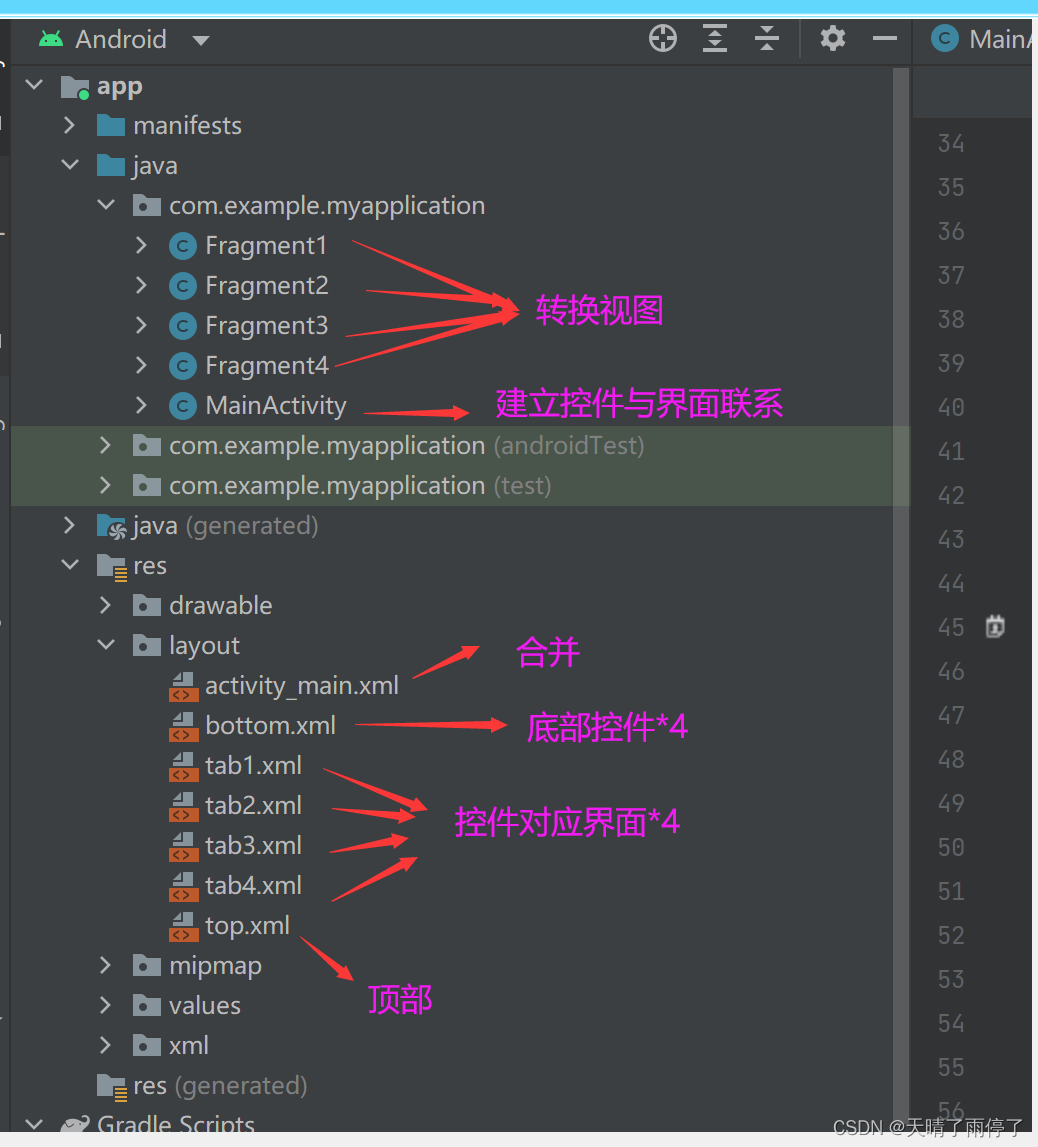
三.代码解析
1.xml
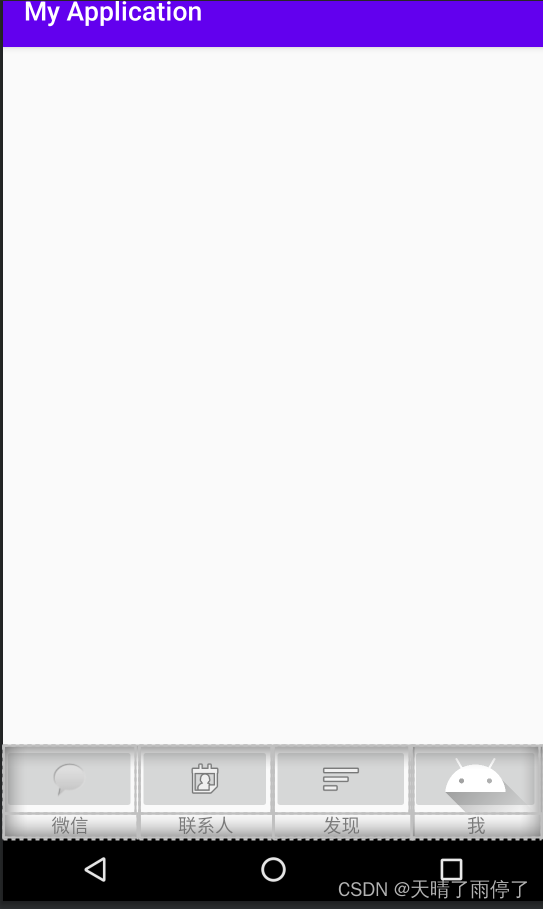
①底部代码:
先放horizon的linearlayout,再在其中放四个vertical的linearlayout,layout1到layout4对应“微信”,“通讯录”,“发现”和“我”。
~~~xml
<?xml version="1.0" encoding="utf-8"?>
<LinearLayout xmlns:android="http://schemas.android.com/apk/res/android"
xmlns:app="http://schemas.android.com/apk/res-auto"
xmlns:tools="http://schemas.android.com/tools"
android:layout_width="match_parent"
android:layout_height="wrap_content"
android:layout_gravity="bottom"
tools:ignore="SpeakableTextPresentCheck">
<LinearLayout
android:id="@+id/layout1"
android:layout_width="wrap_content"
android:layout_height="match_parent"
android:layout_weight="1"
android:orientation="vertical">
<ImageButton
android:id="@+id/imageButton1"
android:layout_width="101dp"
android:layout_height="wrap_content"
app:srcCompat="@android:drawable/sym_action_chat"
tools:ignore="ImageContrastCheck,SpeakableTextPresentCheck,SpeakableTextPresentCheck" />
<TextView
android:id="@+id/textView1"
android:layout_width="102dp"
android:layout_height="wrap_content"
android:text="微信"
android:textAlignment="center" />
</LinearLayout>
<LinearLayout
android:id="@+id/layout2"
android:layout_width="wrap_content"
android:layout_height="match_parent"
android:layout_weight="1"
android:orientation="vertical">
<ImageButton
android:id="@+id/imageButton2"
android:layout_width="101dp"
android:layout_height="wrap_content"
app:srcCompat="@android:drawable/ic_menu_my_calendar"
tools:ignore="SpeakableTextPresentCheck" />
<TextView
android:id="@+id/textView2"
android:layout_width="match_parent"
android:layout_height="wrap_content"
android:text="联系人"
android:textAlignment="center" />
</LinearLayout>
<LinearLayout
android:id="@+id/layout3"
android:layout_width="wrap_content"
android:layout_height="match_parent"
android:layout_weight="1"
android:orientation="vertical">
<ImageButton
android:id="@+id/imageButton3"
android:layout_width="104dp"
android:layout_height="wrap_content"
app:srcCompat="@android:drawable/ic_menu_sort_by_size"
tools:ignore="SpeakableTextPresentCheck,SpeakableTextPresentCheck" />
<TextView
android:id="@+id/textView3"
android:layout_width="match_parent"
android:layout_height="wrap_content"
android:text="发现"
android:textAlignment="center" />
</LinearLayout>
<LinearLayout
android:id="@+id/layout4"
android:layout_width="wrap_content"
android:layout_height="match_parent"
android:layout_weight="1"
android:orientation="vertical">
<ImageButton
android:id="@+id/imageButton4"
android:layout_width="98dp"
android:layout_height="51dp"
app:srcCompat="@drawable/ic_launcher_foreground"
tools:ignore="SpeakableTextPresentCheck,SpeakableTextPresentCheck" />
<TextView
android:id="@+id/textView4"
android:layout_width="99dp"
android:layout_height="wrap_content"
android:text="我"
android:textAlignment="center" />
</LinearLayout>
</LinearLayout>
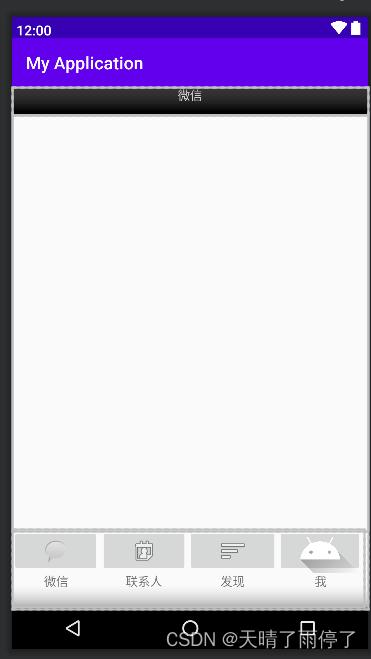
~~~效果:
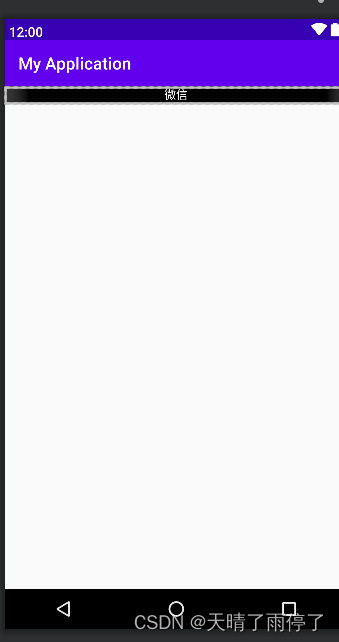
②顶部代码:
展示“微信”大标题
~~~xml
<?xml version="1.0" encoding="utf-8"?>
<LinearLayout xmlns:android="http://schemas.android.com/apk/res/android"
    android:layout_width="match_parent"
    android:layout_height="wrap_content">

    <TextView
        android:id="@+id/textView"
        android:layout_width="match_parent"
        android:layout_height="match_parent"
        android:layout_weight="1"
        android:background="@color/black"
        android:text="微信"
        android:textAlignment="center"
        android:textColor="@color/white" />
</LinearLayout>

~~~
效果:
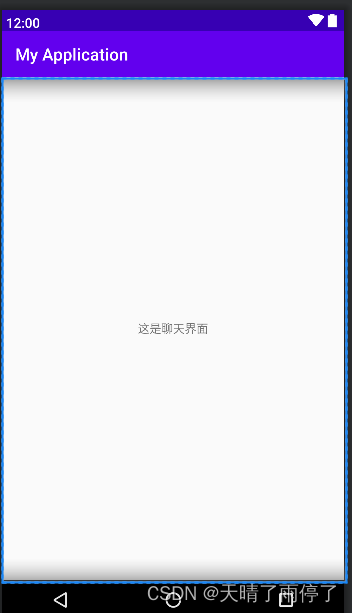
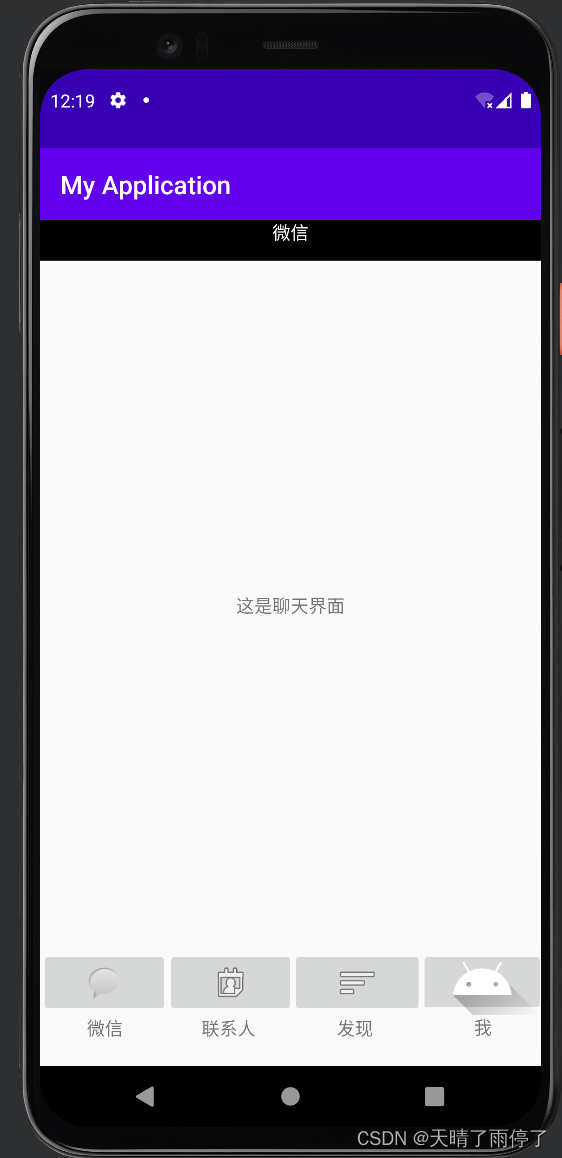
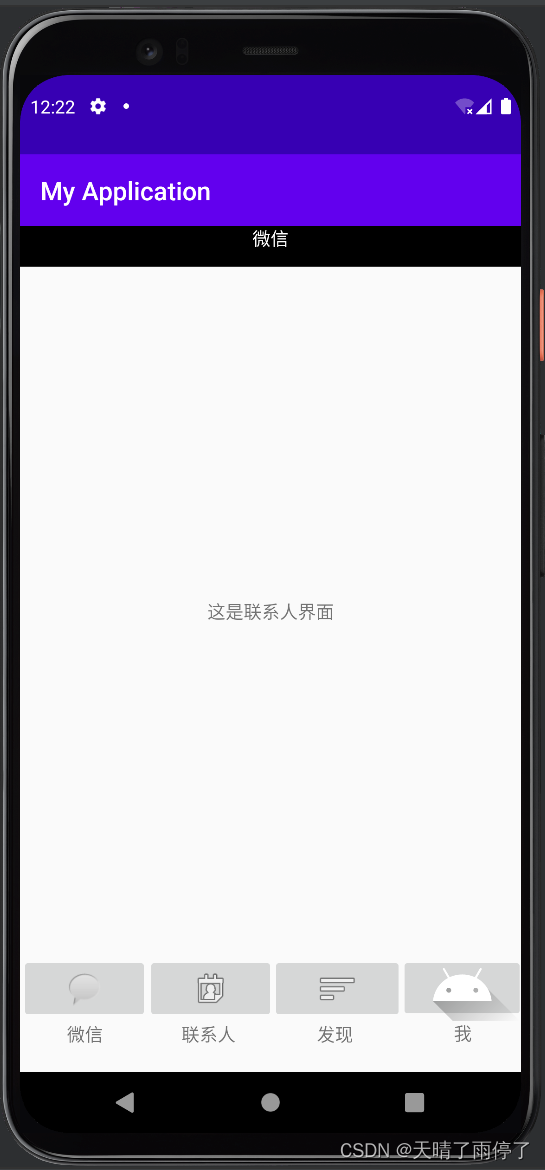
③跳转界面代码:
四个差不多,下面展示的是tab1
~~~xml
<?xml version="1.0" encoding="utf-8"?>
<LinearLayout xmlns:android="http://schemas.android.com/apk/res/android"
    xmlns:tools="http://schemas.android.com/tools"
    android:layout_width="match_parent"
    android:layout_height="match_parent"
    tools:context=".Fragment1"
    android:orientation="vertical"
    >

    <TextView
        android:id="@+id/textView5"
        android:layout_width="match_parent"
        android:layout_height="wrap_content"
        android:layout_weight="1"
        android:gravity="center"
        android:text="这是聊天界面" />
</LinearLayout>

~~~
效果:
④activiy_main代码:
合并顶部与底部
~~~xml
<?xml version="1.0" encoding="utf-8"?>
<LinearLayout xmlns:android="http://schemas.android.com/apk/res/android"
    xmlns:app="http://schemas.android.com/apk/res-auto"
    xmlns:tools="http://schemas.android.com/tools"
    android:layout_width="match_parent"
    android:layout_height="match_parent"
    android:orientation="vertical"
    android:visibility="visible"
    tools:context=".MainActivity">


    <include
        layout="@layout/top"
        android:layout_width="match_parent"
        android:layout_height="32dp"
        android:layout_weight="0" />

    <FrameLayout
        android:id="@+id/fragment_content"
        android:layout_width="match_parent"
        android:layout_height="wrap_content"
        android:layout_weight="1">

    </FrameLayout>

    <include
        layout="@layout/bottom"
        android:layout_width="wrap_content"
        android:layout_height="91dp"
        android:layout_gravity="bottom"
        android:layout_weight="0"
        android:gravity="bottom" />

</LinearLayout>


~~~
效果:
2.java
①fragment1~4
xml文件导入定义的类中,四个都一样,下面是fragment1
~~~java
package com.example.myapplication;

import android.os.Bundle;
import android.support.v4.app.Fragment;
import android.view.LayoutInflater;
import android.view.View;
import android.view.ViewGroup;

public class Fragment1 extends Fragment {

    public Fragment1() {

    }

    @Override
    public View onCreateView(LayoutInflater inflater, ViewGroup container,
                             Bundle savedInstanceState) {
        // Inflate the layout for this fragment
        return inflater.inflate(R.layout.tab1, container, false);
    }
}
~~~
②MainActivity
下载的as版本比较老,支持的是android.support,新版本改为了androidx
简单理解这部分是建立按钮与界面的跳转
~~~java
package com.example.myapplication;
import android.os.Bundle;
import android.support.v4.app.Fragment;
import android.support.v4.app.FragmentManager;
import android.support.v4.app.FragmentTransaction;
import android.support.v7.app.AppCompatActivity;
import android.view.View;
import android.widget.LinearLayout;
public class MainActivity extends AppCompatActivity implements View.OnClickListener{
private Fragment fragment1,fragment2,fragment3,fragment4;
private FragmentManager manager;
private FragmentTransaction transaction;
private LinearLayout linearLayout1,linearLayout2,linearLayout3,linearLayout4;
@Override
protected void onCreate(Bundle savedInstanceState) {
super.onCreate(savedInstanceState);
setContentView(R.layout.activity_main);
linearLayout1=findViewById(R.id.layout1);
linearLayout2=findViewById(R.id.layout2);
linearLayout3=findViewById(R.id.layout3);
linearLayout4=findViewById(R.id.layout4);
fragment1=new Fragment1();
fragment2=new Fragment2();
fragment3=new Fragment3();
fragment4=new Fragment4();
manager=getSupportFragmentManager();
initial();
hidden();
linearLayout1.setOnClickListener(this);
linearLayout2.setOnClickListener(this);
linearLayout3.setOnClickListener(this);
linearLayout4.setOnClickListener(this);
}
private void initial() {
transaction=manager.beginTransaction()
.add(R.id.fragment_content,fragment1)
.add(R.id.fragment_content,fragment2)
.add(R.id.fragment_content,fragment3)
.add(R.id.fragment_content,fragment4);
transaction.commit();
}
@Override
public void onClick(View view) {
switch (view.getId()){
case R.id.layout1:
select(1);
break;
case R.id.layout2:
select(2);
break;
case R.id.layout3:
select(3);
break;
case R.id.layout4:
select(4);
break;
}
}
private void select( int i) {
hidden();
switch (i){
case 1:transaction.show(fragment1);
break;
case 2:transaction.show(fragment2);
break;
case 3:transaction.show(fragment3);
break;
case 4:transaction.show(fragment4);
break;
}
}
private void hidden() {
transaction=manager.beginTransaction()
.hide(fragment1)
.hide(fragment2)
.hide(fragment3)
.hide(fragment4);
transaction.commit();
}
}
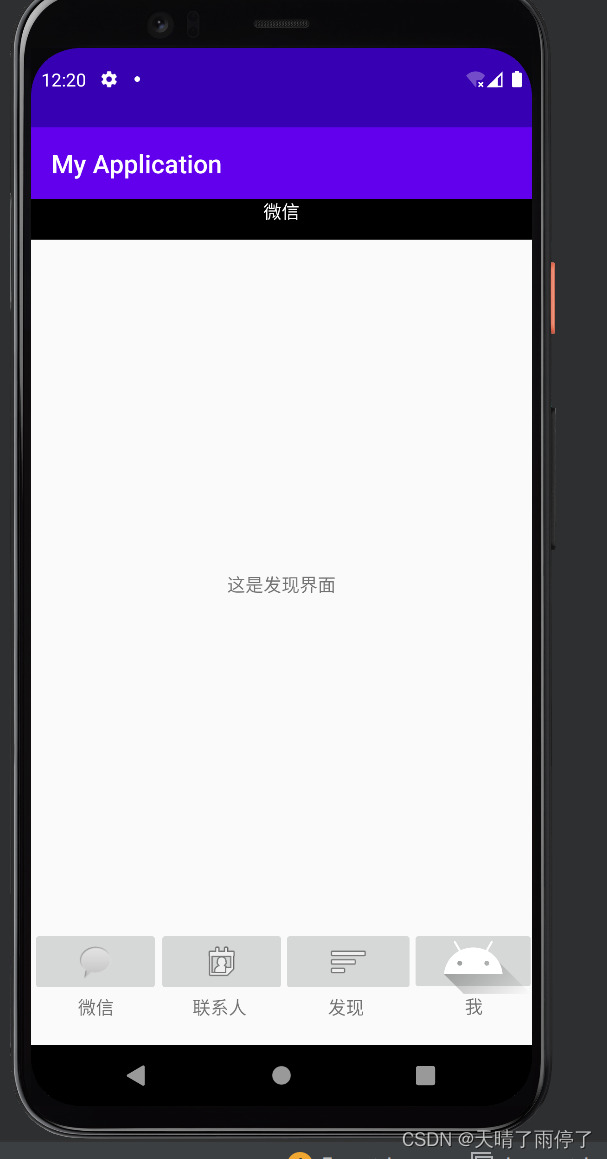
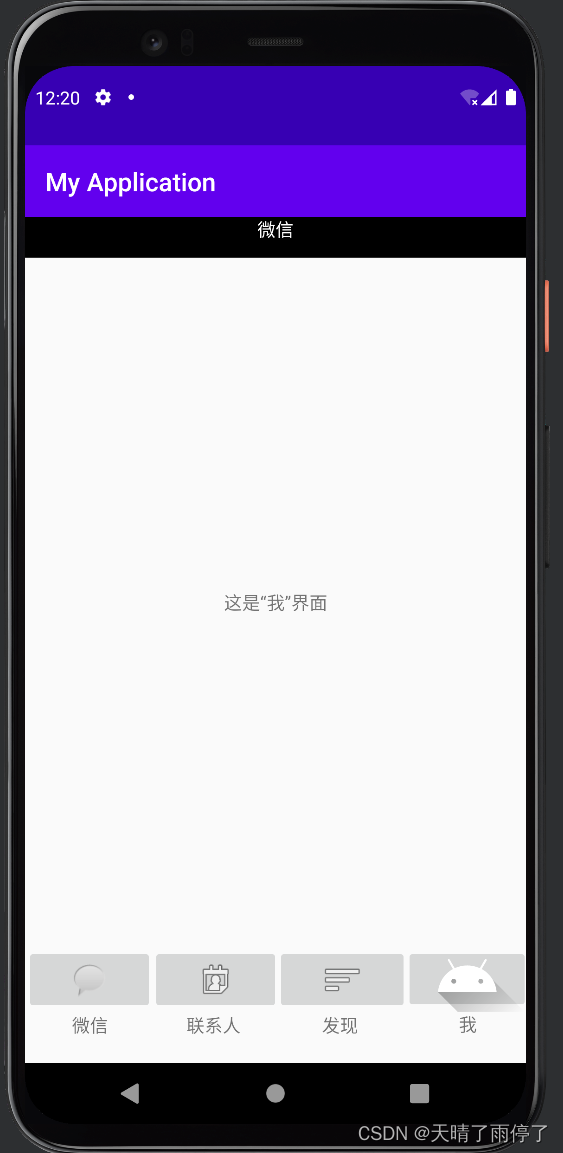
~~~四.运行展示截图
五.源码仓库地址
GitHub - sin2333/zqy_wechat_homework: homework


 278
278

 被折叠的 条评论
为什么被折叠?
被折叠的 条评论
为什么被折叠?
 到【灌水乐园】发言


