vue3引入部分组件显示无法找到声明模块?

博主在尝试安装并使用vue-wechat-title模块时遇到问题,尽管已安装但仍然报错。通过查阅相关资料,博主发现只需在'shims-vue.d.ts'文件中添加声明即可解决问题,现在项目运行恢复正常。

摘要生成于 C知道 ,由 DeepSeek-R1 满血版支持, 前往体验 >

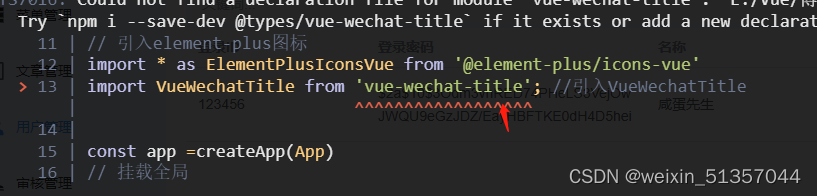
今天确实这件事比较让人头疼,我安装了vue-wechat-title模块在main.ts引入发现出错了
在这里插入图片描述
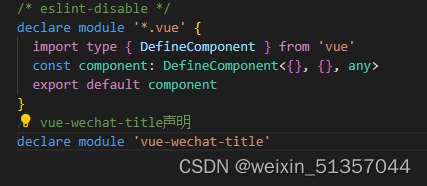
就好奇怪我明明安装了结果出现这样我错误,于是我找了很多相关文章结果只需要在“shims-vue.d.ts”中做个声明就可以了
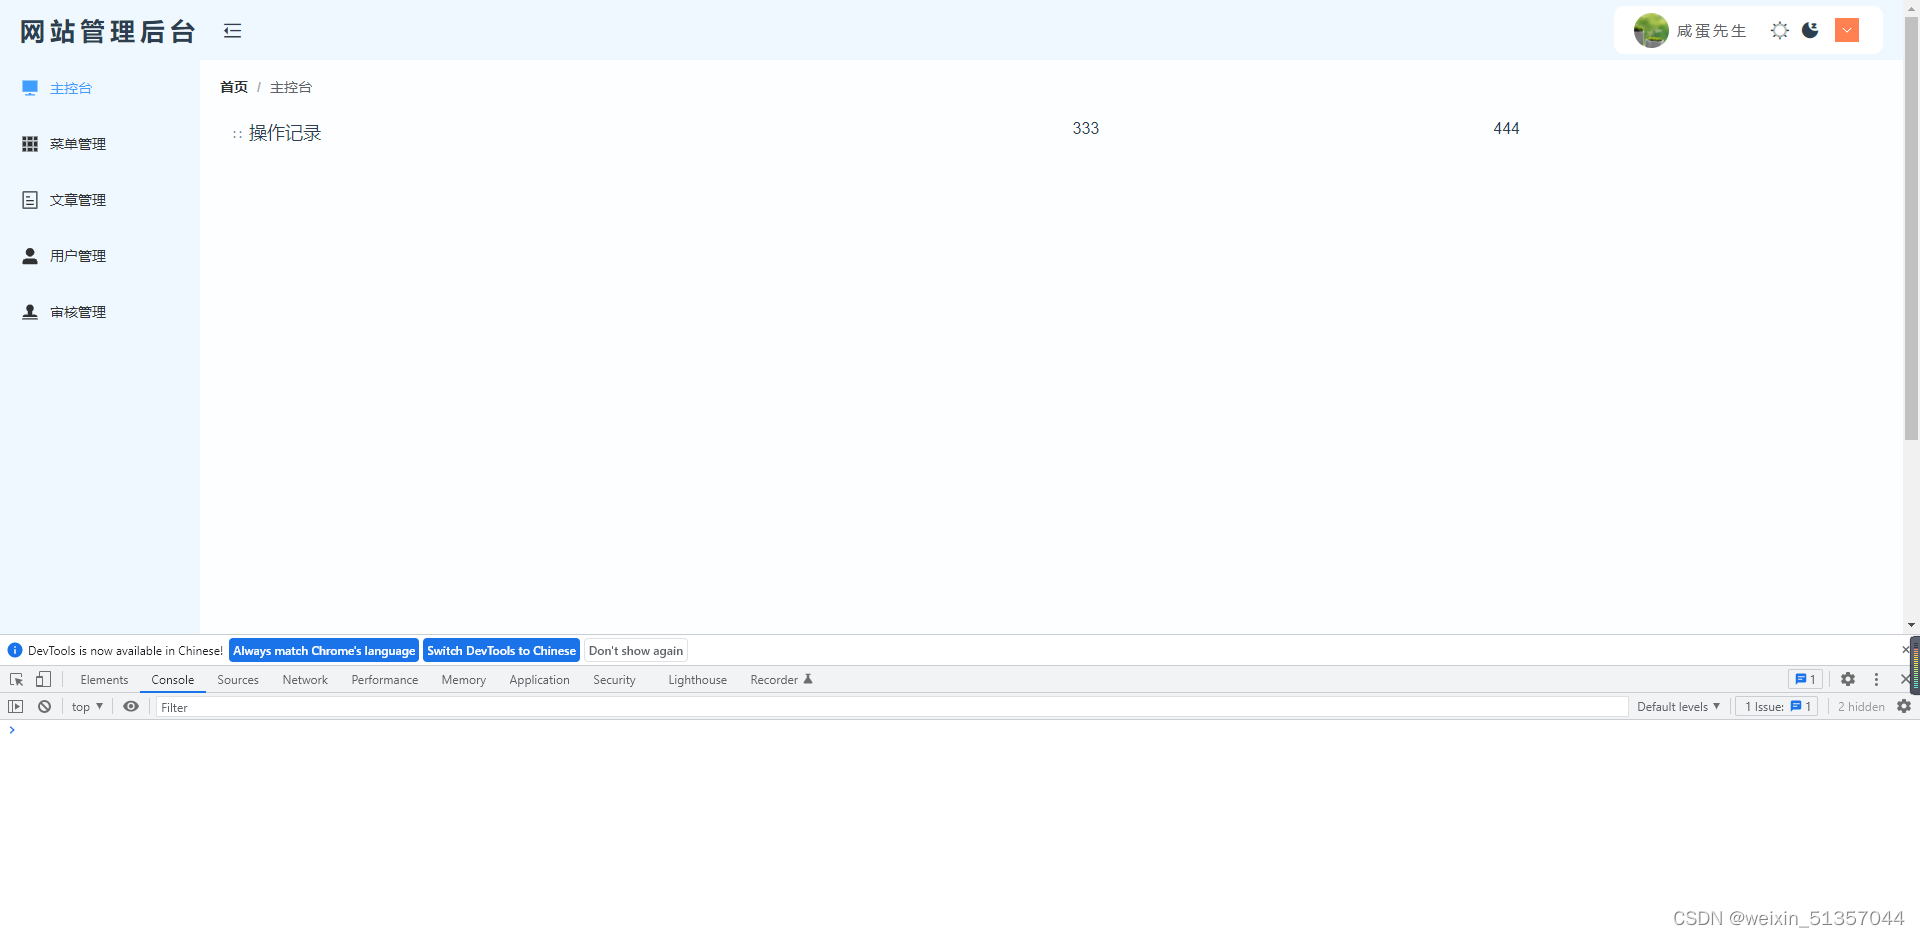
在这里插入图片描述
在这里插入图片描述
正常啦

### Vue3 中正确引入和使用子组件的方法 在 Vue3 中,可以通过多种方式引入和使用子组件。以下是详细的介绍: #### 1. 使用 `import` 和注册子组件Vue3 中,最常见的方式是通过 `import` 导入子组件,并将其注册到父组件的 `components` 属性中。 ```javascript // 子组件 ChildComponent.vue <template> <div>这是子组件</div> </template> <script> export default { name: &#39;ChildComponent&#39; } </script> ``` ```javascript // 父组件 ParentComponent.vue <template> <div> <!-- 使用子组件 --> <ChildComponent /> </div> </template> <script> // 引入组件 import ChildComponent from &#39;./ChildComponent.vue&#39; export default { components: { ChildComponent // 注册子组件 } } </script> ``` 这种方式是最基础也是最常见的方法[^4]。 --- #### 2. 动态加载子组件 如果希望按需加载子组件以优化性能,可以使用动态导入语法 (`import()`) 结合 `<component>` 标签实现动态加载。 ```javascript <template> <div> <!-- 动态渲染子组件 --> <component :is="currentComponent" v-if="currentComponent"></component> </div> </template> <script> export default { data() { return { currentComponent: null }; }, mounted() { this.loadComponent(); }, methods: { async loadComponent() { const component = await import(&#39;./ChildComponent.vue&#39;); this.currentComponent = component.default; } } }; </script> ``` 此方法利用了 Vue3 的 `<component>` 标签以及 `:is` 属性来动态指定要渲染的组件[^2]。 --- #### 3. 组件库集成 (如 Element Plus) 当项目需要引入第三方组件库(例如 Element Plus),应按照其官方文档说明进行安装和配置。对于 Vue3 而言,推荐使用与之兼容的版本(如 Element Plus)而不是旧版的 Element UI。 安装命令如下: ```bash npm install element-plus --save ``` 随后,在入口文件(通常是 `main.js` 或 `main.ts`)中全局引入或按需引入所需模块。 ```javascript // main.js import { createApp } from &#39;vue&#39;; import App from &#39;./App.vue&#39;; import ElementPlus from &#39;element-plus&#39;; // 全局引入 import &#39;element-plus/dist/index.css&#39;; const app = createApp(App); app.use(ElementPlus); // 注册插件 app.mount(&#39;#app&#39;); ``` 或者按需引入特定组件: ```javascript // 按需引入 Button 组件作为例子 import { ElButton } from &#39;element-plus&#39;; import &#39;element-plus/lib/theme-chalk/button.css&#39;; const app = createApp(App); app.component(ElButton.name, ElButton); // 手动注册单个组件 app.mount(&#39;#app&#39;); ``` 注意:Vue3 不再支持原生的 Element UI 库,因此必须切换至适配 Vue3 的 Element Plus 版本[^3]。 --- #### 4. Composition API 下的父子组件通信 除了简单的子组件引入外,还可以借助 Vue3 提供的新特性——Composition API 来增强父子组件间的交互能力。例如,通过 `defineProps` 接收数据并通过 `defineEmits` 向上触发事件。 父组件传递参数给子组件: ```html <!--组件 --> <template> <ChildComponent :message="parentMessage" @childEvent="handleChildEvent" /> </template> <script setup> import { ref } from &#39;vue&#39;; import ChildComponent from &#39;./ChildComponent.vue&#39;; const parentMessage = ref(&#39;来自父组件的消息&#39;); function handleChildEvent(data) { console.log(`收到子组件发送的数据`, data); } </script> ``` 子组件接收参数并向上传递事件: ```html <!--组件 --> <template> <button @click="sendDataToParent">点击向父组件发送消息</button> </template> <script setup> import { defineProps, defineEmits } from &#39;vue&#39;; const props = defineProps({ message: String, }); const emit = defineEmits([&#39;childEvent&#39;]); function sendDataToParent() { emit(&#39;childEvent&#39;, `${props.message} 已被修改`); } </script> ``` 上述代码展示了如何基于 Composition API 实现更灵活的父子组件通信机制。 --- ### 总结 以上介绍了四种主要的 Vue3组件引入和使用方式,分别是静态注册、动态加载、第三方组件库集成以及 Composition API 支持下的高级功能扩展。每种方法都有各自的优缺点,实际开发过程中可根据业务需求选择合适的技术方案。
评论
添加红包

请填写红包祝福语或标题

红包个数最小为10个

红包金额最低5元

当前余额3.43前往充值 >
需支付:10.00
成就一亿技术人!
领取后你会自动成为博主和红包主的粉丝 规则
hope_wisdom
发出的红包

打赏作者

橙子cms

node+express扫码获

¥1 ¥2 ¥4 ¥6 ¥10 ¥20
扫码支付:¥1
获取中
扫码支付

您的余额不足,请更换扫码支付或充值

打赏作者

实付
使用余额支付
点击重新获取
扫码支付
钱包余额 0

抵扣说明:

1.余额是钱包充值的虚拟货币,按照1:1的比例进行支付金额的抵扣。
2.余额无法直接购买下载,可以购买VIP、付费专栏及课程。

余额充值