


# 前言
本系列文章总共分为4篇,主要描述使用Zabbix 监控Postgresql数据库,并且用grafana来实现可视化。
文章部分内容也借鉴了许多博主的想法。我将部署的每一步都放到文章中,部分代码来自其他博主的也在文章结尾的总结处放了连接,大家可以去看原文。文章仅供参考,也欢迎大家在下面提出补足和建议。这是第二篇:安装zabbix-Agent
一、部署工具及环境
FinalShell 4.5.12: 连接虚拟机工具
虚拟机: VMware- CentOS 7
- Zabbix Server: 192.168.130.84 (4.0版本)
- Zabbix Agent (也就是数据库所在的机子上):192.168.130.85 (4.10 版本)
- Grafana: 192.168.130.90
二、 安装Zabbix - Agent
1. 使用清华大学的镜像开源网站下载rpm包安装。此方法可以用在被隔离的物理环境中。
链接:Index of /zabbix/zabbix/4.4/rhel/7/x86_64/ | 清华大学开源软件镜像站 | Tsinghua Open Source Mirror
下载4.4.10版本
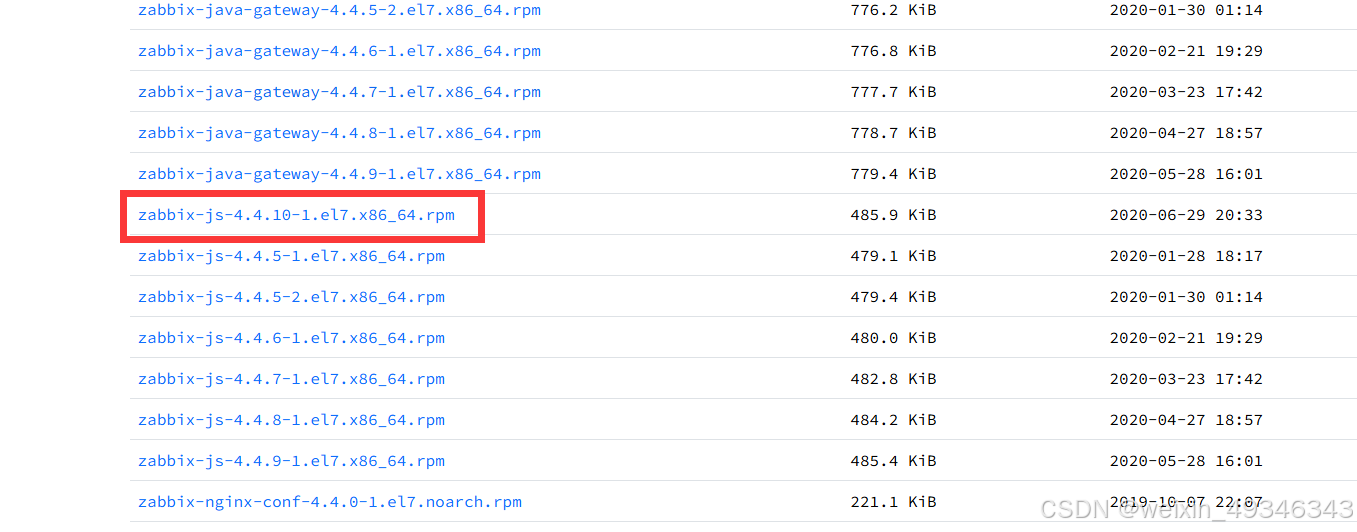
2. 把rpm包放到/root目录中
3. 安装
rpm -ivh zabbix-agent-4.4.10-1.el7.x86_64.rpm4. 修改配置文件
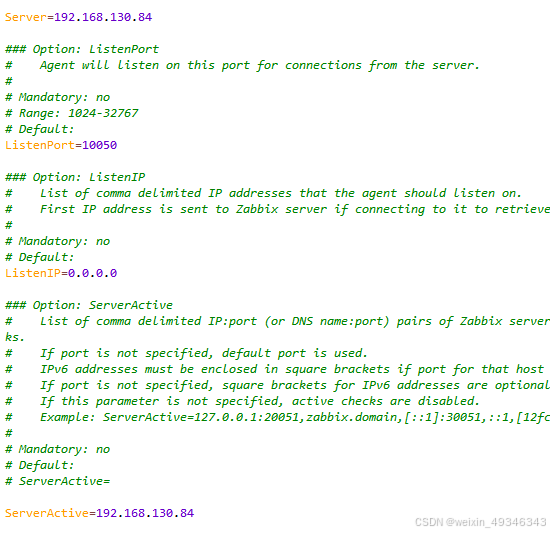
vi /etc/zabbix/zabbix_agentd.conf### Option: Server
# List of comma delimited IP addresses, optionally in CIDR notation, or DNS names of Zabbix servers and Zabbix proxies.
# Incoming connections will be accepted only from the hosts listed here.
# If IPv6 support is enabled then '127.0.0.1', '::127.0.0.1', '::ffff:127.0.0.1' are treated equally
# and '::/0' will allow any IPv4 or IPv6 address.
# '0.0.0.0/0' can be used to allow any IPv4 address.
# Example: Server=127.0.0.1,192.168.1.0/24,::1,2001:db8::/32,zabbix.example.com
#
# Mandatory: yes, if StartAgents is not explicitly set to 0
# Default:
# Server=
Server=192.168.130.84
### Option: ListenPort
# Agent will listen on this port for connections from the server.
#
# Mandatory: no
# Range: 1024-32767
# Default:
ListenPort=10050
### Option: ListenIP
# List of comma delimited IP addresses that the agent should listen on.
# First IP address is sent to Zabbix server if connecting to it to retrieve list of active checks.
#
# Mandatory: no
# Default:
ListenIP=0.0.0.0
### Option: ServerActive
# List of comma delimited IP:port (or DNS name:port) pairs of Zabbix servers and Zabbix proxies for active checks.
# If port is not specified, default port is used.
# IPv6 addresses must be enclosed in square brackets if port for that host is specified.
# If port is not specified, square brackets for IPv6 addresses are optional.
# If this parameter is not specified, active checks are disabled.
# Example: ServerActive=127.0.0.1:20051,zabbix.domain,[::1]:30051,::1,[12fc::1]
#
# Mandatory: no
# Default:
# ServerActive=
ServerActive=192.168.130.84
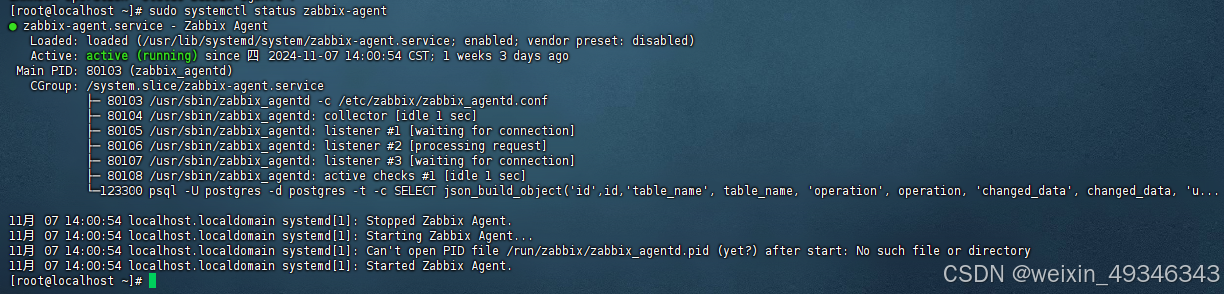
5. 设置自启动,并且启动zabbix - agent
systemctrl enable zabbix-agent
systemctrl start zabbix-agent
systemctrl status zabbix-agent
6. 查看 zabbix -agent 版本
[root@localhost ~]# rpm -qi zabbix-agent
Name        : zabbix-agent
Version     : 4.4.10
Release     : 1.el7
Architecture: x86_64
Install Date: 2024年10月23日 星期三 15时18分41秒
Group       : Applications/Internet
Size        : 1812451
License     : GPLv2+
Signature   : RSA/SHA512, 2020年06月29日 星期一 20时33分26秒, Key ID 082ab56ba14fe591
Source RPM  : zabbix-4.4.10-1.el7.src.rpm
Build Date  : 2020年06月29日 星期一 19时57分01秒
Build Host  : builds.zabbix.lan
Relocations : (not relocatable)
URL         : http://www.zabbix.com/
Summary     : Old Zabbix Agent
Description :
Old implementation of zabbix agent.
To be installed on monitored systems.
8. 在Web端配置 Agent
在Web端按照图中的指示操作:


检查状态:

三、报错
如果发现无法启动,可以查看日志
sudo tail -f /var/log/zabbix/zabbix_agentd.log


 1127
1127

 被折叠的 条评论
为什么被折叠?
被折叠的 条评论
为什么被折叠?
 到【灌水乐园】发言


