


项目的搭建
依旧是使用脚手架create-react-app xxx 去搭建自己的项目,然后接下来删除没用的代码:
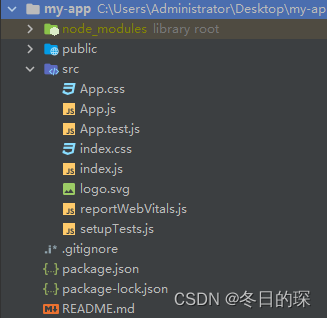
在以上的项目中呢,只需要留下App.js、index.js、index.css即可,当然还可以留着reportWebVitals.js这个文件,这个是处理离线缓存、消息推送、后台自动更新等任务,不过生产环境不用留。
然后重构index.css为style.js,引入yarn add styled-components这个模块
这里提一嘴啊,慕课那课太老了,api都更新了,在style.js里引入reset
import {createGlobalStyle} from 'styled-components'
export const Globalstyle = createGlobalStyle`
  body {
    html, body, div, span, applet, object, iframe,
    h1, h2, h3, h4, h5, h6, p, blockquote, pre,
    a, abbr, acronym, address, big, cite, code,
    del, dfn, em, img, ins, kbd, q, s, samp,
    small, strike, strong, sub, sup, tt, var,
    b, u, i, center,
    dl, dt, dd, ol, ul, li,
    fieldset, form, label, legend,
    table, caption, tbody, tfoot, thead, tr, th, td,
    article, aside, canvas, details, embed,
    figure, figcaption, footer, header, hgroup,
    menu, nav, output, ruby, section, summary,
    time, mark, audio, video {
      margin: 0;
      padding: 0;
      border: 0;
      font-size: 100%;
      font: inherit;
      vertical-align: baseline;
    }

    /* HTML5 display-role reset for older browsers */
    article, aside, details, figcaption, figure,
    footer, header, hgroup, menu, nav, section {
      display: block;
    }

    body {
      line-height: 1;
    }

    ol, ul {
      list-style: none;
    }

    blockquote, q {
      quotes: none;
    }

    blockquote:before, blockquote:after,
    q:before, q:after {
      content: '';
      content: none;
    }

    table {
      border-collapse: collapse;
      border-spacing: 0;
    }
  }
`
然后在入口文件里引入这个组件!!!!
import {Globalstyle} from './style';

const root = ReactDOM.createRoot(document.getElementById('root'));
root.render(
  <React.StrictMode>
    <Globalstyle/>
    <App />
  </React.StrictMode>
);
至此,就可以了。大体轮廓就这样了~~~
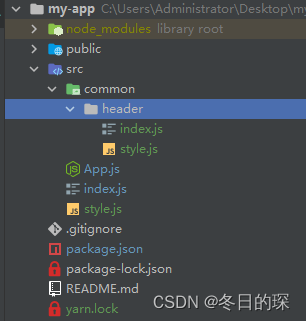
接下来开始建立我们的项目了
我们先写头部,所以建立common这个文件夹,因为头部在各个网页是通用的
说明一下:我们有APP这个大组件,然后在APP这个大组件里有Header这个小组件,再把APP渲染到我们的入口文件,也就是index.js里,这就是目前的结构~~
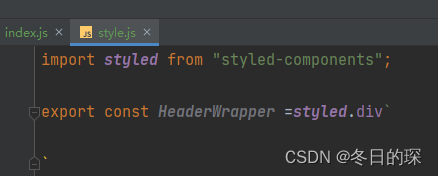
我们在header目录下的style里引入刚刚安装的模块,然后这样的话,就可以在这个文件下编辑header目录下index.js的样式了,也就是头部组件的样式
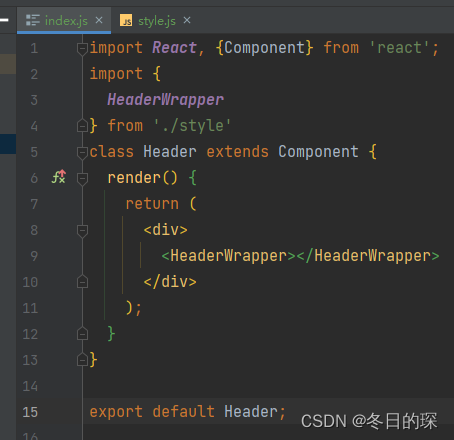
我们在header这个目录下的入口文件引入刚刚写的那个小组件,先引入再使用
在style.js里导入图片:
import logoPic from '../../statics/logo.png'  //先引入

export const Logo=styled.a.attrs({
  href:'/'
})`
  position: absolute;
  top: 0;
  left: 0;
  display: block;
  width: 100px;
  height: 58px;
  background: url(${logoPic});  //在这里哦  再使用
  background-size: contain;
  `
在header目录下的index.js里引入阿里巴巴矢量图标
我们首先到阿里巴巴官网上下载下我们需要的图标,然后在common的目录下新建statics文件夹,引入iconfont,需要的就是这几个:
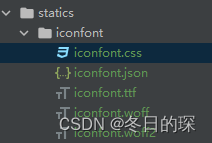
然后在总的入口文件里引入就可以了:
import './statics/iconfont/iconfont.css'就可以在header目录下的index.js里用啦!!!:
<i className='iconfont'></i>目前效果:

index,js:
import React, {Component} from 'react';
import {
HeaderWrapper, Logo, Nav,NavItem,NavSearch,Addition,Button,SearchWrapper
} from './style'
class Header extends Component {
render() {
return (
<div>
<HeaderWrapper>
<Logo/>
<Nav>
<NavItem className='left'>首页</NavItem>
<NavItem className='left'>下载APP</NavItem>
<NavItem className='right'>
<i className='iconfont'></i>
</NavItem>
<NavItem className='right'>登录</NavItem>
<SearchWrapper>
<NavSearch></NavSearch>
<i className='iconfont'></i>
</SearchWrapper>
</Nav>
<Addition>
<Button className='writing'>
<i className='iconfont'></i>
写文章
</Button>
<Button className='reg'>注册</Button>
</Addition>
</HeaderWrapper>
</div>
);
}
}
export default Header;
style.js:
import styled from "styled-components";
import logoPic from '../../statics/logo.png'
export const HeaderWrapper =styled.div`
  position: relative;
  height: 58px;
  border-bottom: 1px solid #f0f0f0;
`
export const Logo=styled.a.attrs({
  href:'/'
})`
  position: absolute;
  top: 0;
  left: 0;
  display: block;
  width: 100px;
  height: 58px;
  background: url(${logoPic});
  background-size: contain;
  `
export const Nav =styled.div`
  width: 960px;
  height: 100%;
  margin: 0 auto;
  padding-right: 70px;
  box-sizing: border-box;
`
export const NavItem =styled.div`
  line-height: 56px;
  padding: 0 15px;
  font-size: 17px;
  color: #333;
  &.left{
    float: left;
  }
  &.right{
    float: right;
    color: #969696;
  }
  &.active{
    color: #ea6f5a;
  }
`
export const SearchWrapper=styled.div`
  float: left;
  position: relative;
  .iconfont {
    position: absolute;
    right: 5px;
    bottom: 4px;
    width: 30px;
    height: 30px;
    border-radius: 15px;
    line-height: 30px;
    text-align: center;
    color: #666;

    &.focused {
      background: #777;
      color: #fff;
    }
  }
`
export const NavSearch =styled.input.attrs({
  placeholder:'搜索'
})`
  width: 160px;
  height: 38px;
  border: none;
  outline: none;
  border-radius: 19px;
  background: #eee;
  margin-top: 9px;
  padding: 0 30px 0 20px;
  box-sizing: border-box;
  font-size: 14px;
  margin-left: 20px;
  color: #666;
  &::placeholder{
    color: #999;
  }
  &.slide-enter{
    transition: all .2s ease-in-out;
  }
  &.slide-enter-active{
    width: 240px;
  }
  &.slide-exit{
    transition: all .2s ease-out;
  }
  &.slide-exit-active{
    width: 160px;
  }
  &.focused{
    width: 240px;
  }
`
export const Addition =styled.div`
  position: absolute;
  right: 0;
  top: 0;
  height: 56px;
`

export const Button =styled.div`
  float: right;
  margin-top: 9px;
  line-height: 38px;
  border-radius: 19px;
  border: 1px solid #ec6149;
  margin-right: 20px;
  padding: 0 20px;
  &.reg{
   color: #ec6149;
  }
  &.writing{
    color: #fff;
    background: #ec6149;
  }

`


 508
508

 被折叠的 条评论
为什么被折叠?
被折叠的 条评论
为什么被折叠?
 到【灌水乐园】发言


