


 文章介绍了如何使用Python的PIL库中的ImageDraw.rectangle函数和OpenCV的cv2.rectangle函数来绘制矩形,包括设置填充色、轮廓色和边框宽度,并提供了相应的示例代码。
1. 函数讲解
源代码如下:ImageDraw.rectangle(xy, fill=None, outline=None, width=1)
主要的参数如下:
- xy: 定义边界框长宽边界,主要格式如下:
[(x0, y0), (x1, y1)]或者[x0, y0, x1, y1] - fill:填充颜色
- outline:轮廓颜色
- width:矩形边框的宽度
2. 示例代码
# importing image object from PIL
import math
from PIL import Image, ImageDraw
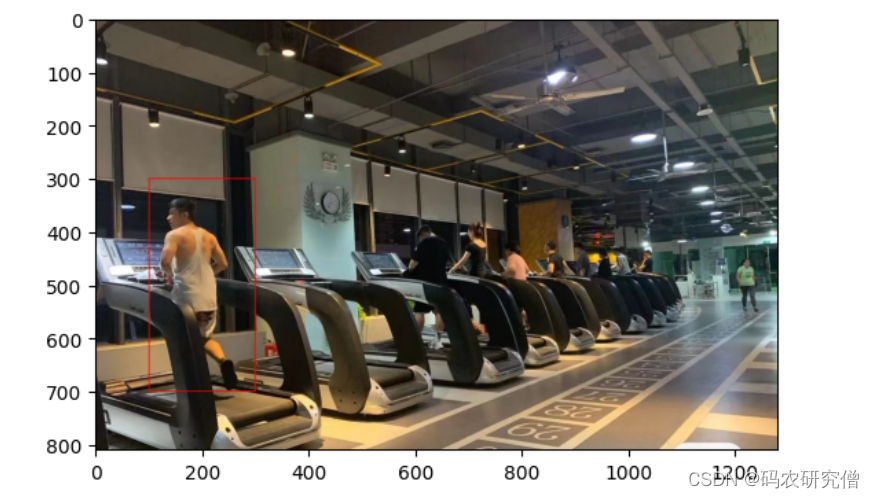
img = Image.open("Gym.jpg")
ImageDraw.Draw(img).rectangle([(100, 300), (300, 700)] , fill =None, outline ="red",width =2)
plt.imshow(img)
plt.show()
截图如下:
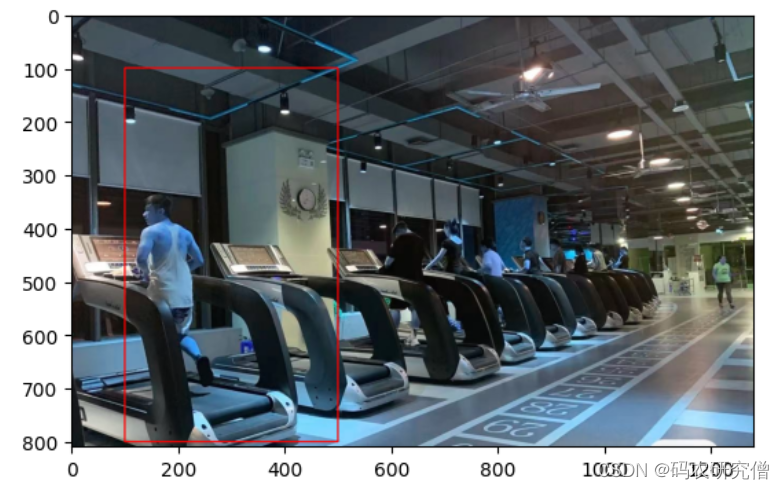
3. 补充cv2.rectangle
cv2.rectangle 则根据对角线画矩形
示例代码如下:
import os
import cv2
import matplotlib.pyplot as plt

img = cv2.imread("Gym.jpg")
xmin = 100
xmax = 500
ymin = 100
ymax = 800
cv2.rectangle(img, (xmin, ymin), (xmax, ymax), (0,0,255), 2)
cv2.rectangle(img, (xmin, ymax), (xmax, ymin), (255,0,0), 2)
#     cv2.imshow('src',img)
#     cv2.waitKey()

plt.imshow(img)
plt.show()
截图如下:


 1万+
1万+

 被折叠的 条评论
为什么被折叠?
被折叠的 条评论
为什么被折叠?
 到【灌水乐园】发言


