


首先我们创建一个dao包,包中包含UserDao接口和它的实现类UserDaoImpl,并利用注解@Repository创建好该类的bean管理对象
package com.Spring5.dao;

public interface UserDao {
    public void update();
}
package com.Spring5.dao;

import org.springframework.stereotype.Repository;

@Repository
public class UserDaoImpl implements UserDao{
    @Override
    public void update() {
        System.out.println("put ... ... ... ...");
    }
}
然后创建一个service包,包中创建UserService类,并利用@Service创建该类的bean管理对象,且用@Autowired装配UserDao属性
package com.Spring5.service;

import com.Spring5.dao.UserDao;
import org.springframework.beans.factory.annotation.Autowired;
import org.springframework.beans.factory.annotation.Qualifier;
import org.springframework.stereotype.Service;

import javax.annotation.Resource;

@Service
public class UserService {
    @Resource(name = "userDaoImpl")
    private UserDao userDao;
    public void add(){
        System.out.println("add ..... ...");
        userDao.update();
    }
}
创建配置类
package com.Spring5.config;

import org.springframework.beans.factory.annotation.Configurable;
import org.springframework.context.annotation.ComponentScan;
import org.springframework.context.annotation.Configuration;

@Configuration //作为配置类
@ComponentScan(basePackages = "com.Spring5")
public class SpringConfig {

}
@Configuration 用来使类作为配置类,@ComponentScan(basePackages = " ")用来指定需要需要扫描注解的包
创建测试类
public class Test1 {
    @Test
    public void test2(){
        ApplicationContext context=new AnnotationConfigApplicationContext(SpringConfig.class);
        UserService userService=context.getBean("userService",UserService.class);
        userService.add();
    }
}
其实就是把ClassPathXmlApplicationContext变成了AnnotationConfigApplicationContext
其他的和xml开发完全一样
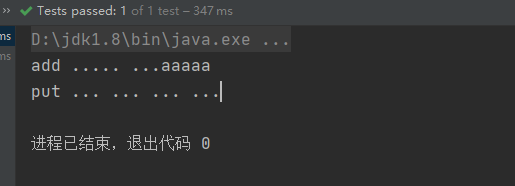
运行测试类,运行结果如下


 1041
1041

 被折叠的 条评论
为什么被折叠?
被折叠的 条评论
为什么被折叠?
 到【灌水乐园】发言


