


 这篇博客记录了作者在山东大学项目实训中,使用vue.js开发医院耗材管理系统前端的过程。已完成前端页面设计,包括10个部分:首页、订单管理等。在开发中,利用代码复用降低工作量,目前问题较少,即将着手编写前端功能方法、路由及前后端交互代码。
经过了几周的努力,前端的页面设计(由我负责的部分)已经基本完成,按照之前的规划,分为首页,订单管理,库存管理,入库管理,出库管理,退货管理,移库管理,报表管理,资质管理,系统管理10个部分,每部分都有专门的页面和操作。
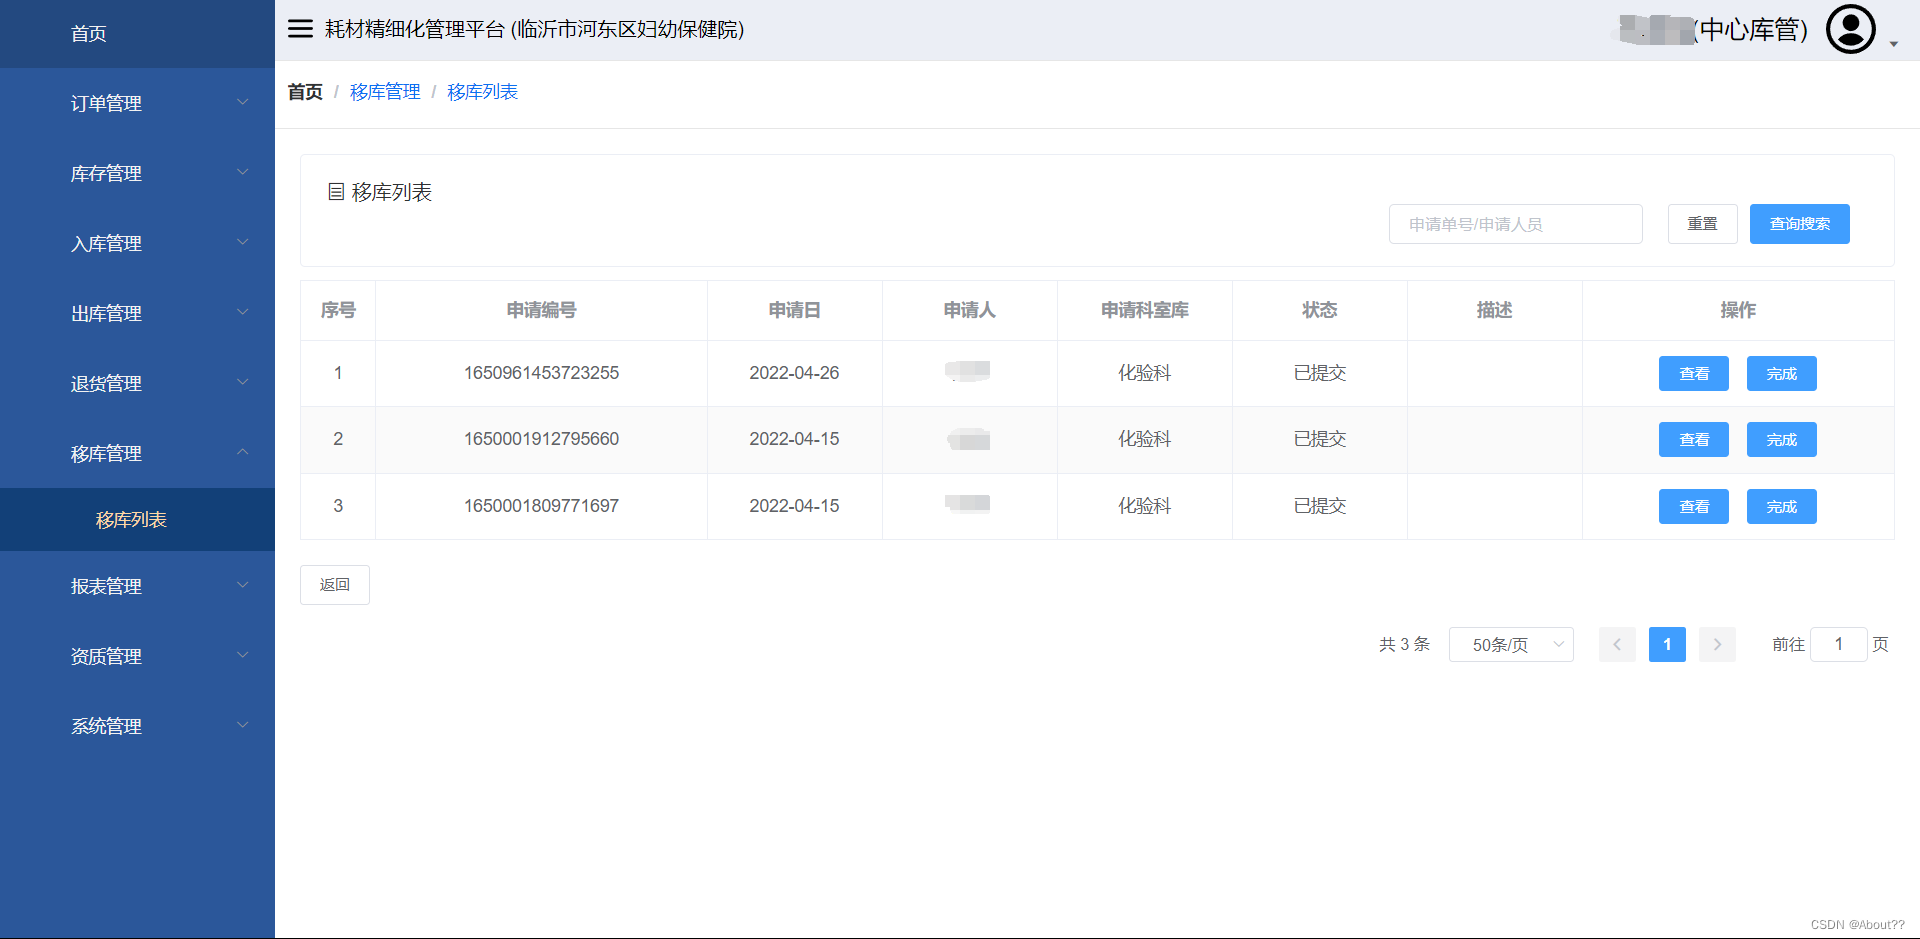
在此贴一个移库管理中的页面代码,为了开发方便,我们在开发过程中各部分页面代码之间极为类似,减少了很多的工作量并且易于纠错。
<template>
  <div class="app-container">
    <el-card class="filter-container" shadow="never">
      <div>
        <i class="el-icon-tickets"></i>
        <span>移库列表</span>
      </div>

      <el-button size="small" style="float:right;margin-right: 15px"
                 type="primary" :loading="loading"
                 @click.native.prevent="handleSearchList">
        查询搜索
      </el-button>
      <el-button
        style="float:right;margin-right: 10px"
        @click="handleResetSearch()"
        size="small">
        重置
      </el-button>
      <div style="float:right">
        <el-form :inline="true" :model="listQuery" size="small" label-width="140px">
          <el-form-item>
            <el-input v-model="listQuery.keyword" class="input-width" placeholder="申请单号/申请人员"
                      @keyup.enter.native="handleSearchList"></el-input>
          </el-form-item>
        </el-form>
      </div>
    </el-card>

    <div class="table-container">
      <el-table ref="relocationTable"
                :data="list"
                :row-class-name="rowClassName"
                max-height="550"
                stripe
                :default-sort="{scope: 'scope.row.collectDay', collect: 'descending'}"
                style="width: 100%;"
                @selection-change="handleSelectionChange"
                v-loading="listLoading" border>
        <el-table-column prop="newId" align="center" label="序号" width="60"></el-table-column>
        <el-table-column label="申请编号" min-width="150%" align="center">
          <template slot-scope="scope">{{ scope.row.collectNo }}</template>
        </el-table-column>
        <el-table-column label="申请日" align="center">
          <template slot-scope="scope">{{ scope.row.collectDay | formatCollectTime }}</template>
        </el-table-column>
        <el-table-column label="申请人" align="center">
          <template slot-scope="scope">{{ scope.row.createName }}</template>
        </el-table-column>
        <el-table-column label="申请科室库" align="center">
          <template slot-scope="scope">{{ scope.row.branch }}</template>
        </el-table-column>
        <el-table-column label="状态" align="center">
          <template slot-scope="scope">
            {{ statusData[(scope.row.collectStatus)] }}
          </template>
        </el-table-column>
        <el-table-column label="描述" align="center">
          <template slot-scope="scope">{{ scope.row.collectDescribe }}</template>
        </el-table-column>
        <el-table-column label="操作" width="250" align="center">
          <template slot-scope="scope">
            <el-button
              size="mini"
              type="primary"
              @click="handleViewCollect(scope.$index, scope.row)"
              v-show="scope.row.collectStatus==1 || scope.row.collectStatus==2 || scope.row.collectStatus==3">查看
            </el-button>
            <el-button
              size="mini"
              type="primary"
              @click="handleViewChange(scope.$index, scope.row)"
              v-show="scope.row.collectStatus==1 || scope.row.collectStatus==2 || scope.row.collectStatus==3">完成
            </el-button>
            <el-button
              size="mini"
              type="primary"
              @click="handleApplyIn(scope.$index, scope.row)"
              v-show="scope.row.collectStatus==2 && (roleId == 3 || roleId == 1)">申领入库
            </el-button>
            <el-button
              size="mini"
              type="primary"
              icon="el-icon-edit"
              @click="handleViewCollect(scope.$index, scope.row)"
              v-show="scope.row.collectStatus==0">编辑
            </el-button>
<!--            <el-button
              size="mini"
              type="danger"
              v-show="roleId == 3 || roleId == 1"
              @click="handleDeleteCollect(scope.$index, scope.row)">删除
            </el-button>-->
          </template>
        </el-table-column>
      </el-table>
    </div>
    <el-button style="margin-top: 20px" size="small" @click="back()">返回</el-button>
    <div class="pagination-container">
      <el-pagination
        background
        @size-change="handleSizeChange"
        @current-change="handleCurrentChange"
        layout="total, sizes,prev, pager, next,jumper"
        :current-page.sync="listQuery.pageNum"
        :page-size="listQuery.pageSize"
        :page-sizes="[50,100,200]"
        :total="total">
      </el-pagination>
    </div>
  </div>
</template>
<script>
</script>
<style scoped>
.input-width {
  width: 203px;
}
</style>
效果如下:
由于目标明确,前期准备比较充足,再加上编写页面比较容易,目前遇到的问题并不多,很快就解决了。
后续我将开始编写前端功能所需的各种方法,界面之间转移的路由,以及前后端连接的代码。后续将继续更新进度。
注:本文中的图片是后期修改更换的,此前的界面中由于没有与后端以及数据库连接没有数据。


 被折叠的 条评论
为什么被折叠?
被折叠的 条评论
为什么被折叠?
 到【灌水乐园】发言


