


 本文介绍如何使用Sentinel实现微服务流量控制与管理,包括Sentinel与Nacos的集成、客户端搭建及控制台使用等关键步骤。
开发环境
开发工具:IDEA 2021.3.2
JDK版本:JDK1.8
Maven版本:Maven3.8
SpringCloud版本:Hoxton.SR12
SpringCloudAlibaba版本:2.2.7.RELEASE
SpringBoot版本:2.3.12.RELEASE
Nacos版本:2.0.3
Sentinel版本:1.8.2
下载安装Nacos
根据Nacos官方文档,下载Nacos2.X源码或者压缩包进行安装
使用Nacos2.0.3下载安装教程下载安装Nacos
下载安装Sentinel
根据Sentinel官方文档,下载Sentinel源码或者压缩包(下载速度慢)进行安装
Sentinel简介
Sentinel 是面向分布式、多语言异构化服务架构的流量治理组件,主要以流量为切入点,从流量路由、流量控制、流量整形、熔断降级、系统自适应过载保护、热点流量防护等多个维度来帮助开发者保障微服务的稳定性。
下载安装Sentinel-dashboard
①从Gitee克隆Sentinel1.8.2项目代码
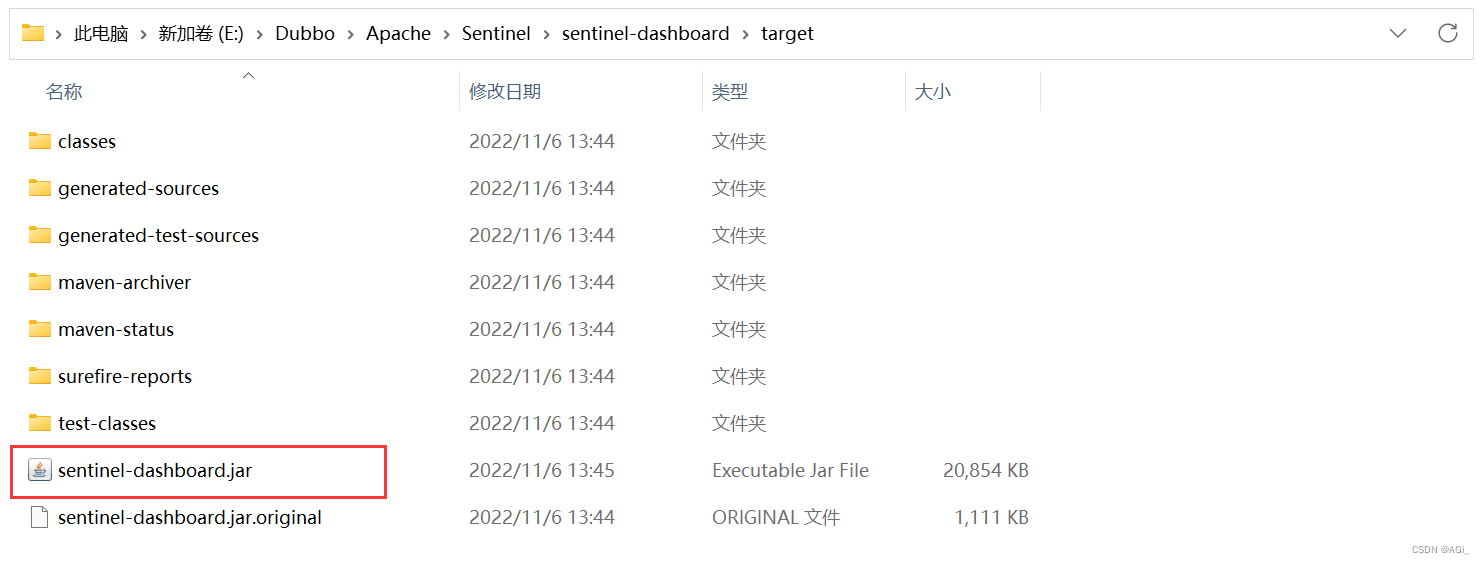
# -b 后面是版本号
git clone -b 1.8.2 https://gitee.com/mirrors/Sentinel.git
②进入Sentinel\sentinel-dashboard目录下,打包sentinel-dashboard
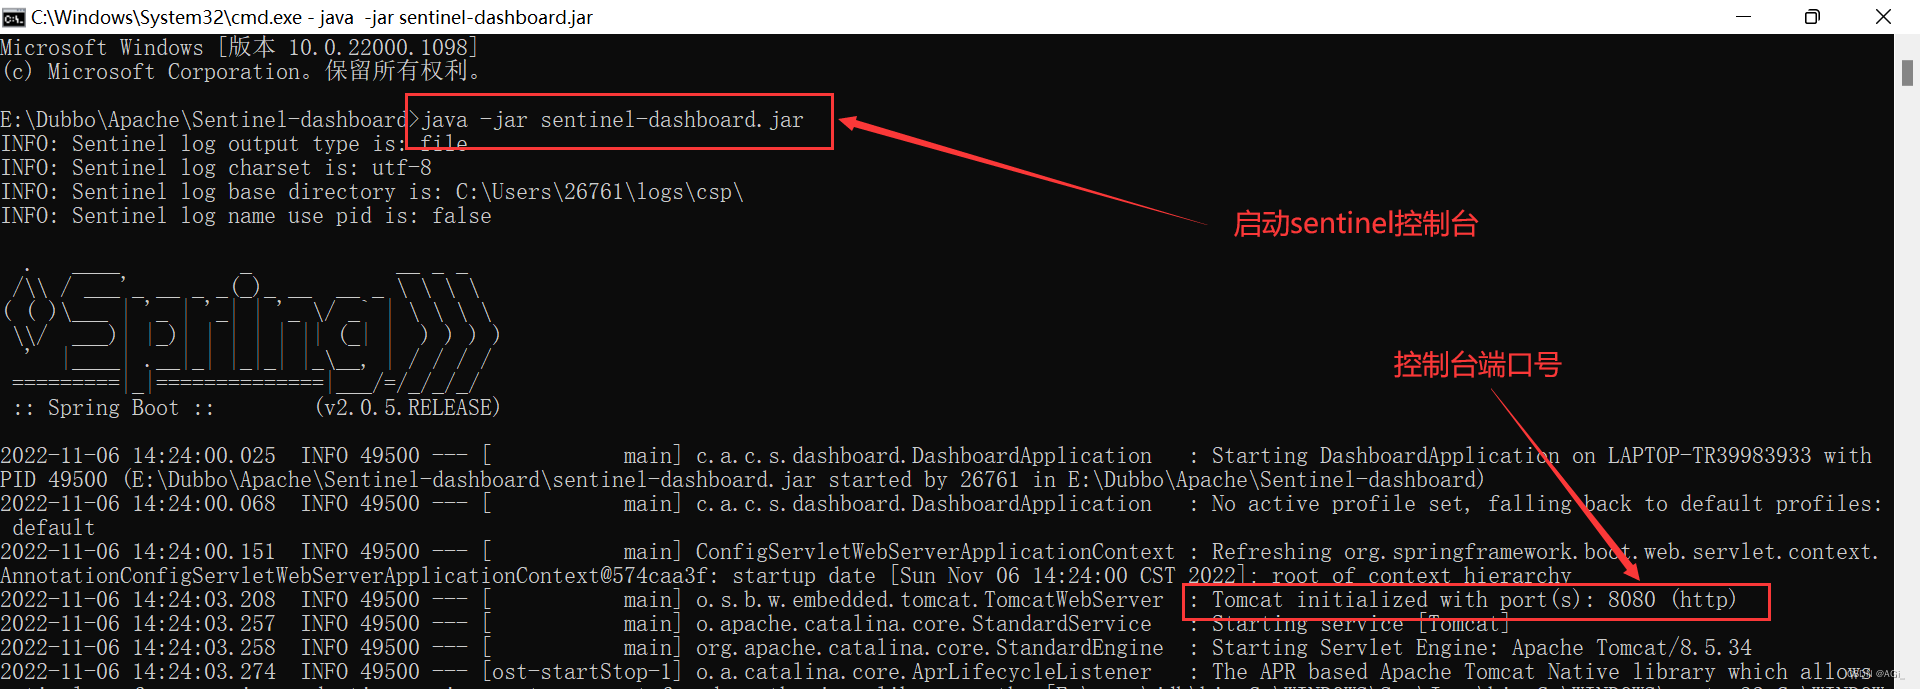
cd Sentinel\sentinel-dashboard

mvn clean package
③进入target目录下,打开cmd输入java -jar sentinel-dashboard.jar 启动sentinel控制台
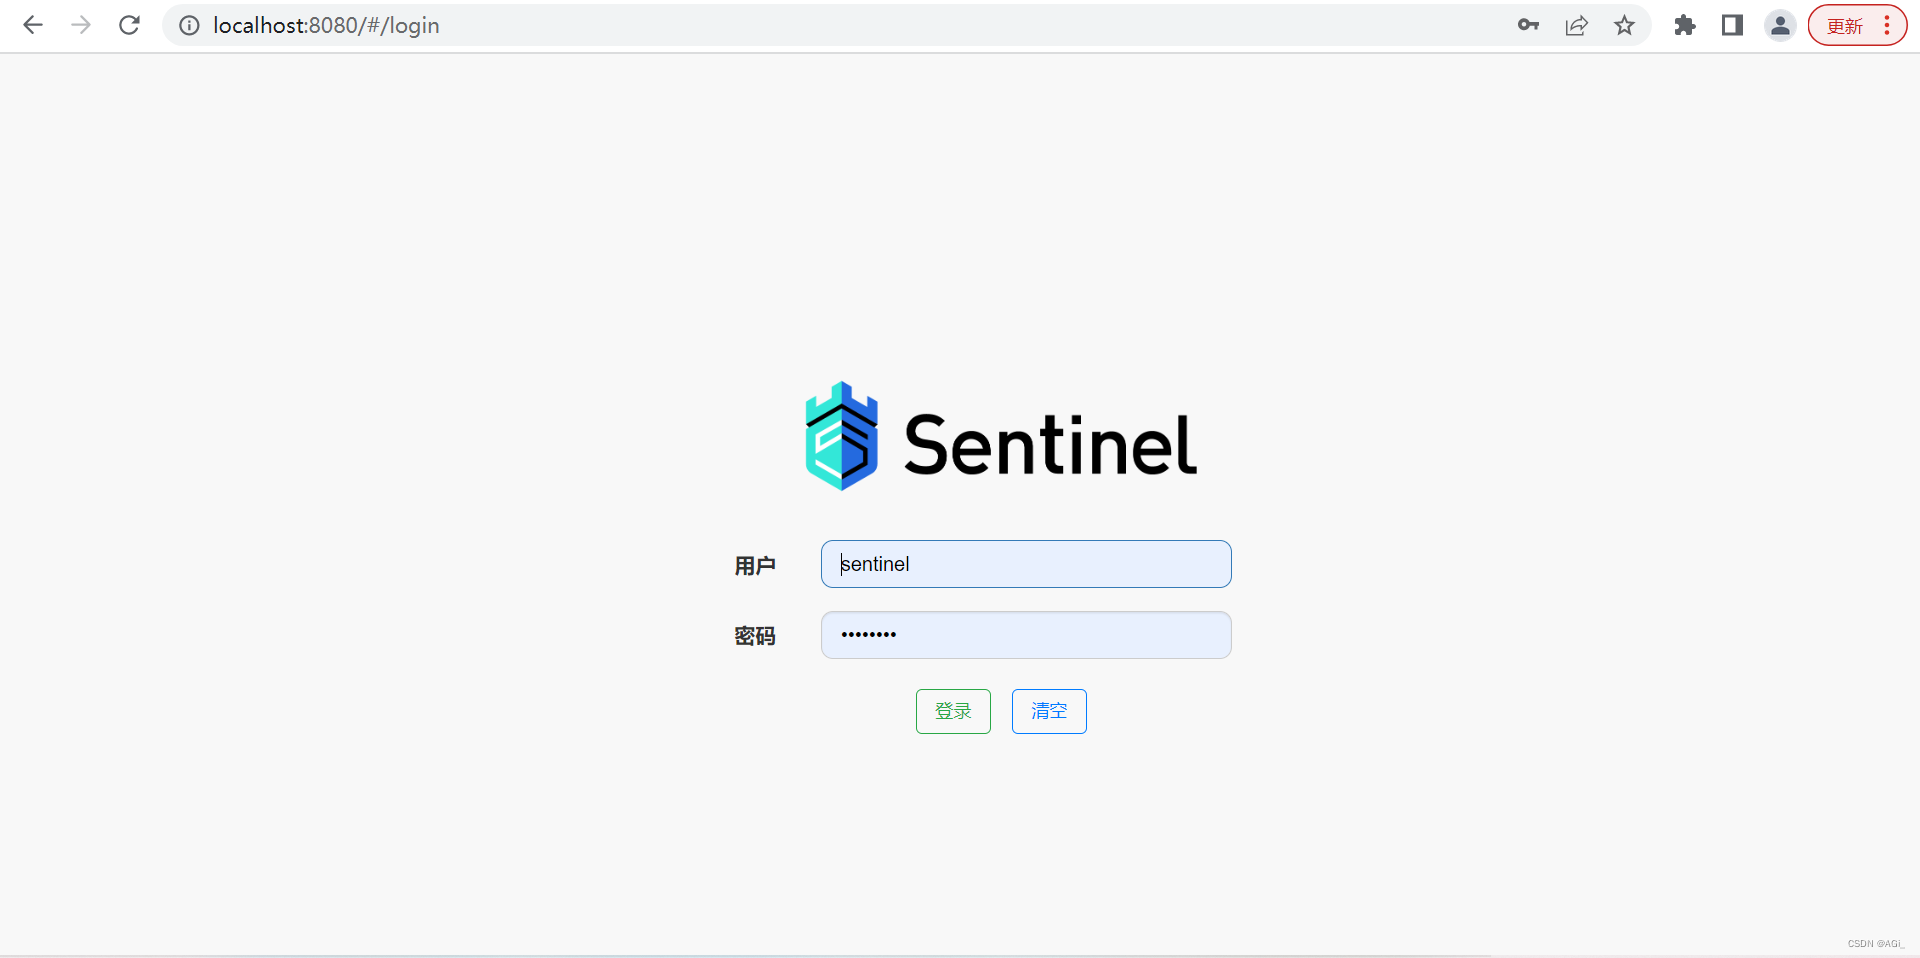
④访问http://localhost:8080/,登录sentinel控制台(默认账号密码都是sentinel)
搭建Sentinel客户端
搭建Spring Cloud项目
创建Sentinel客户端
①创建maven模块,命名为cloud-provider-sentinel8021
②导入依赖
    <dependencies>
        <!--sentinel-->
        <dependency>
            <groupId>com.alibaba.cloud</groupId>
            <artifactId>spring-cloud-starter-alibaba-sentinel</artifactId>
        </dependency>
        <dependency>
            <groupId>com.alibaba.csp</groupId>
            <artifactId>sentinel-datasource-nacos</artifactId>
        </dependency>
        <!--nacos注册-->
        <dependency>
            <groupId>com.alibaba.cloud</groupId>
            <artifactId>spring-cloud-starter-alibaba-nacos-discovery</artifactId>
        </dependency>
        <!--springboot-->
        <dependency>
            <groupId>org.springframework.boot</groupId>
            <artifactId>spring-boot-starter-web</artifactId>
        </dependency>
        <dependency>
            <groupId>org.springframework.boot</groupId>
            <artifactId>spring-boot-starter-actuator</artifactId>
        </dependency>
    </dependencies>
③创建application.yml配置文件
server:
  port: 8021

spring:
  application:
    name: cloud-provider-sentinel
  cloud:
    #nacos注册中心配置
    nacos:
      discovery:
        server-addr: 127.0.0.1:8848
    #sentinel配置
    sentinel:
      transport:
        port: 8719
        dashboard: 127.0.0.1:8080

management:
  endpoints:
    web:
      exposure:
        include: "*"
④创建启动类
@EnableDiscoveryClient
@SpringBootApplication
public class ProviderSentinel8021 {
    public static void main(String[] args) {
        SpringApplication.run(ProviderSentinel8021.class, args);
    }
}
⑤创建controller
@RestController
@RequestMapping("/provider")
public class ProviderController {
    @Value("${server.port}")
    private String port;

    @GetMapping("/getUUID")
    public String getUUID() {
        return port + "\t:\t" + UUID.randomUUID();
    }
}
测试
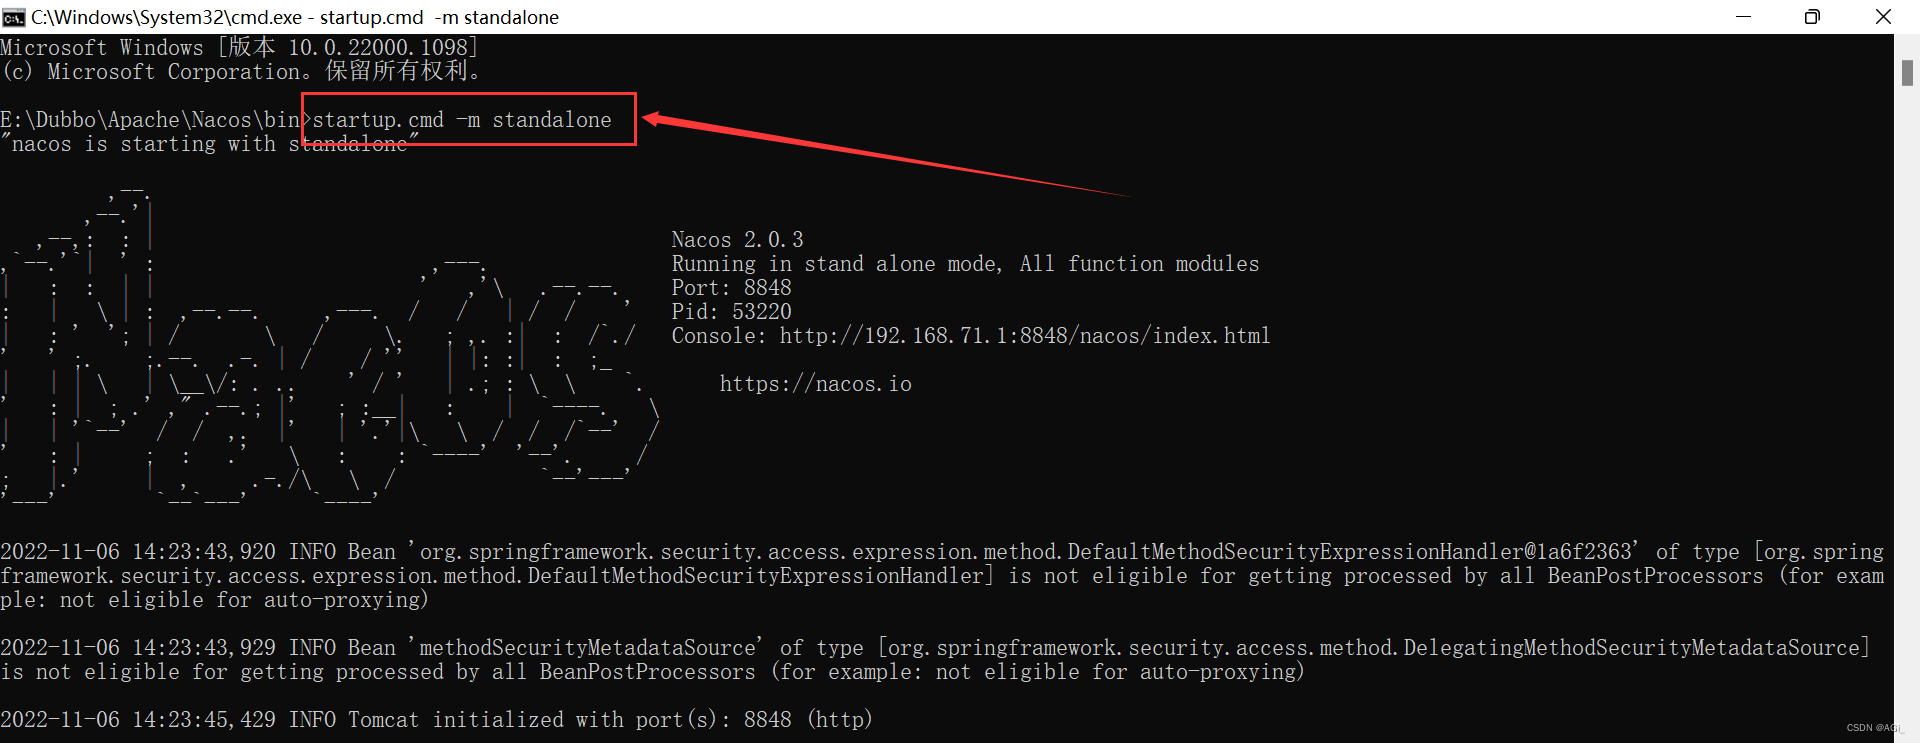
启动Nacos注册中心
启动Sentinel控制台
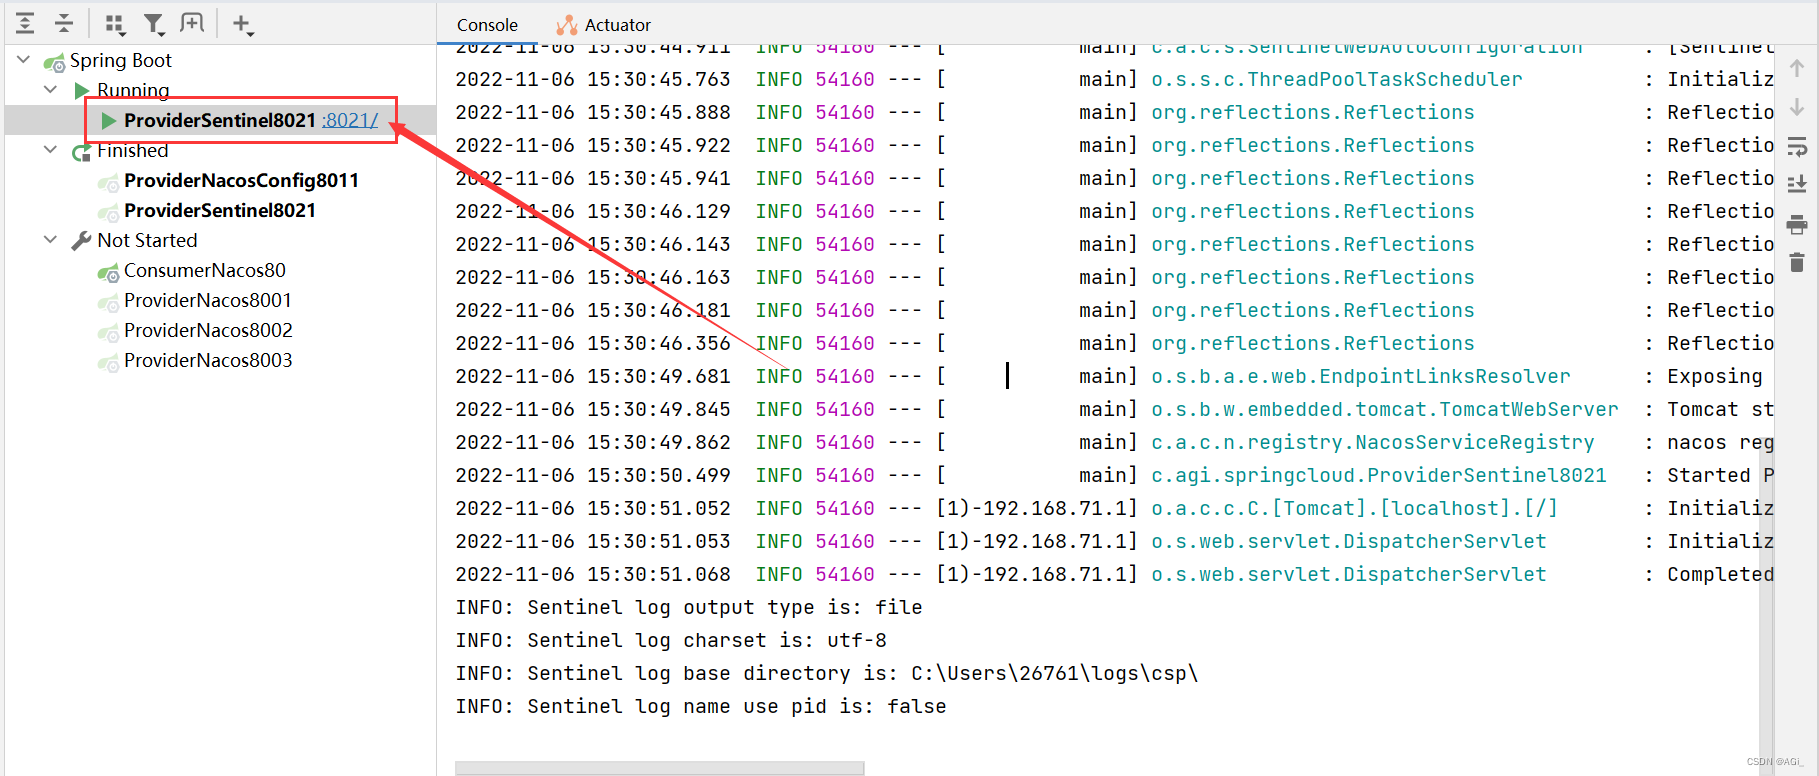
启动cloud-provider-sentinel8021
测试
①浏览器访问http://localhost:8021/provider/getUUID,向后端发送请求
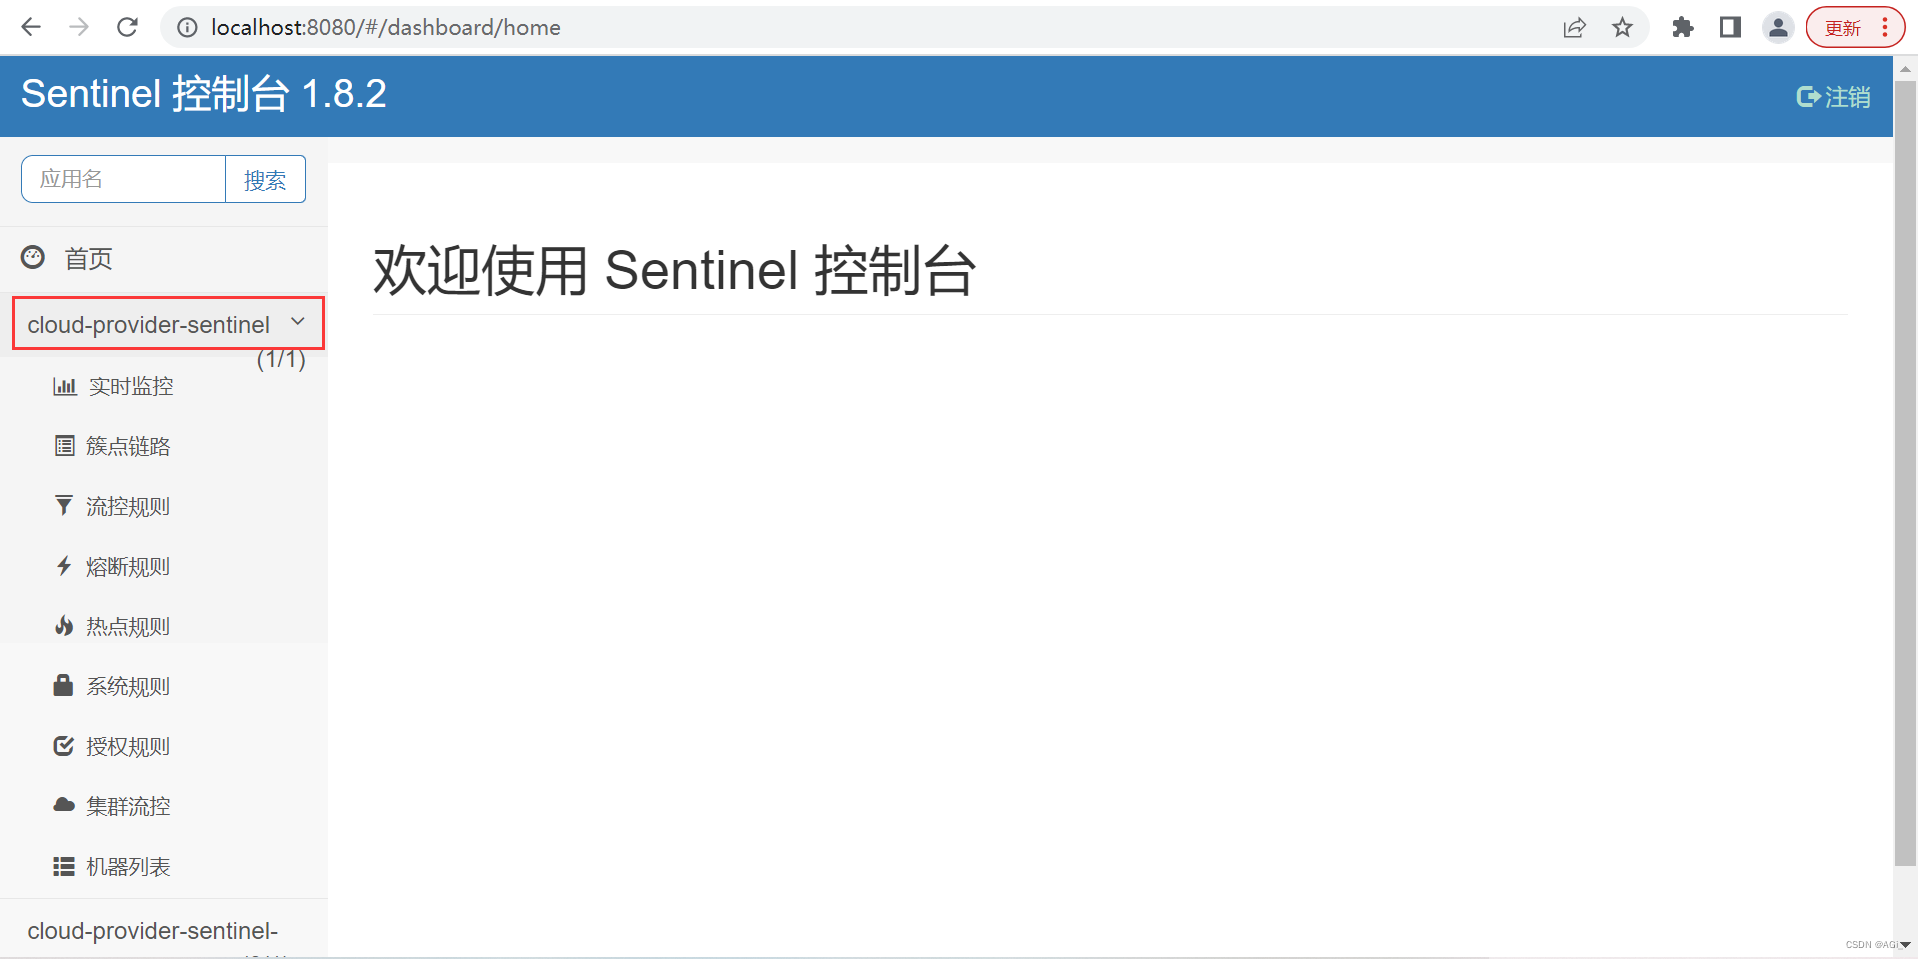
②浏览器访问http://localhost:8080/,打开Sentinel客户端并登录
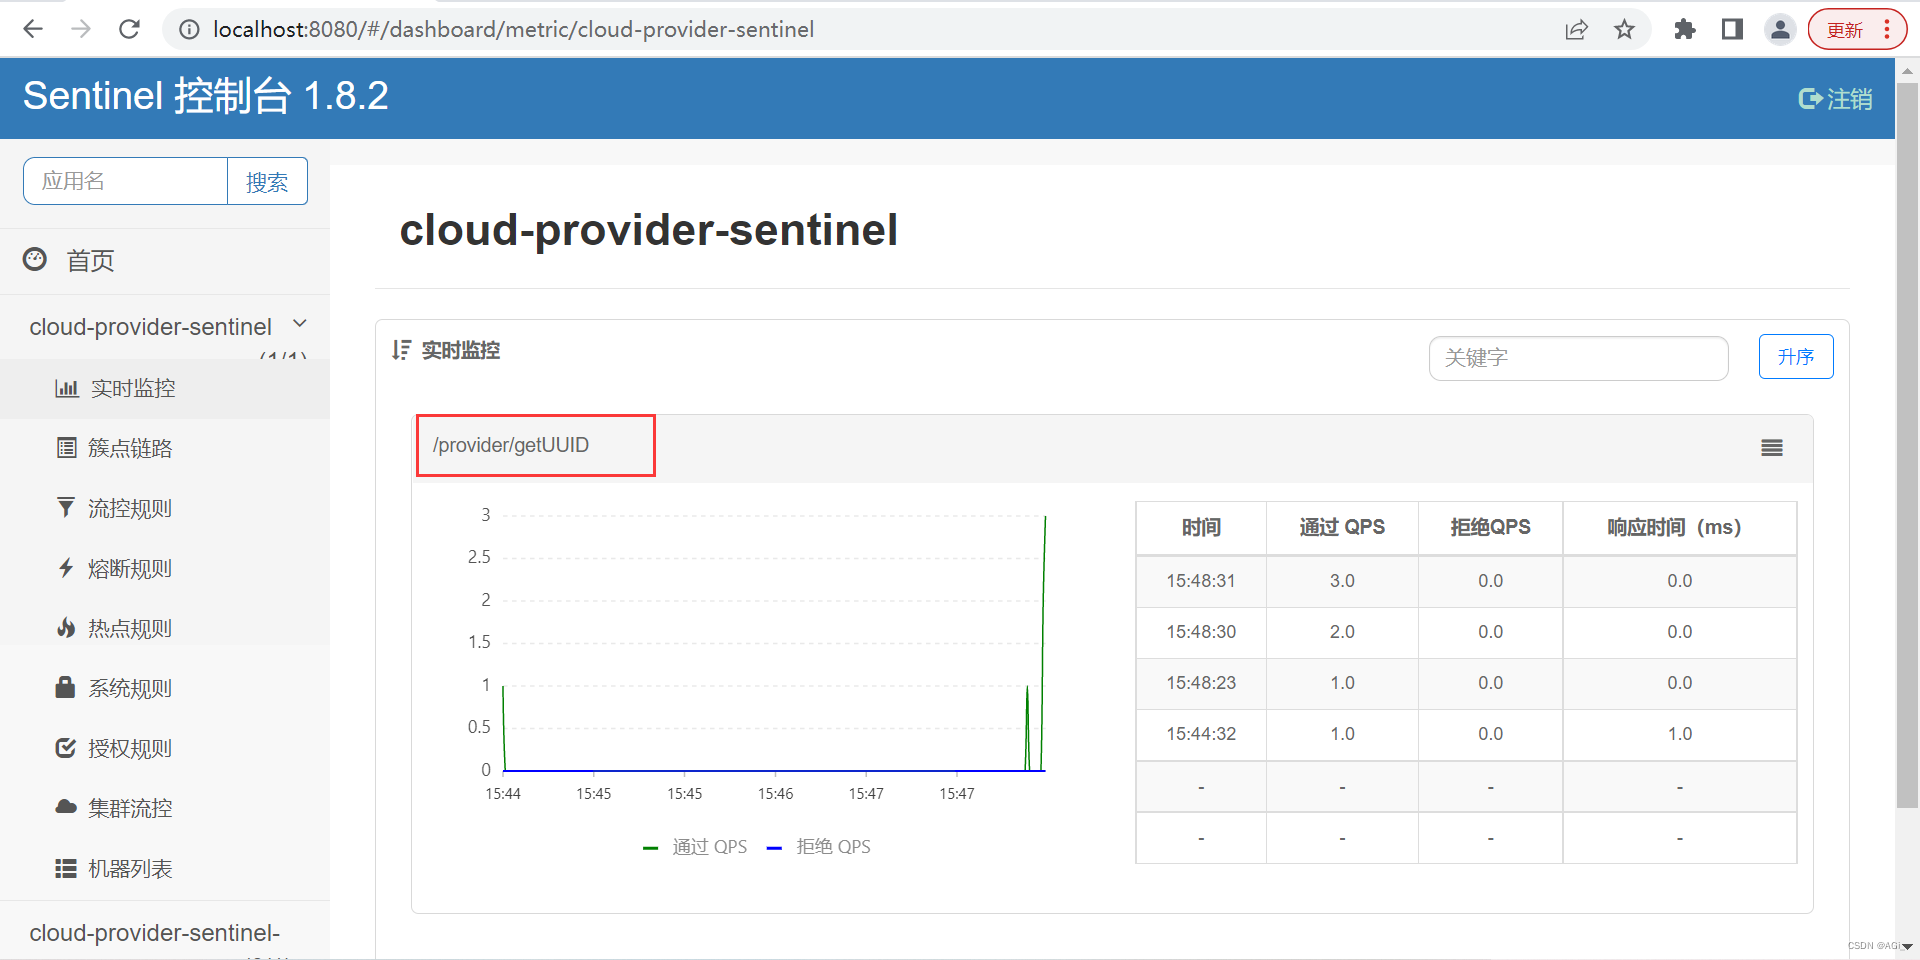
③再向后端发送几次请求,观察实时数据


 1718
1718

 被折叠的 条评论
为什么被折叠?
被折叠的 条评论
为什么被折叠?
 到【灌水乐园】发言


