


一、安装vue-cropper
使用npm install vue-cropper@next安装
npm install vue-cropper@next局部引用
import {VueCropper} from "vue-cropper";
import 'vue-cropper/dist/index.css';
然后就可以使用vue-cropper了
二、源代码
不讲废话,直接上代码:
ImageCropper.vue
<template>
<div>
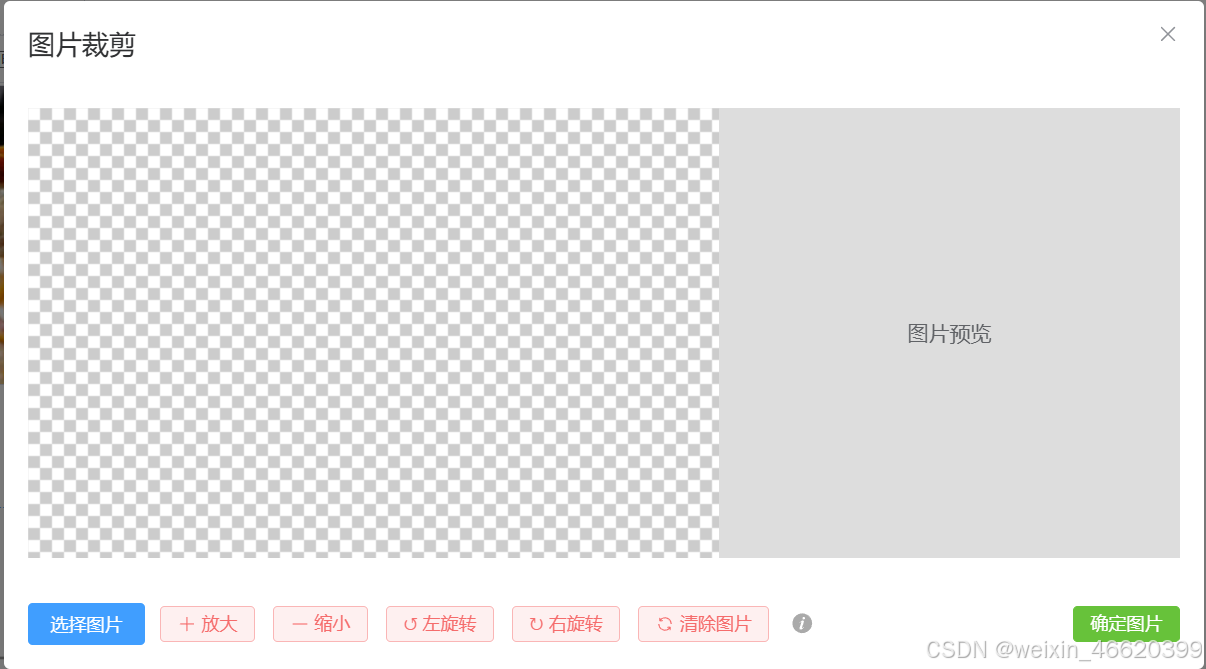
<el-dialog :title="props.title || '图片裁剪'" v-model="visible" width="800">
<div class="cropper-content">
<div class="cropper-box-container" :style="{flexDirection:isRow?'row':'column'}">
<div class="cropper-box">
<div class="cropper">
<vue-cropper
ref="cropper"
:img="option.img"
:outputSize="option.outputSize"
:outputType="option.outputType"
:info="option.info"
:canScale="option.canScale"
:autoCrop="option.autoCrop"
:autoCropWidth="option.autoCropWidth"
:autoCropHeight="option.autoCropHeight"
:fixed="option.fixed"
:fixedNumber="option.fixedNumber"
:full="option.full"
:fixedBox="option.fixedBox"
:canMove="option.canMove"
:canMoveBox="option.canMoveBox"
:original="option.original"
:centerBox="option.centerBox"
:height="option.height"
:infoTrue="option.infoTrue"
:maxImgSize="option.maxImgSize"
:enlarge="option.enlarge"
@realTime="realTime"
@imgLoad="imgLoad">
</vue-cropper>
</div>
</div>
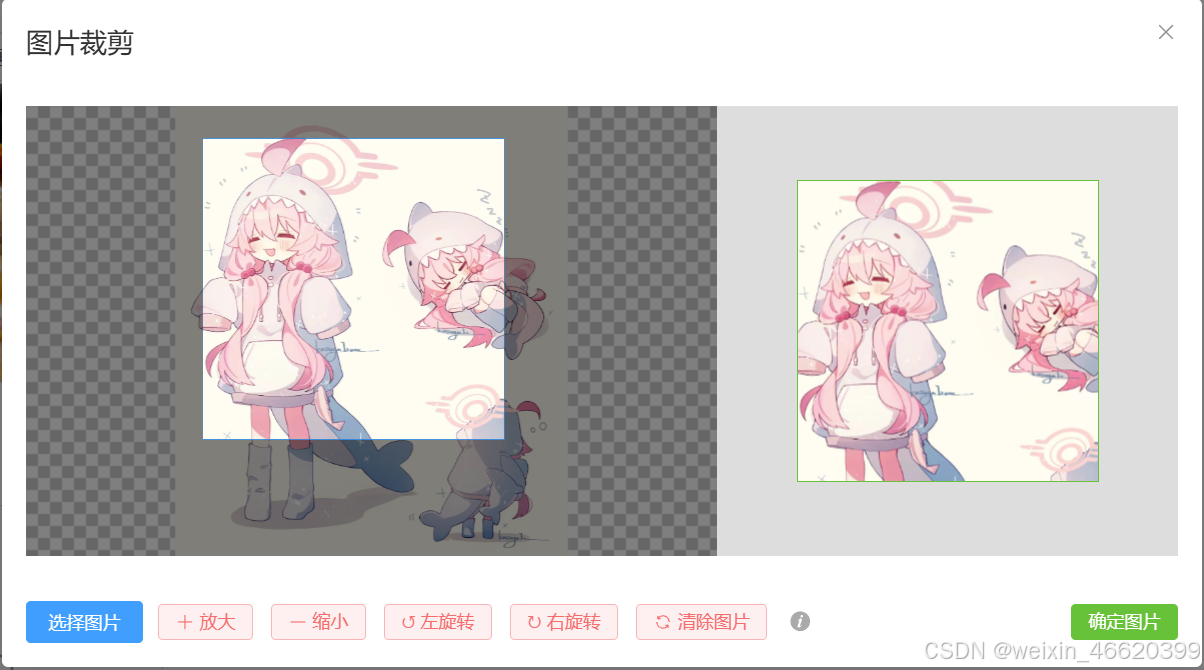
<!--预览效果图-->
<div class="show-preview" :style="{width:isRow?'40%':'auto',padding:isRow?'0':'20px 0'}">
<div class="tupianyulan" v-if="option.img===''" :style="{height:isRow?'auto':'100px'}">图片预览</div>
<div v-if="option.img!==''" :style="previews.div" class="preview">
<img :src="previews.url" :style="previews.img" alt="">
</div>
</div>
</div>
<!--底部操作工具按钮-->
<div class="footer-btn">
<div class="scope-btn">
<label class="btn" for="uploads">选择图片</label>
<input type="file" id="uploads" style="position:absolute; clip:rect(0 0 0 0);" accept="image/png, image/jpeg, image/gif, image/jpg" @change="selectImg($event)">
<el-button size="small" type="danger" plain icon="plus" @click="changeScale(1)">放大</el-button>
<el-button size="small" type="danger" plain icon="minus" @click="changeScale(-1)">缩小</el-button>
<el-button size="small" type="danger" plain @click="rotateLeft">↺ 左旋转</el-button>
<el-button size="small" type="danger" plain @click="rotateRight">↻ 右旋转</el-button>
<el-button size="small" type="danger" plain icon="refresh" @click="option.img=''">清除图片</el-button>
<el-button size="small" link><el-tooltip effect="light" placement="top" :content="tip"><el-icon color="#aaa" size="15"><InfoFilled /></el-icon></el-tooltip></el-button>
</div>
<div class="upload-btn">
<el-button size="small" type="success" @click="uploadImg('blob')">确定图片 <i class="el-icon-upload"></i></el-button>
</div>
</div>
</div>
</el-dialog>
</div>
</template>
<script setup>
import {onMounted, ref} from "vue";
import {VueCropper} from "vue-cropper";
import 'vue-cropper/dist/index.css';
import {ElMessage} from "element-plus";
import {InfoFilled} from "@element-plus/icons";
const tip = ref('选择图片后,可移动截图框,拖动遮罩部分可移动图片,可用滚轮缩放图片')
const cropper = ref(null)
const previews = ref({})
const visible = defineModel({
type: Boolean,
default: true
})
const props = defineProps({
title: {
type: String,
default: ''
},
outPutSize: {
type: Number,
default: 1
},
outPutType: {
type: String,
default: 'png'
},
info: {
type: Boolean,
default: true
},
canScale: {
type: Boolean,
default: true
},
width: {
type: Number,
default: 200,
},
height: {
type: Number,
default: 200,
},
fixed: {
type: Boolean,
default: true
},
full: {
type: Boolean,
default: true
},
fixedBox: {
type: Boolean,
default: true
},
canMove: {
type: Boolean,
default: true
},
canMoveBox: {
type: Boolean,
default: true
},
original: {
type: Boolean,
default: false
},
centerBox: {
type: Boolean,
default: true
},
isHeightOut: {
type: Boolean,
default: true
},
infoTrue: {
type: Boolean,
default: false
},
maxImgSize: {
type: Number,
default: 3000
},
enlarge: {
type: Number,
default: 1
},
})
const emit = defineEmits(['imgData'])
const fileName = ref('') // 图片名称
const option = ref({
img: '', //裁剪图片的地址
outputSize: props.outPutSize, //裁剪生成图片的质量(可选0.1 - 1)
outputType: props.outPutType, //裁剪生成图片的格式(jpeg || png || webp)
info: props.info, //图片大小信息
canScale: props.canScale, //图片是否允许滚轮缩放
autoCrop: true, //是否默认生成截图框
autoCropWidth: props.width, //默认生成截图框宽度
autoCropHeight: props.height, //默认生成截图框高度
fixed: props.fixed, //是否开启截图框宽高固定比例
fixedNumber: getRatio(props.width, props.height), //截图框的宽高比例
full: props.full, //false按原比例裁切图片,不失真
fixedBox: props.fixedBox, //固定截图框大小,不允许改变
canMove: props.canMove, //上传图片是否可以移动
canMoveBox: props.canMoveBox, //截图框能否拖动
original: props.original, //上传图片按照原始比例渲染
centerBox: props.centerBox, //截图框是否被限制在图片里面
height: props.isHeightOut, //是否按照设备的dpr 输出等比例图片
infoTrue: props.infoTrue, //true为展示真实输出图片宽高,false展示看到的截图框宽高
maxImgSize: props.maxImgSize, //限制图片最大宽度和高度
enlarge: props.enlarge, //图片根据截图框输出比例倍数
mode: '230px 150px', //图片默认渲染方式
})
//初始化函数
const imgLoad = (msg) => {
// cropper.value.goAutoCrop() // 自动生成截图框
}
//图片缩放
function changeScale (num) {
num = num || 1
cropper.value.changeScale(num)
}
//向左旋转
function rotateLeft () {
// console.log(cropper)
cropper.value.rotateLeft()
}
//向右旋转
function rotateRight () {
cropper.value.rotateRight()
}
//实时预览函数
function realTime (data) {
previews.value = data
}
// 判断宽高比决定是否为横向布局
const isRow = ref(false)
const previewIsRow = () => {
const width = option.value.autoCropWidth
const height = option.value.autoCropHeight
isRow.value = width <= height
}
onMounted(() => {
previewIsRow()
})
//选择图片
function selectImg (e) {
// 已经选择一张图片,再点击选择图片按钮后不选择图片,则不执行操作
if (e.target.files.length===0){
return
}
let file = e.target.files[0]
if (!/\.(gif|jpg|jpeg|png|bmp|GIF|JPG|PNG)$/.test(e.target.value)) {
ElMessage.error('图片类型要求:gif,jpeg,jpg,png,bmp');
return false
}
//转化为blob
let reader = new FileReader()
reader.onload = (e) => {
let data
if (typeof e.target.result === 'object') {
data = window.URL.createObjectURL(new Blob([e.target.result]))
} else {
data = e.target.result
}
fileName.value = file.name
option.value.img = data
}
//转化为base64
reader.readAsDataURL(file)
// 转化为blob
// reader.readAsArrayBuffer(file);
}
//上传图片
async function uploadImg (type) {
await cropper.value.getCropBlob(async (data) => {
let file = new File([data], fileName.value,{type: data.type})
// console.log(file)
emit('imgData', {url: URL.createObjectURL(file), name:fileName.value, raw: file, showOverlay:false})
})
visible.value = false
}
// 获取截图框的宽高比
function getRatio(a, b) {
// 确保a和b都不为0
if (a === 0 || b === 0) {
throw new Error('Both numbers must be non-zero.');
}
// 找到a和b中较小的绝对值,并确定比例的顺序
let smaller = Math.abs(a) < Math.abs(b) ? a : b;
let larger = Math.abs(a) >= Math.abs(b) ? a : b;
// 通过较小的绝对值来除以较大的数,得到简化后的比例
let ratio = larger / smaller;
// 如果比例大于1,则顺序为[1, 几],否则为[几, 1]
const r = larger === b ? [1, ratio] : [ratio, 1];
// console.log(r)
return r;
}
</script>
<style lang="scss" scoped>
.cropper-content{
display: flex;
display: -webkit-flex;
flex-direction: column;
justify-content: flex-end;
.cropper-box-container{
display: flex;
}
.cropper-box{
margin: 15px 0;
flex: 1;
width: 100%;
.cropper{
width: auto;
height: 300px;
}
}
.show-preview{
margin: 15px 0;
display: flex;
display: -webkit-flex;
align-items: center;
justify-content: center;
background-color: #ddd;
.tupianyulan{
display: flex;
align-items: center;
justify-content: center;
}
.preview{
overflow: hidden;
border:1px solid #67c23a;
background: #cccccc;
}
}
}
.footer-btn{
display: flex;
display: -webkit-flex;
justify-content: space-between;
align-items: center;
margin-top: 15px;
.scope-btn{
display: flex;
display: -webkit-flex;
justify-content: space-between;
align-items: center;
padding-right: 10px;
}
.upload-btn{
flex: 1;
-webkit-flex: 1;
display: flex;
display: -webkit-flex;
justify-content: end;
}
.btn {
outline: none;
display: inline-block;
line-height: 1;
white-space: nowrap;
cursor: pointer;
-webkit-appearance: none;
text-align: center;
-webkit-box-sizing: border-box;
box-sizing: border-box;
outline: 0;
-webkit-transition: .1s;
transition: .1s;
font-weight: 500;
padding: 8px 15px;
font-size: 12px;
border-radius: 3px;
color: #fff;
background-color: #409EFF;
border-color: #409EFF;
margin-right: 10px;
}
}
</style>
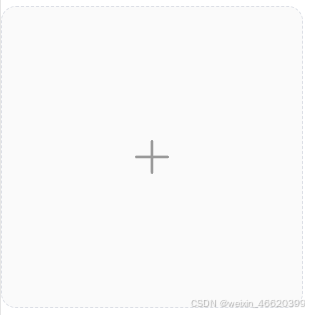
ScreenShot.vue
<template>
<div class="image-cropper-container img-uploader"
:style="{'--screenshot-width':props.width+'px','--screenshot-height':props.height+'px'}"
>
<div class="image-cropper-content">
<el-image
class=""
:src="imageData.url"
@mouseenter="handleMouseEnter" @mouseleave="handleMouseLeave"
>
<template #error>
<div @click="imageCropperVisible = true" class="image-upload-button">
<el-button link><el-icon size="28" color="#999"><Plus/></el-icon></el-button>
</div>
</template>
</el-image>
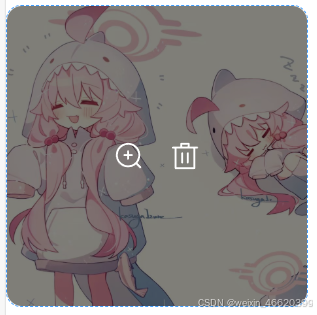
<transition name="el-fade-in">
<div v-show="imageData.showOverlay" class="overlay"
@mouseenter.stop="handleMouseEnter" @mouseleave.stop="handleMouseLeave"
>
<el-button link><el-icon color="#fff" size="20" @click.stop="onPreview"><ZoomIn /></el-icon></el-button>
<el-button link><el-icon color="#fff" size="20" @click.stop="handleRemove"><Delete /></el-icon></el-button>
</div>
</transition>
</div>
<ImageCropper
v-model="imageCropperVisible"
:title="props.title"
:info="false"
:width="props.width"
:height="props.height"
@imgData="getImageData"
/>
<el-image-viewer
v-if="showImageViewer"
@close="closeImageViewer"
:url-list="imageViewList"
:z-index="9999"
:initial-index="initialIndex"
:hide-on-click-modal="true" />
</div>
</template>
<script setup>
import ImageCropper from "@/components/ImageCropper.vue";
import {ref} from "vue";
import {isImage} from "@/utils/ImageUtil.js";
const props = defineProps({
title: {
type: String,
default: ''
},
width: {
type: Number,
default: 200
},
height: {
type: Number,
default: 200
}
})
const emit = defineEmits(['imgData'])
const imageCropperVisible = ref(false) // 截图组件显示隐藏
const imageData = ref({}) // 图片数据
// 获取图片数据
const getImageData = (data) => {
imageData.value = data
emit('imgData', imageData.value)
}
const handleMouseEnter = (event) => {
if (imageData.value.showOverlay === false){
imageData.value.showOverlay = true
}
}
const handleMouseLeave = (event) => {
if (imageData.value.showOverlay === true){
imageData.value.showOverlay = false
}
}
// 图片预览
const showImageViewer = ref(false)
const imageViewList = ref([])
const initialIndex = ref(0)
const closeImageViewer = () => {
showImageViewer.value = false
imageViewList.value = []
}
const onPreview = () => {
imageViewList.value = [imageData.value.url]
showImageViewer.value = true
}
const handleRemove = () => {
imageViewList.value = []
imageData.value = {}
}
</script>
<style lang="scss" scoped>
.img-uploader {
width: 100px;
height: 100px;
display: block;
border: 1px dashed var(--el-border-color);
border-radius: 10px;
cursor: pointer;
position: relative;
overflow: hidden;
transition: var(--el-transition-duration-fast);
background-color: rgba(0, 0, 0, 0.02);
}
.img-uploader:hover {
border-color: var(--el-color-primary);
}
.image-cropper-container{
width: var(--screenshot-width);
height: var(--screenshot-height);
user-select: none;
.image-cropper-content{
position: relative;
overflow: hidden;
display: flex;
align-items: center;
justify-content: center;
border-radius: 10px;
width: var(--screenshot-width);
height: var(--screenshot-height);
.el-image{
width: var(--screenshot-width);
height: var(--screenshot-height);
}
.image-upload-button{
width: var(--screenshot-width);
height: var(--screenshot-height);
display: flex;
align-items: center;
justify-content: center;
}
.overlay{
position: absolute;
top: 0;
left: 0;
width: var(--screenshot-width);
height: var(--screenshot-height);
background-color: rgba(0, 0, 0, 0.5);
display: flex;
align-items: center;
justify-content: center;
z-index: 2000;
}
}
}
</style>
三、如何使用
传入宽高,然后使用 @img-data接收传回的文件数据,dialog的标题也可以自定义,传入title即可
<Screenshot
title=""
:width="200"
:height="200"
@img-data="getImageData"
/>
文件数据格式为
{
name:"",
url:"",
raw:File,
showOverlay:false//用于显示隐藏遮罩层
}
可以使用imageData.value.raw上传文件到服务器中
const imageData = ref({})
const getImageData = (data) => {
imageData.value = data
}
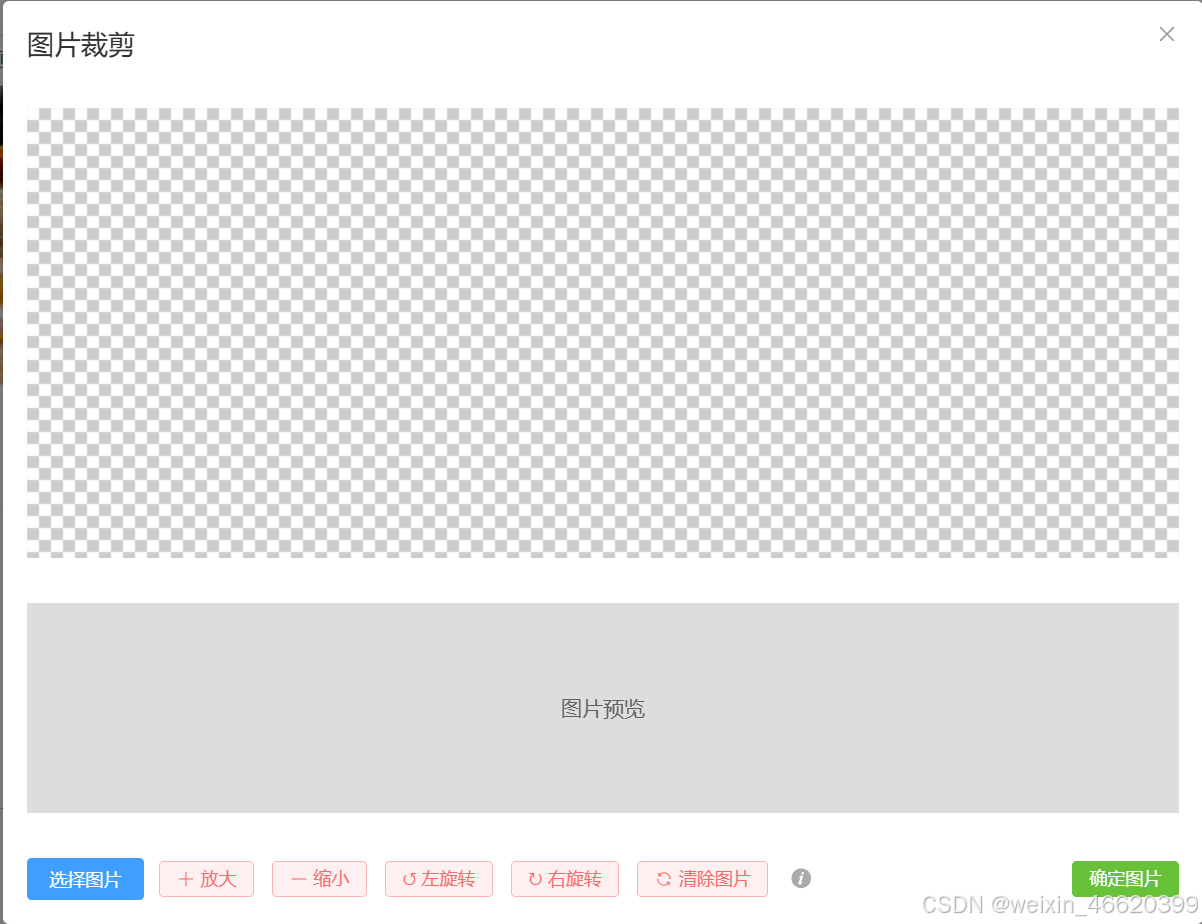
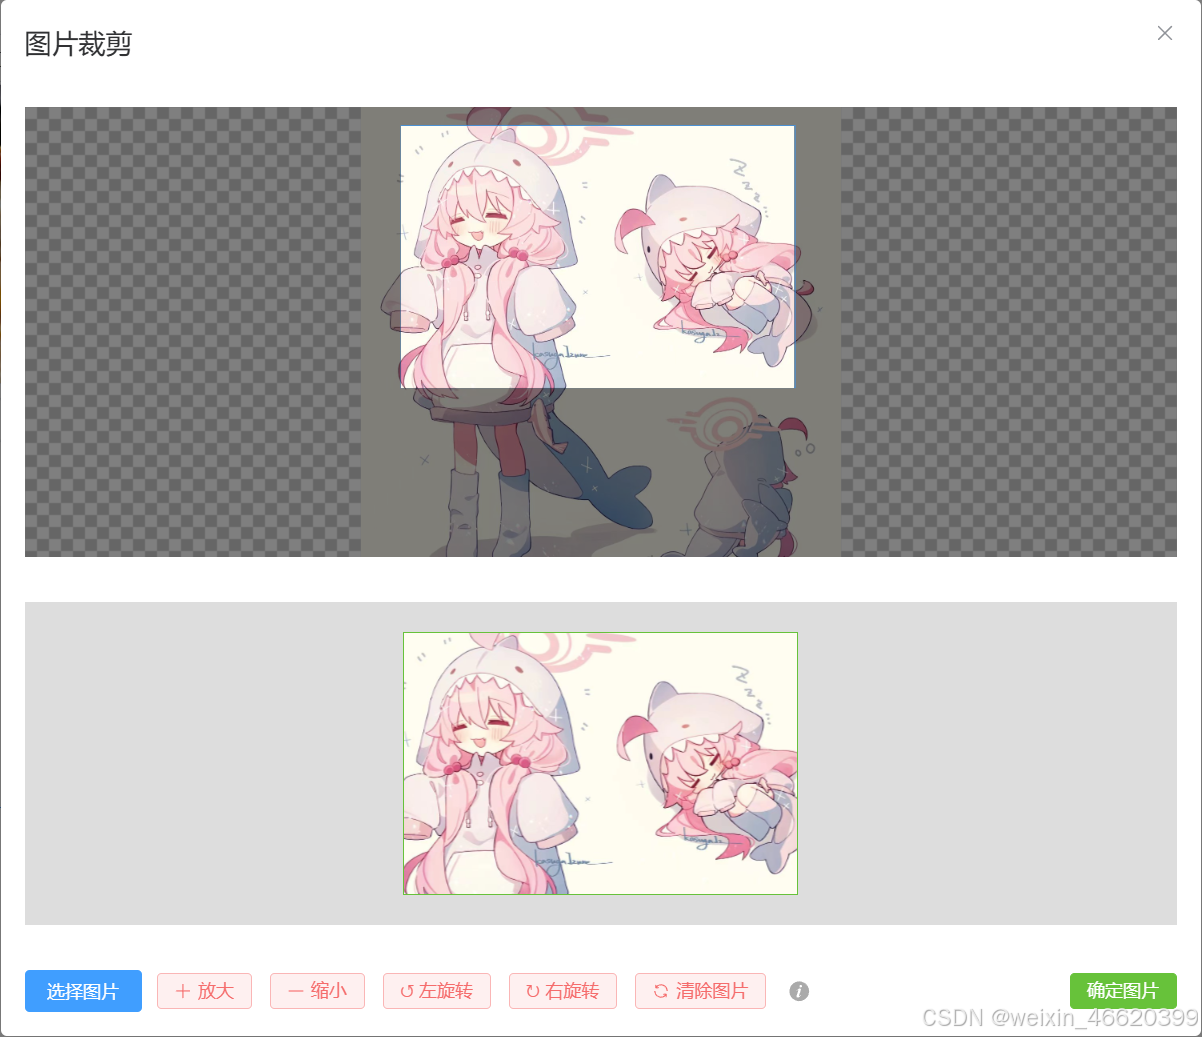
四、效果图
当width<=height时
启用横向布局
当 width>height时
启用竖向布局


 351
351

 被折叠的 条评论
为什么被折叠?
被折叠的 条评论
为什么被折叠?
 到【灌水乐园】发言


