


 本文指导如何使用IntelliJ IDEA创建Spring Boot项目,从创建父POM.xml到部署HelloWorld应用,包括编写HelloWorldApplication入口和设置基本控制器。一步步教你完成首个Spring Boot项目的构建过程。
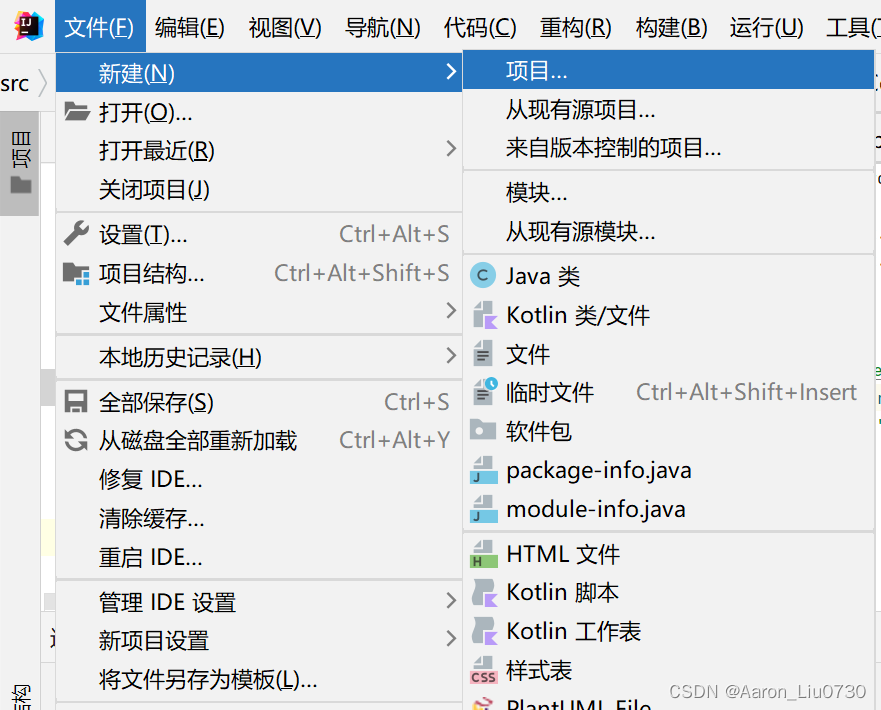
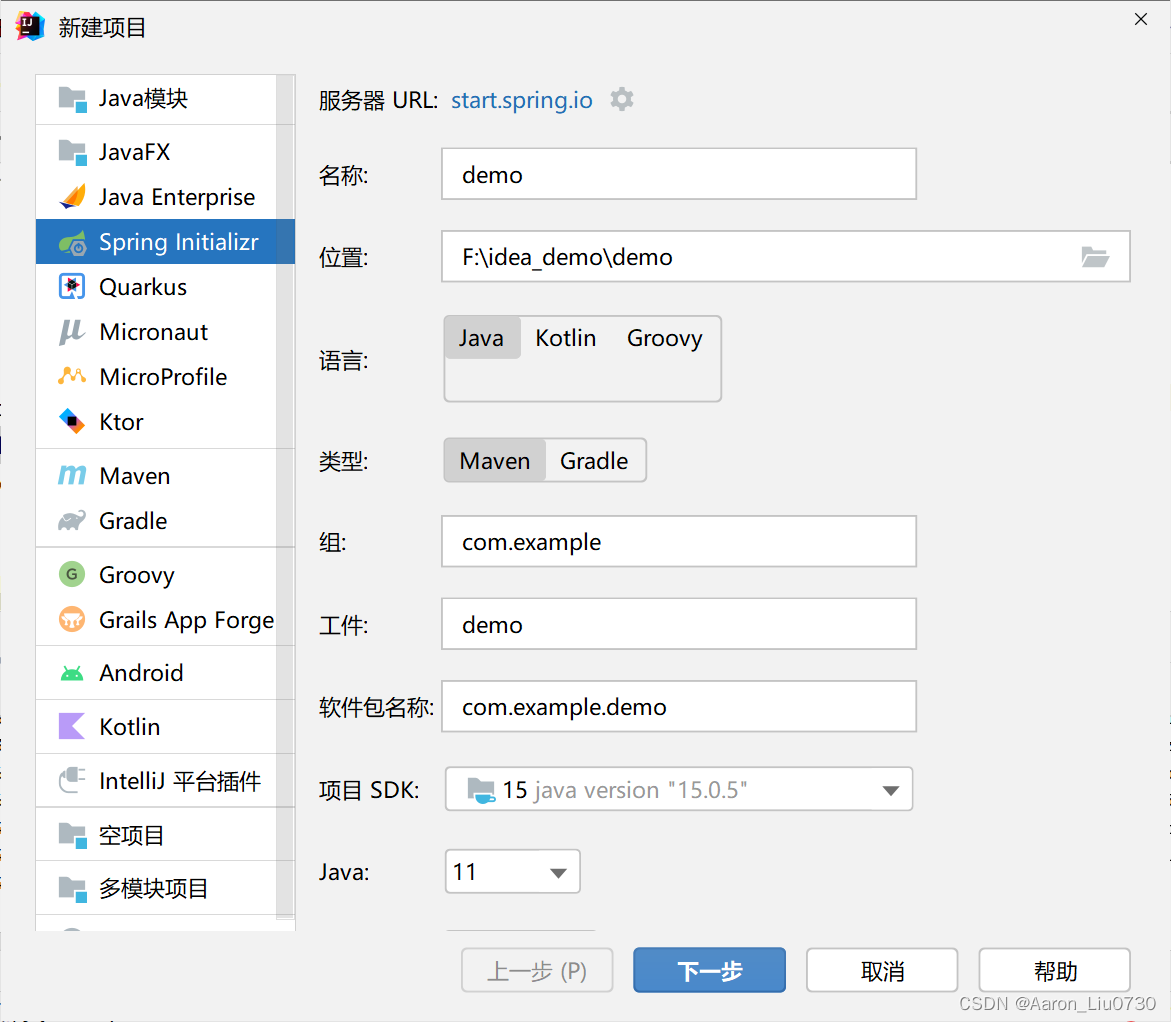
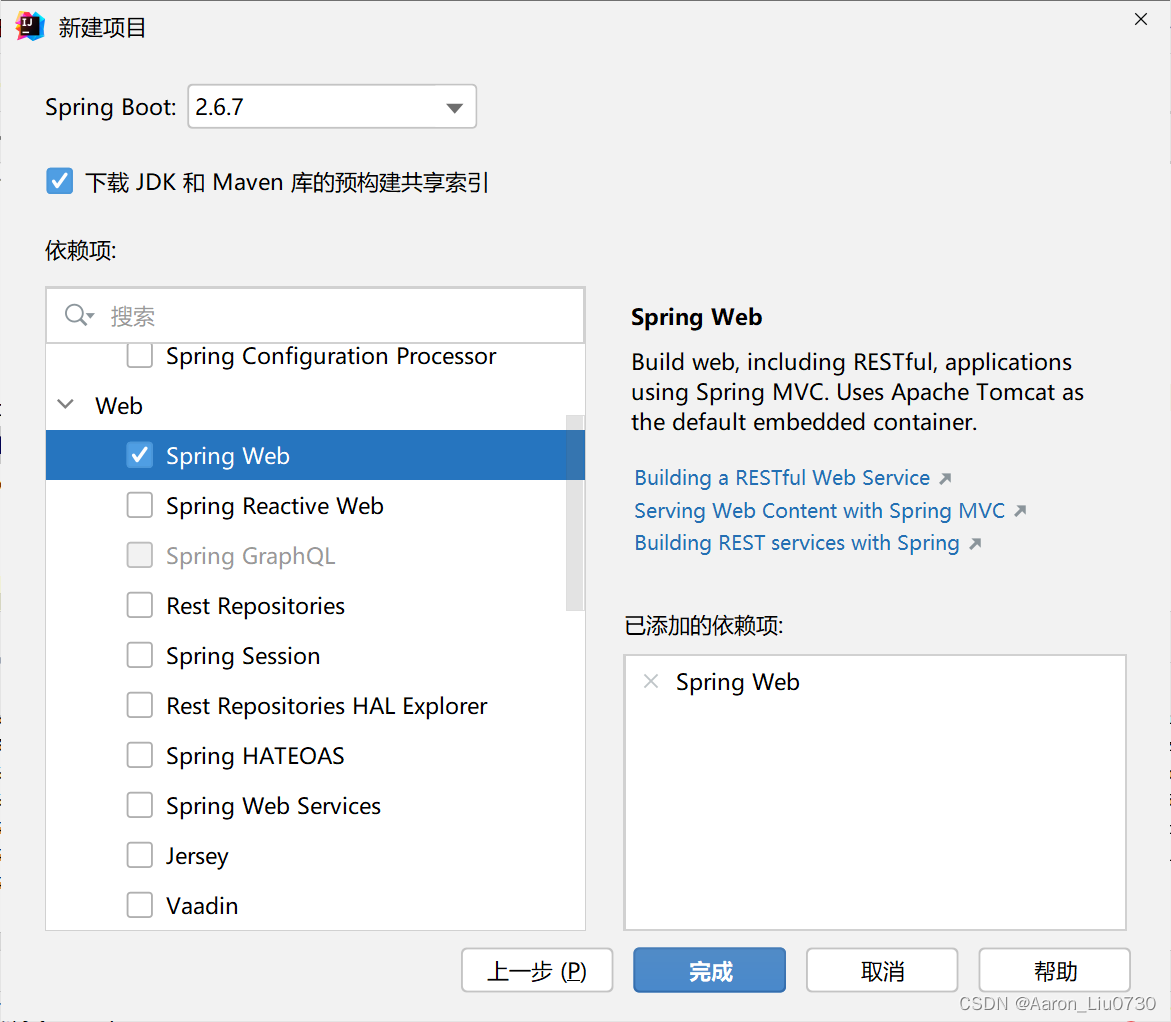
1.打开idea,创建项目
2.只需等待加载即可
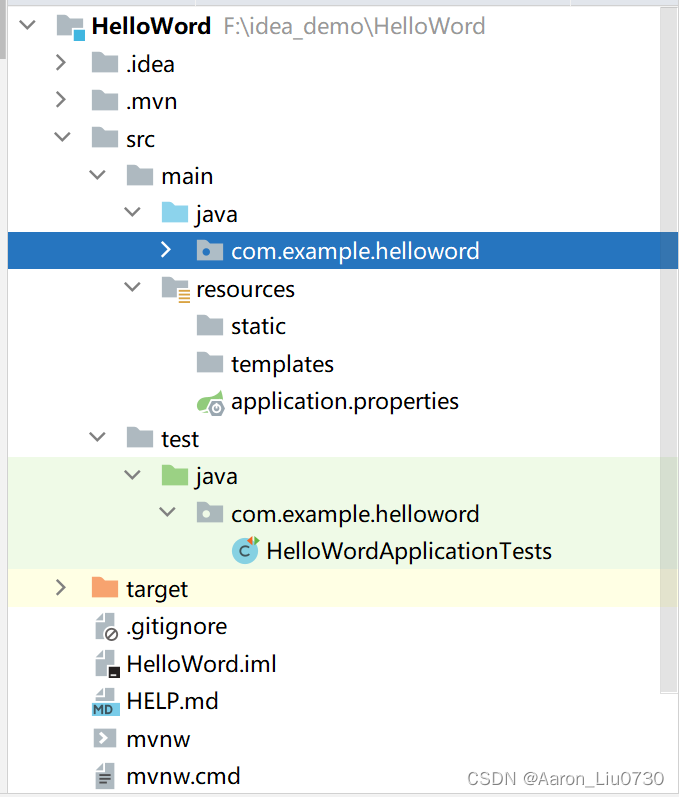
3.项目结构
4.pool.xml代码
<?xml version="1.0" encoding="UTF-8"?>
<project xmlns="http://maven.apache.org/POM/4.0.0" xmlns:xsi="http://www.w3.org/2001/XMLSchema-instance"
         xsi:schemaLocation="http://maven.apache.org/POM/4.0.0 https://maven.apache.org/xsd/maven-4.0.0.xsd">
    <modelVersion>4.0.0</modelVersion>
    <parent>
        <groupId>org.springframework.boot</groupId>
        <artifactId>spring-boot-starter-parent</artifactId>
        <version>2.6.7</version>
        <relativePath/> <!-- lookup parent from repository -->
    </parent>
    <groupId>com.example</groupId>
    <artifactId>HelloWord</artifactId>
    <version>0.0.1-SNAPSHOT</version>
    <name>HelloWord</name>
    <description>HelloWord</description>
    <properties>
        <java.version>11</java.version>
    </properties>
    <dependencies>
        <dependency>
            <groupId>org.springframework.boot</groupId>
            <artifactId>spring-boot-starter-web</artifactId>
        </dependency>

        <dependency>
            <groupId>org.springframework.boot</groupId>
            <artifactId>spring-boot-starter-test</artifactId>
            <scope>test</scope>
        </dependency>
    </dependencies>

    <build>
        <plugins>
            <plugin>
                <groupId>org.springframework.boot</groupId>
                <artifactId>spring-boot-maven-plugin</artifactId>
            </plugin>
        </plugins>
    </build>

</project>
5.com.example.helloword 包下的HelloWordApplication,是程序启动的入口,代码如下,并且不需要做任何修改
package com.example.helloword;

import org.springframework.boot.SpringApplication;
import org.springframework.boot.autoconfigure.SpringBootApplication;

@SpringBootApplication
public class HelloWordApplication {

    public static void main(String[] args) {
        SpringApplication.run(HelloWordApplication.class, args);
    }

}
6.在HelloWordApplication文件中右键,然后选择run HelloWordApplication,等到控制台输入如下内容则说明项目启动成功
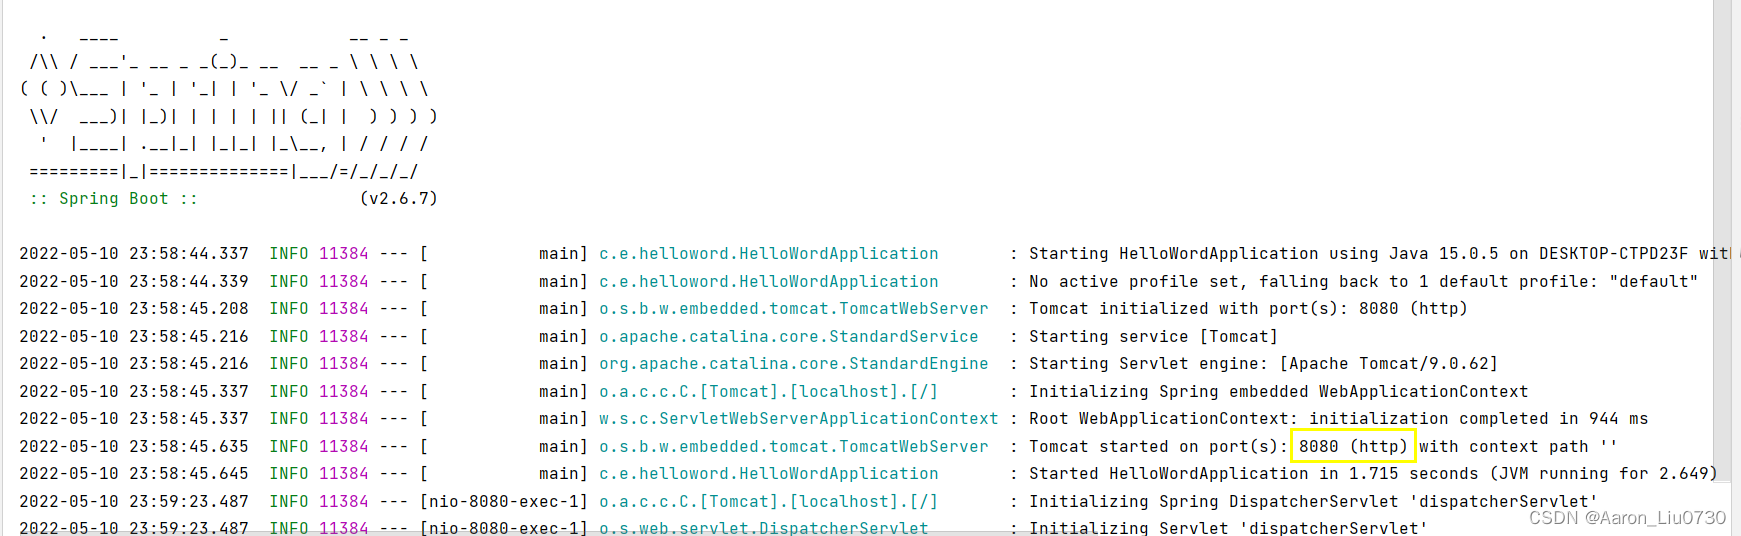
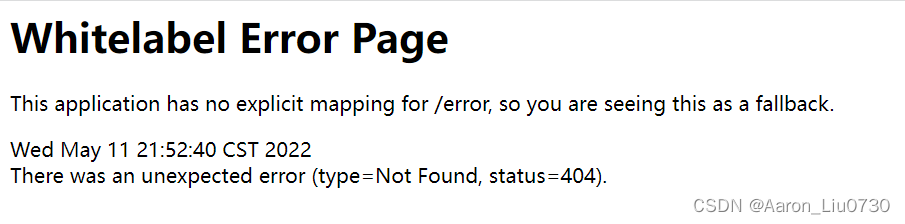
7.8080是本项目的端口号,可以在配置文件中修改,在地址栏输入localhost:8080,出来如下内容:
8.接下来我们写第一个helloWord,在com.example.helloword 包下新建一个controller包,然后新建Hello.java文件,内容如下:
package com.example.helloword.controller;

import org.springframework.web.bind.annotation.RequestMapping;
import org.springframework.web.bind.annotation.RestController;

@RestController
public class Hello {
    @RequestMapping("/hello")
    public String TestController(){
        return "Hello Word";
    }

}
9.然后重启项目,在地址栏内输入http://localhost:8080/hello,出现以下的页面,则第一个简单的springboot项目构建成功


 441
441

 被折叠的 条评论
为什么被折叠?
被折叠的 条评论
为什么被折叠?
 到【灌水乐园】发言


