


安装httpd
上传安装包
yum -y install make gcc gcc-c++ openssl openssl-devel expat-devel ##安装编译工具和开发包
unzip lamp.zip ##解压
Cd lamp/
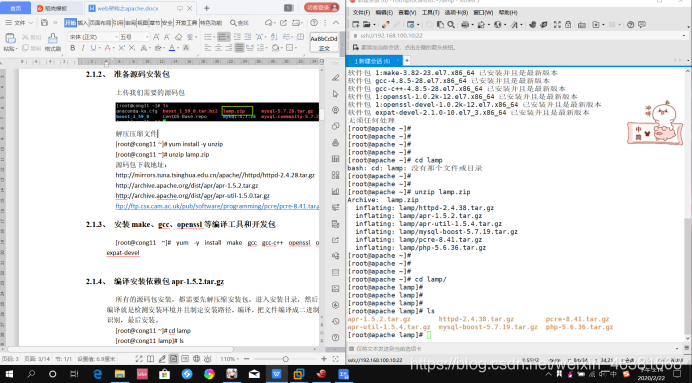
tar zxvf apr-1.5.2.tar.gz ##解压apr
cd apr-1.5.2
./configure --prefix=/usr/local/apr
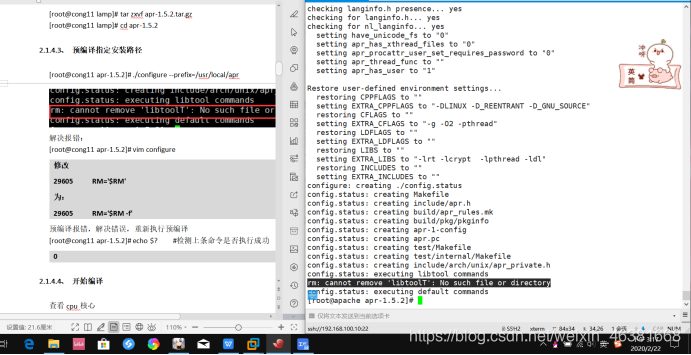
预编译的时候会报错
我们把他的文件改一下
vim configure
修改
29605 RM='
R
M
′
为
:
29605
R
M
=
′
RM' 为: 29605 RM='
RM′为:29605RM=′RM -f’
echo $? ##看一下上条命令执行成功没
make -j 4 && make install ##编译安装
编译安装apr-util依赖包
tar -zxvf apr-util-1.5.4.tar.gz
cd apr-util-1.5.4
./configure --prefix=/usr/local/apr-util/
–with-apr=/usr/local/apr/bin/apr-1-config ##预编译
Make && make install ##编译安装
编译安装pcre依赖包
tar -zxvf pcre-8.41.tar.gz
cd pcre-8.41
./configure --prefix=/usr/local/pcre
Make && make install
编译安装apache
tar -zxcf httpd-2.4.28.tar.gz
cd httpd-2.4.28
./configure --prefix=/usr/local/apache
–enable-so
–enable-rewrite
–enable-ssl
–with-apr=/usr/local/apr
–with-apr-util=/usr/local/apr-util/
–with-pcre=/usr/local/pcre/
–libdir=/usr/lib64 ##预编译
Make && make install ##编译安装
修改配置文件
vim /usr/local/apache/conf/httpd.conf
Listen 80 #监听端口
ServerRoot “/usr/local/apache” #配置文件根目录
ServerAdmin you@example.com #管理员邮箱
ServerName localhost:80 #服务器主机名
DocumentRoot “/usr/local/apache/htdocs” #网站根补录
DirectoryIndex index.html #默认首页打开html文件
主机名修改为localhost就可以
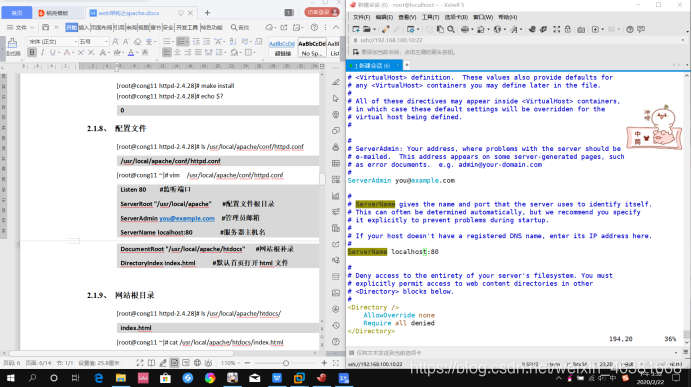
##如果自己的网页路径不一样就修改 DocumentRoot
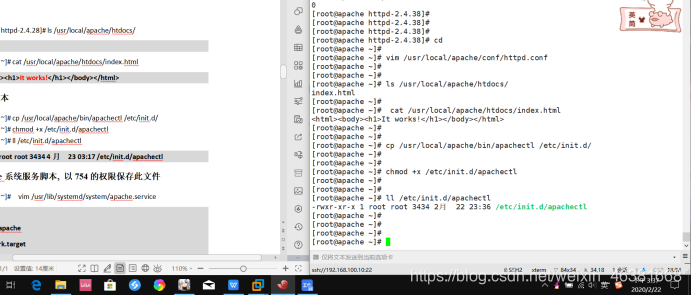
查看网站根目录
ls /usr/local/apache/htdocs/
cat /usr/local/apache/htdocs/index.html
生成启动脚本
cp /usr/local/apache/bin/apachectl /etc/init.d/
chmod +x /etc/init.d/apachectl
ll /etc/init.d/apachectl
写个apache系统服务脚本,以754的权限保存此文件
vim /usr/lib/systemd/system/apache.service
[Unit]
Description=apache
After=network.target
[Service]
Type=forking
ExecStart=/etc/init.d/apachectl start
ExecReload=/etc/init.d/apachectl restart
ExecStop=/etc/init.d/apachectl stop
PrivateTmp=true
[Install]
WantedBy=multi-user.target
chmod 754 /usr/lib/systemd/system/apache.service ##添加权限
添加开机自启
systemctl enable apache
启动服务
/etc/init.d/apachectl restart
查看端口
netstat -antup | grep 80

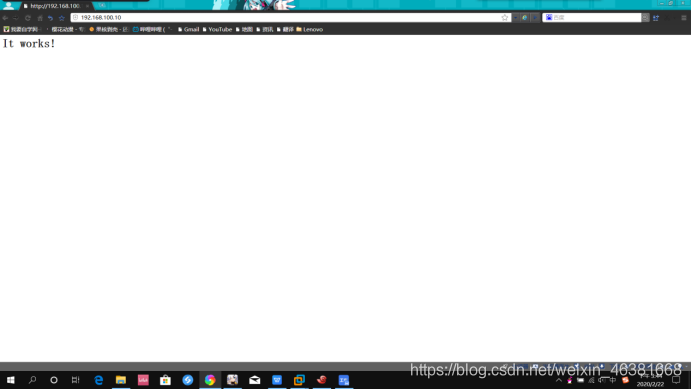
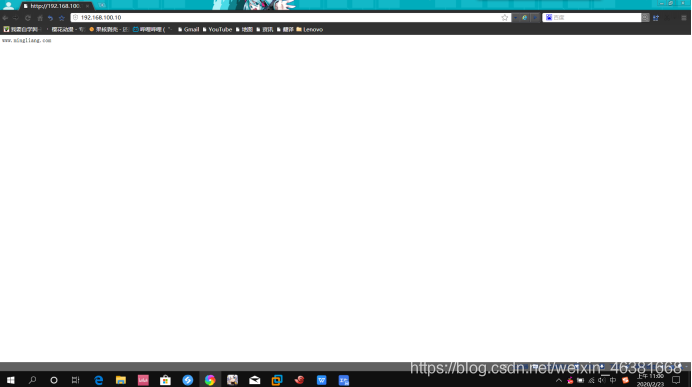
测试访问192.168.100.10
配置Apache虚拟主机
开启虚拟主机功能
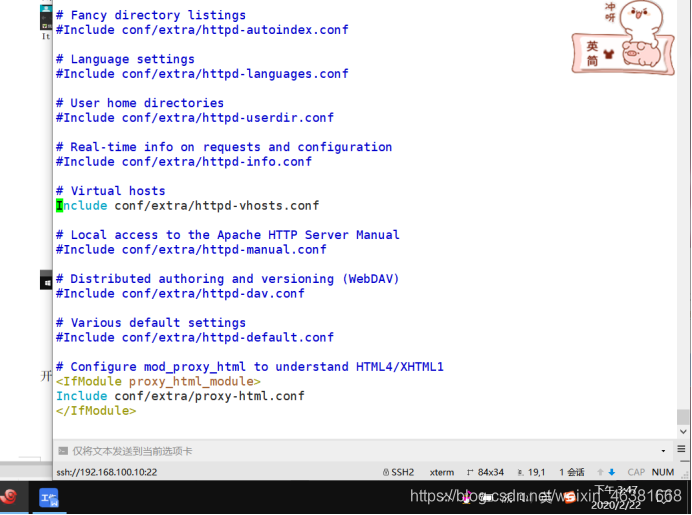
vim /usr/local/apache/conf/httpd.conf
#配置文件最下面 启用这一行
475 #Include conf/extra/httpd-vhosts.conf
去掉#号
475 Include conf/extra/httpd-vhosts.conf
systemctl restart apache ##重启服务
通过不同ip地址,解析不同域名
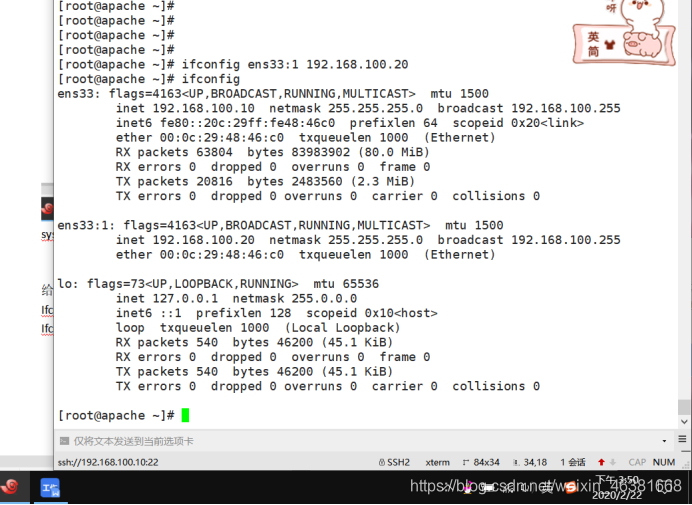
给服务器添加ip(另一个域名解析)
Ifconfig ens33:1 192.168.100.20
Ifconfig
创建站点网页和目录
mkdir /usr/local/apache/htdocs/bbs
echo “bbs.mingliang.com” > /usr/local/apache/htdocs/bbs/index.html
echo “www.mingliang.com” > /usr/local/apache/htdocs/index.html
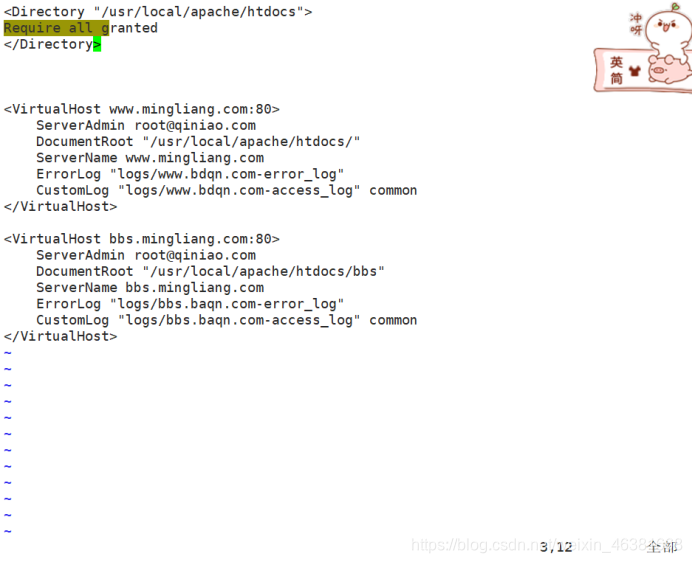
定义虚拟主机文件
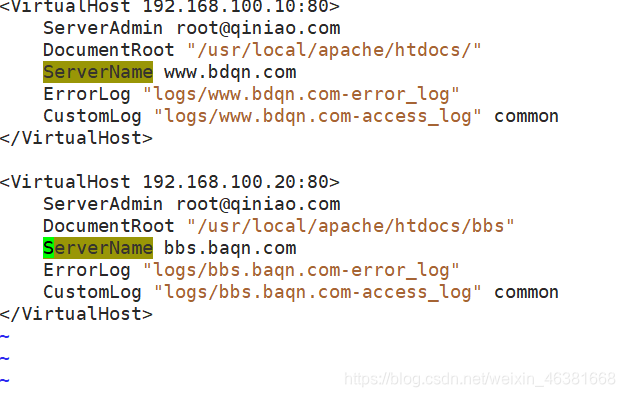
vim /usr/local/apache/conf/extra/httpd-vhosts.conf
<VirtualHost 192.168.100.10:80>
ServerAdmin root@qiniao.com
DocumentRoot “/usr/local/apache/htdocs/”
ServerName www.bdqn.com
ErrorLog “logs/www.bdqn.com-error_log”
CustomLog “logs/www.bdqn.com-access_log” common
<VirtualHost 192.168.100.20:80>
ServerAdmin root@qiniao.com
DocumentRoot “/usr/local/apache/htdocs/bbs”
ServerName bbs.baqn.com
ErrorLog “logs/bbs.baqn.com-error_log”
CustomLog “logs/bbs.baqn.com-access_log” common
~
systemctl restart apache ##重启服务
测试
访问192.168.100.10和20

通过不同的域名配置虚拟主机
定义虚拟主机文件
vim /usr/local/apache/conf/extra/httpd-vhosts.conf
##如果网页路径不一样,上面的权限添加好,路径改为自己的
配置hosts映射
vim /etc/hosts
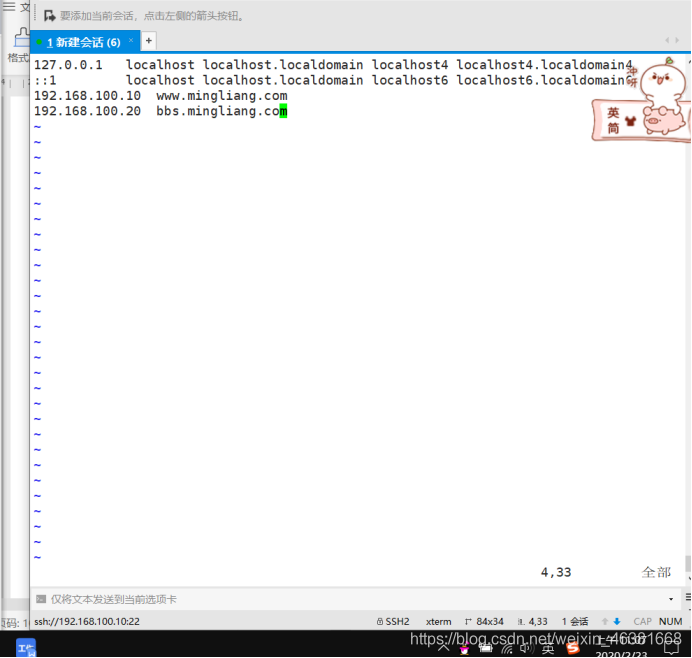
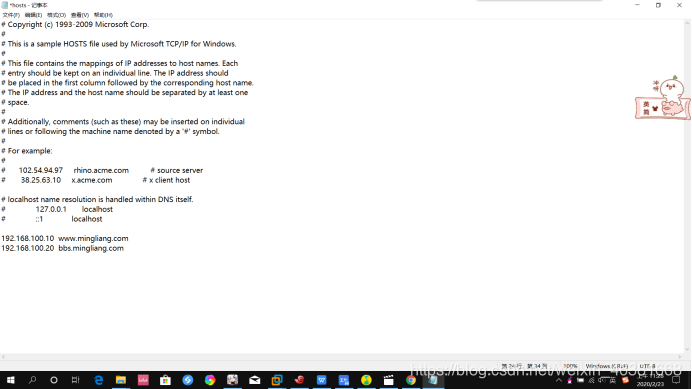
修改客户端hosts文件
如果在C:\Windows\System32\drivers\etc\目录下无法修改hosts,可以把hosts拉到桌面, 用记事本打开,修改完,放回去,不要另存为
systemctl restart apache ##重启
测试
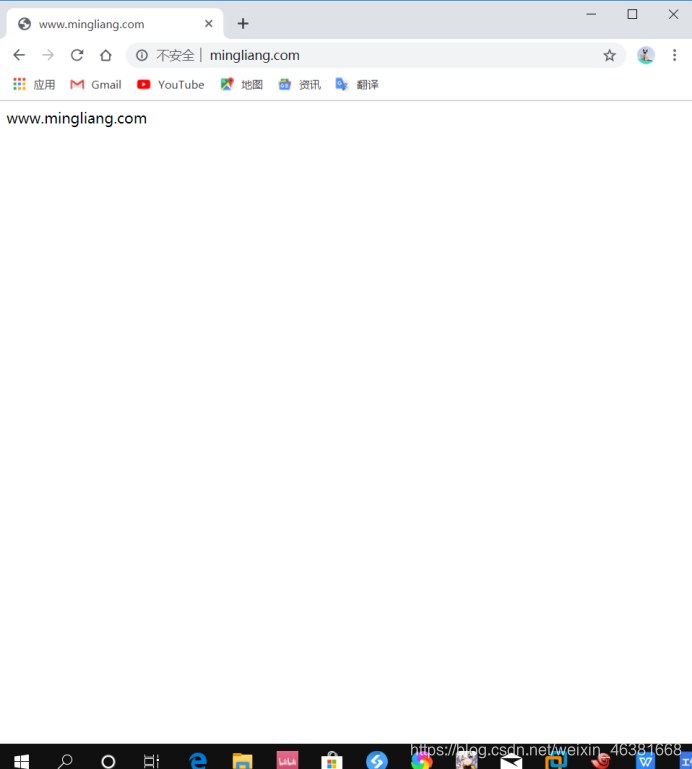
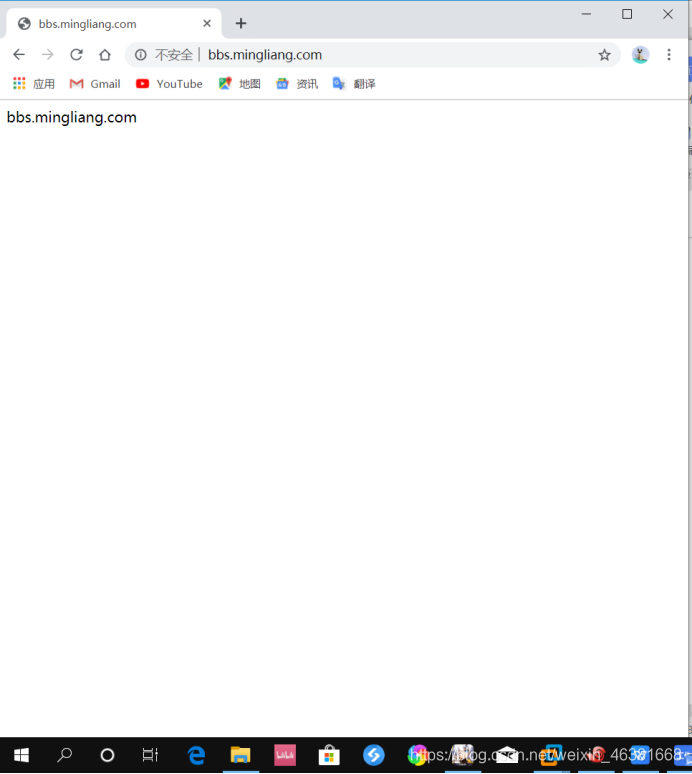
访问www.mingliang.com和bbs.mingliang.com
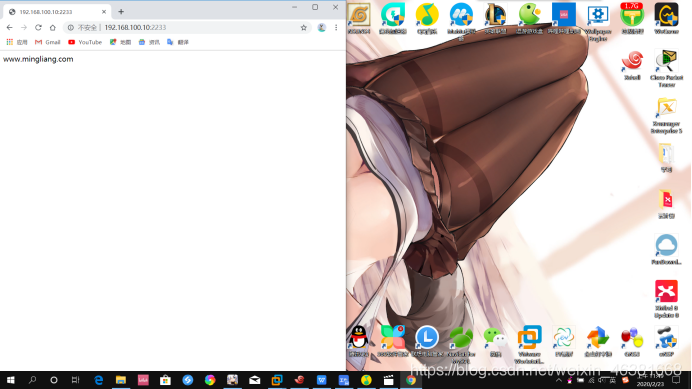
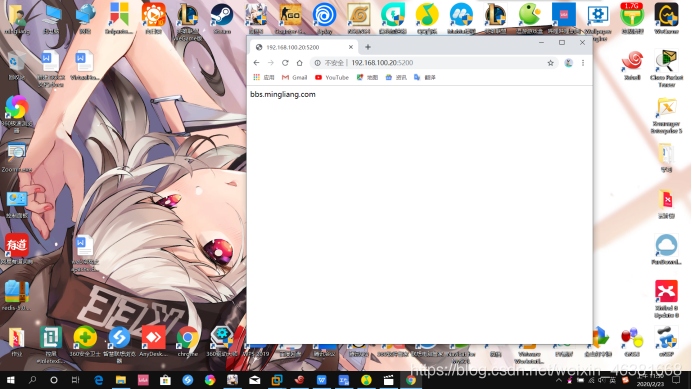
通过不同端口配置虚拟机
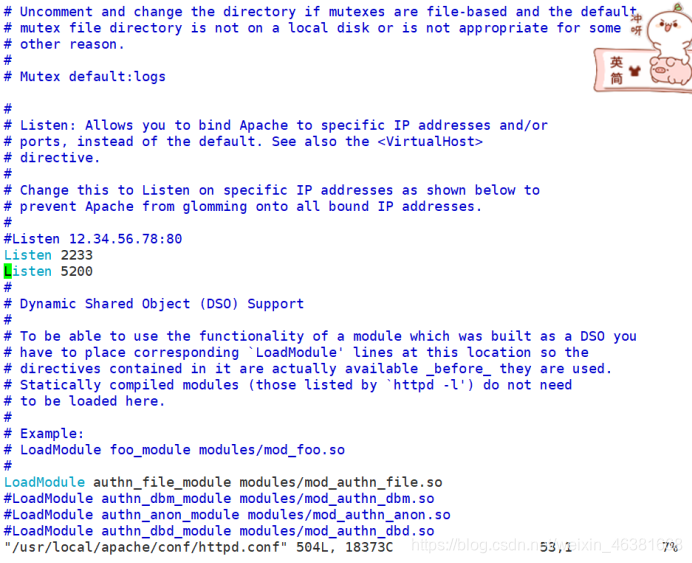
添加监听端口
vim /usr/local/apache/conf/httpd.conf
52行添加
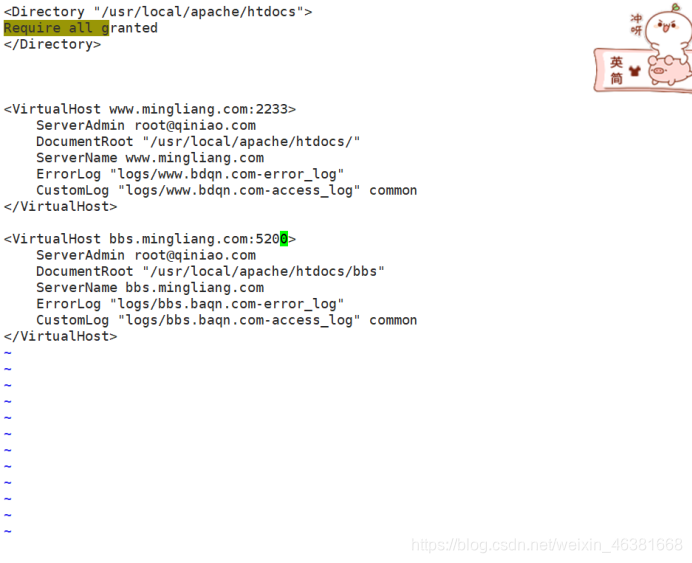
定义虚拟文件
vim /usr/local/apache/conf/extra/httpd-vhosts.conf
systemctl restart apache ##重启服务
测试
访问2233和5200端口
到这里实验就结束了,做的不好请谅解,如果有什么问题请小伙伴们留言


 被折叠的 条评论
为什么被折叠?
被折叠的 条评论
为什么被折叠?
 到【灌水乐园】发言


