


 文章详细介绍了Spring中Bean的三种实例化方式:构造器实例化、静态工厂方式和实例工厂方式,以及两种装配方式:XML配置的setter/构造器注入和注解装配。同时提到了注解装配的常用注解如@Autowired、@Component等,并讨论了自动装配的属性值选项。
文章目录
bean的实例化(3种方式)
构造器实例化(常用)
spring框架通过bean对应类的无参构造方法实例化bean
首先写一个测试类
package com.wj;

/**
 * @Description:用于测试的bean
 * @Author WJ
 * @Date 2023/2/18:10:56
 * @Version V1.0
 **/
public class TestBean {
    public TestBean() {
        System.out.println("调用无参构造");
    }
}
在这个类中自己定义无参构造方法,在里面输出一句话,然后在xml中配置该类作为bean
<bean id="testbean" class="com.wj.TestBean"></bean>
接着创建容器,获取这个bean,看看无参构造器是否会被调用
package com.wj;

import org.junit.Test;
import org.springframework.context.ApplicationContext;
import org.springframework.context.support.ClassPathXmlApplicationContext;
import org.springframework.context.support.FileSystemXmlApplicationContext;

/**
 * Unit test for simple App.
 */

public class AppTest{
    @Test
    public void test(){
        //根据applicationcontext.xml加载IOC容器

        ApplicationContext context = new ClassPathXmlApplicationContext("application.xml");
        //通过容器,以bean的类型获取bean
        TestBean testBean = context.getBean(TestBean.class);

    }
}
控制台输出
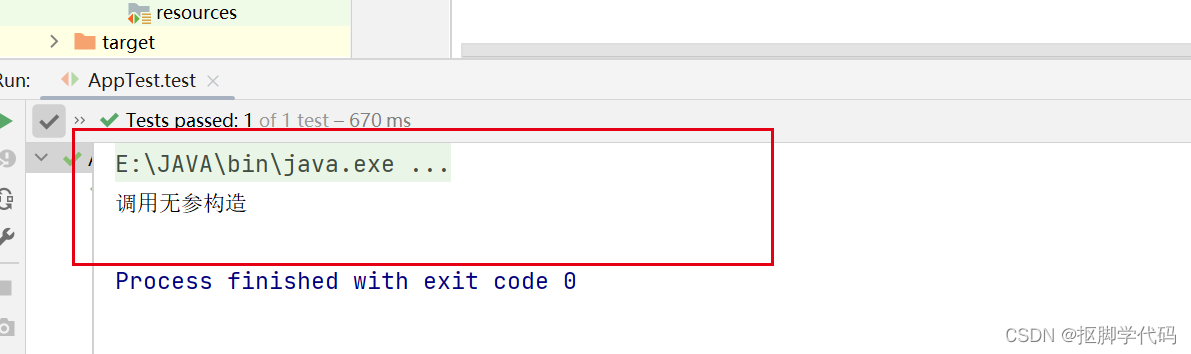
结果证明spring实例化testbean这个bean时调用了该类的无参构造方法
静态工厂方式实例化bean
该方式要求利用静态工厂来实例化bean,在配置bean时 class属性指定静态工厂类,还需要factory-method指定静态工厂方法。
首先创建一个静态工厂类,并提供方法返回testbean的实例
package com.wj;

/**
 * @Description:
 * @Author WJ
 * @Date 2023/2/18:11:20
 * @Version V1.0
 **/
public class TestFactory {
    public static TestBean createTestbean(){
    	//返回了一个TsetBean的实例
        return new TestBean();
    }
}
配置bean
<bean id="testbean" class="com.wj.TestFactory" factory-method="createTestbean"></bean>
测试代码同上,结果是

实例工厂实例化bean
首先创建实例工厂
package com.wj;

/**
 * @Description:
 * @Author WJ
 * @Date 2023/2/18:12:14
 * @Version V1.0
 **/
public class InstanceFactory {
    public TestBean createbean(){
        return new TestBean();
    }
}
在xml文件中配置实例工厂,并指定实例工厂返回bean实例
<!--先配置工厂-->
<bean id="instancefactory" class="com.wj.InstanceFactory"></bean>
<!--在factory-bean指定实例工厂的id,通过factory-method指定实例工厂中的方法-->
<bean id="testbean" factory-bean="instancefactory" factory-method="createbean"></bean>
bean的装配方式
bean的装配可以理解为bean的依赖注入方式,对于bean的装配spring提供了XML装配、注解装配、自动装配。其中最常用的是注解装配
XMl方式装配
基于XML方式的装配有两种,即设值注入(setter injection)和构造器注入(Construction Injection)
setter injection/construction injection
这setter方式要求bean的类
(1)提供一个默认的无参构造器
(2) 为注入的属性提供setter方法
package com.wj;

/**
 * @Description:用于测试的bean
 * @Author WJ
 * @Date 2023/2/18:10:56
 * @Version V1.0
 **/
public class TestBean {
    private String name;
    //无参构造
     public TestBean() {
       System.out.println("调用无参构造");
   }
   //有参构造
	 public TestBean(String name) {
	        this.name = name;
	    }
    public String getName() {
        return name;
    }


    public void setName(String name) {
        this.name = name;
    }


    @Override
    public String toString() {
        return "TestBean{" +
                "name='" + name + '\'' +
                '}';
    }
}
配置bean
<!--setter注入-->
<bean id="testbean1" class="com.wj.TestBean">
<property name="name" value="Spring Bean setter"></property>
</bean>
<!--构造器注入-->
<bean id="testbean2" class="com.wj.TestBean">
<constructor-arg index="0" value="Spring Bean constructor"></constructor-arg>
</bean>
测试
@Test
public void test(){
//根据applicationcontext.xml加载IOC容器
ApplicationContext context = new ClassPathXmlApplicationContext("application.xml");
//通过容器,以bean的id获取bean
//testbean1用setter注入
TestBean testBean1 = (TestBean) context.getBean("testbean1");
//testbean2用构造器注入
TestBean testBean2 = (TestBean) context.getBean("testbean2");
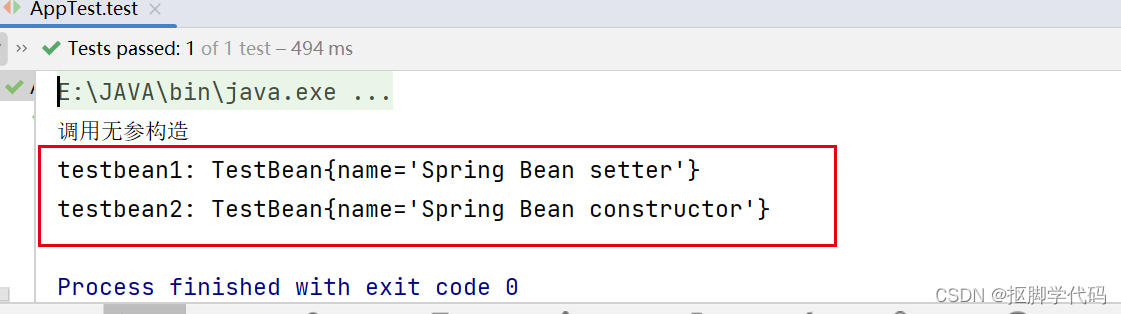
System.out.println("testbean1: "+testBean1.toString());
System.out.println("testbean2: "+testBean2.toString());
结果
不同的装配方式,为name设置了不同的值,得到了不同的结果
注解装配
装配bean常用注解
| 注解名称 | 说明 |
|---|---|
| @Component | 标注在类上,表明这个类是一个bean |
| @Respository | 标注在dao的类上,表明这是一个数据访问层的bean,功能与@Component相同,但用途更加清晰 |
| @Service | 标注在service的类上,表明这是一个服务层的bean,功能与@Component相同 |
| @Controller | 标注在controller的类上,表明这是一个控制层的bean,功能与@Component相同,但用途更加清晰 |
| @Autowired | 作用于bean的变量,setter方法以及构造方法,默认按照bean的类型自动装配,使用该注解可以省略setter方法 |
| @Resource | 与@Autowrited功能相似,不同之处在于它默认以bean的实例名进行自动装配 |
| @Qualifier | 与@Autowrited配合使用,当同类型的bean有多个时,@Qualifier指定bean的名称 |
| @Scope | 作用于类,设定bean的作用域 |
| @Resource有两个重要属性,name和type,当指定name,则按照实例名装配,指定type就按实例类型装配,都不指定就先按照名称装配,若没有匹配的就按照类型匹配,都不匹配就会报错 |
注解装配的使用
1、加载注解定义的bean
先定义空间,然后开启包扫描
<?xml version="1.0" encoding="UTF-8"?>
<beans xmlns="http://www.springframework.org/schema/beans"
       xmlns:xsi="http://www.w3.org/2001/XMLSchema-instance"
       xmlns:context="http://www.springframework.org/schema/context"
       xsi:schemaLocation="http://www.springframework.org/schema/beans http://www.springframework.org/schema/beans/spring-beans.xsd">
<context:component-scan base-package="com.wj" ></context:component-scan>
</beans>
2、为类注释
@Setter
@Getter
@Component
public class HelloSpring {
    private String who;
    public void print(){
        System.out.println("Hellow,"+this.getWho()+"!!!");
    }

}
在另一个bean中只用@Autowried注入依赖
@Component
public class TestBean {

    @Autowired
    private HelloSpring helloSpring;
    private String name;
    public String getName() {
        return name;
    }
    public TestBean(String name) {
        this.name = name;
    }

    public void setName(String name) {
        this.name = name;
    }

    public TestBean() {
        helloSpring.setWho("Spring");
        System.out.println(helloSpring.toString());
    }

    @Override
    public String toString() {
        return "TestBean{" +
                "name='" + name + '\'' +
                '}';
    }
}
遇到的问题:
1、IDEA自动成成的applicationcontext.xml文件不全,开启空间context会报错
2、需要引入spring-aop的包
自动装配
通过在配置文件中的bean标签的属性 autowrite完成自动装配,autowrite属性的可选值有5中
| 属性值 | 说明 |
|---|---|
| default | 以beans标签的 default-autowrite属性值确定 |
| byName | 通过名称自动装配,找不到就什么也不做 |
| byType | 通过类型装配,有多个同类型bean会报错 |
| constructor | 与byTypr类似,应用于构造器参数,若容器中没有与构造器参数类型一致的bean就报错 |
| no | 默认情况,不自动装配 |


 被折叠的 条评论
为什么被折叠?
被折叠的 条评论
为什么被折叠?
 到【灌水乐园】发言


