


 本文介绍了一种基于前端路由实现的TabBar组件设计方案。通过自定义TabBar-item组件,利用计算属性控制图标状态,并通过绑定点击事件实现页面切换。组件支持自定义激活颜色,易于集成到现有项目中。
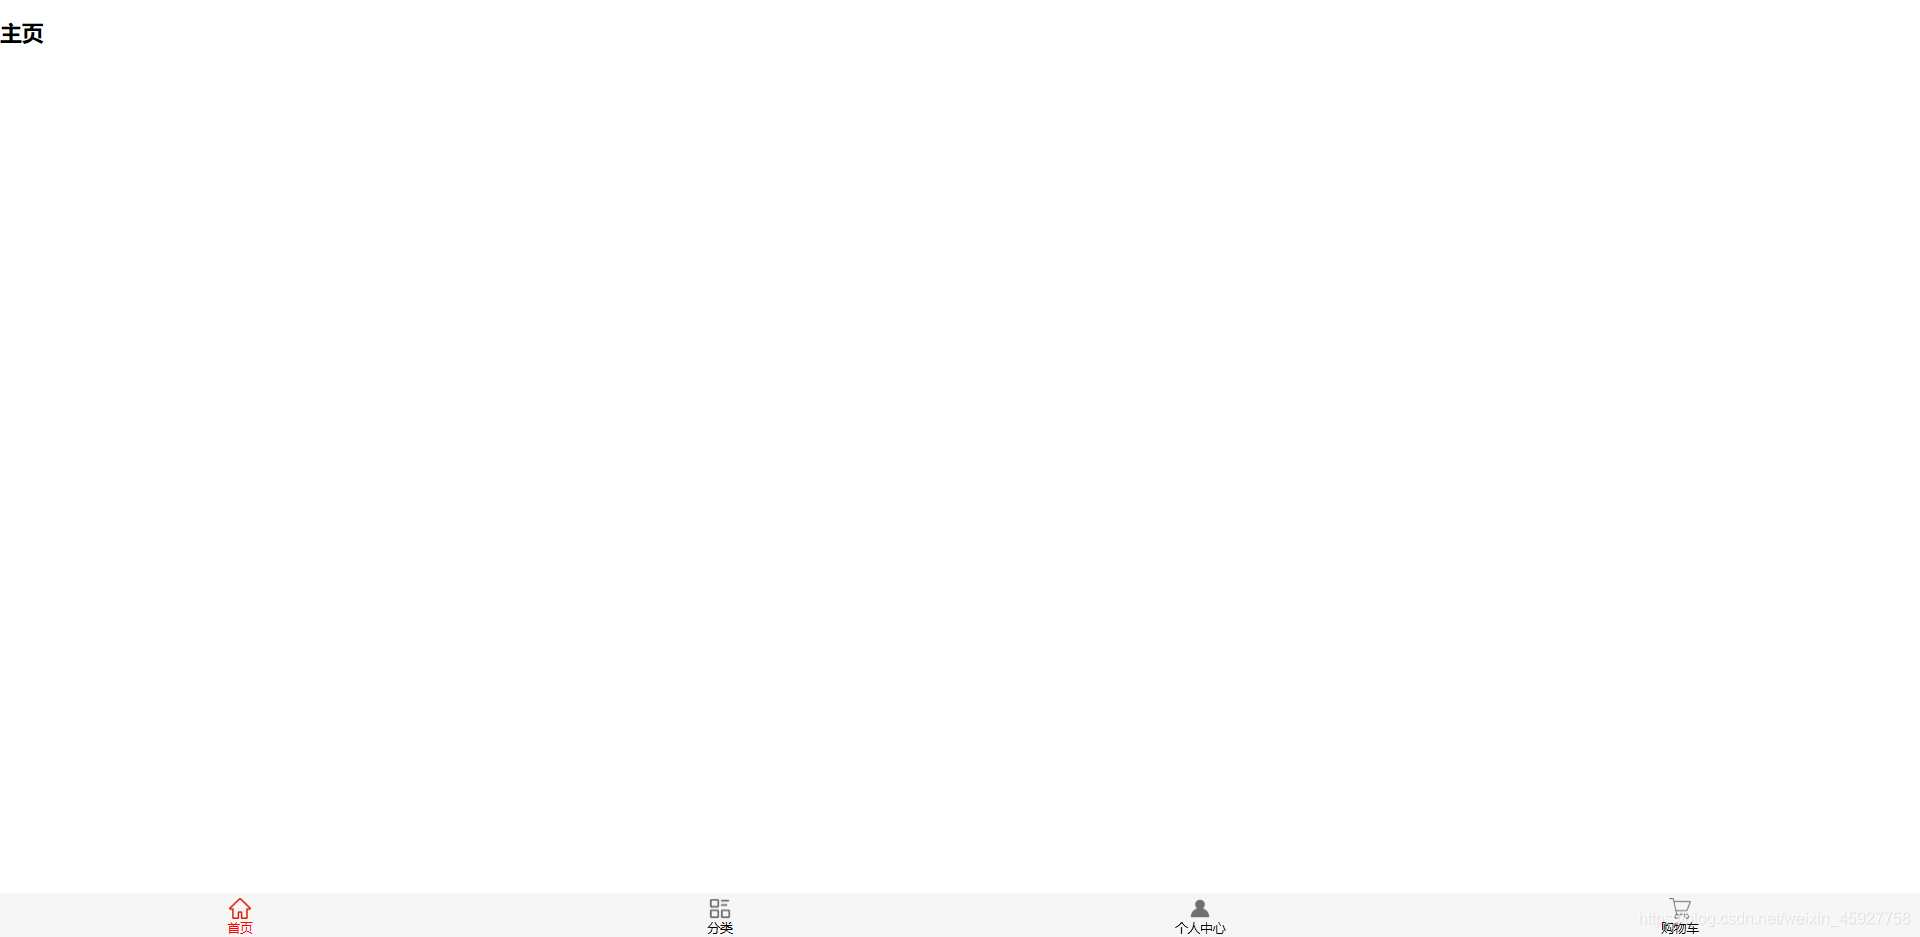
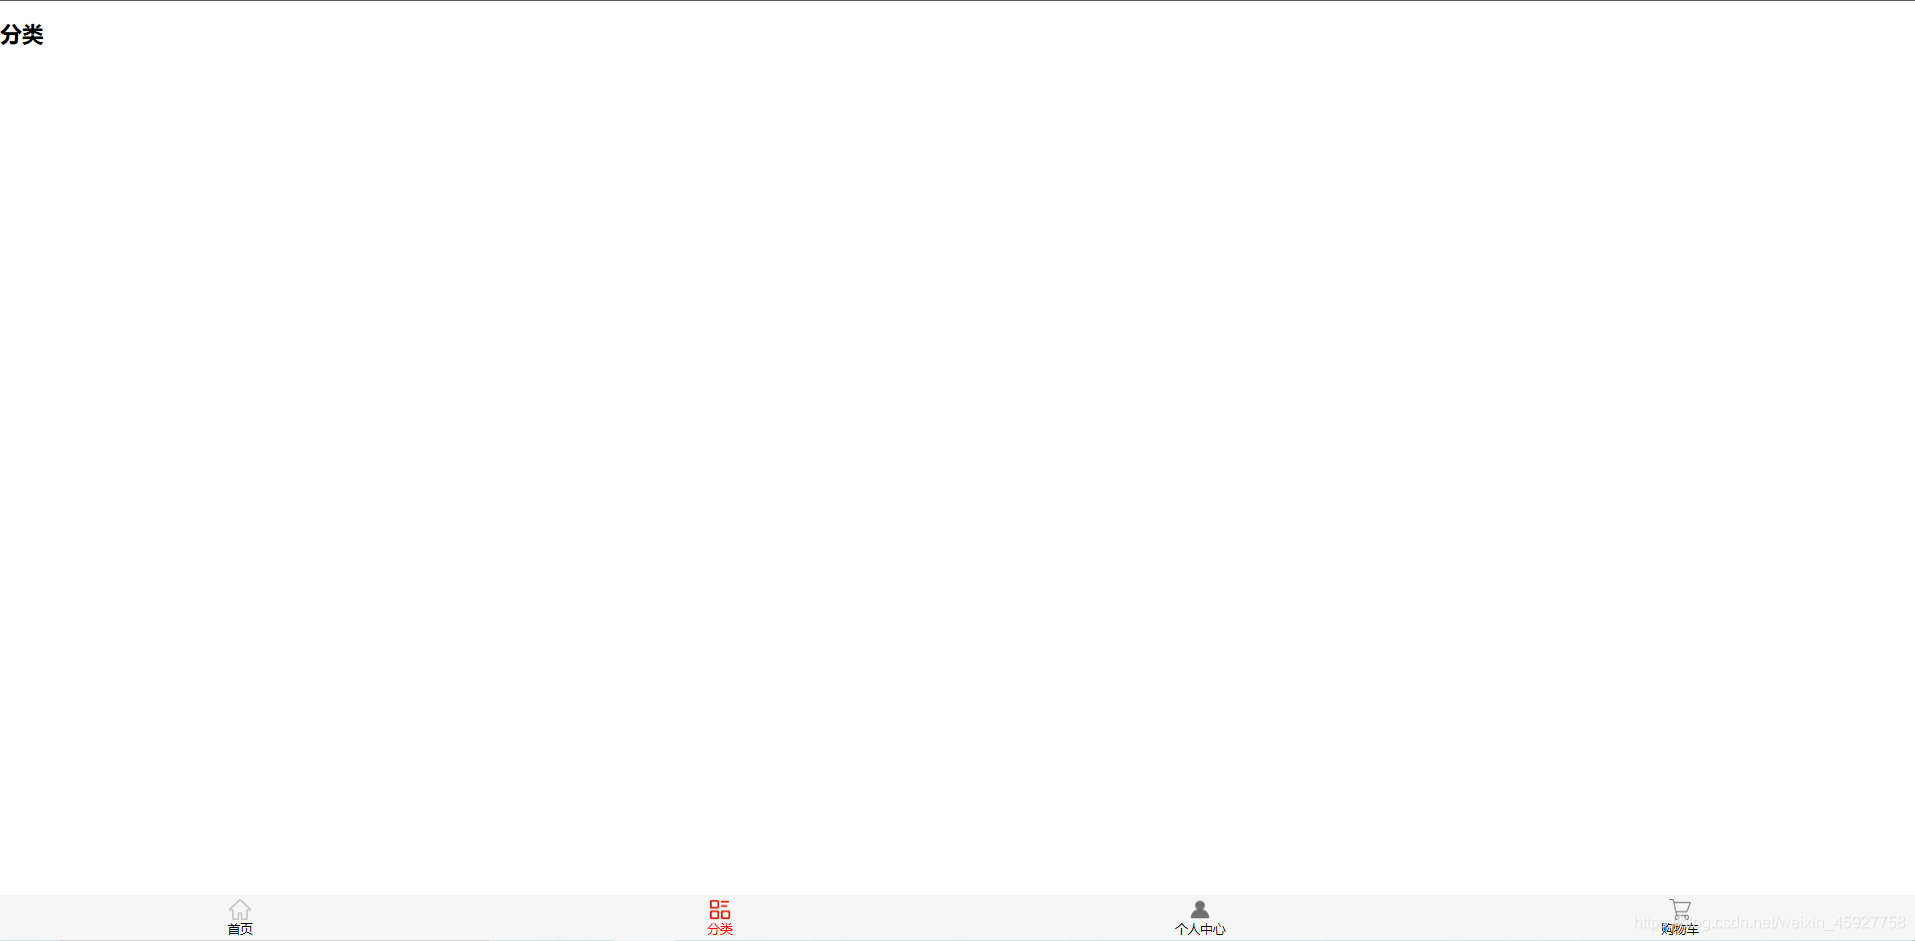
整个组件的实现思路是在页面的最底部放置一个tabbar栏,点击对应的tabbar图标就获取对应的页面显示,我们切换页面的显示的操作可以使用前端路由来完成.
组件单项:
tabbar-item
<template>
<div class="tab-bar-item" @click="itemClick">
     <div v-if="!isActive">
       <slot name="item-icon"></slot>
     </div>
     <div v-else>
       <slot name="item-icon_n"></slot>
      </div>
     <div :style="activeStyle"><slot name="item-text"></slot></div>
</div>
</template>
<script>
export default{
    name:"Tabbaritem",
    props:{
      path:String,
      activecolor:{
       type:String,
       default:'red'
      }
    },
    data(){
      return{
        //isActive:true
      }
    },
    computed:{
      isActive(){
        return this.$route.path.indexOf(this.path)!==-1
      },
      activeStyle(){
         return this.isActive?{color:this.activecolor}:{}
      }
    },
    methods:{
      itemClick(){
        this.$router.replace(this.path)
      }
    }
}
</script>

<style>
.tab-bar-item {
  flex: 1;
  text-align: center;
  height: 49px;
  font-size: 14px;
}
.tab-bar-item img{
    width: 24px;
    height: 24px;
    margin-top: 3px;
    vertical-align: middle;
}

</style>像样式这种我就不分析了,上网一查就有轮子或者慢慢调试总会出来的,使用模板语法是为了方便将整个组件抽离,这个tabbar-item只是一个tabbar图标选项,为了使的组件高度封装分离,我们在组件的模板中使用三个插槽,分别是为了放置未被选中的图标显示,被选中的图标显示,以及跳转tabbar页面的名称,这样就会出现第一个关键点了,两个图标在选中和未被选中的时候正确显示,我们通过一个计算属性isActive解决,isActive通过调用this.$route.path来实现,这个是一个字符串,这个字符串是当前路由组件的路径,调用indexOf方法检测当前tabbar-item的组件是否被包含其中,从而使得每一个tabbar-item显示正确的图标。第二个关键点是我们点击的tabbar-item可以正确的显示页面名称样式,并且添加了一个让用户指定样式的需求,我们在这里使用的是一个动态样式,绑定了一个计算属性activeStyle,该计算属性会根据用户的指定与否选择默认的指定样式或者用户指定样式来正确的显示,获取用户的指定样式这里也有一定的难度,我们的处理是采用组件的props来接收用户传递过来的一个参数activecolor,并指定默认样式为红色。最后一个关键点是处理点击tabbar-item来切换对应的路由界面,我们给tabbar-item绑定一个事件,在props中接收一个从父组件传过来的字符串,该字符串是路由路径,再在这个事件之中使用路由切换路径。
组件外部容器:
tabbar
<template>
  <div id="tab-bar">
    <slot></slot>
  </div>
</template>
<script>
export default {
  name: "Tabbar"
};
</script>
<style>
#tab-bar {
  display: flex; /** 让四个标签横向排列*/
  background-color: #f6f6f6;
  height: 49px;

  position: fixed; /** 让整个tabber组件在页面的最低端显示*/
  left: 0;
  right: 0;
  bottom: 0;

  box-shadow: 0 -1px 1px rgba(100, 100, 100, 0.1);
}

</style>
其实关键点在上面已经解决的差不多了,这个tabbar主要是处理所有tabbar-item的显示样式。还有其他的就是路由页面的创建,以及路由的创建,导出,导入等操作了。
调用文件
<template>
  <div id="app">
    <router-view></router-view>
    <Tabbar>
      <Tabbaritem path="/home">
        <img slot="item-icon" src="./assets/img/tabbar/shouye_n.png" alt="">
        <img slot="item-icon_n" src="./assets/img/tabbar/shouye_y.png" alt="">
        <div slot="item-text">首页</div>
      </Tabbaritem>
      <Tabbaritem path="/category">
        <img slot="item-icon" src="./assets/img/tabbar/fenlei_n.png" alt="">
        <img slot="item-icon_n" src="./assets/img/tabbar/fenlei_y.png" alt="">
        <div slot="item-text">分类</div>
      </Tabbaritem>
      <Tabbaritem path="profile">
        <img slot="item-icon" src="./assets/img/tabbar/gerenzhongxin_n.png" alt="">
        <img slot="item-icon_n" src="./assets/img/tabbar/gerenzhongxin_y.png" alt="">
        <div slot="item-text">个人中心</div>
      </Tabbaritem>
      <Tabbaritem path="cart">
        <img slot="item-icon" src="./assets/img/tabbar/gouwuche_n.png" alt="">
        <img slot="item-icon_n" src="./assets/img/tabbar/gouwuche_y.png" alt="">
        <div slot="item-text">购物车</div>
      </Tabbaritem>
    </Tabbar>

  </div>
</template>

<script>
import Tabbar from './components/tabber/tabber'
import Tabbaritem from './components/tabber/tabbar-item'

export default {
  name: 'App',
  components: {
     Tabbar,
     Tabbaritem
  }
}
</script>

<style>
@import './assets/css/base.css';/*在style标签中可以这样的导入样式文件*/
</style>
正确的调用传递参数给子组件就好,我们在style标签中可以使用 @import + ‘文件路径’来导入样式文件。


 808
808

 被折叠的 条评论
为什么被折叠?
被折叠的 条评论
为什么被折叠?
 到【灌水乐园】发言


