


 本文介绍如何使用C#语言结合GDAL库实现栅格数据到矢量数据的转换过程,并提供了完整的代码示例。重点讲解了Polygonize函数的应用及参数配置。
示例:
using OSGeo.GDAL;
using OSGeo.OGR;
using OSGeo.OSR;
using System;
using Driver = OSGeo.OGR.Driver;
namespace GDAL_test
{
class Program
{
static void Main(string[] args)
{
// 设置输入输出数据路径
string inputRasterPath = "H:/DEM/Aster_DEM.tif";
string outputVectorPath = "H:/DEM/output.shp";
GdalConfiguration.ConfigureGdal();
GdalConfiguration.ConfigureOgr();
// 初始化 GDAL 库
Gdal.AllRegister();
Ogr.RegisterAll();
// 打开输入栅格数据
Dataset inputDataset = Gdal.Open(inputRasterPath, Access.GA_ReadOnly);
// 获取输入栅格数据的投影信息
string projection = inputDataset.GetProjection();
// 创建输出矢量数据
Driver outputDriver = Ogr.GetDriverByName("ESRI Shapefile");
DataSource outputDataSource = outputDriver.CreateDataSource(outputVectorPath, null);
// 设置输出矢量数据的投影信息
SpatialReference spatialRef = new SpatialReference(projection);
Layer outputLayer = outputDataSource.CreateLayer("output", spatialRef, wkbGeometryType.wkbPolygon, null);
FieldDefn oFieldName = new FieldDefn("FieldName", FieldType.OFTString);
oFieldName.SetWidth(100);
outputLayer.CreateField(oFieldName, 1);
FeatureDefn oDefn = outputLayer.GetLayerDefn();
// 执行 Polygonize 函数进行栅格转矢量转换
Band inputBand = inputDataset.GetRasterBand(1);
//string[] rasterizeOptions = new string[] { "ATTRIBUTE=" + "VALUE" };
int iPixValField = 0;
int result = Gdal.Polygonize(inputBand, null, outputLayer, iPixValField, null, null, null);
// 关闭输入输出数据
inputDataset.Dispose();
outputDataSource.Dispose();
// 输出转换结果
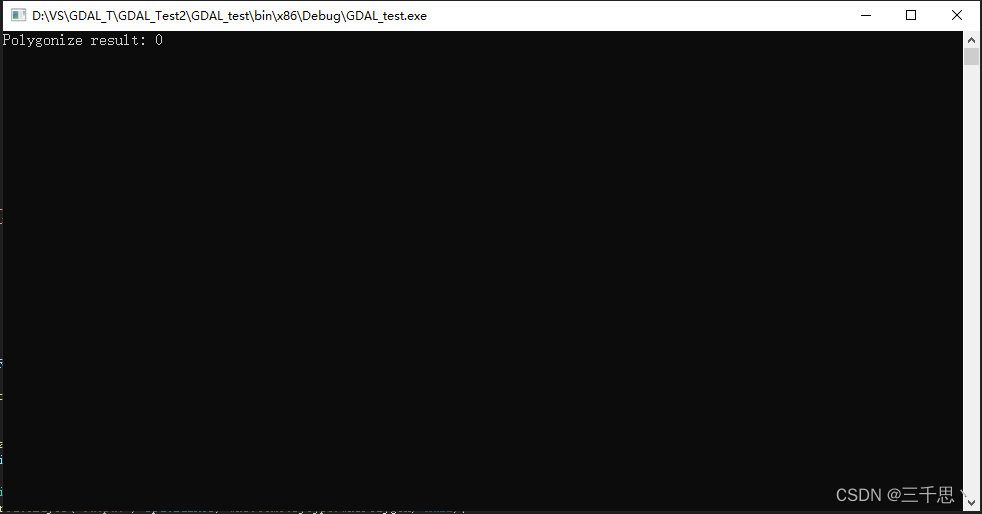
Console.WriteLine("Polygonize result: " + result);
Console.ReadLine();
}
}
}结果:
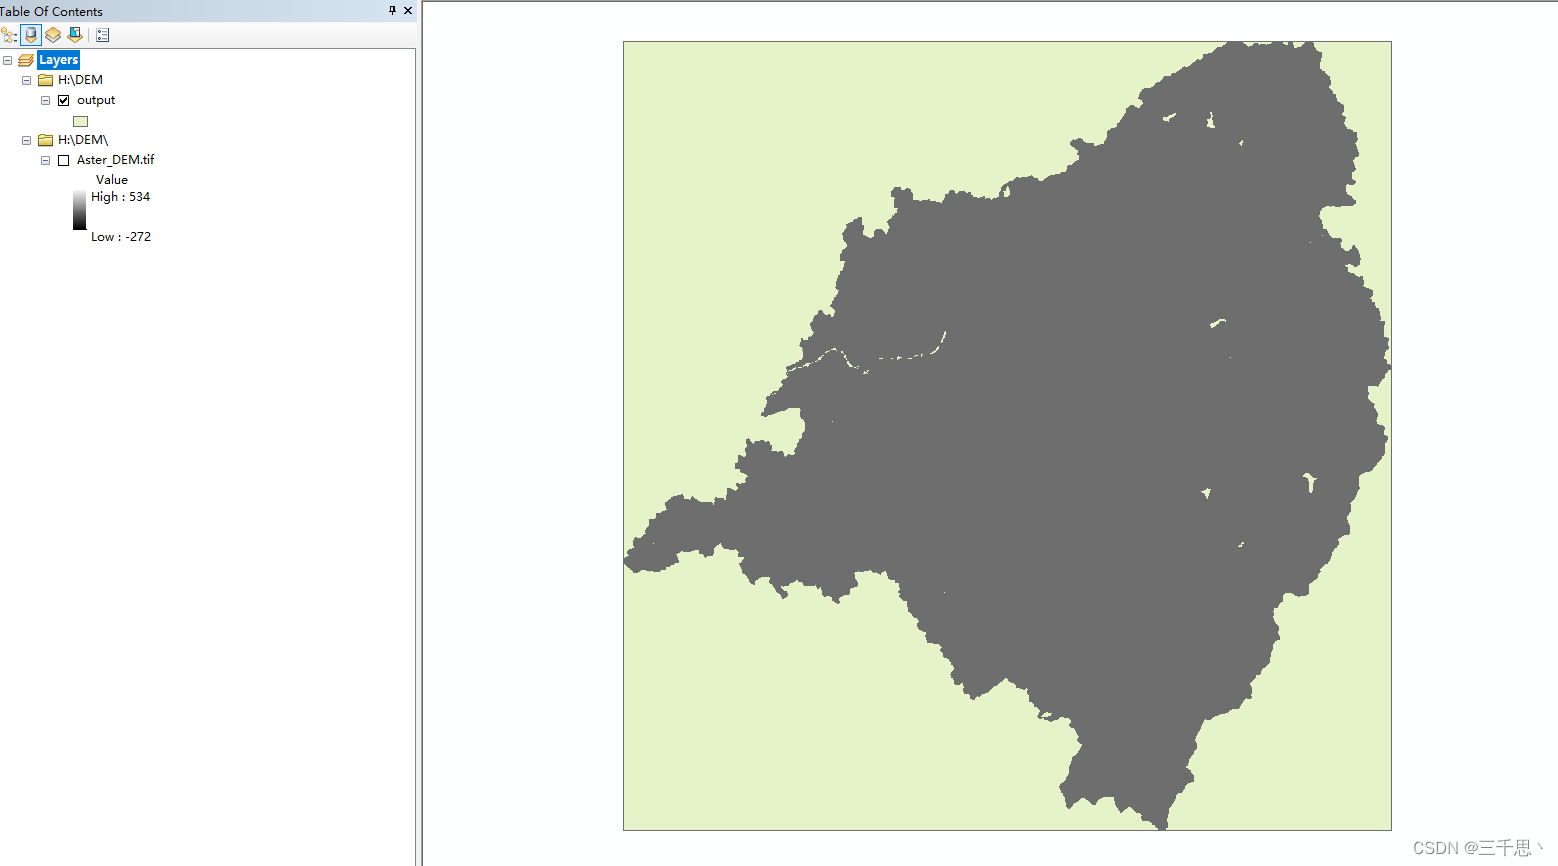
GIS展示输出结果:
利用之前写的C#矢量转栅格,看下结果:
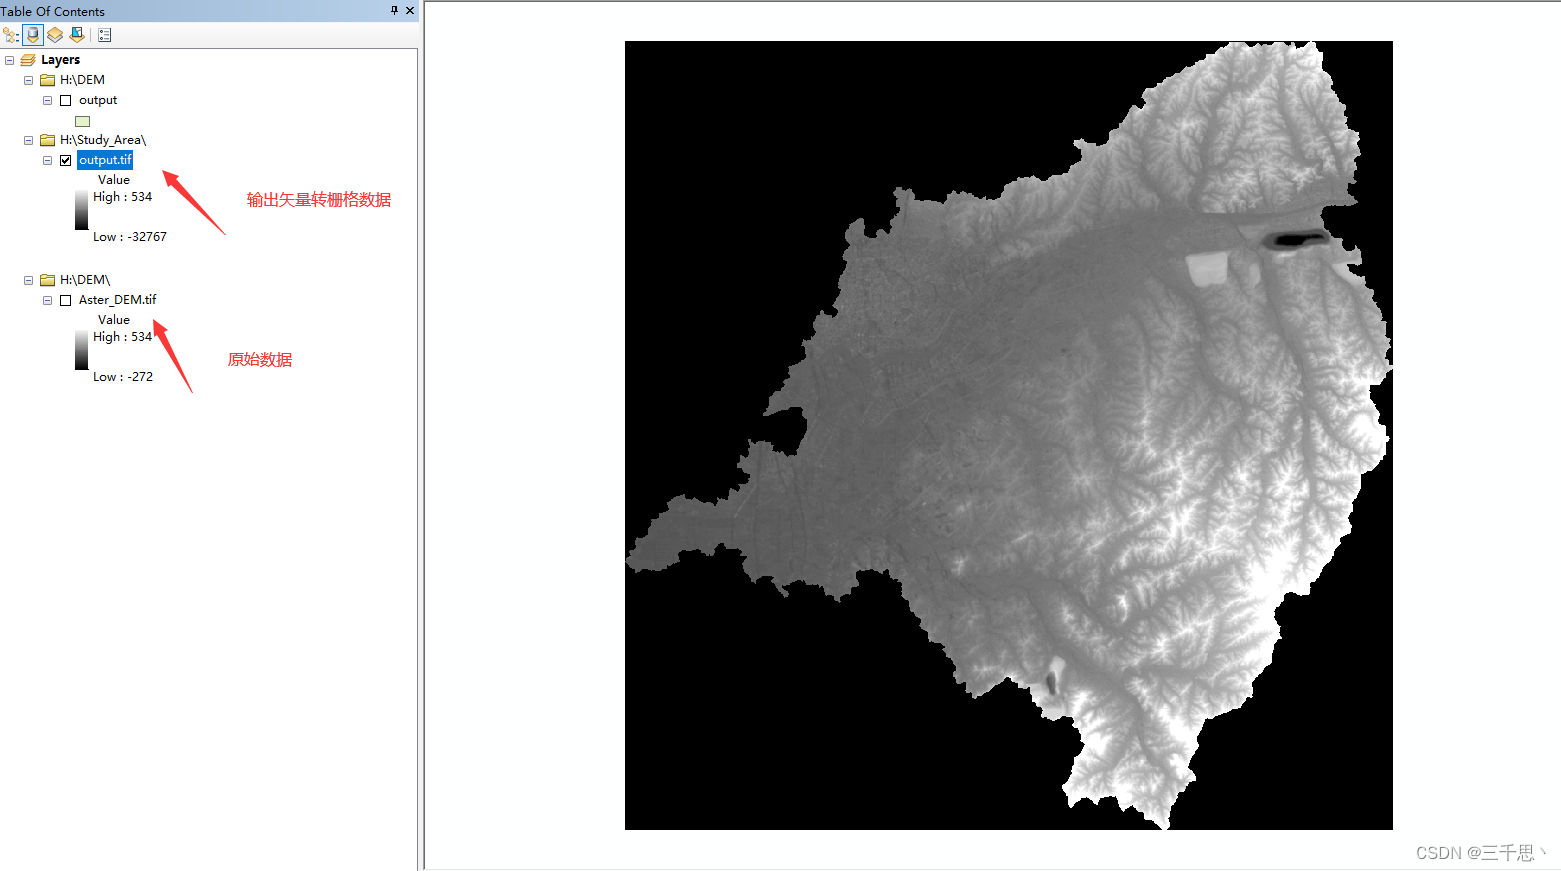
矢量转栅格之后的数据是有背景值是-32767。还有就是在转换的时候没有改变栅格数据的类型。

原始数据为Int16,而输出的数据为Float32。 这个在矢量转栅格的代码中修改DataType.GDT_Float32为DataType.GDT_Int16。测试未作修改。
说明:
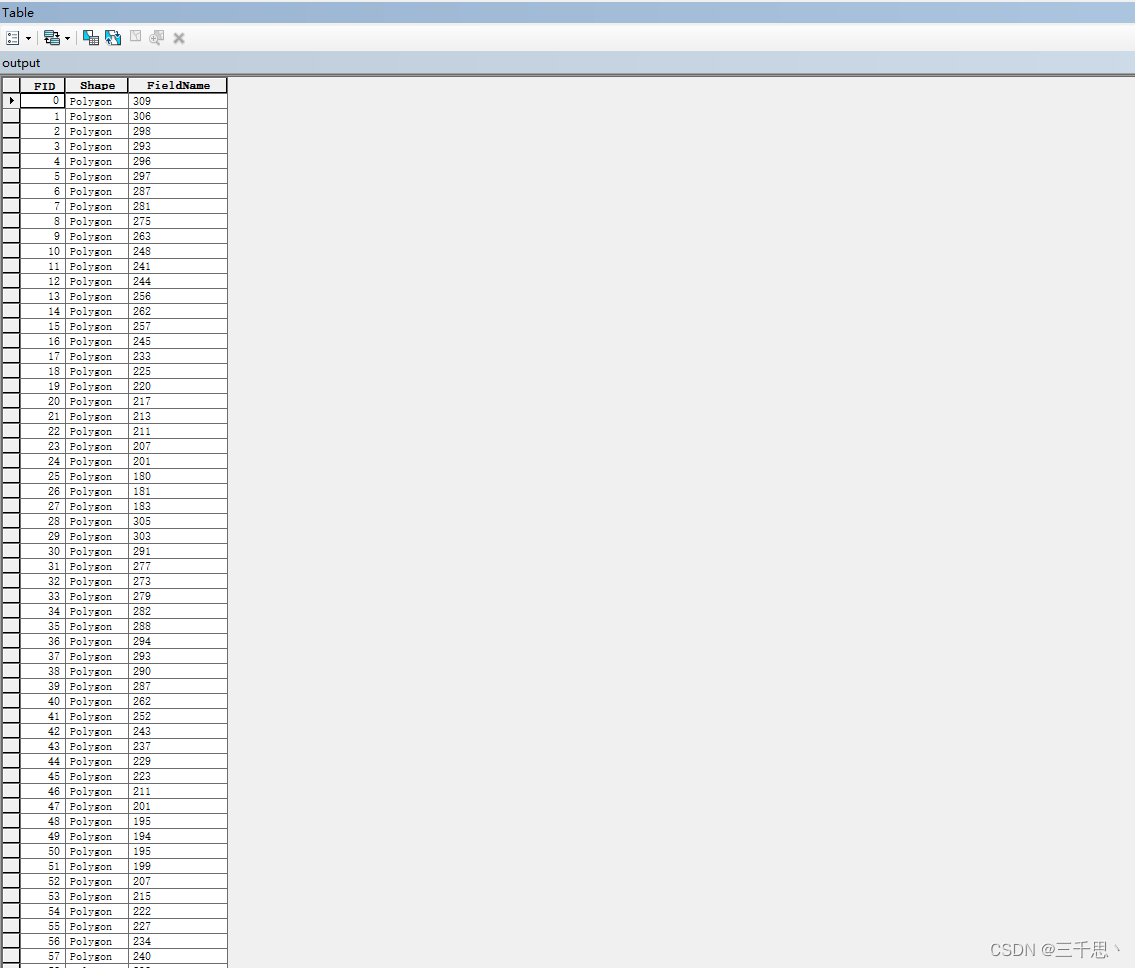
如果将 iPixValField 变量的值设为 -1,那么在执行栅格转矢量转换时,不会将输入栅格数据的像元值作为输出矢量数据的属性字段保留下来。如果想在执行栅格转矢量转换时保留输入栅格数据的像元值,可以将 iPixValField 变量的值设为大于等于 0 的整数,例如 0 或 1。在这种情况下,输入栅格数据的像元值会被作为输出矢量数据的属性字段保留下来。
Polygonize 函数可以识别以下栅格数据类型:
无符号 8 位整数 (GDT_Byte)
16 位带符号整数 (GDT_Int16)
32 位带符号整数 (GDT_Int32)
浮点数 (GDT_Float32 和 GDT_Float64)
如果栅格数据格式不在以上列表中,则可能无法使用 Polygonize 函数识别该数据。


 2611
2611

 被折叠的 条评论
为什么被折叠?
被折叠的 条评论
为什么被折叠?
 到【灌水乐园】发言


