


 本文详细描述了如何使用uniapp开发一个包含扫码查询、添加商品功能的小程序,包括使用uni.scanCode组件获取EAN码,查询天气以及与和风天气API的集成。同时介绍了扫码枪的工作原理和关键代码片段,以及调试过程和最终效果。
主要功能:扫码查询、添加商品、查询天气
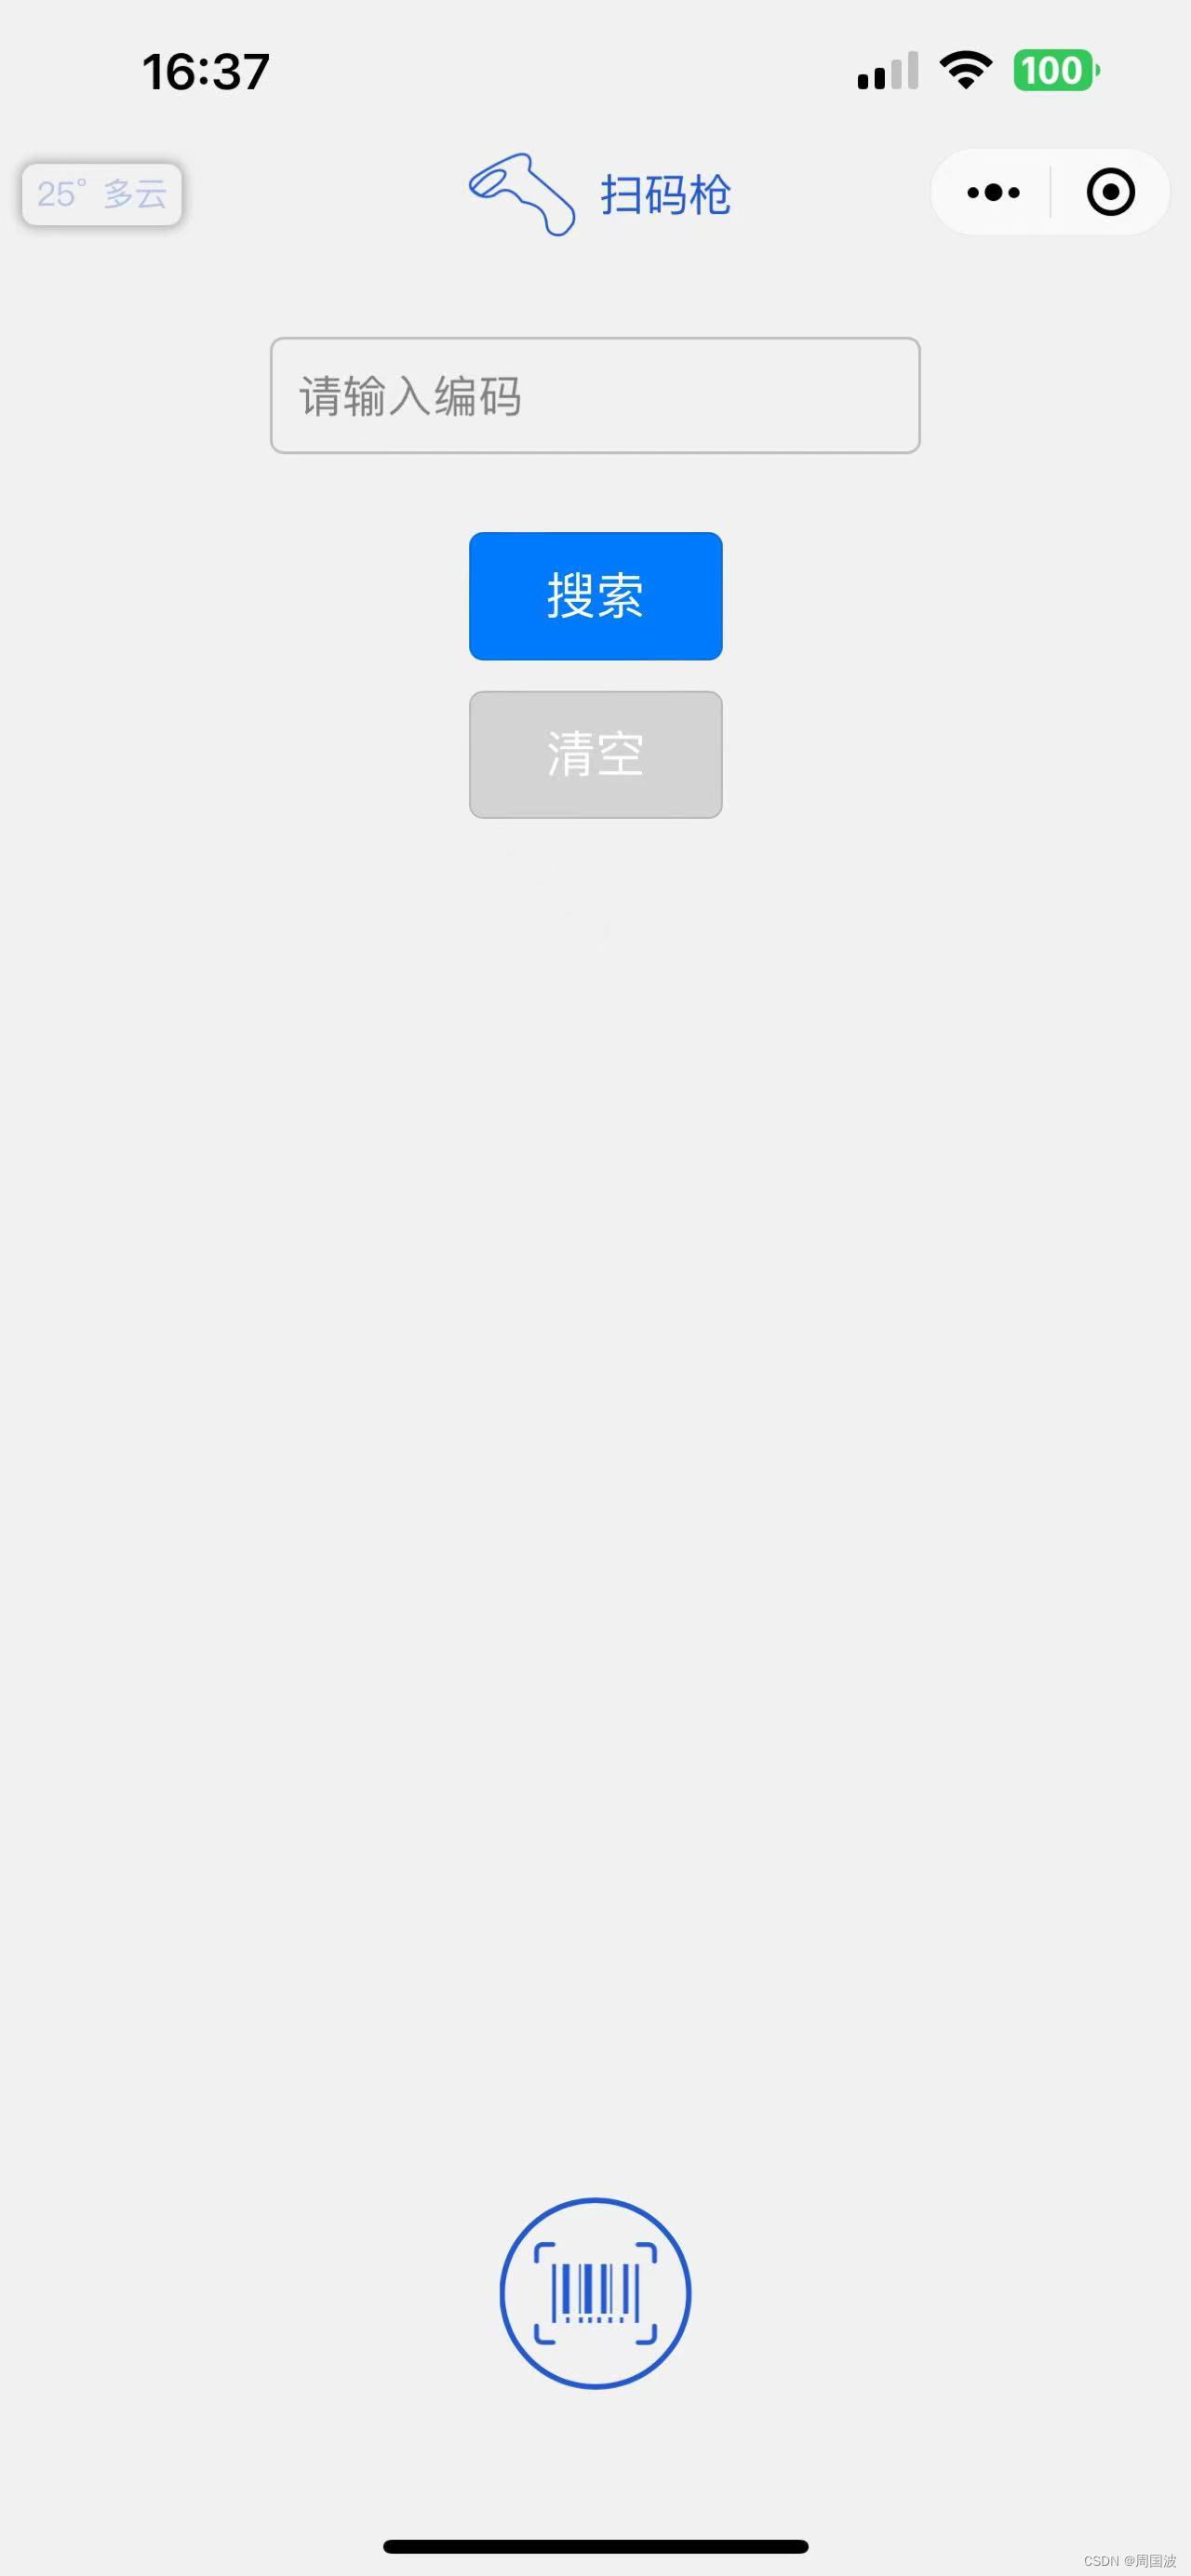
📌:效果如下
| 1.扫码功能 | 2.添加商品 |
|---|---|
 |  |
1:写在前面
扫码枪功能原理:
- 用户点击按钮,触发扫描事件,调用uni.scanCode组件,获取EAN码
- 以EAN码为索引条件,对数据库进行查询
- 查询成功,返回商品数据,动态填充到前端
- 查询失败,显示添加按钮,点击即跳转页面
- 录入商品名称、价格等数据,点击完成添加
所用组件:uni.scanCode
官方示例:
// 允许从相机和相册扫码
uni.scanCode({
	success: function (res) {
		console.log('条码类型:' + res.scanType);
		console.log('条码内容:' + res.result);
	}
});

// 只允许通过相机扫码
uni.scanCode({
	onlyFromCamera: true,
	success: function (res) {
		console.log('条码类型:' + res.scanType);
		console.log('条码内容:' + res.result);
	}
});

// 调起条码扫描
uni.scanCode({
	scanType: ['barCode'],
	success: function (res) {
		console.log('条码类型:' + res.scanType);
		console.log('条码内容:' + res.result);
	}
});
和风天气API:官方文档
相关说明:
// 101010100:所在地区的编码,可以通过以下代码查询对应的编码
https://geoapi.qweather.com/v2/city/lookup?{查询参数}

// 你的KEY:访问控制台-项目管理,点击创建项目,随后可获取key
https://devapi.qweather.com/v7/weather/now?location=101010100&key=你的KEY
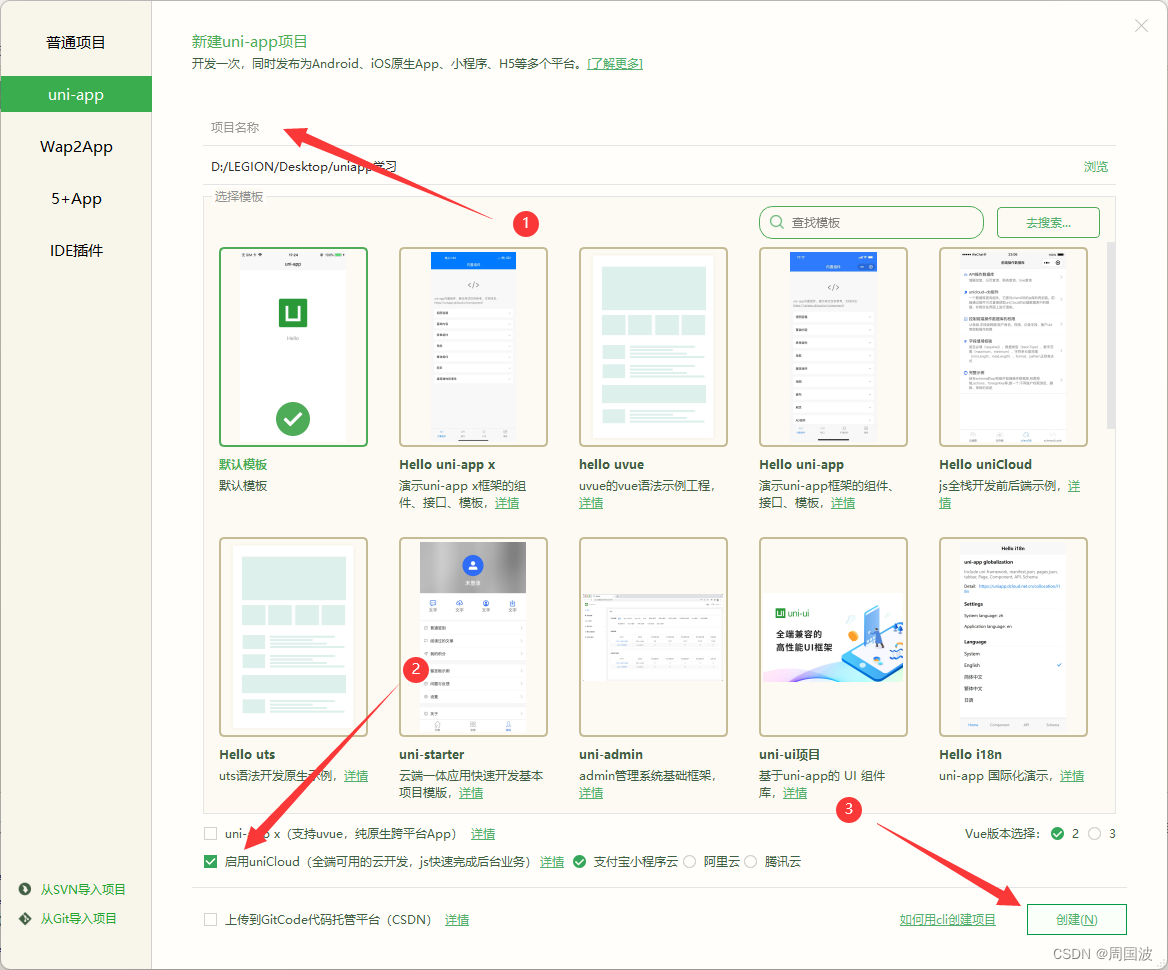
2:开发工作
- 文件》新建》项目
- 填写项目名称、勾选启用unicloud(查看教程)(这里选择阿里云),点击创建

- 页面代码
<view class="content">
	<!-- 自定义导航栏 -->
	<view class="navBarBox">
		<!-- 状态栏占位 -->
		<view class="statusBar" :style="{ paddingTop: statusBarHeight + 'px' }"></view>
		<!-- 真正的导航栏内容 -->
		<view class="navBar">
			<image class="logo" src="/static/admin.png" mode="heightFix" @longpress="showMenu"></image>
			<view>扫码枪</view>
			<view class="weather" @click="get_weather()">
				<span>{{weather.temp}}°</span><span>{{weather.text}}</span>
			</view>
		</view>
		<!-- 弹出菜单 -->
		<view v-if="showMenuFlag" class="popup-menu">
			<view @click="menu_home('首页')">首页</view>
			<view @click="menu_weather('天气')">天气</view>
			<view @click="hideMenu">取消</view>
		</view>
	</view>

	<!-- 搜索框 -->
	<view class="scan">
		<input type='text' v-model="EAN" placeholder="请输入编码"></input>
		<button type="primary" @click="search()">搜索</button>
		<button type="default" @click="res()">清空</button>
	</view>
	<view @click="add(EAN)" v-if="isAdd" class="add">
		<button type="primary">添加</button>
	</view>
	<!-- 隐藏区 -->
	<view class="search" v-if="isShow">
		<image :src="list.url" mode="heightFix"></image>
		<text>{{list.title}}</text>
		<text>¥{{list.price}}</text>
	</view>

	<!-- 底部扫一扫区域 -->
	<view class="EAN" @click="ScanCode()">
		<image src="/static/Code.png" mode="scaleToFill"></image>
	</view>
</view>
- 样式代码
.content {
	position: fixed;
	/* 使用固定定位 */
	top: 0;
	right: 0;
	bottom: 0;
	left: 0;
	width: 100%;
	/* 宽度设置为100% */
	height: 100%;
	/* 高度设置为100% */
	z-index: -1;
	/* 设置z-index为负值,确保它在最底层 */
	background-color: #F1F1F1;
}

.navBarBox {
	position: relative;
}

.navBarBox .navBar {
	display: flex;
	/* 横向分布 */
	flex-direction: row;
	justify-content: center;
	align-items: center;
}

.navBarBox .navBar view {
	color: #2259d1;
}

.navBarBox .navBar .logo {
	height: 82rpx;
	margin-right: 10rpx;
}

.popup-menu {
	position: absolute;
	z-index: 100;
	left: 35%;
	/* width: 200px; */
	background-color: #fff ;
	box-shadow: 0 2px 8px rgba(0, 0, 0, 0.15);
	border-radius: 5px;
	overflow: hidden;
}

.popup-menu view {
	padding: 10px 15px;
	color: #333;
	border-bottom: 1px solid #F0F0F0;
}

.popup-menu view:last-child {
	border-bottom: none;
}

.weather {
	position: absolute;
	font-size: 12px;
	left: 15rpx;
	padding: 4rpx 10rpx;
	border-radius: 10rpx;
	box-shadow: 0 0 4px 1px rgba(0, 0, 0, 0.3);
}

.weather span {
	color: rgba(34, 89, 201, 0.3);
}

.weather span:nth-child(2) {
	margin-left: 10rpx;
}
.scan {
	margin-top: 50rpx;
}

.scan input {
	font-size: 16px;
	/* text-align: center; */
	width: 50%;
	padding: 16rpx;
	margin: 50rpx auto;
	border-radius: 10rpx;
	border: 1px solid #bfbfbf;
}

.scan button {
	width: 160rpx;
	margin: 20rpx auto;
	background-color: #007AFF;
}

.scan button:nth-child(3) {
	color: #fff;
	background-color: #D3D3D3;
}

.add {
	display: block;
	margin: 25% auto 0;
	/* position: absolute; */
	width: 160rpx;
	/* background-color: red; */
}

.add button {
	width: 100%;
	background-color: #007AFF;
}

.search {
	width: 50%;
	border: 2px solid #bfbfbf;
	margin: 100rpx auto 0;
	border-radius: 10px;
	box-shadow: 0px 2px 5px rgba(0, 0, 0, 0.3);
	/* background-color: red; */
	/* position: relative; */
	overflow: hidden;
}

.search image {
	/* width: 100%; */
	/* width: 500rpx; */
	height: 300rpx;
	padding-top: 20rpx;
	padding-left: 100%;
	/* left: 50%; */
	transform: translate(-50%);
	/* position: absolute; */
}

.search text {
	display: block;
}

.search text {
	font-size: 1.2em;
	font-weight: bold;
	text-indent: 0.5em;
}

.search text:last-child {
	font-size: 1.6em;
	color: red;
	font-weight: bold;
	text-indent: 0em;
}

/* 底部扫一扫 */
.footer button {
	background-color: #2259d1;
	position: absolute;
	bottom: 100rpx;
	left: 50%;
	transform: translate(-50%);
}

.footer button:hover {
	background-color: #2259d1;
}

.EAN {
	height: 130rpx;
	width: 100%;
	padding: 10rpx 0;
	position: absolute;
	bottom: 100rpx;
}

.EAN image {
	width: 80rpx;
	height: 80rpx;
	padding: 10px;
	border: 2px solid #2259d1;
	border-radius: 50%;
	position: absolute;
	/* bottom: 100rpx; */
	left: 50%;
	transform: translate(-50%);
}
3:重要代码
- 扫码获取EAN、自动搜索商品
// 扫码,扫描之后自动调用查询事件
ScanCode() {
	wx.scanCode({
		onlyFromCamera: true, //只能相机拍摄
		scanType: ['barCode', 'qrCode'], //条形码+二维码
		success: res => {
			console.log('扫描结果:', res.result);
			if (res.result.length == 13) {
				this.EAN = res.result //数据绑定
				// 商品搜索部分
				let EAN = this.EAN
				let e = db.collection('Shop_goods') // Shop_goods 数据库名称
					.where({
						EAN: EAN,
					})
					// .orderBy('create_time','desc')
					.get()
					.then(e => {
						// console.log('搜索结果:',e);
						console.log('搜索结果:', e.result.data[0]);
						this.list = e.result.data[0] //数据绑定
						// console.log(this.list)
						if (e.result.data[0] === undefined) {
							this.list = '',
								this.isAdd = true,
								this.isShow = false
						} else {
							this.isAdd = false
						}
					})
				// 商品搜索部分结束
				// this.search()
				this.isShow = true; // 显示商品区域
				// this.ScanAudio() //语音
				this.vibrateShort() //短震动
			} else {
				this.vibrateLong() //长震动
				uni.showToast({
					icon: "none",
					title: "请扫描条形码",
					duration: 1500
				})
				this.EAN = '',
				this.list = '',
				this.isShow = false
			}
		}
	})
}
- 手动输入EAN,搜索商品
// 搜索,手动输入EAM码搜索
search() {
	let EAN = this.EAN
	if (EAN.length !== 13) {
		uni.showToast({
			icon: 'error',
			title: 'EAN码格式错误'
		})
		this.vibrateLong() //长震动
	} else {
		let res = db.collection('Shop_goods') //Shop_goods 数据库名称
			.where({
				EAN: EAN,
			})
			// .orderBy('create_time','desc')
			.get()
			.then(res => {
				console.log('搜索结果:', res.result.data[0]);
				this.list = res.result.data[0] //数据绑定
				// console.log(this.list)
				if (res.result.data[0] === undefined) {
					this.list = '',
						this.isAdd = true,
						this.isShow = false
				} else {
					this.isAdd = false,
						this.isShow = true,
						this.vibrateShort() //短震动
				}
			})
	}
}
4:调试
- 运行到小程序模拟器、手机模拟器

💻 最终效果
| 鸿蒙/安卓端 | 小程序端 | IOS端 |
|---|---|---|
 |  | 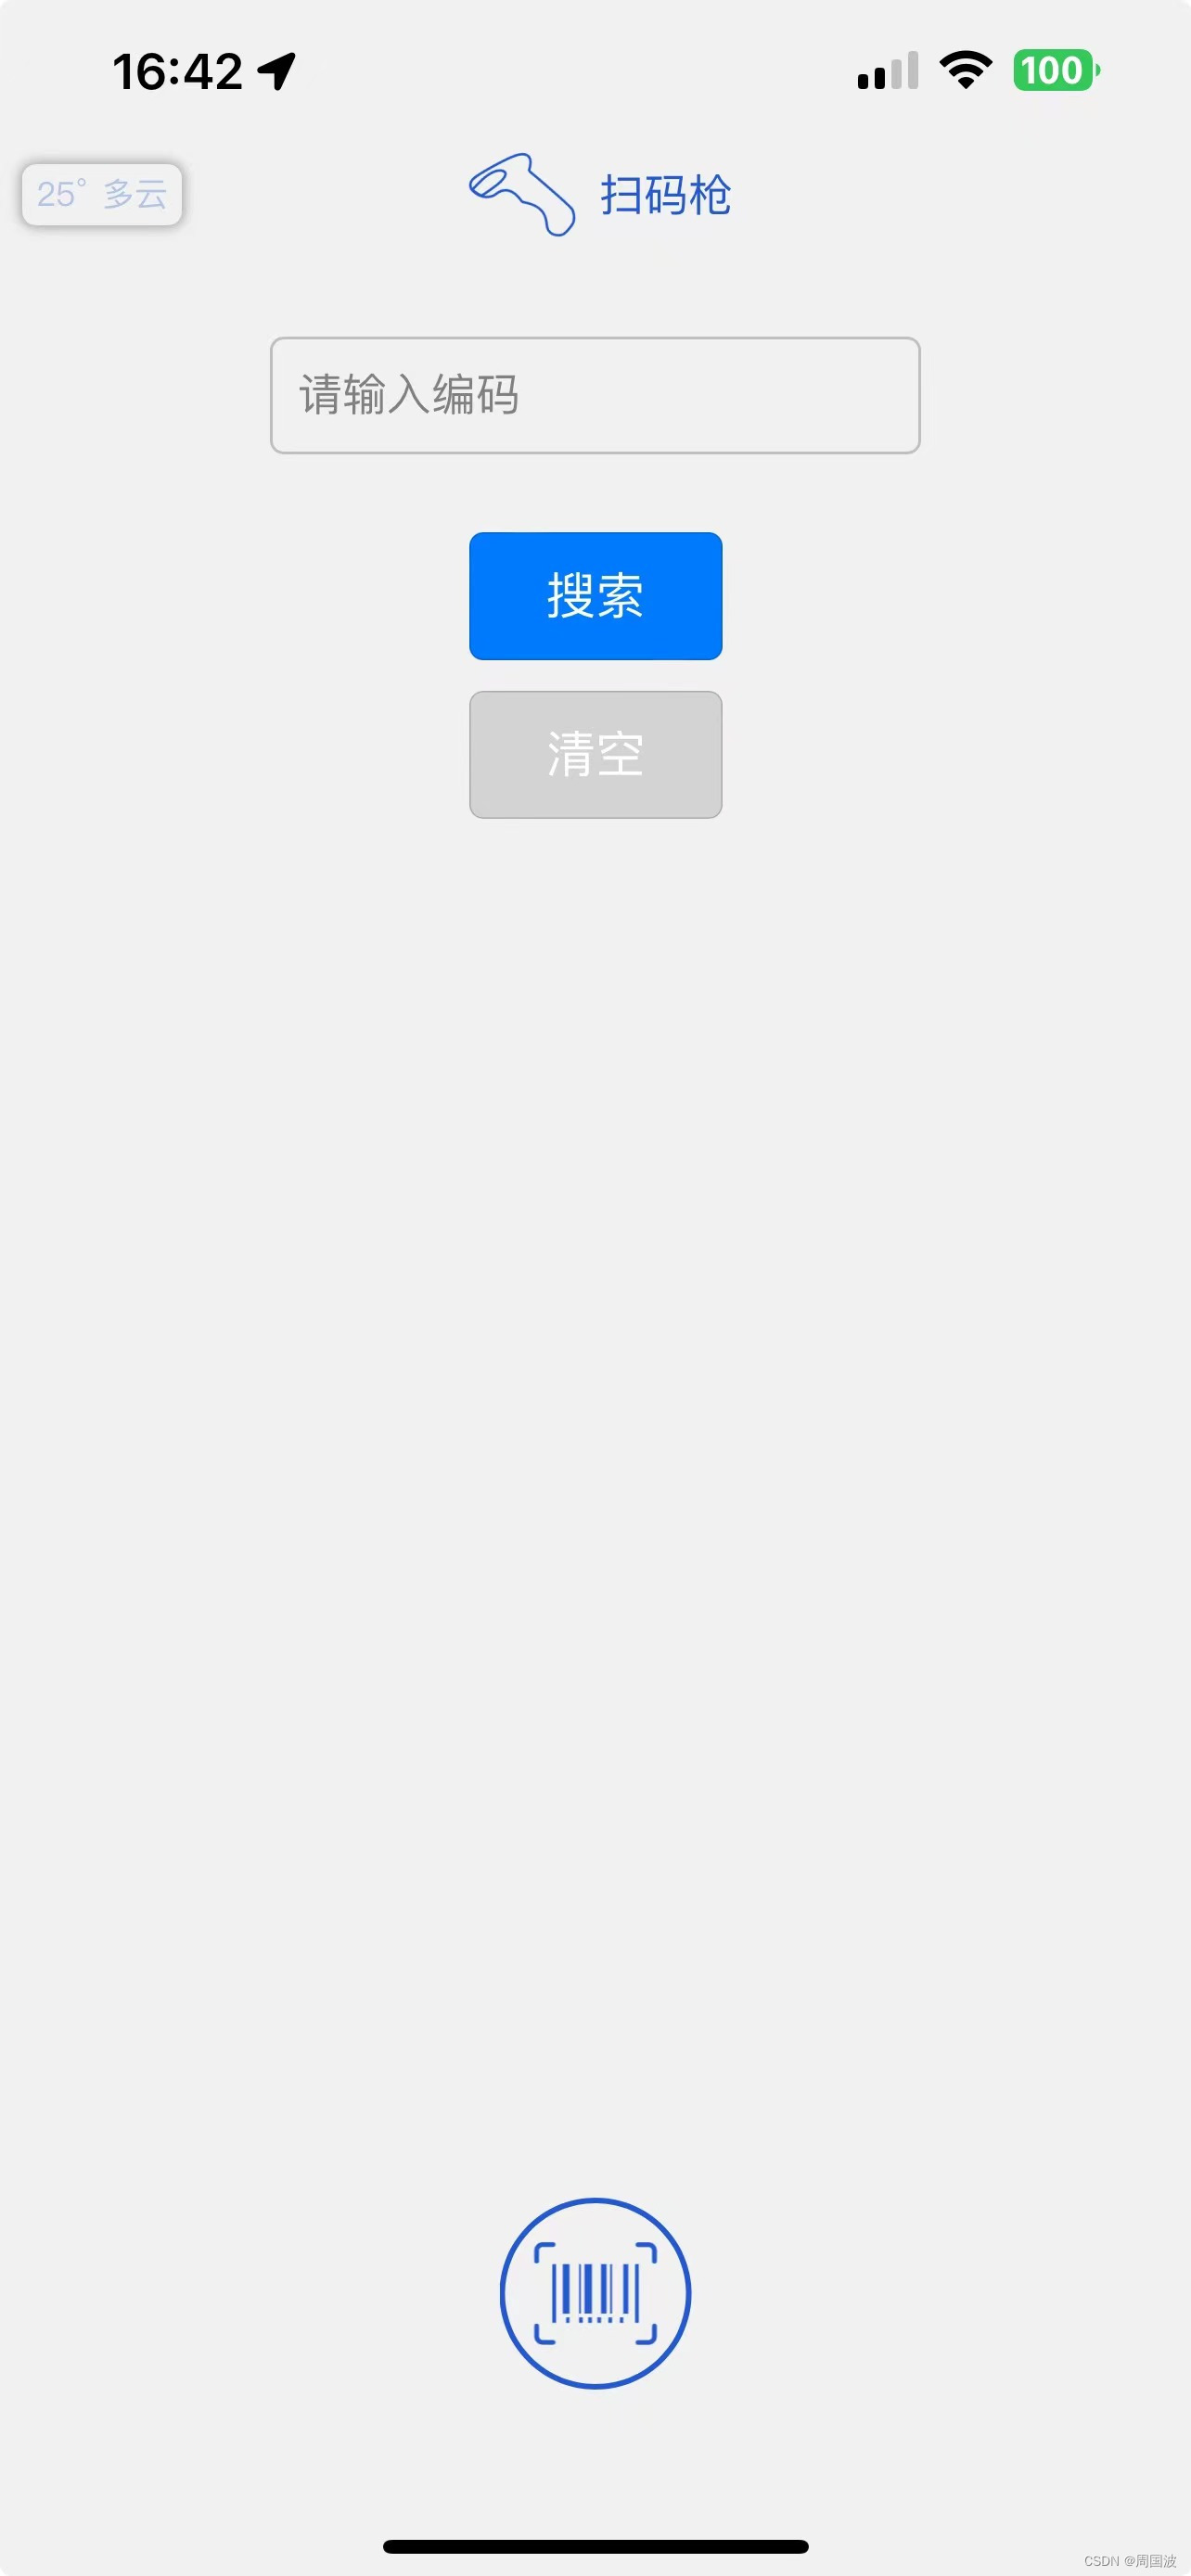 |
至此,一个基于uniapp实现的扫码枪就完成了,大家也一起来试一试吧
最后,这个程序还有不少需要修改和完善的,欢迎大家讨论,一起进步!
相关推荐
- 微信小程序:鉴权功能
- 微信小程序:下拉刷新
- 微信小程序:半屏打开小程序
© 原创不易,引用转载请联系 > 周国波


 7426
7426

 被折叠的 条评论
为什么被折叠?
被折叠的 条评论
为什么被折叠?
 到【灌水乐园】发言


