


1.部署LNMP环境
[root@localhost html]# yum install -y mariadb-server php php-mysql php-fpm
2.开启数据库并设置密码
[root@localhost ~]# systemctl enable mariadb --now
Created symlink from /etc/systemd/system/multi-user.target.wants/mariadb.service to /usr/lib/systemd/system/mariadb.service.
[root@localhost ~]# mysqladmin -uroot password '123456'
3.配置php
[root@localhost ~]# vim /usr/local/tengine/conf/nginx.conf
 location ~ \.php$ {
            root           /usr/local/tengine/html;
            fastcgi_pass   127.0.0.1:9000;
            fastcgi_index  index.php;
           #fastcgi_param  SCRIPT_FILENAME  $decument_root$fastcgi_script_name;
            fastcgi_param SCRIPT_FILENAME $document_root$fastcgi_script_name;
            include        fastcgi_params;
        }
[root@localhost ~]# vim /etc/php.ini
date.timeout = ASia/Shanghai
gi.fix_pathinfo=0
4.启动服务
[root@localhost ~]# systemctl restart tengine mariadb php-fpm
5.写入配置文件
[root@localhost ~]# cd /usr/local/tengine/html
[root@localhost html]# vim phpinfo.php

<?php
 phpinfo();
?>
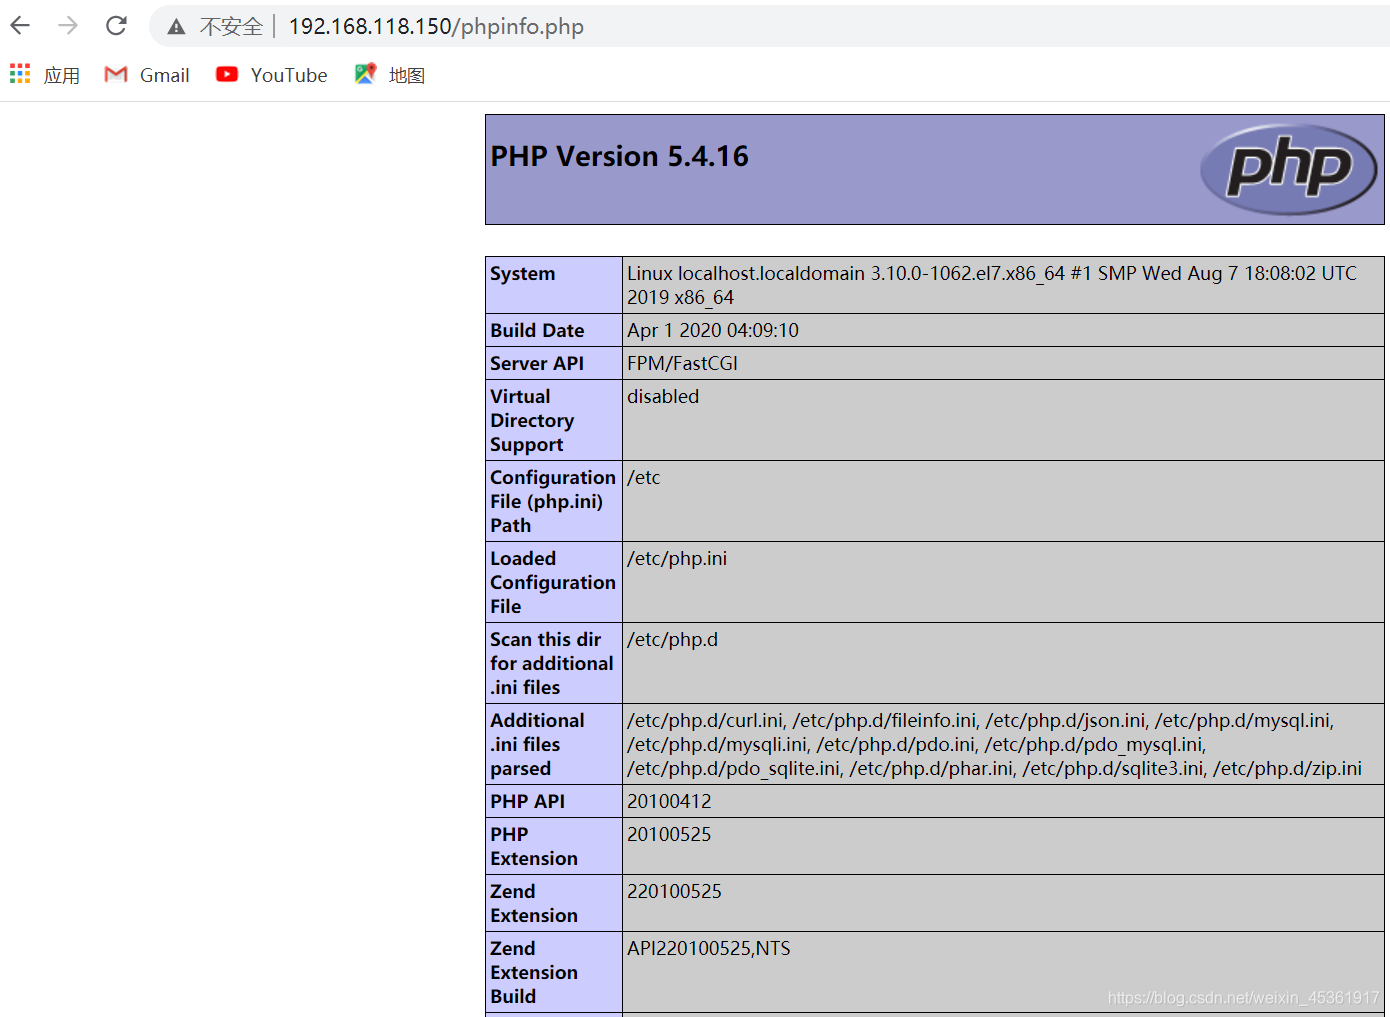
6.测试
7.mysql和php协同
[root@node1 html]# cd /usr/local/tengine/html/
[root@node1 html]# vim mysql.php

<?php
$con = mysql_connect("localhost","root","12345");
if (!$con) {
die("could not connect to the db:\n" . mysql_error());
}
else { echo "success"; }
mysql_close($con);
?>

保存退出
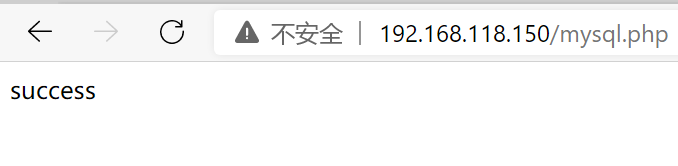
测试:
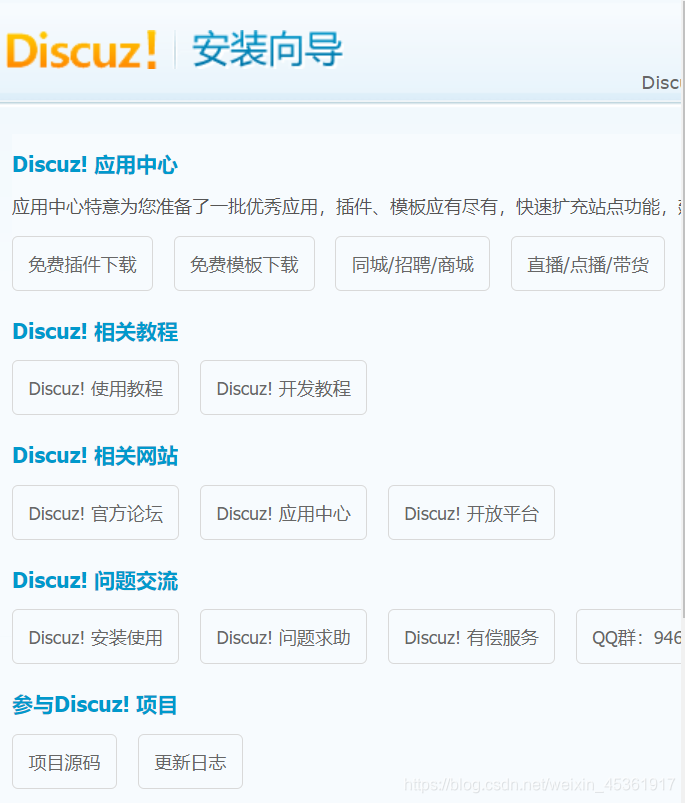
8.创建论坛
[root@node1 html]# yum install unzip Discuz_X3.4_SC_UTF8.zip
[root@node1 html]# unzip Discuz_X3.4_SC_UTF8.zip
[root@node1 conf]# vim /usr/local/tengine/conf/nginx.conf
location / {
            root   html;
           # autoindex on;
            index  index.php index.html index.htm;
[root@node1 conf]# systemctl restart tengine
测试
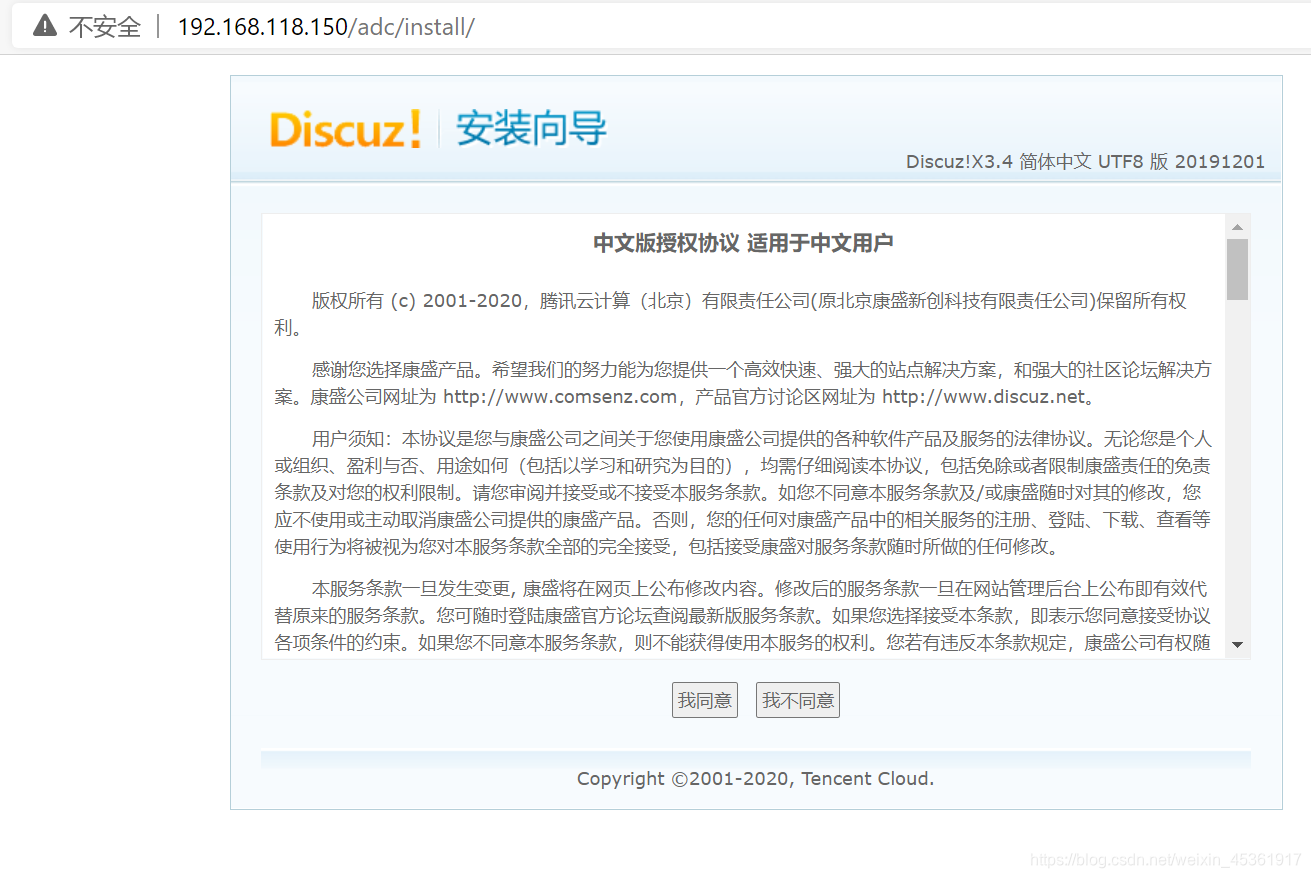
点击“我同意”
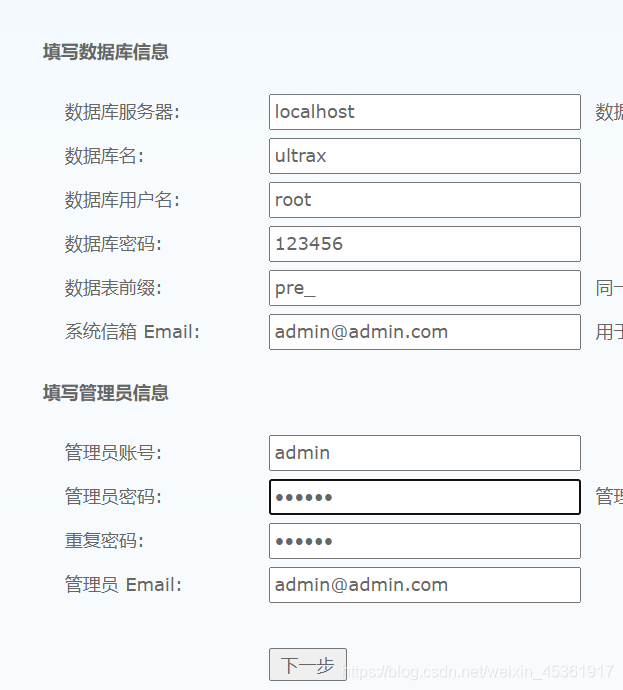
修改权限
[root@node1 adc]# chmod -R 777 data/ uc_client/ uc_server/ config/


 500
500

 被折叠的 条评论
为什么被折叠?
被折叠的 条评论
为什么被折叠?
 到【灌水乐园】发言


