


 本文档将指导你如何在IntelliJ IDEA中创建一个Spring Initializr项目,并通过配置和实操步骤,利用Swagger来生成接口文档。首先,你需要在IDEA中选择新建Spring Initializr项目并配置JDK。接着,填写项目信息并确保URL正确。当项目下载完成后,添加pom.xml配置。在SwaggerConfig类中编写代码,并运行应用,通过http://localhost:8080/swagger-ui.html访问生成的接口文档。
第一步
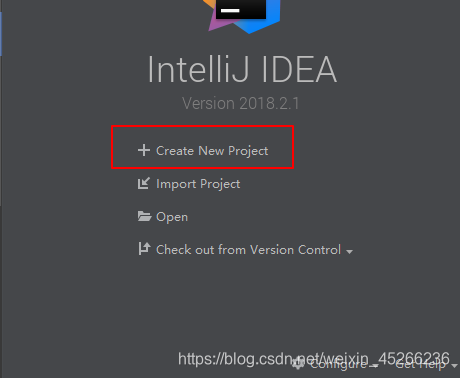
1、打开idea
2、选择创建新的项目
3、选择创建Spring Lnitializer,然后点击next,当然你首先需要配置好jdk,jdk的安装和配置自行百度!
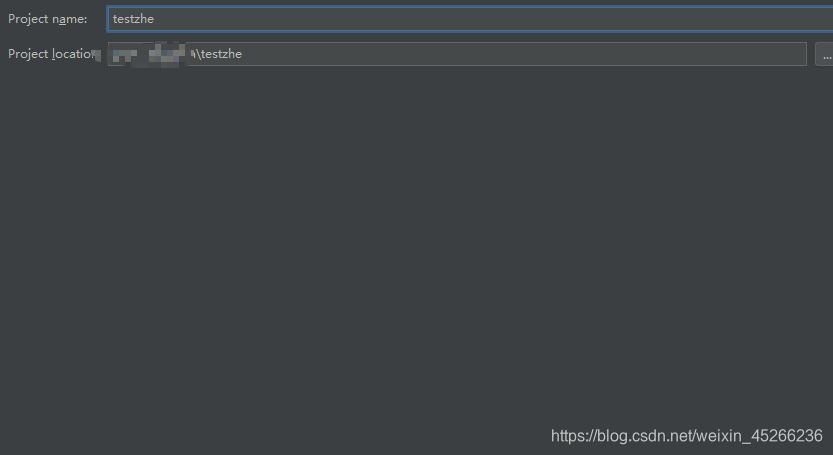
4、填写好信息,如果出现找不到url,请返回上一界面
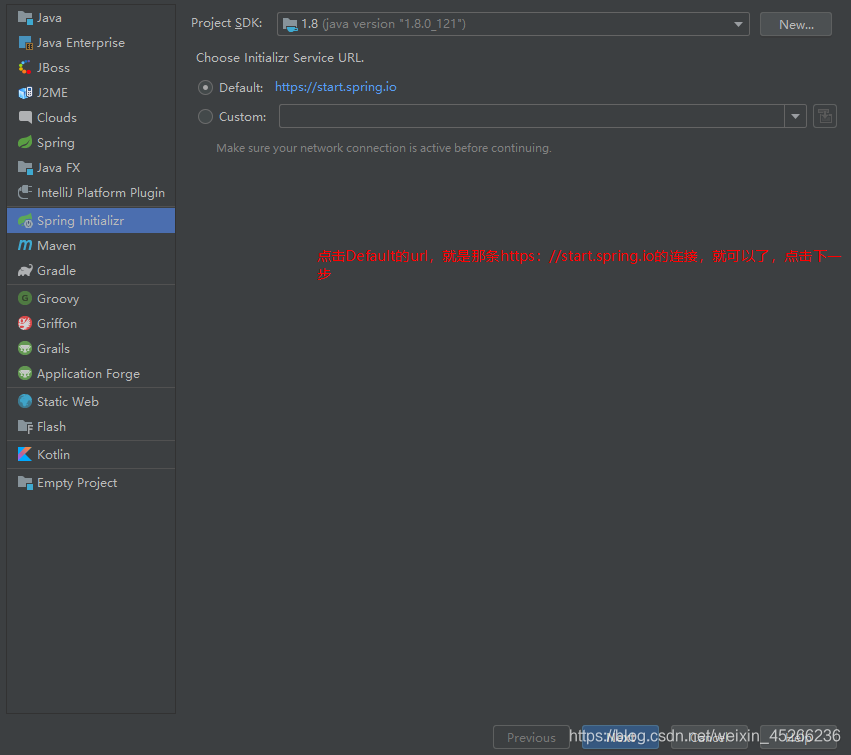
4.1,找不到url,点击Cancel返回上一个界面,点击连接,就可以了,不可以你就选择Custom,找到官网的网址,复制那条链接粘贴到Custom下来
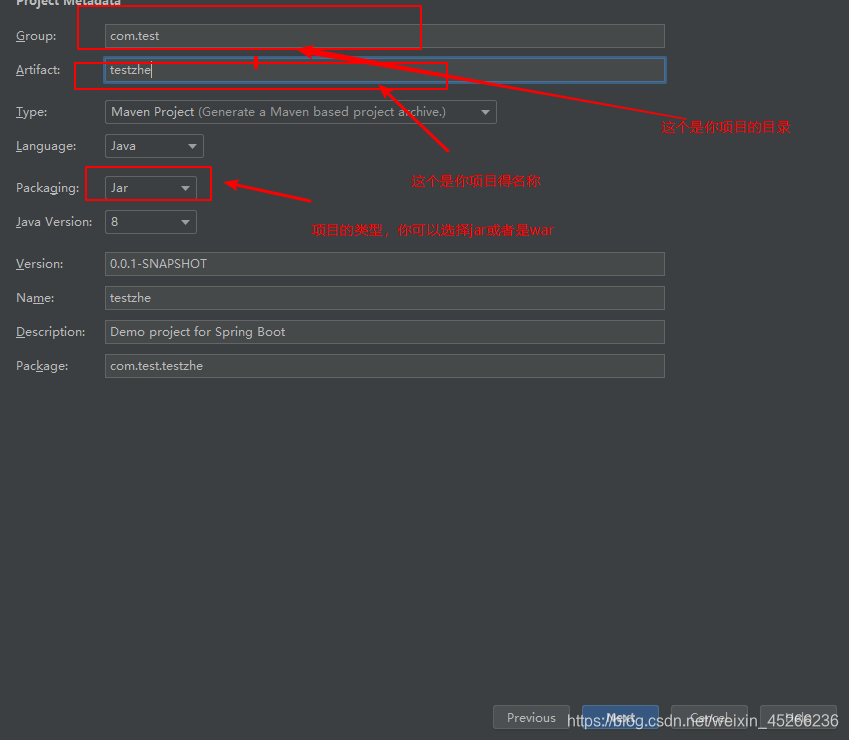
5.这个页面提供你需要配置,自动生成,但我手动配置,你们可以根据增加的需要来配置
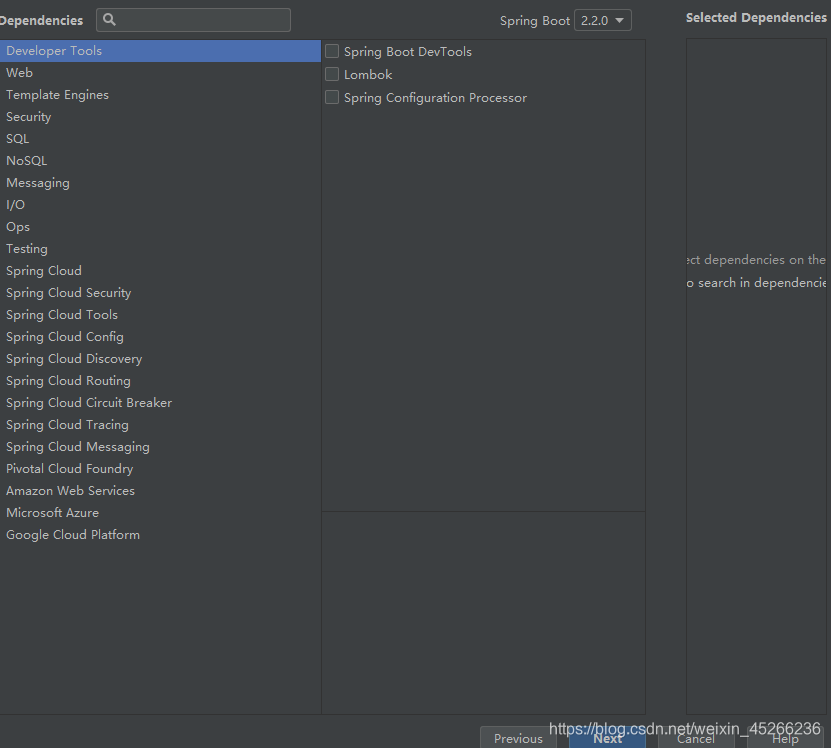
6.校验信息,没问题就下一步,就点生成
7.等待项目下载完成
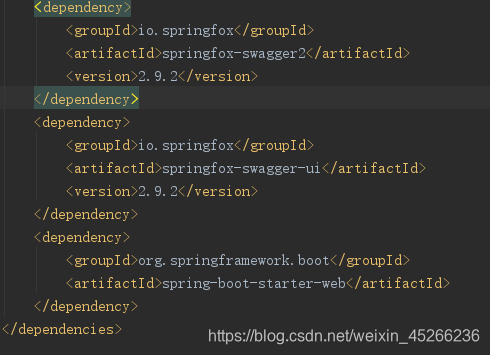
二、添加pom.xml配置
三、配置和实操
1、创建包,类。名字随你们起
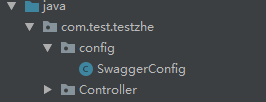
2、在config的SwaggerConfig添加代码,然后运行,打开
http://localhost:8080/swagger-ui.html就可以看到了
import org.springframework.context.annotation.Bean;
import org.springframework.context.annotation.Configuration;
import springfox.documentation.builders.ApiInfoBuilder;
import springfox.documentation.builders.PathSelectors;
import springfox.documentation.builders.RequestHandlerSelectors;
import springfox.documentation.service.ApiInfo;
import springfox.documentation.service.Contact;
import springfox.documentation.spi.DocumentationType;
import springfox.documentation.spring.web.plugins.Docket;
import springfox.documentation.swagger2.annotations.EnableSwagger2;
@Configuration
@EnableSwagger2
public class SwaggerConfig {
@Bean
public Docket CreaeRestApi() {
return new Docket(DocumentationType.SWAGGER_2)
.apiInfo(apiInfo())
.pathMapping("/")
.select()
.apis(RequestHandlerSelectors.basePackage("com.test.testzhe.Controller"))
.paths(PathSelectors.any())
.build();
}
private ApiInfo apiInfo() {
return new ApiInfoBuilder()
.title("接口文档")
.description("这是一个接口文档的描述")
.version("2.0")
.contact(new Contact("嘻嘻","kkjj","123456789"))
.license("哈哈 ")
.licenseUrl("http://baidu.com")
.build();
}
}
补充
在项目名称+Application 的类加上@EnableSwagger2这个注解

附加问题集合地址
https://blog.youkuaiyun.com/weixin_45266236/article/details/102911457


 2621
2621

 被折叠的 条评论
为什么被折叠?
被折叠的 条评论
为什么被折叠?
 到【灌水乐园】发言


