


一、邮箱业务
一、QQ操作步骤
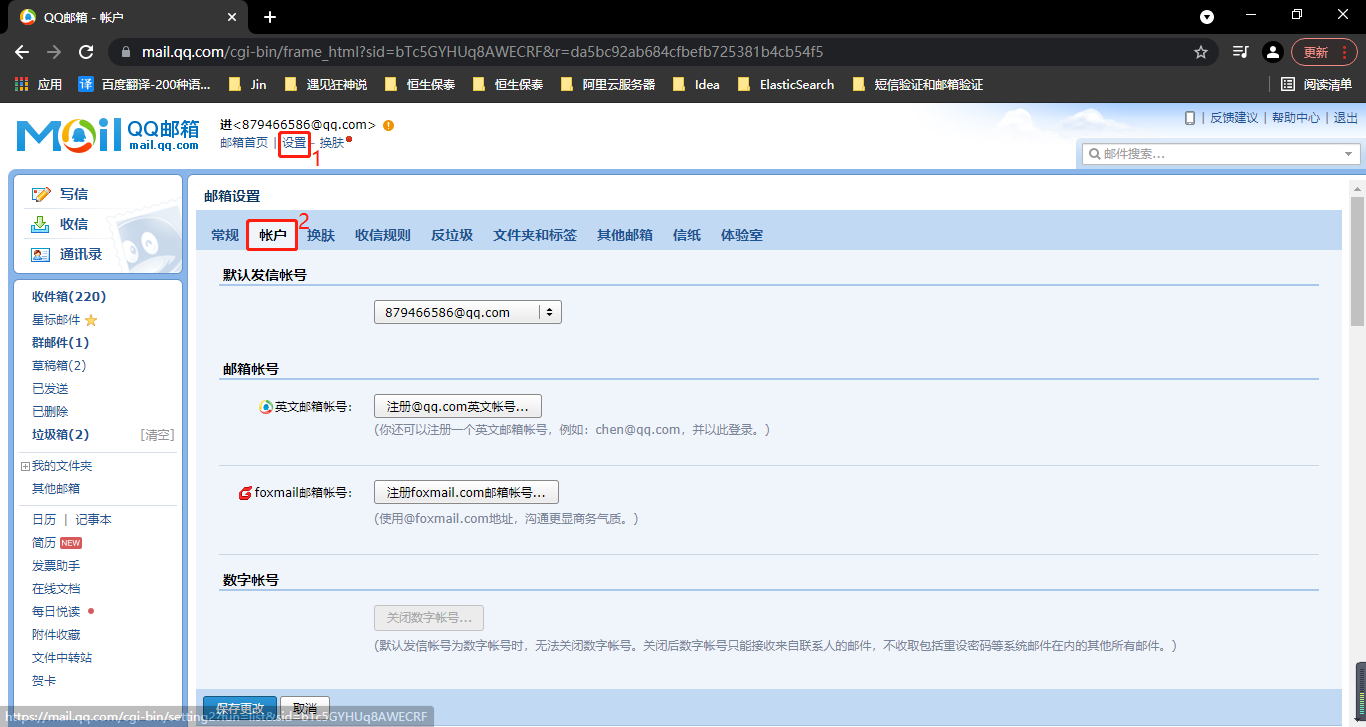
1、登录QQ邮箱,点击设置、点击账户往下翻
2、将POP3/SMTP服务开启,输入QQ安全中心的动态密码
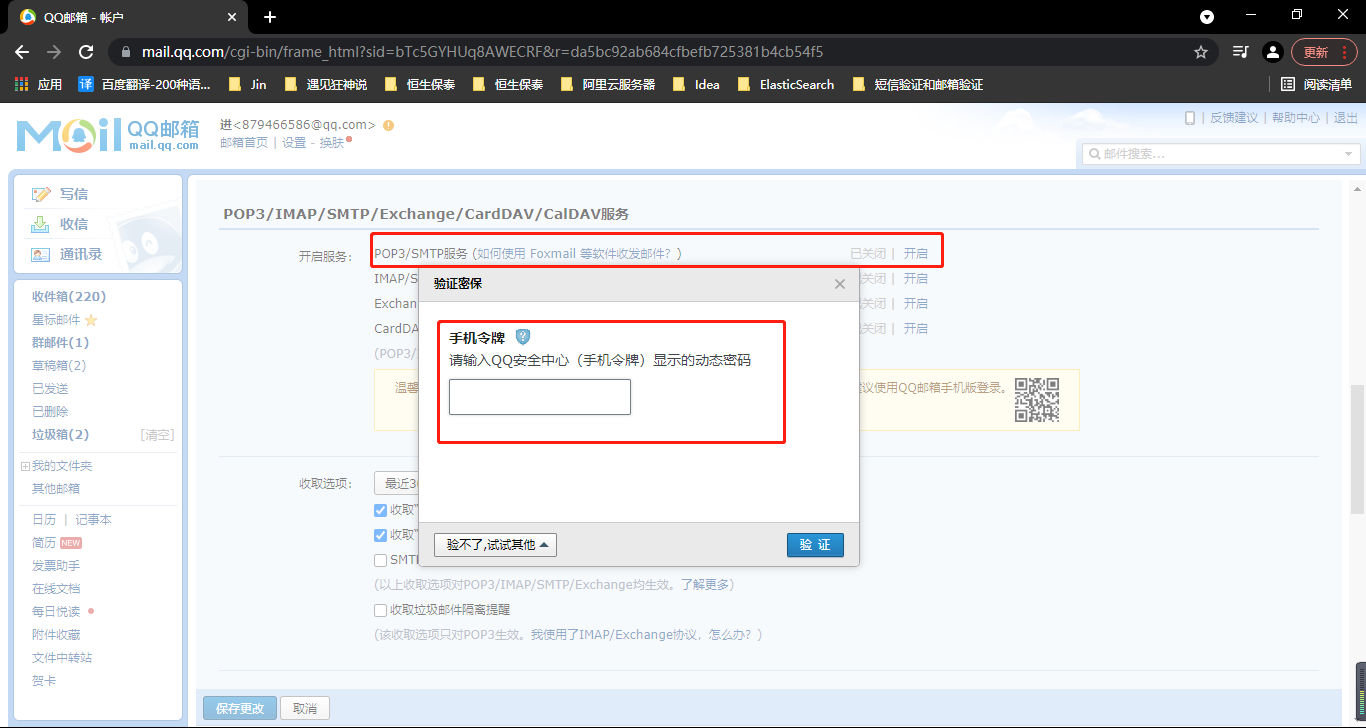
3、获取加密的QQ密码,记录授权的加密密码: mtczxxhypurhbfjf

二、测试
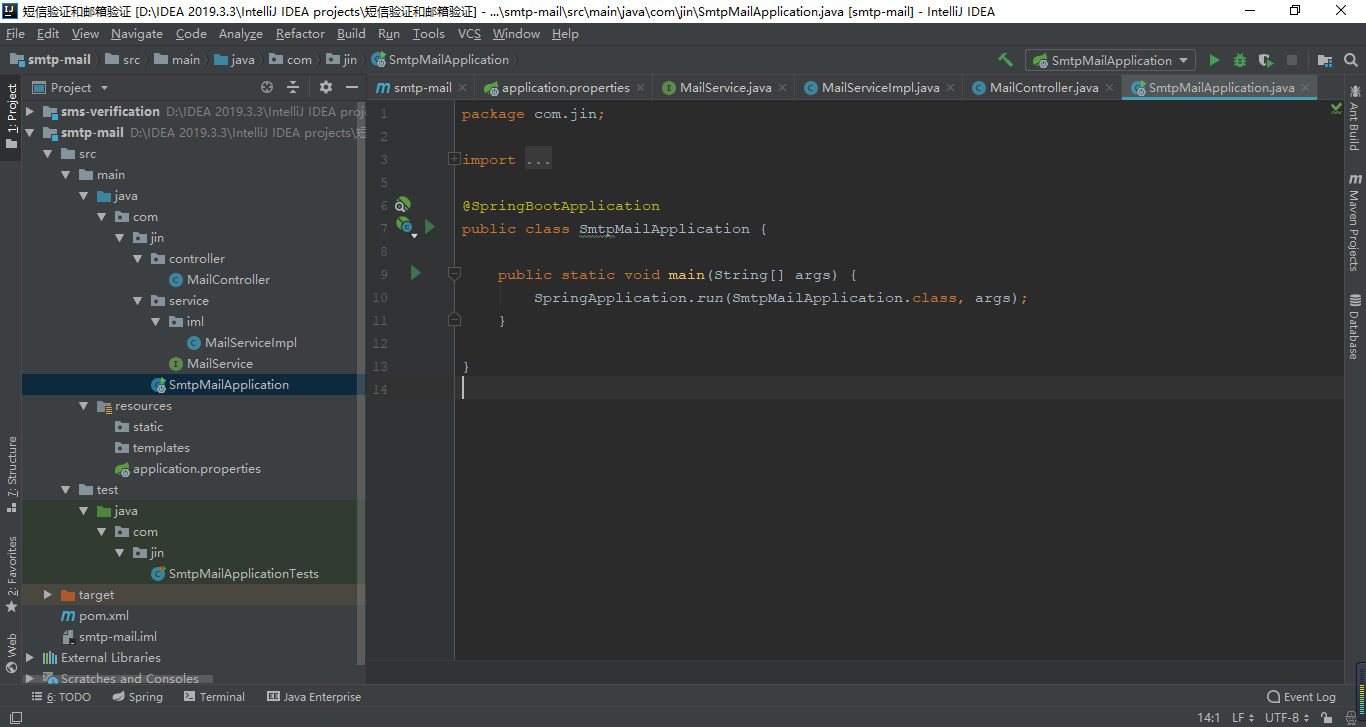
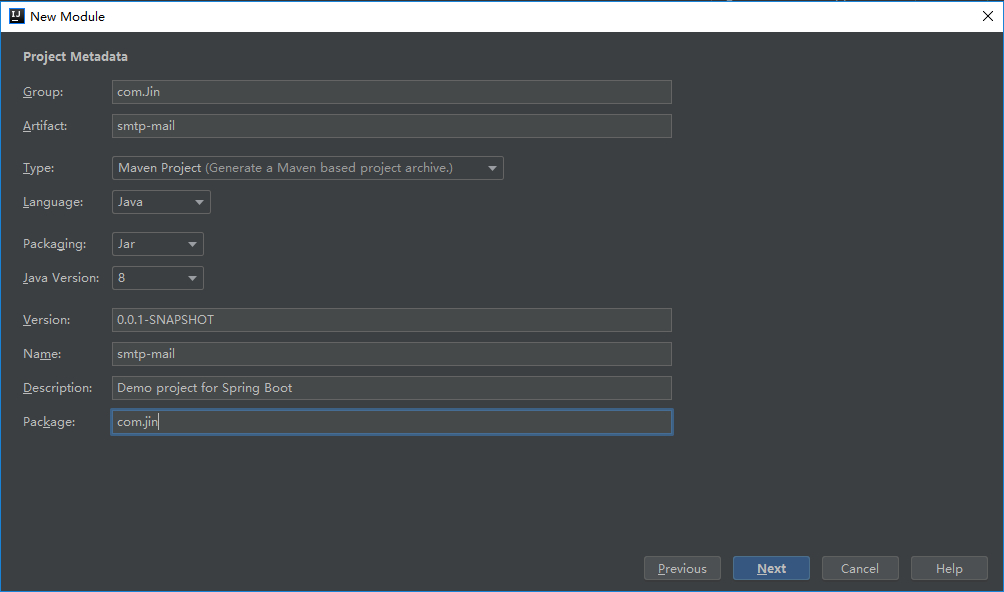
一、创建一个Springboot项目
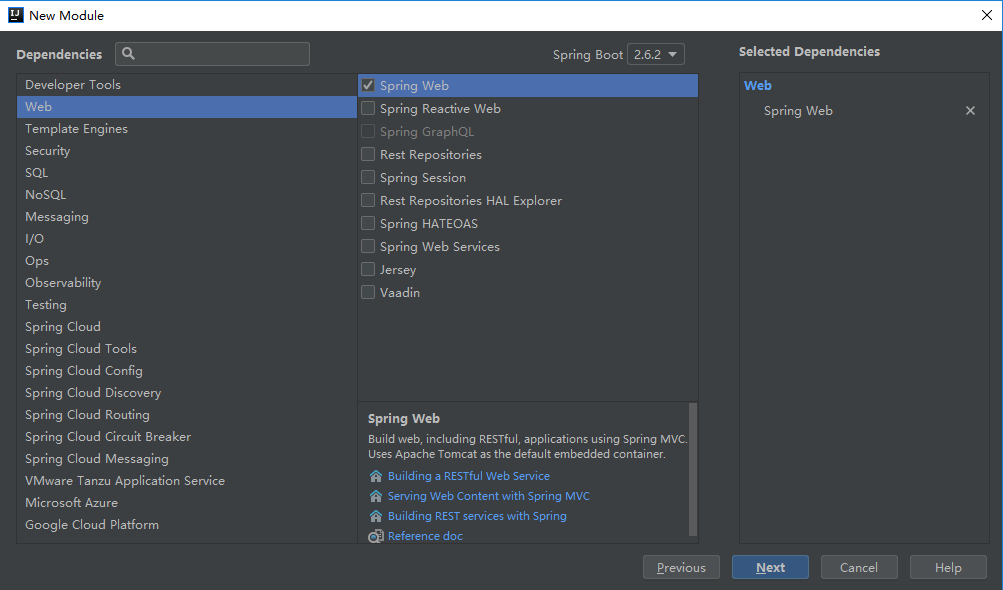
二、maven依赖导入
<dependencies>
    <!--邮件发送-->
    <dependency>
        <groupId>org.springframework.boot</groupId>
        <artifactId>spring-boot-starter-mail</artifactId>
    </dependency>

    <dependency>
        <groupId>org.springframework.boot</groupId>
        <artifactId>spring-boot-starter-web</artifactId>
    </dependency>

    <dependency>
        <groupId>org.springframework.boot</groupId>
        <artifactId>spring-boot-starter-test</artifactId>
        <scope>test</scope>
    </dependency>
</dependencies>

<build>
    <plugins>
        <plugin>
            <groupId>org.springframework.boot</groupId>
            <artifactId>spring-boot-maven-plugin</artifactId>
        </plugin>
    </plugins>
</build>
三、代码测试
一、编写application.properties
server.port=8001
#邮箱信息配置
spring.mail.host=smtp.qq.com
spring.mail.default-encoding=UTF-8
spring.mail.username=879466586@qq.com
spring.mail.password=mtczxxhypurhbfjf
# qq需要配置ssl
spring.mail.properties.mail.smtp.ssl.enable=true
#邮箱发件人
mail.fromMail.addr=879466586@qq.com
二、测试发送邮件
package com.jin;
import org.junit.jupiter.api.Test;
import org.springframework.beans.factory.annotation.Autowired;
import org.springframework.boot.test.context.SpringBootTest;
import org.springframework.mail.SimpleMailMessage;
import org.springframework.mail.javamail.JavaMailSenderImpl;
import org.springframework.mail.javamail.MimeMessageHelper;
import javax.mail.MessagingException;
import javax.mail.internet.MimeMessage;
import java.io.File;
import java.util.UUID;
@SpringBootTest
class SmtpMailApplicationTests {
@Autowired
JavaMailSenderImpl mailSender;
private String emailServiceCode;
@Test
void contextLoads() {
//创建一个简单的邮件对象
SimpleMailMessage message = new SimpleMailMessage();
//设置邮件标题
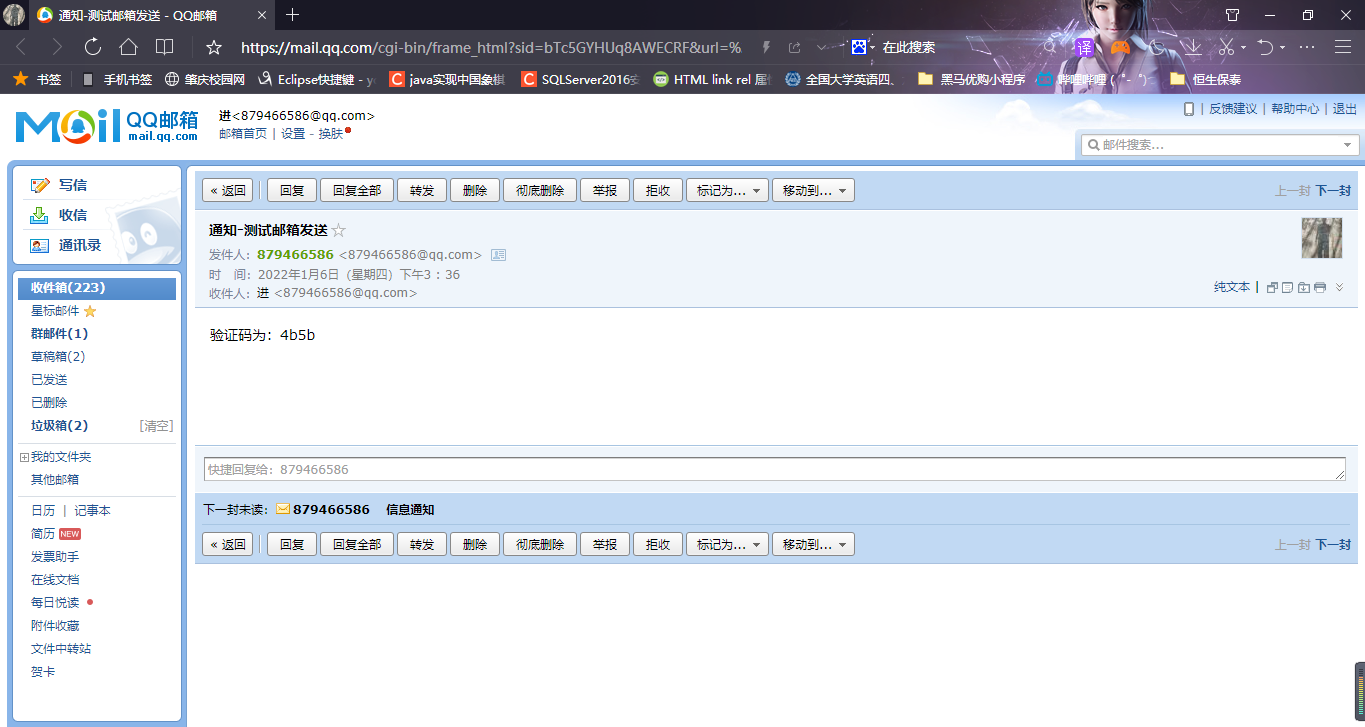
message.setSubject("通知-测试邮箱发送");
//设置文件内容
String code= UUID.randomUUID().toString().substring(0,4);
message.setText("验证码为:"+code);
//设置收件邮箱
message.setTo("879466586@qq.com");
message.setFrom("879466586@qq.com");
//发送邮件
mailSender.send(message);
}
@Test
void contextLoads2() throws MessagingException {
//一个复杂的邮件
MimeMessage mimeMessage = mailSender.createMimeMessage();
//组装
MimeMessageHelper helper = new MimeMessageHelper(mimeMessage, true);
helper.setSubject("Jin你好啊~加油");
helper.setText("<p style='color:red'>奔跑吧,少年</p>",true);
//附件
helper.addAttachment("微信图片_20191208113115.jpg",new File("C:\\Users\\Admin\\Pictures\\Camera Roll\\微信图片_20191208113115.jpg"));
helper.setTo("879466586@qq.com");
helper.setFrom("879466586@qq.com");
mailSender.send(mimeMessage);
}
/**
* //封装邮件发送
* @param html
* @param subject
* @param text
* @throws MessagingException
*/
@Test
public void sendMail(Boolean html,String subject,String text) throws MessagingException {
//一个复杂的邮件
MimeMessage mimeMessage = mailSender.createMimeMessage();
//组装
MimeMessageHelper helper = new MimeMessageHelper(mimeMessage, html);
helper.setSubject(subject);
helper.setText(text,html);
//附件
helper.addAttachment("微信图片_20191208113115.jpg",new File("C:\\Users\\Admin\\Pictures\\Camera Roll\\微信图片_20191208113115.jpg"));
helper.setTo("879466586@qq.com");
helper.setFrom("879466586@qq.com");
mailSender.send(mimeMessage);
}
}
三、真实业务
1、编写接口层
package com.jin.service;

import javax.mail.MessagingException;
import java.io.File;
import java.io.UnsupportedEncodingException;
import java.util.List;

public interface MailService {
    /**
     * 发送邮件
     * @param to 邮件收件人
     * @param subject 邮件主题
     * @param verifyCodecotent 邮件验证码
     */
    public void sendSimpleMailMessage(String to, String subject, String verifyCodecotent);

    /**
     *
     * @param to 邮件收件人
     * @param subject 邮件主题
     * @param cotent 邮箱内容
     * @param fileList 邮箱附件
     */
    public void sendAttachmentsMail(String to, String subject, String cotent, List<File> fileList) throws MessagingException, UnsupportedEncodingException, Exception;
}
2、编写接口实现类
package com.jin.service.iml;

import com.jin.service.MailService;
import org.springframework.beans.factory.annotation.Autowired;
import org.springframework.beans.factory.annotation.Value;
import org.springframework.mail.SimpleMailMessage;
import org.springframework.mail.javamail.JavaMailSender;
import org.springframework.mail.javamail.MimeMessageHelper;
import org.springframework.stereotype.Service;

import javax.mail.internet.MimeMessage;
import javax.mail.internet.MimeUtility;
import java.io.File;
import java.util.List;

@Service
public class MailServiceImpl implements MailService {

    @Autowired
    private JavaMailSender mailSender;

    //邮件发件人
    @Value("${mail.fromMail.addr}")
    private String from;

    @Override
    public void sendSimpleMailMessage(String to, String subject, String verifyCodecotent) {
        SimpleMailMessage message = new SimpleMailMessage();
        message.setFrom(from);
        message.setTo(to);
        message.setSubject(subject);
        message.setText(verifyCodecotent);
        try {
            mailSender.send(message);
            System.out.println("简单邮件已经发送!");
            //logger.info("简单邮件已经发送!");
        } catch (Exception e) {
            //logger.error("发送简单邮件时发生异常!", e);
            System.out.println("发送简单邮件时发生异常!");
        }
    }

    public void sendAttachmentsMail(String to, String subject, String cotent, List<File> fileList) throws Exception {
        MimeMessage message = mailSender.createMimeMessage();
        MimeMessageHelper helper = new MimeMessageHelper(message, true);
        helper.setFrom(from);
        helper.setTo(to);
        helper.setSubject(subject);
        helper.setText(cotent);
        String fileName = null;
        for (File file : fileList) {
            fileName = MimeUtility.encodeText(file.getName(), "GB2312", "B");
            helper.addAttachment(fileName, file);
        }
        try {
            mailSender.send(message);
            System.out.println("复杂邮件已经发送!");
            //logger.info("简单邮件已经发送!");
        } catch (Exception e) {
            //logger.error("发送简单邮件时发生异常!", e);
            System.out.println("发送复杂邮件时发生异常!");
        }
    }
}
3、编写controller层
package com.jin.controller;
import com.jin.service.MailService;
import org.springframework.beans.factory.annotation.Autowired;
import org.springframework.web.bind.annotation.PathVariable;
import org.springframework.web.bind.annotation.RequestMapping;
import org.springframework.web.bind.annotation.ResponseBody;
import org.springframework.web.bind.annotation.RestController;
import java.io.File;
import java.util.ArrayList;
import java.util.List;
import java.util.Random;
import java.util.UUID;
@RestController
public class MailController {
@Autowired
private MailService mailService;
//测试接口:http://localhost:8001/getCheckCode/879466586@qq.com
@RequestMapping("/getCheckCode/{email}")
@ResponseBody
public String getCheckCode(@PathVariable("email") String email) {
String checkCode = String.valueOf(new Random().nextInt(899999) + 100000);
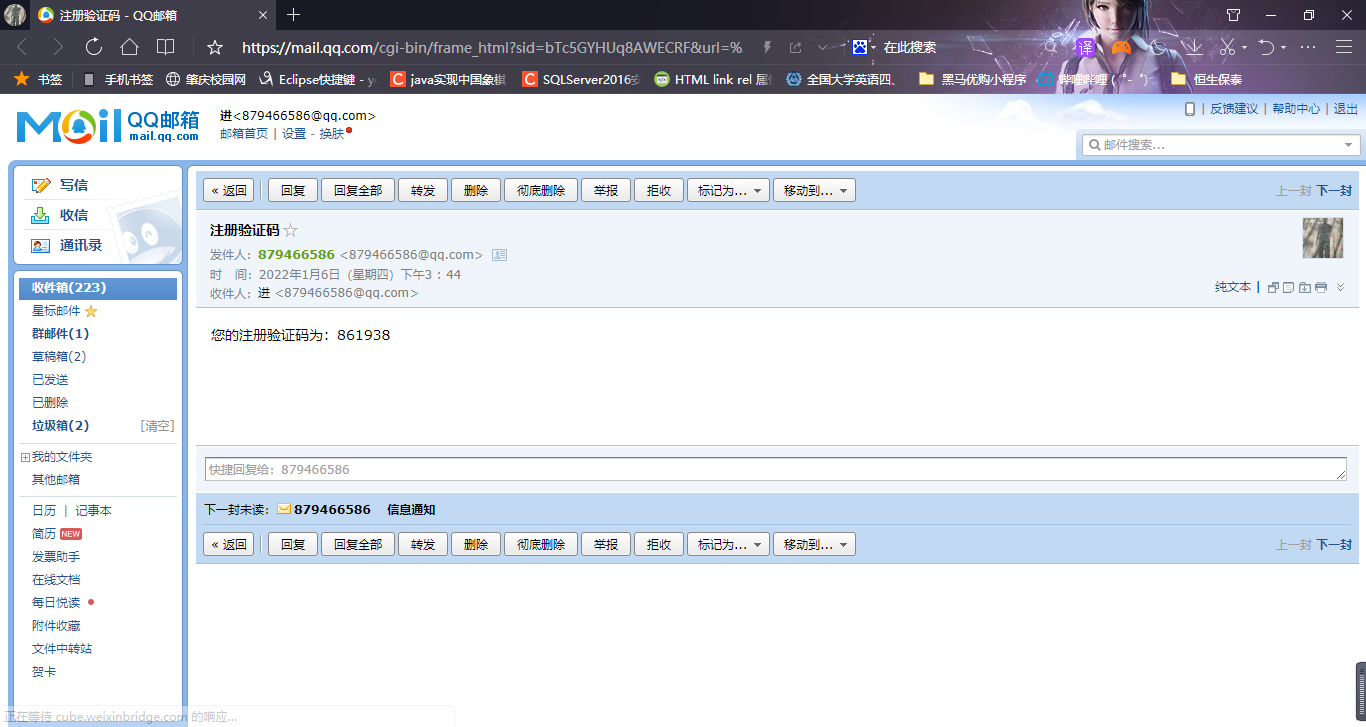
String message = "您的注册验证码为:" + checkCode;
mailService.sendSimpleMailMessage(email, "注册验证码", message);
return checkCode;
}
//测试接口:http://localhost:8001/getsendAttachmentsMail/879466586@qq.com
@RequestMapping("/getsendAttachmentsMail/{email}")
@ResponseBody
public String getsendAttachmentsMail(@PathVariable("email") String email) throws Exception {
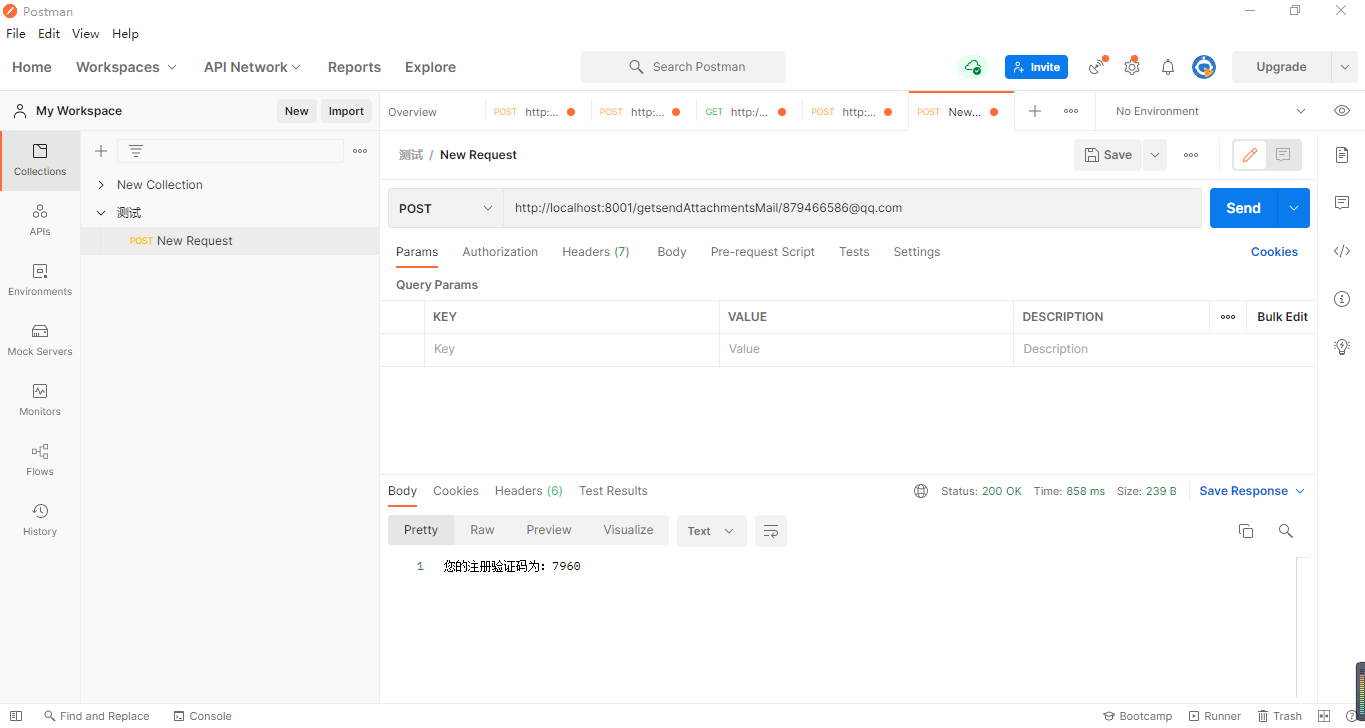
String message = "您的注册验证码为:"+ UUID.randomUUID().toString().substring(0,4);
List<File> files=new ArrayList<>();
files.add(0,new File("C:\\Users\\Admin\\Pictures\\Camera Roll\\微信图片_20191208113115.jpg"));
files.add(1,new File("C:\\Users\\Admin\\Pictures\\Camera Roll\\微信图片_20191208113115.jpg"));
mailService.sendAttachmentsMail(email,"信息通知",message,files);
return message;
}
}
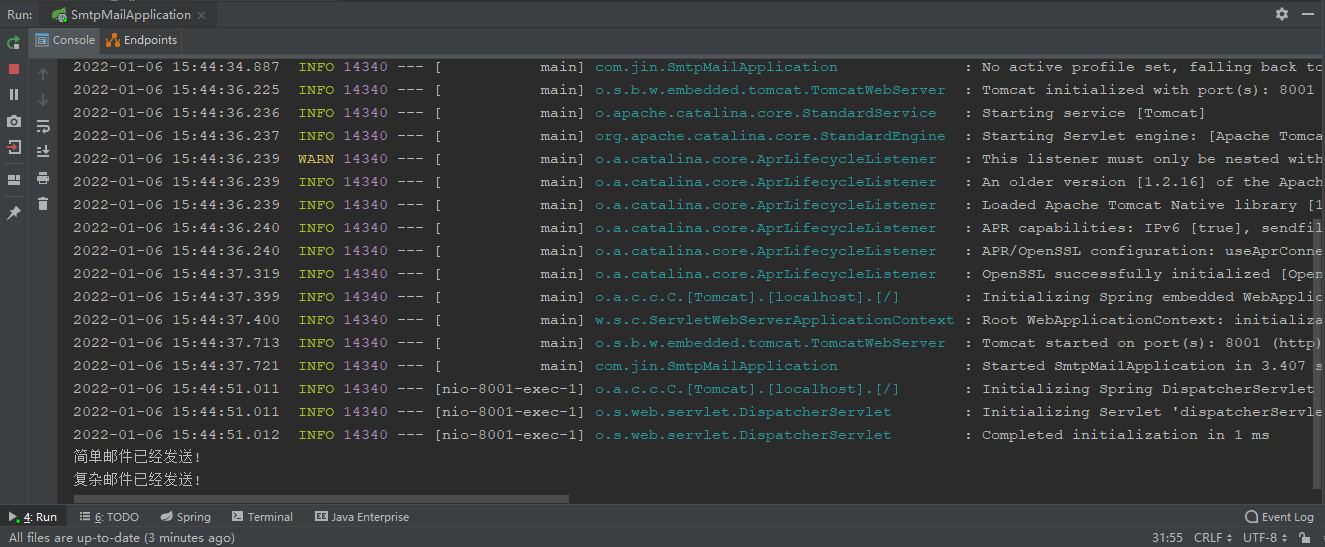
4、结果
1、测试链接: http://localhost:8001/getCheckCode/879466586@qq.com


2、测试链接: http://localhost:8001/getsendAttachmentsMail/879466586@qq.com
四、发送邮箱工具类
package com.hundsun.bontal.demo.Util;

import com.sun.mail.util.MailSSLSocketFactory;
import org.springframework.stereotype.Component;

import java.util.*;
import javax.mail.*;
import javax.mail.internet.*;

import java.util.Properties;


/**
 * @Package:com.hundsun.bontal.demo.Util
 * @ClassName: SendMailUtil
 * @Description:发送邮件工具类(https://blog.youkuaiyun.com/wtl1992/article/details/79513558)
 * @Author: Jin
 */
@Component
public class SendMailUtil {

    public static String myEmailAccount = "879466586@qq.com";//发件人邮箱-我的QQ
    public static String myEmailPassword = "siuayhquejijbceb";//授权码-我的QQ
    public static String myEmailSMTPHost = "smtp.qq.com";

    public static int sendMail(String username,String cEmail,String subject,String content) throws Exception{
        int createMimeMessage = 0;

        //1.创建参数配置, 用于连接邮件服务器的参数配置
        Properties props = new Properties();//参数配置
        props.setProperty("mail.transport.protocol", "smtp");// 使用的协议(JavaMail规范要求)
        props.setProperty("mail.smtp.host", myEmailSMTPHost);// 发件人的邮箱的 SMTP 服务器地址
        props.setProperty("mail.smtp.auth", "true");// 需要请求认证

        //2.根据配置创建会话对象, 用于和邮件服务器交互
        Session session = Session.getInstance(props);
        session.setDebug(true);//设置为debug模式, 可以查看详细的发送 log

        //3.创建一封邮件
        MimeMessage message = new MimeMessage(session);

        //4.发件人:发件人邮箱、发件人昵称
        message.setFrom(new InternetAddress(myEmailAccount, username, "UTF-8"));

        //5.收件人:收件人邮箱、收件人名称
        message.setRecipient(MimeMessage.RecipientType.TO, new InternetAddress(cEmail, "进", "UTF-8"));

        //6.邮件主题
        message.setSubject(subject, "UTF-8");

        //7.邮件内容:可以使用html标签
        //content = "<a href='https://www.hao123.com/'>点击</a>";
        message.setContent(content, "text/html;charset=UTF-8");

        //8.设置发件时间
        message.setSentDate(new Date());

        //9.保存设置
        message.saveChanges();

        //10.根据 Session 获取邮件传输对象
        Transport transport = session.getTransport();

        //11.使用 邮箱账号 和 密码 连接邮件服务器, 这里认证的邮箱必须与 message 中的发件人邮箱一致, 否则报错
        transport.connect(myEmailAccount, myEmailPassword);

        //12.发送邮件, 发到所有的收件地址, message.getAllRecipients() 获取到的是在创建邮件对象时添加的所有收件人, 抄送人, 密送人
        transport.sendMessage(message, message.getAllRecipients());

        //13.关闭连接
        transport.close();

        createMimeMessage = 1;
        return createMimeMessage;
    }
}


 被折叠的 条评论
为什么被折叠?
被折叠的 条评论
为什么被折叠?
 到【灌水乐园】发言


