


Semaphore
Semaphore字面意思是信号量的意思,用来控制访问资源的线程数量,底层依赖AQS的状态State。
重要方法:
public void acquire() throws InterruptedException//获取资源,支持中断,会抛异常,可在catch块中写中断后的逻辑
public void acquireUninterruptibly()//获取资源,不支持中断
public void release()//释放资源
tryAcquire(int args,long timeout, TimeUnit unit)//尝试获取资源,在等待时间获取不到就走其他逻辑
Semaphore原理
Semaphore也是基于线程池实现的,Semaphore类中也有一个Sync内部类,也支持公平与非公平的特性,默认是非公平的,参数的第二个值传true的话就是公平的。new Semaphore()时会把参数值赋值给AQS的State变量,在AQS的共享模式下,会通过加减state的方式来控制线程可以持有的资源数量。
例:
	Semaphore semaphore = new Semaphore(5);//表示AQS的state = 5,一共有五个资源
	semaphore.acquire(2);//表示每个线程可获取两个资源,此时state = 5-2 = 3
	emaphore.release(2);//表示释放两个资源,此时state = 3+2 = 5
	此时最多有两个线程可以同时执行acquire(2)到release(2)之间的代码
	因为每个线程会获取两个资源 5-2-2=1,所以可以两个线程同时执行。
	Semaphore semaphore = new Semaphore(5);//表示AQS的state = 5,一共有五个资源
	semaphore.acquire(3);//表示每个线程可获取两个资源,此时state = 5-3 = 2
	emaphore.release(3);//表示释放两个资源,此时state = 2+3 = 5
	此时最多有一个线程可以同时执行acquire(3)到release(3)之间的代码
	因为每个线程会获取两个资源 5-3=2,2<3资源就不够了,所以只有一个线程能执行。
代码实例:
public class SemaphoreRunner {
public static void main(String[] args) {
Semaphore semaphore = new Semaphore(2);
for (int i=0;i<10;i++){
new Thread(new Task(semaphore)).start();
}
}
static class Task extends Thread{
Semaphore semaphore;
public Task(Semaphore semaphore){
this.semaphore = semaphore;
}
public void run() {
try {
//无参会获取new Semaphore(2)时设置的资源数量
//有参会获取参数的资源数量,不能大于new Semaphore(2)的值
//设置参数的话同时也要在release()中设置相同参数
semaphore.acquire();//获取公共资源
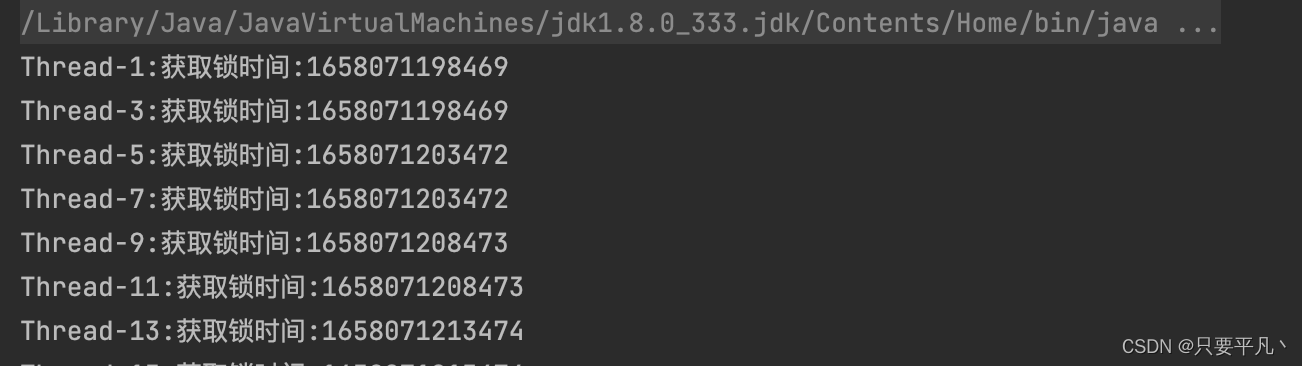
System.out.println(Thread.currentThread().getName()+":获取锁时间:"+System.currentTimeMillis());
Thread.sleep(5000);
semaphore.release();//释放公共资源
//放开此代码块注释掉上边代码块,测试tryAcquire方法
//返回的是一个boolen值,表示500毫秒内没获取到锁的话,就执行else代码块
/*if(semaphore.tryAcquire(500,TimeUnit.MILLISECONDS)){
System.out.println(Thread.currentThread().getName()+":aquire() at time:"+System.currentTimeMillis());
Thread.sleep(5000);
semaphore.release();//释放公共资源
}else{
System.out.println("执行else代码块");
}*/
} catch (InterruptedException e) {
e.printStackTrace();
}
}
}
}
acquire方法输出:
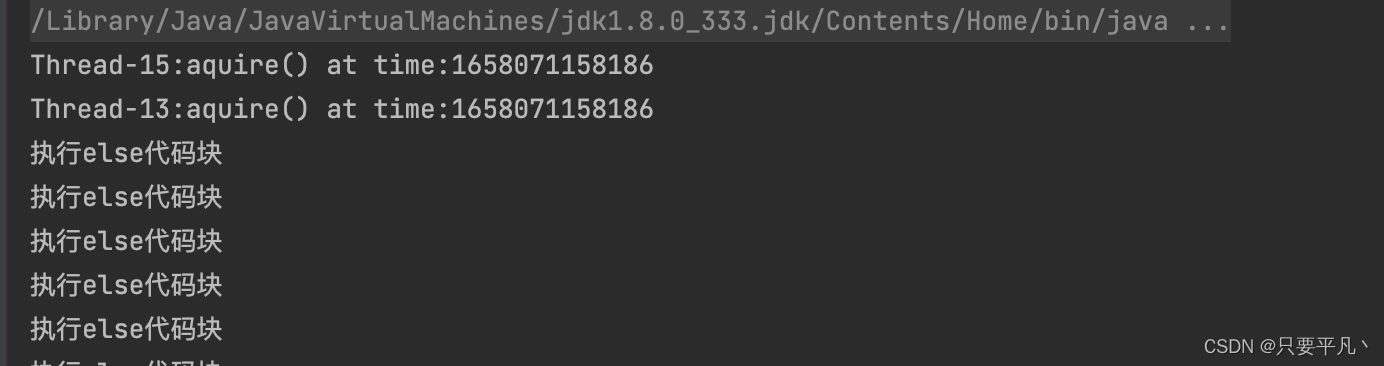
tryAcquire方法输出:
总结:
acquire()如果传参的话,会用参数中的值来获取线程数量,例如:new Semaphore(5);semaphore.acquire(2); semaphore.release(2);就表示每次会获取两个资源,释放的时候也会释放两个资源,如果semaphore.release()为空,就会导致资源一直不释放,越来越少,这一特性可用来实现线程池限制线程数量或者Hystrix限流等。
tryAcquire()在线程超时时,会执行else代码逻辑,这一特性可用来实现线程池扩容或Hystrix服务降级等。
源码解析:
//获取资源,抛异常,支持中断
public void acquire() throws InterruptedException {
 		//可中断方法,1为中断信号
        sync.acquireSharedInterruptibly(1);
}

//可中断方法
public final void acquireSharedInterruptibly(int arg)
            throws InterruptedException {
        //先判断是否有中断,有则抛异常
        if (Thread.interrupted())
            throw new InterruptedException();
        //计算剩余信号量
        if (tryAcquireShared(arg) < 0)
        	//如果信号量不足,进入CLH排队
            doAcquireSharedInterruptibly(arg);
            //如果信号量充足,线程就可以去抢锁
}

//计算剩余信号量
protected int tryAcquireShared(int acquires) {
            for (;;) {
            	//判断队列是否为空,如果有直接返回-1,进行排队
                if (hasQueuedPredecessors())
                    return -1;
                //拿到信号量(State值)
                int available = getState();
                //信号量 - 要获取的线程数量 = 剩余信号量
                int remaining = available - acquires;
                //信号量不足
                if (remaining < 0 ||
                	//CAS把剩余信号量写回
                    compareAndSetState(available, remaining))
                    //写回成功的或者剩余信号量不足,就返回
                    return remaining;
}

//进入CLH排队
   private void doAcquireSharedInterruptibly(int arg)
        throws InterruptedException {
        //新建一个共享节点入队
        final Node node = addWaiter(Node.SHARED);
        boolean failed = true;
        try {
            for (;;) {
                //获取当前node的前驱节点
                final Node p = node.predecessor();
                //如果前驱节点是头部节点
                if (p == head) {
                	//再次计算剩余信号量
                    int r = tryAcquireShared(arg);
                    //如果有剩余信号量
                    if (r >= 0) {
                        setHeadAndPropagate(node, r);
                        p.next = null; // help GC
                        failed = false;
                        return;
                    }
                }
                //没有获取到锁,修改waitState
                if (shouldParkAfterFailedAcquire(p, node) &&
                	//阻塞节点,判断线程是否是由中断信号唤醒,并清除中断信号
                    parkAndCheckInterrupt())
                    //如果是由中断信号唤醒,直接抛异常处理中断
                    throw new InterruptedException();
            }
        } finally {
            if (failed)
                cancelAcquire(node);
        }
}

//唤醒节点
private void setHeadAndPropagate(Node node, int propagate) {
        //把h节点指向头节点
        Node h = head;
        //把当前节点属性置空,设置成头节点
        setHead(node);
        //此时剩余信号量会大于0
        if (propagate > 0 || h == null || h.waitStatus < 0 ||
            (h = head) == null || h.waitStatus < 0) {
            //把当前节点的后驱指针指向一个s节点
            Node s = node.next;
            //如果后驱节点为空或者是共享模式
            if (s == null || s.isShared())
            	//修改节点状态,头节点是-1的话修改成0,头节点是0的话修改为-3
                doReleaseShared();
        }
}
CountDownLatch
介绍:
CountDownLatch可以理解为线程栅栏,可以让个线程等待其他线程都执行完后再执行执行自己,也可以让所有线程都创建完成之后再同时工作。
使用场景: Zookeeper分布式锁,Jmeter模拟高并发等。
重要方法:
CountDownLatch.countDown()//一个线程执行完之后会释放一个资源
CountDownLatch.await()//线程等待
使用示例:
public class CountDownLaunchTest {
public static void main(String[] args) throws InterruptedException {
//创建一个资源数为6的栅栏
CountDownLatch countDownLatch = new CountDownLatch(6);
//线程数也必须 >= 6,否则会一直卡死
for (int i = 0; i < 6; i++) {
new Thread(() -> {
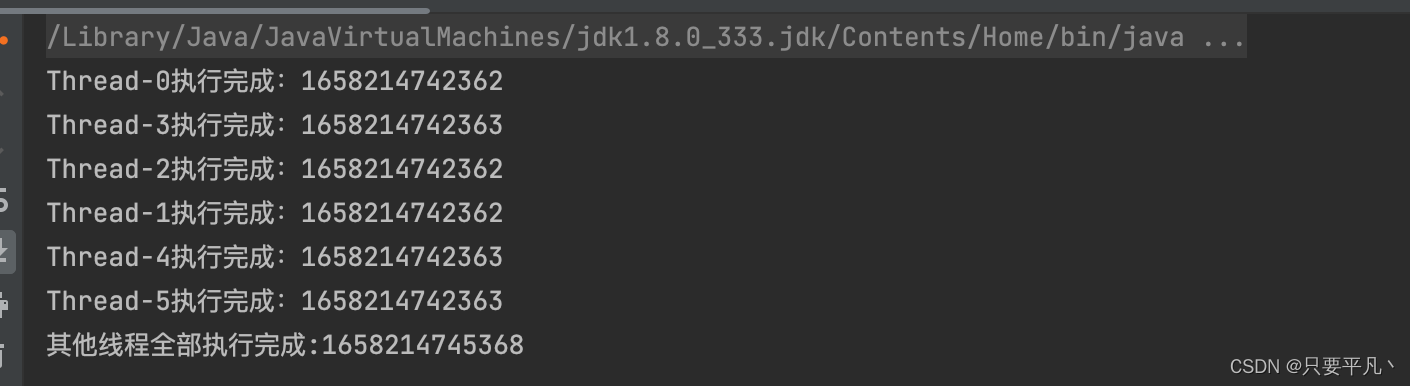
System.out.println(Thread.currentThread().getName() + "执行完成:"+ System.currentTimeMillis());
//执行完成,释放1个资源
countDownLatch.countDown();
}).start();
}
Thread.sleep(3000);
//6个资源全部释放后才执行后续代码,否则一直等待
countDownLatch.await();
System.out.println("其他线程全部执行完成:" + System.currentTimeMillis());
}
}
输出:
也可以new CountDownLatch()设置为1, countDownLatch.await()放在前边来用,可以模拟线程并发。
public class CountDownLaunchTest {
public static void main(String[] args) throws InterruptedException {
long now = System.currentTimeMillis();
//设置为1,表示一个资源释放就可以执行其他线程
CountDownLatch countDownLatch = new CountDownLatch(1);
for (int i = 0; i < 3; i++) {
new Thread(() -> {
try {
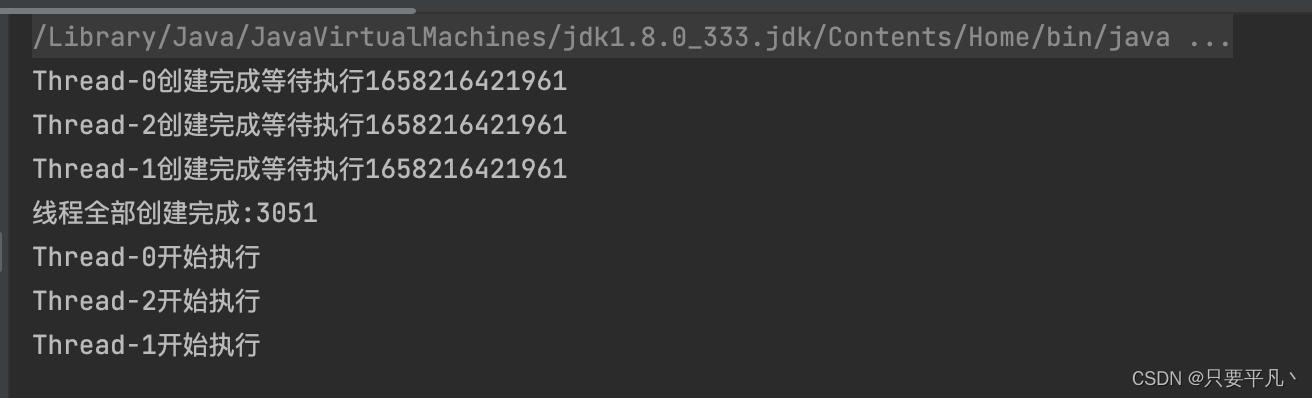
System.out.println(Thread.currentThread().getName() + "创建完成等待执行" + System.currentTimeMillis());
//线程创建完成,等待执行
countDownLatch.await();
} catch (InterruptedException e) {
e.printStackTrace();
}
//执行线程内逻辑
System.out.println(Thread.currentThread().getName() + "开始执行");
}).start();
}
Thread.sleep(3000);
//资源释放-1,线程开始并发
countDownLatch.countDown();
System.out.println("线程全部创建完成:" + (System.currentTimeMillis() - now));
}
}
输出:
CyclicBarrier
介绍:
栅栏屏障,让一组线程到达一个屏障时被阻塞,直到最后一个线程到达屏障时,屏障才打开线程才会继续运行,和CountDownLatch类似,可模拟高并发。
重要方法:
cyclicBarrier.await();//表示当前线程已经到达屏障
使用示例:
public class CyclicBarrierTest {
public static void main(String[] args) throws Exception {
CyclicBarrier cyclicBarrier = new CyclicBarrier(3 );
for (int i = 0; i < 3; i++) {
new Thread(()->{
try {
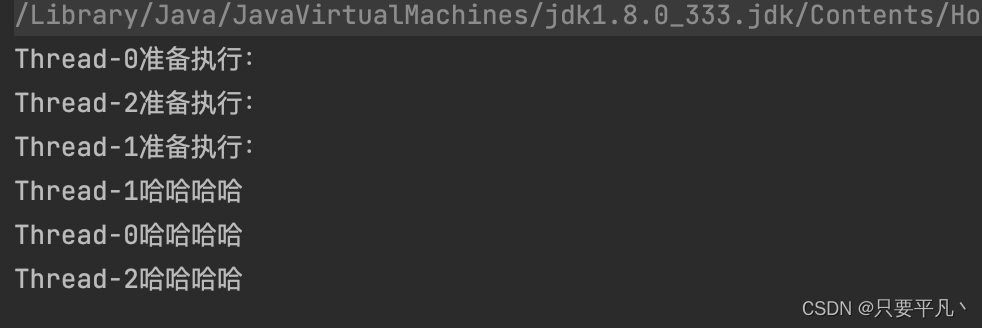
System.out.println(Thread.currentThread().getName() + "准备执行:");
cyclicBarrier.await();
} catch (InterruptedException e) {
throw new RuntimeException(e);
} catch (BrokenBarrierException e) {
throw new RuntimeException(e);
}
System.out.println(Thread.currentThread().getName() + "哈哈哈哈");
}).start();
}
}
}
输出:
Executors
介绍:
主要用来创建线程池,代理了线程池的创建,使得你的创建入口参数变得简单
重要方法:
newCachedThreadPool //创建一个可缓存线程池,如果线程池长度超过处理需要,可灵活回收空闲线程,若无可回收,则新建线程。
newFixedThreadPool //创建一个定长线程池,可控制线程最大并发数,超出的线程会在队列中等待。
newScheduledThreadPool //创建一个定长线程池,支持定时及周期性任务执行。
newSingleThreadExecutor //创建一个单线程化的线程池,它只会用唯一的工作线程来执行任务,保证所有任务按照指定顺序(FIFO, LIFO, 优先级)执行。
Exchanger
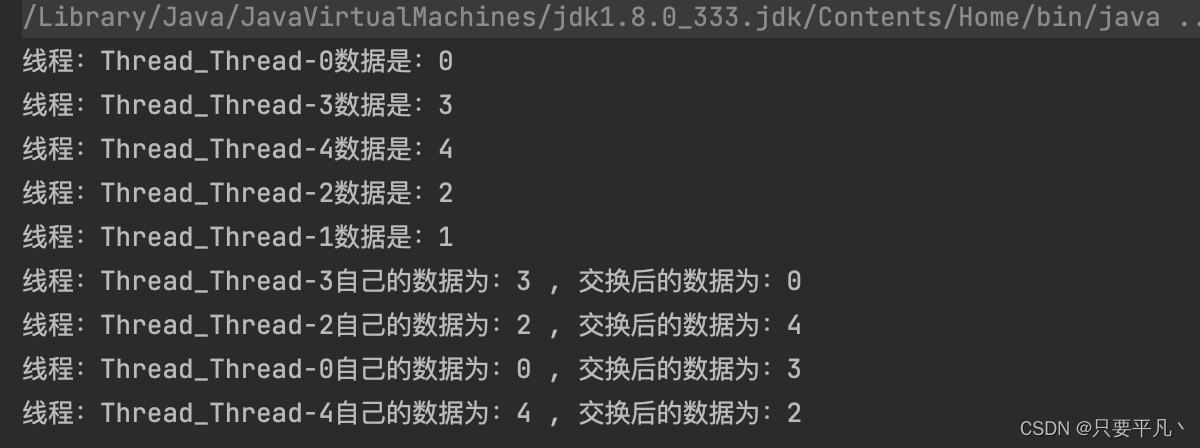
当一个线程运行到exchange()方法时会阻塞,另一个线程运行到exchange()时,二者交换数据,然后执行后面的程序,应用极少。
使用实例:
public class ExchangerRunner {

    public static void main(String []args) {

        final Exchanger<Integer> exchanger = new Exchanger<Integer>();
        for(int i = 0 ; i < 5 ; i++) {
            final Integer num = i;
            new Thread() {
                public void run() {
                    System.out.println("线程:Thread_" + this.getName() + "数据是:" + num);
                    try {
                        Integer exchangeNum = exchanger.exchange(num);
                        Thread.sleep(1000);
                        System.out.println("线程:Thread_" + this.getName() + "自己的数据为:" + num + " , 交换后的数据为:" + exchangeNum);
                    } catch (InterruptedException e) {
                        e.printStackTrace();
                    }
                }
            }.start();
        }
    }
}
输出:


 2298
2298

 被折叠的 条评论
为什么被折叠?
被折叠的 条评论
为什么被折叠?
 到【灌水乐园】发言


