


目的:集成mongoengine,添加查看图书列表、添加图书功能;
一、创建应用 在命令行中输入下面指令创建home应用 1
python manage.py startapp home 命令执行完毕后,会在项目目录中生成home文件夹,
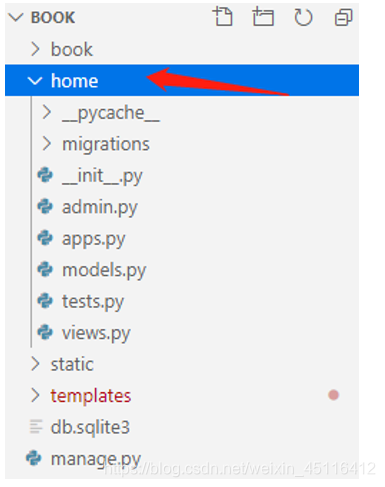
二、安装mongoengine插件
打开命令行输入下面指令安装插件。 1
pip install mongoengine 三、修改配置
打开book目录下的settings.py文件,
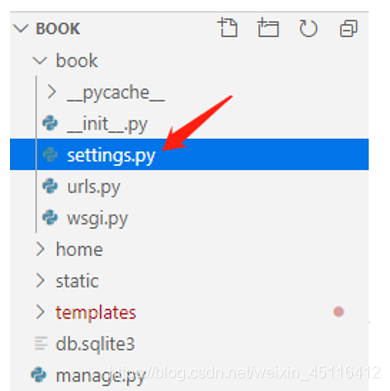
修改DATABASES选项,添加mongodb相关信息,
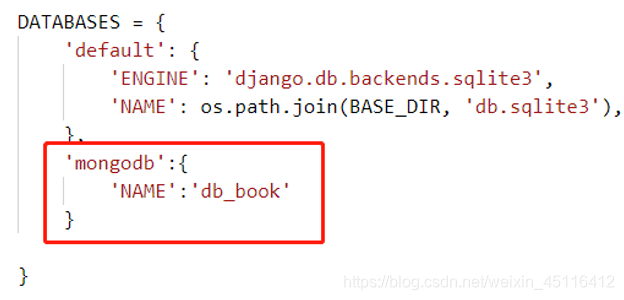
因为此处mongodb与当前程序运行在同一主机中并且数据库端口号默认为27017,此处只 用配置数据库名称即可。
四、编写数据模型
1 from django.db import models
2 #导入mongoengine相关库
3 from mongoengine import *
4 #导入settings.py文件,下文中用来引用mongodb数据库的配置文件
5 from book.settings import DATABASES
6 from datetime import datetime
7 #使用connect方法连接数据库
8 connect(DATABASES['mongodb']['NAME'])
9 #创建图书类,该类在数据库中会根据类名生成集合(book)
10 class book(Document):
11     isbn=StringField()#编号
12     name=StringField()#名称
13     author=StringField()#作者
14     press=StringField()#出版社
15     date=DateTimeField(default=datetime.now(), required=True)#添加记录时 间
16     kind=StringField()#分类
五、编写图书列表和添加图书功能
1)打开home目录中的view.py文件,添加代码如下:
 from django.shortcuts import render,HttpResponseRedirect
 2 from .models import book
3
4 def list(request):#显示图书列表
5     books=book.objects.all()#查询所有数据
6     return render(request,'list.html',{'books':books})
7
8 def create(request,):#新增数据
9     if request.method=='POST':
10         isbn=request.POST.get("isbn")
11         name=request.POST.get("name")
12         author=request.POST.get("author")
13         press=request.POST.get("press")
14         kind=request.POST.get("kind")
15         bk=book(isbn=isbn,name=name,author=author,press=press,kind=kind) 16         bk.save()
17         return render(request,'create.html',{'state':1})
18     return render(request,'create.html')
2)编写母版文件
在templates文件夹中新建base.html,编写代码如下:
1 <!DOCTYPE html>
2 <html lang="en">
3
4 <head>
5     <meta charset="UTF‐8">
6     <meta name="viewport" content="width=device‐width, initialscale=1.0">
7     <title>在线图书信息入库系统</title>
8     <link rel="stylesheet" href="https://cdn.staticfile.org/twitter‐boots trap/3.3.7/css/bootstrap.min.css">
9     <script src="https://cdn.staticfile.org/jquery/2.1.1/jquery.min.js"> </script>
10     <script src="https://cdn.staticfile.org/twitter‐bootstrap/3.3.7/js/b ootstrap.min.js"></script>
11     <style>
12         html,
13         body {
 14             padding: 0;
 15             margin: 0;
  16         }
  17         #top {
  18             height: 50px;
  19             background‐color: cadetblue;
  20             line‐height: 50px;
  21         }
22
23         #content {
24             width: 80%;
25             margin: auto;
26             margin‐top: 30px;
27         }
28     </style>
29 </head>
30
31 <body>
32     <div id="top">
33         <span style="color:white;font‐size: 25px;margin‐left: 20px;">在线 图书信息入库程序</span>
34     </div>
35     <div id="content">
36        {%block content%}
37        {%endblock%}
38     </div>
39 </body>
40 </html>
3)编写列表页面
在templates文件夹中新建list.html,编写代码如下:
1 {%extends 'base.html'%}<!‐‐继承base.html文件‐‐>
2 {%block content%}
3 <div style="display: flex;flex‐direction: row;">
4 <a type="button" class="btn btn‐primary" href="/create"> <span class=" glyphicon glyphicon‐plus"
5 style="margin‐right:5px;"></span>新增图书</a>
6 <input type="text" class="form‐control" style="margin‐left: 20px;marg in‐right: 10px;">
7 <button class="btn btn‐default" type="button">查询</button>
8 </div>
9 <table class="table table‐striped">
10 <thead>
11 <tr>
12 <th>序号</th>
13 <th>ISBN</th>
14 <th>书名</th>
15 <th>作者</th>
16 <th>出版社</th>
17 <th>出版日期</th>
18 <th>图书类型</th>
19 <th>添加时间</th>
20 <th>操作</th>
21 </tr>
22 </thead>
23 <tbody>
24 {%for book in books%}
25 <tr>
26 <td>{{forloop.counter}}</td>
27 <td>{{book.name}}</td>
28 <td>{{book.author}}</td>
29 <td>{{book.press}}</td>
30 <td>560001</td>
31 <td>{{book.kind}}</td>
32 <td>{{book.date}}</td>
33 <td> <button type="button" class="btn btn‐success btn‐sm">修 改</button>
34 <a type="button" class="btn btn‐danger btn‐sm" href="/de lete?isbn={{book.isbn}}">删除</a></td>
35 </tr>
36 {%endfor%}
37 </tbody>
38 </table>
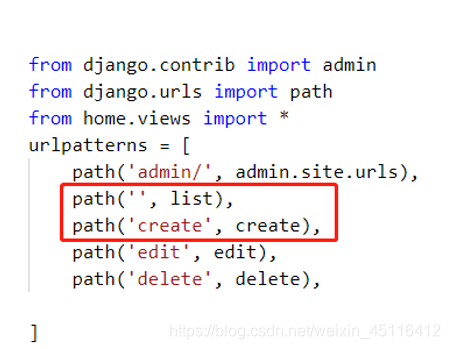
39 {%endblock%} 六、添加访问路由
打开book目录中的urls.py文件,添加路由配置如下:
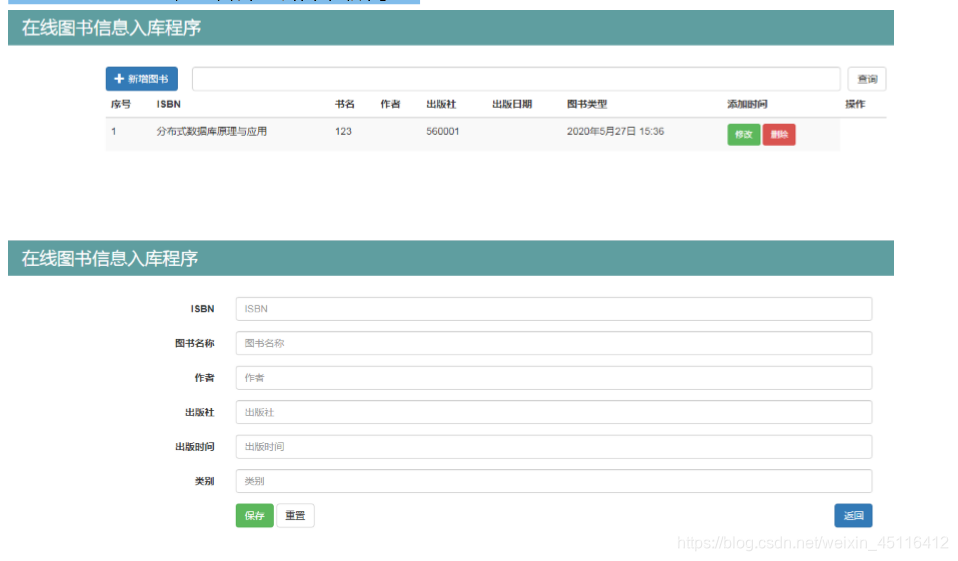
七、运行程序
在控制台中输入
python manage.py runserver运行项目,
打开浏览器输入
localhost:8000,查看界面如下图所示:


 被折叠的 条评论
为什么被折叠?
被折叠的 条评论
为什么被折叠?
 到【灌水乐园】发言


