


 超级会员免费看
 本文介绍了EasyX图形库在C语言中的使用,包括设置颜色、绘制直线、圆和矩形的方法,详细讲解了各个函数的功能及参数,提供了代码示例,帮助读者掌握图形绘制。
图形库篇 | EasyX | 图形绘制
设置颜色
| 函数功能 | 函数 |
|---|---|
| 设置画线颜色 | void setlinecolor(COLORREF color) |
| 设置填充颜色 | void setfillcolor(COLORREF color) |
设置画线颜色:void setlinecolor(COLORREF color)
- 具体功能:设置当前设备画线颜色
- 返回值:空
- 参数:
- color:设置的画线颜色
设置填充颜色:void setfillcolor(COLORREF color)
- 具体功能:设置当前设备填充颜色
- 返回值:空
- 参数:
- color:设置的填充颜色
为什么先讲解设置颜色相关的函数,因为在绘制任何图形之前,都应该先设置颜色,然后再进行绘制,否则绘制出来的图形颜色为默认的白色。
- 针对无填充图形:在绘制前使用 setlinecolor 函数设置画线颜色
- 针对填充图形:在绘制前使用 setlinecolor 函数和 setfillcolor 函数设置画线颜色和填充颜色(设置画线颜色的原因是填充图形是有边框的)
绘制直线
| 函数功能 | 函数 |
|---|---|
| 绘制直线 | void line(int x1,int y1,int x2,int y2) |
绘制直线:void line(int x1,int y1,int x2,int y2)
- 具体功能:绘制直线
- 返回值:空
- 参数:
- x1:起始点x坐标
- y1:起始点y坐标
- x2:终止点x坐标
- y2:终止点y坐标
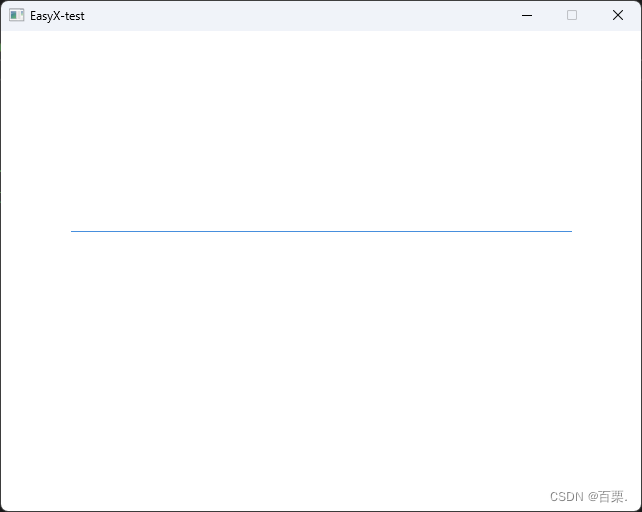
代码示例:绘制横线
#include <easyx.h> // 引用图形库头文件
#include <conio.h>

int main()
{
	initgraph(640, 480); // 创建绘图窗口,大小为 640x480 像素

	setbkcolor(RGB(255, 255, 255)); // 设置背景色:白色
	cleardevice(); // 刷新屏幕

	// 绘制横线:起始点和终止点的y坐标一致
	setlinecolor(RGB(71, 143, 221)); // 设置画线颜色:蓝色
	line(70, 200, 570, 200); // 绘制一条直线,长:570-70=500

	_getch(); // 按任意键继续
	closegraph(); // 关闭绘图窗口
	return 0;
}
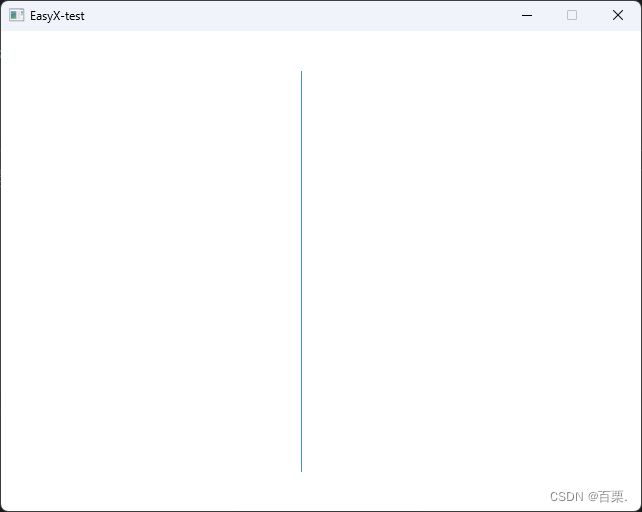
代码示例:绘制竖线
#include <easyx.h> // 引用图形库头文件
#include <conio.h>

int main()
{
	initgraph(640, 480); // 创建绘图窗口,大小为 640x480 像素

	setbkcolor(RGB(255, 255, 255)); // 设置背景色:白色
	cleardevice(); // 刷新屏幕

	// 绘制竖线:起始点和终止点的x坐标一致
	setlinecolor(RGB(71, 143, 221)); // 设置画线颜色:蓝色
	line(300, 40, 300, 440); // 绘制一条直线,长:440-40=400

	_getch(); // 按任意键继续
	closegraph(); // 关闭绘图窗口
	return 0;
}
绘制圆
| 函数功能 | 函数 |
|---|---|
| 绘制无填充的圆 | void circle(int x,int y,int radius) |
| 绘制填充圆 | void fillcircle(int x,int y,int radius) |
绘制无填充的圆:void circle(int x,int y,int radius)
- 具体功能:绘制无填充的圆
- 返回值:空
- 参数:
- x:圆心x坐标
- y:圆心y坐标
- radius:圆的半径
绘制填充圆:void fillcircle(int x,int y,int radius)
- 具体功能:绘制有边框的填充圆
- 返回值:空
- 参数:
- x:圆心x坐标
- y:圆心y坐标
- radius:圆的半径
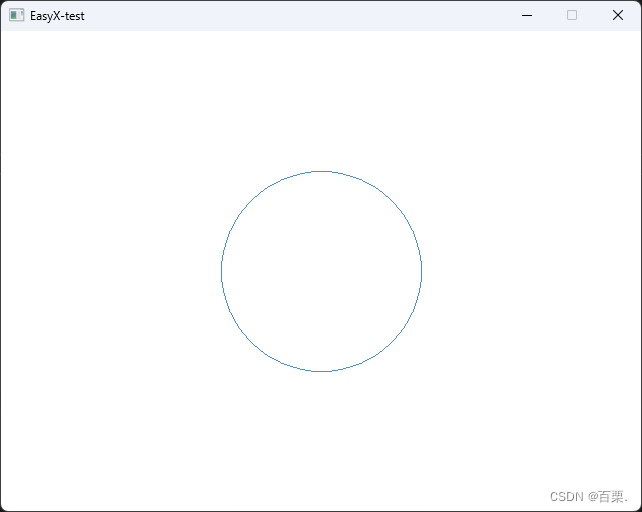
代码示例:绘制无填充的圆
#include <easyx.h> // 引用图形库头文件
#include <conio.h>

int main()
{
	initgraph(640, 480); // 创建绘图窗口,大小为 640x480 像素

	setbkcolor(RGB(255, 255, 255)); // 设置背景色:白色
	cleardevice(); // 刷新屏幕

	setlinecolor(RGB(71, 143, 221)); // 设置画线颜色:蓝色
	circle(320, 240, 100); // 圆心(320,240),半径:100

	_getch(); // 按任意键继续
	closegraph(); // 关闭绘图窗口
	return 0;
}
代码示例:绘制填充圆
#include <easyx.h> // 引用图形库头文件
#include <conio.h>

int main()
{
	initgraph(640, 480); // 创建绘图窗口,大小为 640x480 像素

	setbkcolor(RGB(255, 255, 255)); // 设置背景色:白色
	cleardevice(); // 刷新屏幕

	setlinecolor(RGB(71, 143, 221)); // 设置画线颜色:蓝色
	setfillcolor(RGB(71, 143, 221)); // 设置填充颜色:蓝色
	fillcircle(320, 240, 100); // 圆心(320,240),半径:100

	_getch(); // 按任意键继续
	closegraph(); // 关闭绘图窗口
	return 0;
}

绘制矩形
| 函数功能 | 函数 |
|---|---|
| 绘制无填充的矩形 | void rectangle(int left,int top,int right,int bottom) |
| 绘制填充矩形 | void fillrectangle(int left,int top,int right,int bottom) |
| 绘制无填充的圆角矩形 | void roundrect(int left,int top,int right,int bottom,int ellipsewidth,int ellipseheight) |
| 绘制填充圆角矩形 | void fillroundrect(int left,int top,int right,int bottom,int ellipsewidth,int ellipseheight) |
绘制无填充的矩形:void rectangle(int left,int top,int right,int bottom)
- 具体功能:绘制无填充的矩形
- 返回值:空
- 参数:
- left:矩形左部x坐标
- top:矩形顶部y坐标
- right:矩形右部x坐标
- bottom:矩形底部y坐标
绘制填充矩形:void fillrectangle(int left,int top,int right,int bottom)
- 具体功能:绘制有边框的填充矩形
- 返回值:空
- 参数:
- left:矩形左部x坐标
- top:矩形顶部y坐标
- right:矩形右部x坐标
- bottom:矩形底部y坐标
绘制无填充的圆角矩形:void roundrect(int left,int top,int right,int bottom,int ellipsewidth,int ellipseheight)
- 具体功能:绘制无填充的圆角矩形
- 返回值:空
- 参数:
- left:矩形左部x坐标
- top:矩形顶部y坐标
- right:矩形右部x坐标
- bottom:矩形底部y坐标
- ellipsewidth:构成圆角矩形的圆角的椭圆的宽度
- ellipseheight:构成圆角矩形的圆角的椭圆的高度
这里着重说明后两个参数,它们分别表示圆角的椭圆的高和宽。怎么理解呢,其实就是相当于指定一个椭圆的宽和高,然后把它按照轴对称切成四份,将每一份放在矩形对应的四个角,这样就构成了圆角矩形。
需要注意的是,通常我们想要的圆角并非椭圆而是圆,因此会将ellipsewidth和ellipseheight设为同一个值。
如果将一个边长为w的正方形的圆角设为w/2,那么它就会成为一个半径为w/2的圆。
绘制填充圆角矩形:void fillroundrect(int left,int top,int right,int bottom,int ellipsewidth,int ellipseheight)
- 具体功能:绘制有边框的填充圆角矩形
- 返回值:空
- 参数:
- left:矩形左部x坐标
- top:矩形顶部y坐标
- right:矩形右部x坐标
- bottom:矩形底部y坐标
- ellipsewidth:构成圆角矩形的圆角的椭圆的宽度
- ellipseheight:构成圆角矩形的圆角的椭圆的高度
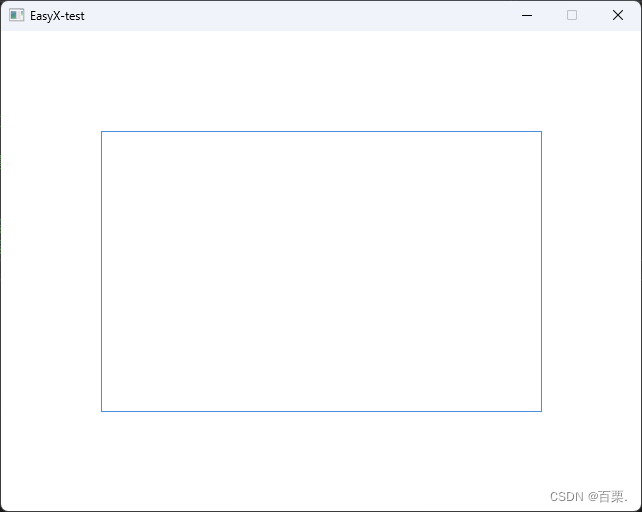
代码示例:绘制无填充的矩形
#include <easyx.h> // 引用图形库头文件
#include <conio.h>

int main()
{
	initgraph(640, 480); // 创建绘图窗口,大小为 640x480 像素

	setbkcolor(RGB(255, 255, 255)); // 设置背景色
	cleardevice(); // 刷新屏幕

	setlinecolor(RGB(71, 143, 221)); // 设置画线颜色:蓝色
	setfillcolor(RGB(71, 143, 221)); // 设置填充颜色:蓝色
	rectangle(100, 100, 540, 380); // 宽:540-100=440 高:380-100=280

	_getch(); // 按任意键继续
	closegraph(); // 关闭绘图窗口
	return 0;
}
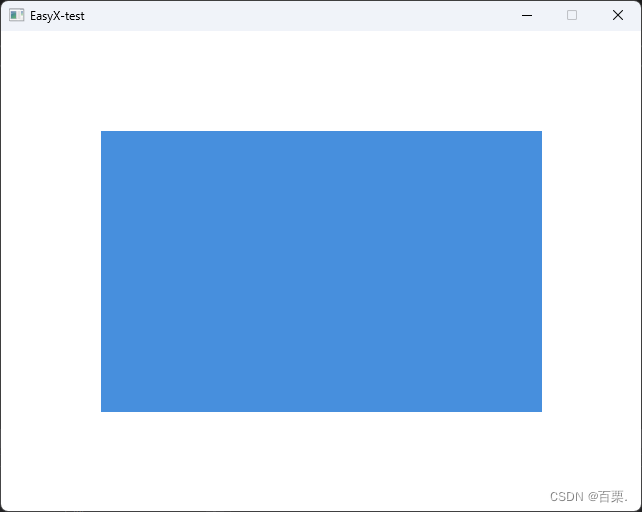
代码示例:绘制填充矩形
#include <easyx.h> // 引用图形库头文件
#include <conio.h>

int main()
{
	initgraph(640, 480); // 创建绘图窗口,大小为 640x480 像素

	setbkcolor(RGB(255, 255, 255)); // 设置背景色
	cleardevice(); // 刷新屏幕

	setlinecolor(RGB(71, 143, 221)); // 设置画线颜色:蓝色
	setfillcolor(RGB(71, 143, 221)); // 设置填充颜色:蓝色
	fillrectangle(100, 100, 540, 380); // 宽:540-100=440 高:380-100=280

	_getch(); // 按任意键继续
	closegraph(); // 关闭绘图窗口
	return 0;
}
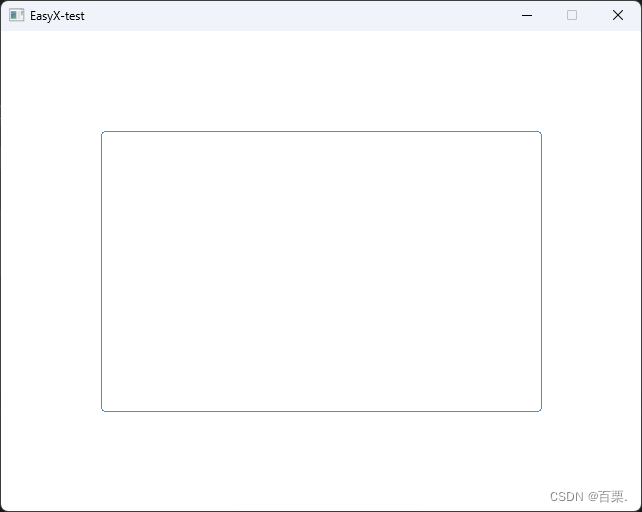
代码示例:绘制无填充的圆角矩形
#include <easyx.h> // 引用图形库头文件
#include <conio.h>

int main()
{
	initgraph(640, 480); // 创建绘图窗口,大小为 640x480 像素

	setbkcolor(RGB(255, 255, 255)); // 设置背景色
	cleardevice(); // 刷新屏幕

	setlinecolor(RGB(71, 143, 221)); // 设置画线颜色:蓝色
	setfillcolor(RGB(71, 143, 221)); // 设置填充颜色:蓝色
	roundrect(100, 100, 540, 380, 8, 8); // 宽:540-100=440 高:380-100=280 圆角半径:8

	_getch(); // 按任意键继续
	closegraph(); // 关闭绘图窗口
	return 0;
}
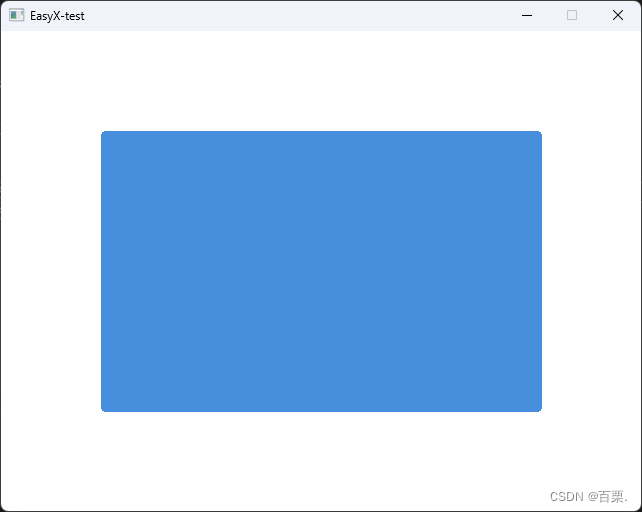
代码示例:绘制填充圆角矩形
#include <easyx.h> // 引用图形库头文件
#include <conio.h>

int main()
{
	initgraph(640, 480); // 创建绘图窗口,大小为 640x480 像素

	setbkcolor(RGB(255, 255, 255)); // 设置背景色
	cleardevice(); // 刷新屏幕

	setlinecolor(RGB(71, 143, 221)); // 设置画线颜色:蓝色
	setfillcolor(RGB(71, 143, 221)); // 设置填充颜色:蓝色
	fillroundrect(100, 100, 540, 380, 8, 8); // 宽:540-100=440 高:380-100=280 圆角半径:8

	_getch(); // 按任意键继续
	closegraph(); // 关闭绘图窗口
	return 0;
}
作者:百栗.
微信:baili0299


 1635
1635

 被折叠的 条评论
为什么被折叠?
被折叠的 条评论
为什么被折叠?
 到【灌水乐园】发言


