


一、request参数
request 就是flask中代表当前请求的 request
对象,其中一个请求上下文变量(理解成全局变量,在视图函数中直接使用可以取到当前本次请求)
from flask import request
就是Flask中表示当前请求的request对象,request对象中保存了一次HTTP请求的一切信息。
常用的属性如下:
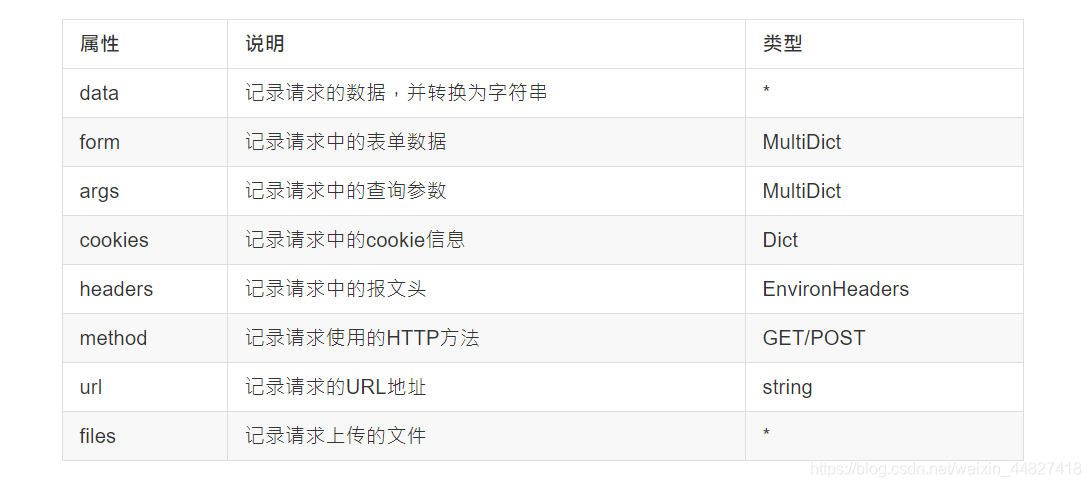
from flask import Flask,request
app = Flask(__name__)
# 接口 api
# 127.0.0.1:5000/index?city=shenzhen &country=china ?后面的称为查询字符串
@app.route("/index",methods=["GET","POST"])
def index():
# request中包含了前端发送过来的所有请求数据
# form和data是用来提取请求体的数据的
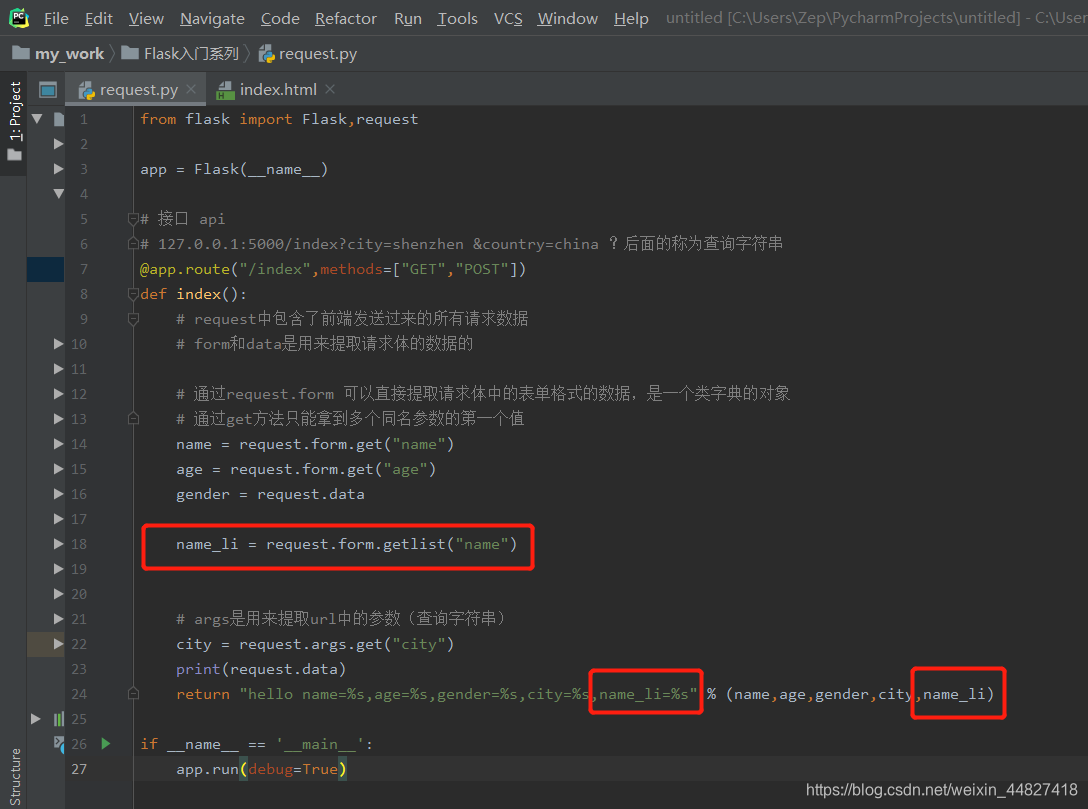
# 通过request.form 可以直接提取请求体中的表单格式的数据,是一个类字典的对象
# 通过get方法只能拿到多个同名参数的第一个值
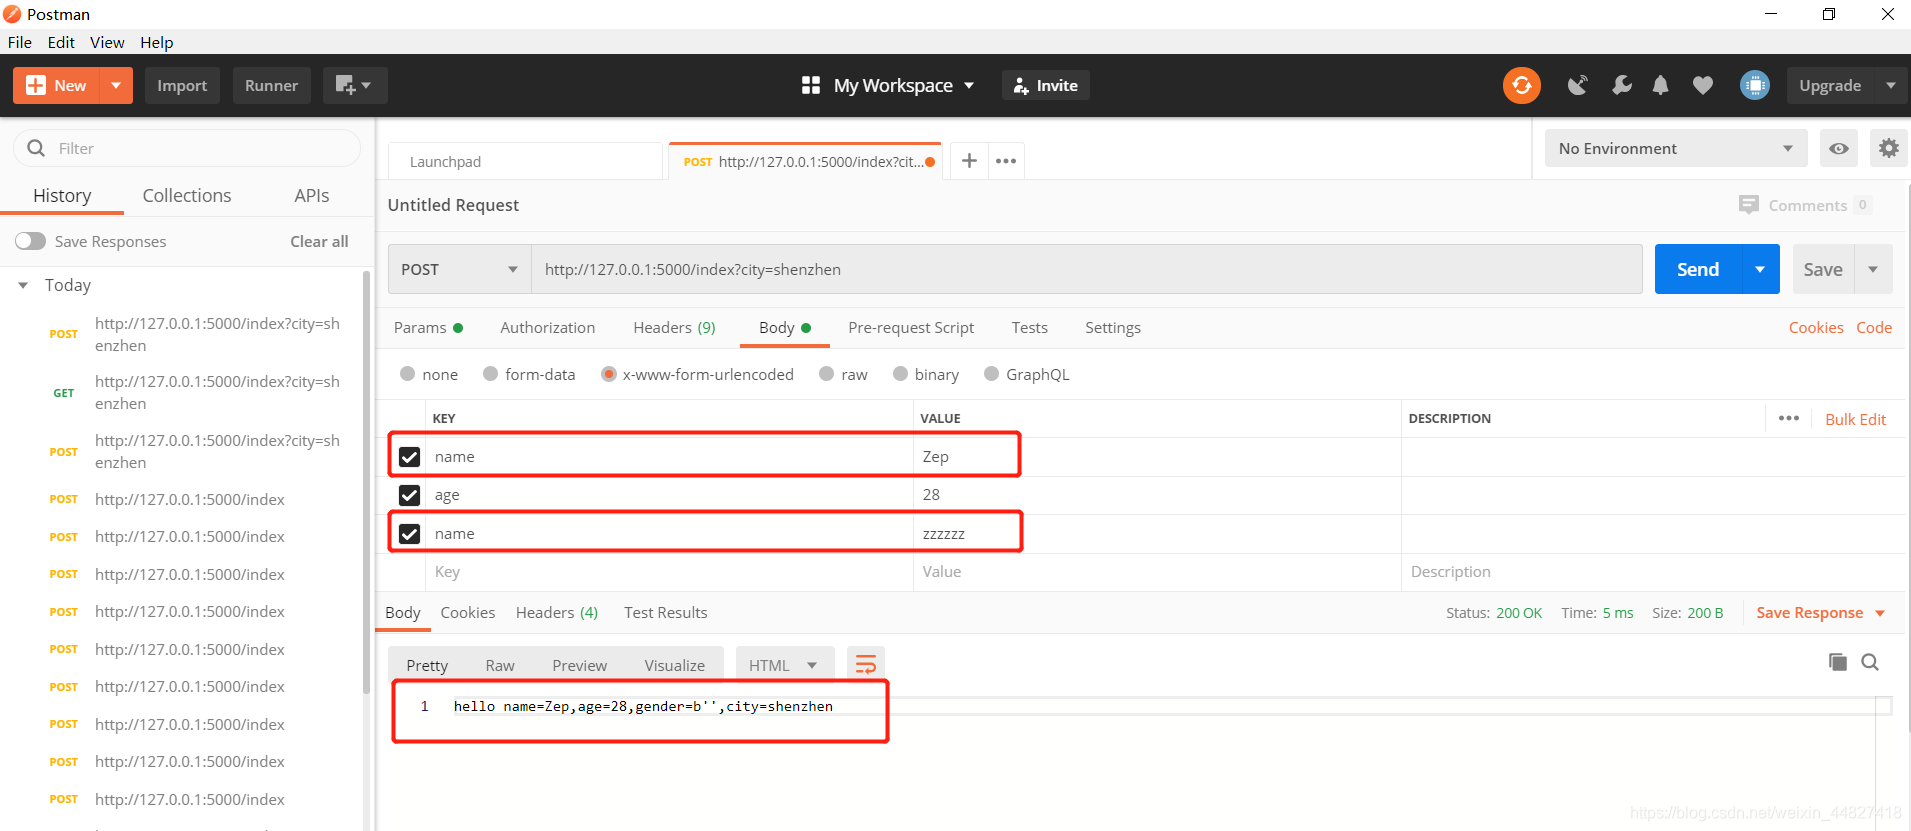
name = request.form.get("name")
age = request.form.get("age")
gender = request.data
# args是用来提取url中的参数(查询字符串)
city = request.args.get("city")
print(request.data)
return "hello name=%s,age=%s,gender=%s,city=%s" % (name,age,gender,city)
if __name__ == '__main__':
app.run(debug=True)
通过request.get(“name”)方法只能拿到多个同名参数的第一个值,request.args.get(“city”)是用来提取url中的参数(查询字符串):

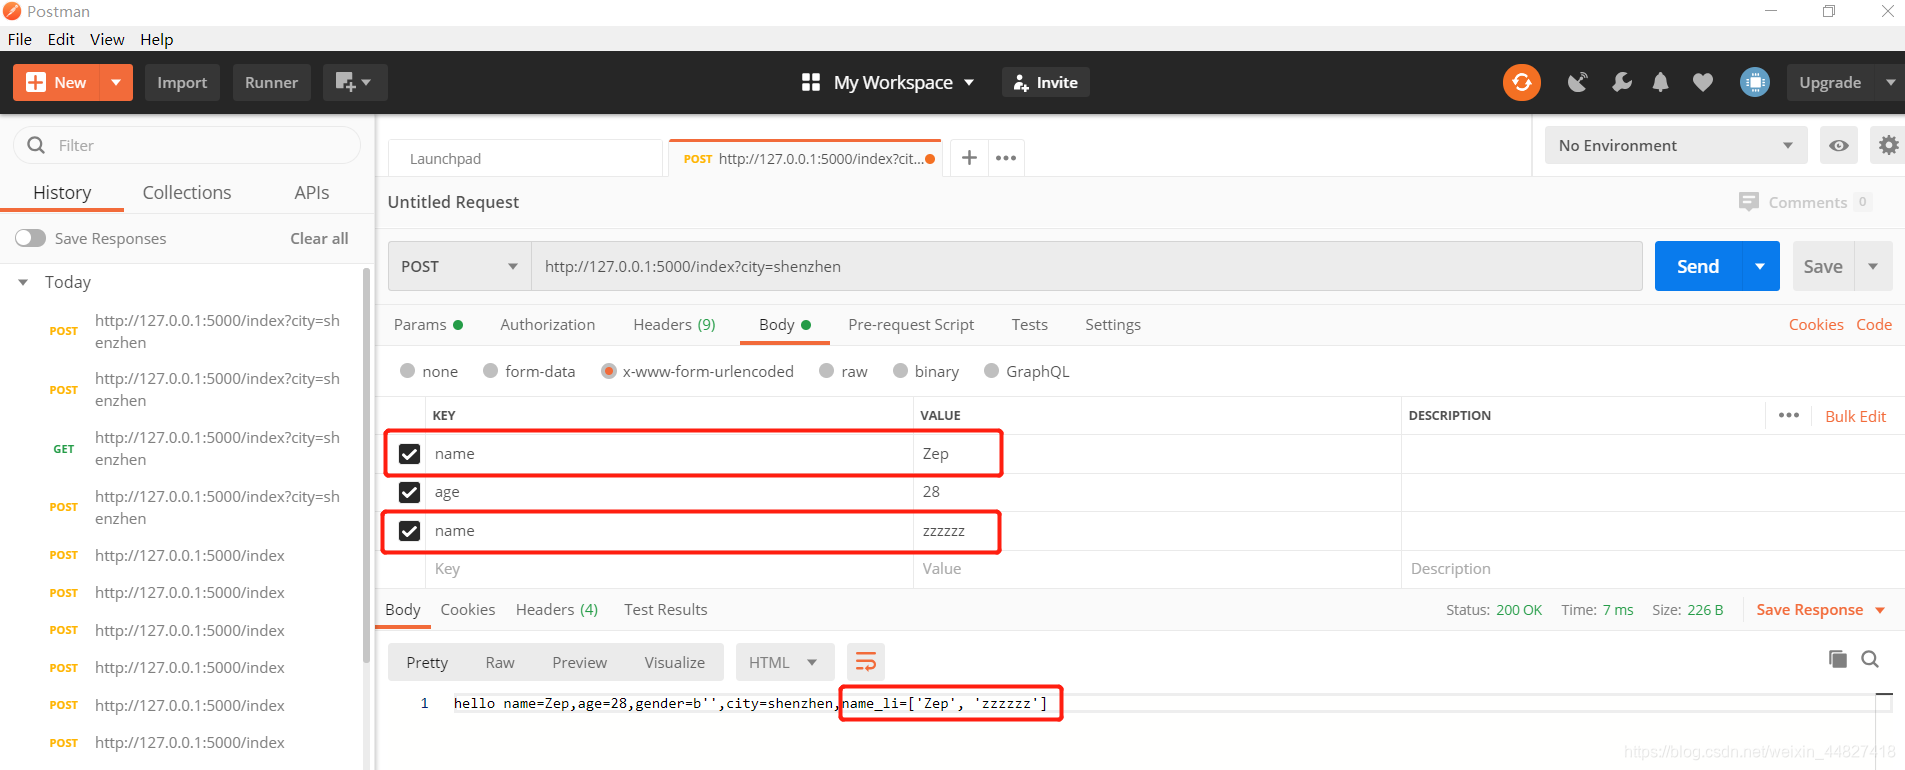
通过request.form.getlist(“name”),可以拿到所有同名参数的值:
二、字符编码问题:
python2 字符串类型:
str “utf-8” “gbk”
unicode
python3中已经将两者进行了统一!
示例:
a = “中国” # str
a = u"中国" # unicode
“中国” % “sa”
报错:
ASCII cannot decode \xxx\xx
解决方法:在非英文字符前面加上u
u"中国" % “sa”
三、上传文件
已上传的文件存储在内存或是文件系统中一个临时的位置。你可以通过请求对象的 files 属性访问它们。每个上传的文件都会存储在这个字典里。它表现近乎为一个标准的 Python file 对象,但它还有一个 save() 方法,这个方法允许你把文件保存到服务器的文件系统上。这里是一个用它保存文件的例子:
from flask import request

@app.route('/upload', methods=['GET', 'POST'])
def upload_file():
    if request.method == 'POST':
        f = request.files['the_file']
        f.save('/var/www/uploads/uploaded_file.txt')
    ...
如果你想知道上传前文件在客户端的文件名是什么,你可以访问 filename 属性。但请记住, 永远不要信任这个值,这个值是可以伪造的。如果你要把文件按客户端提供的文件名存储在服务器上,那么请把它传递给 Werkzeug 提供的 secure_filename() 函数:
from flask import request
from werkzeug import secure_filename

@app.route('/upload', methods=['GET', 'POST'])
def upload_file():
    if request.method == 'POST':
        f = request.files['the_file']
        f.save('/var/www/uploads/' + secure_filename(f.filename))
- myCode:
from flask import Flask,request
app = Flask(__name__)
@app.route("/upload",methods=["POST"])
def upload():
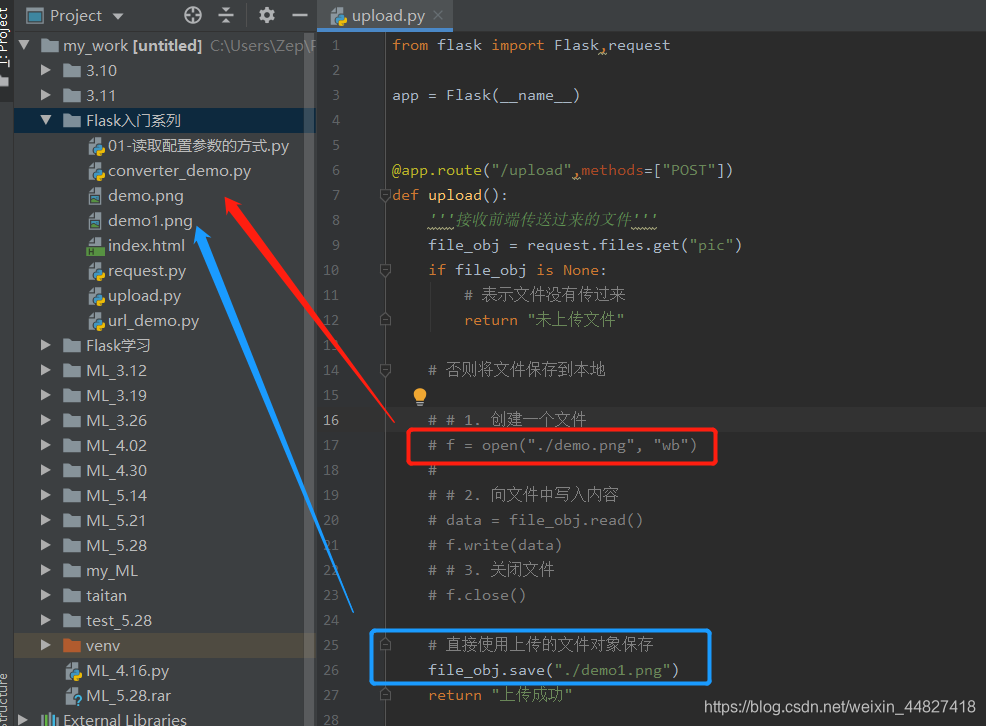
'''接收前端传送过来的文件'''
file_obj = request.files.get("pic")
if file_obj is None:
# 表示文件没有传过来
return "未上传文件"
# 否则将文件保存到本地
# # 1. 创建一个文件
# f = open("./demo.png", "wb")
#
# # 2. 向文件中写入内容
# data = file_obj.read()
# f.write(data)
# # 3. 关闭文件
# f.close()
# 直接使用上传的文件对象保存
file_obj.save("./demo1.png")
return "上传成功"
if __name__ == '__main__':
app.run(debug=True)
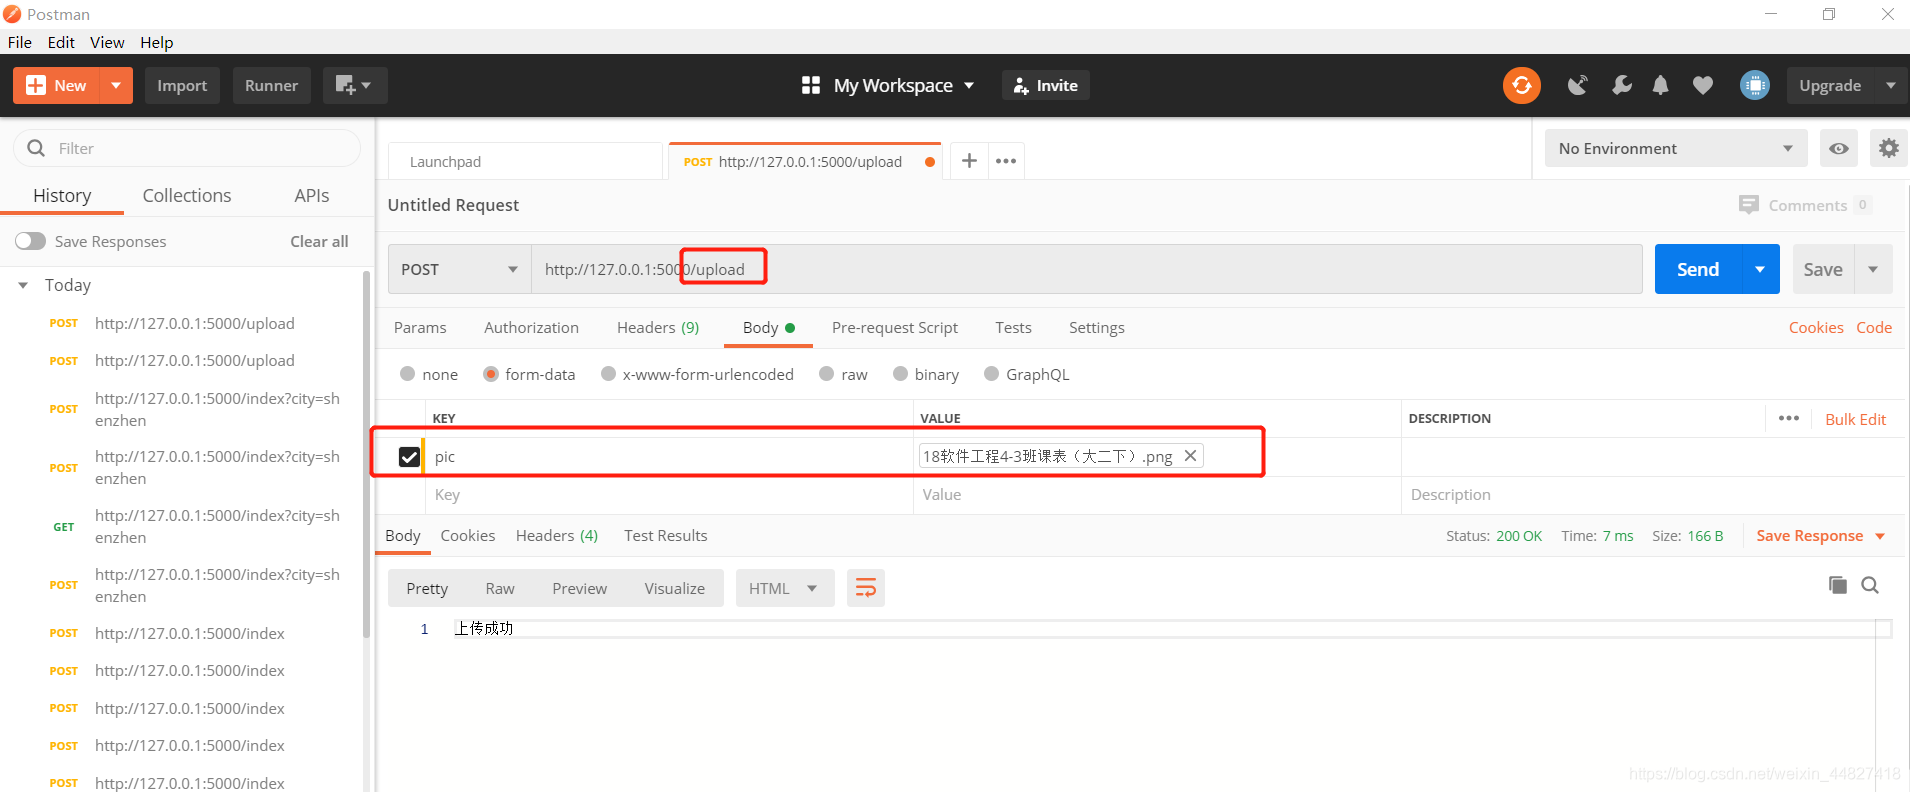
运行结果:
最原始的将内容写入文件的方法:
# 1. 创建一个文件


 f = open("./1.txt", "wb")
 # 2. 向文件中写入内容
 try:
     f.write("hello flask!")
 except Exception:
     pass
 finally:
     # 3. 关闭文件
     f.close()
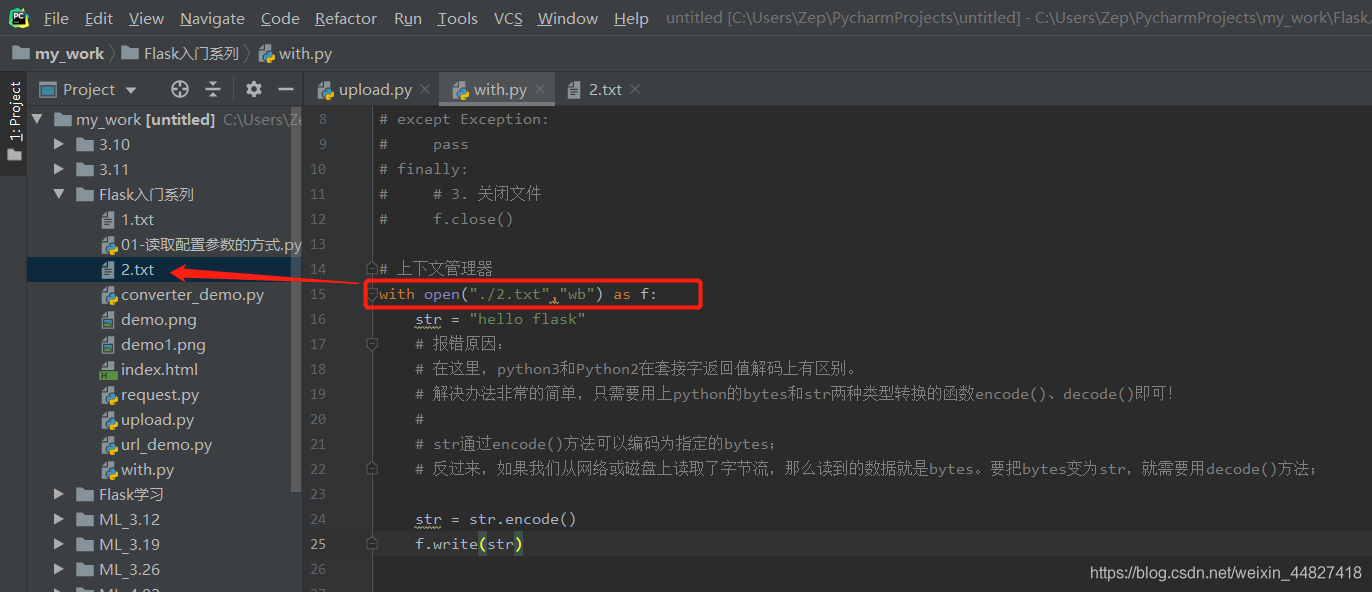
with open()的使用:
# 上下文管理器
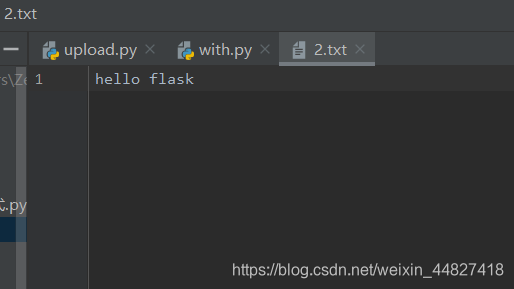
with open("./2.txt","wb") as f:
str = "hello flask"
# 报错原因:
# 在这里,python3和Python2在套接字返回值解码上有区别。
# 解决办法非常的简单,只需要用上python的bytes和str两种类型转换的函数encode()、decode()即可!
#
# str通过encode()方法可以编码为指定的bytes;
# 反过来,如果我们从网络或磁盘上读取了字节流,那么读到的数据就是bytes。要把bytes变为str,就需要用decode()方法;
str = str.encode()
f.write(str)
with的使用:
class Foo(object):
    def __enter__(self):
        # 进入with语句的时候被with调用
        print("enter called")

    def __exit__(self, exc_type, exc_val, exc_tb):
        # 离开with语句的时候被with调用
        print("exit called")
        print("exc_type:%s" % exc_type)
        print("exc_val:%s" % exc_val)
        print("exc_tb:%s" % exc_tb)

with Foo() as foo:
    print("hello python")


 被折叠的 条评论
为什么被折叠?
被折叠的 条评论
为什么被折叠?
 到【灌水乐园】发言


