


 本文介绍了如何使用阿里云OSS服务进行文件存储。首先,详细讲述了开通OSS服务和创建Bucket的步骤。接着,通过Java操作OSS实现文件上传,包括创建Maven项目、引入OSS依赖、配置常量和应用属性,以及编写Controller和Service层代码。最后,提供了通过Swagger测试接口的方法,并总结了在配置过程中遇到的问题及解决方案。
1.对象存储OSS
为了解决海量数据存储与弹性扩容,在项目中我们采用云存储的解决方案- 阿里云OSS。
1.1 开通“对象存储OSS”服务
(1)申请阿里云账号
(2)实名认证
(3)开通“对象存储OSS”服务
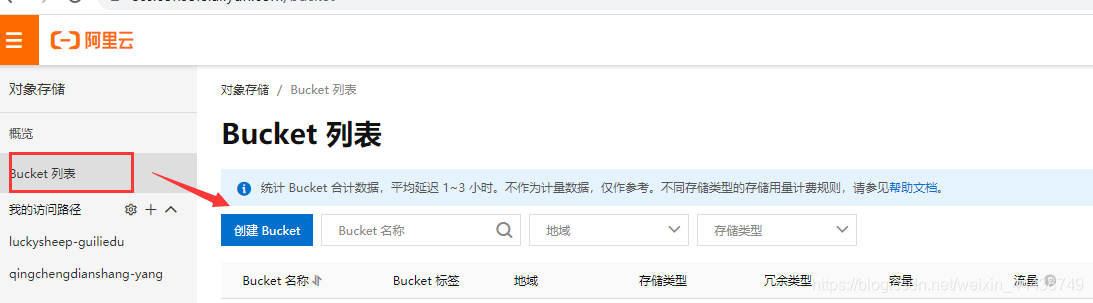
(4)进入管理控制台
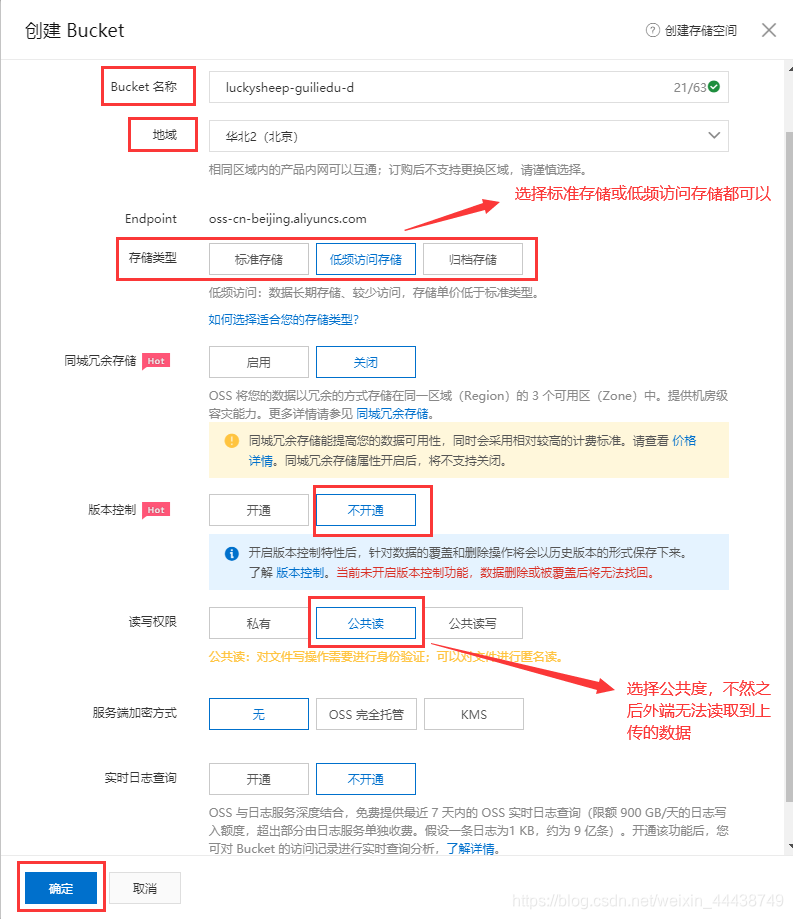
1.2 创建Bucket
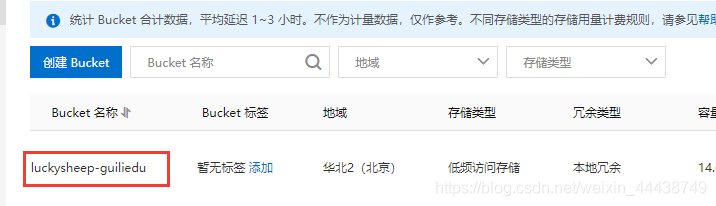
创建好Bucket如下:
2.Java操作OSS实现上传
2.1 创建Maven项目
2.2 在pom中引入OSS依赖
    <dependencies>
        <!--aliyunOSS-->
        <dependency>
            <groupId>com.aliyun.oss</groupId>
            <artifactId>aliyun-sdk-oss</artifactId>
        </dependency>

        <dependency>
            <groupId>joda-time</groupId>
            <artifactId>joda-time</artifactId>
        </dependency>
    </dependencies>
主启动类代码:
@SpringBootApplication(exclude = DataSourceAutoConfiguration.class)
@ComponentScan(value = "com.atguigu")
public class OssApplication
{
    public static void main(String[] args)
    {
        SpringApplication.run(OssApplication.class,args);
    }
}
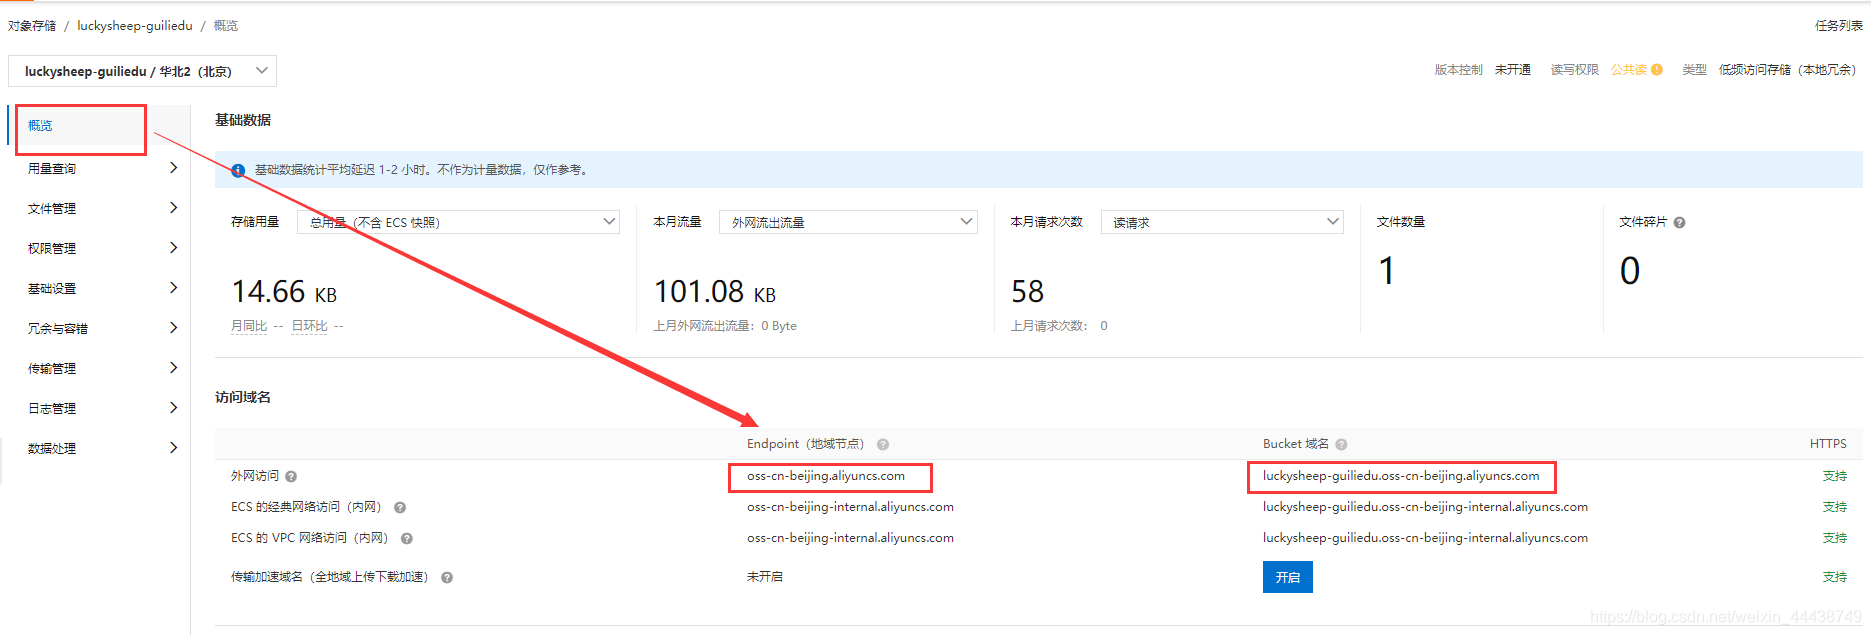
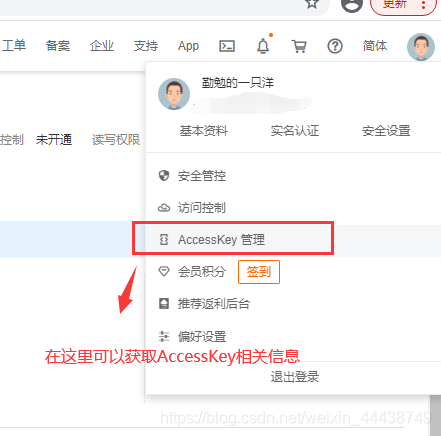
2.3 找到编码时需要用到的常量值
(1)endpoint
(2)bucketName
(3)accessKeyId
(4)accessKeySecret
2.4 配置application.properties
#服务端口
server.port=8002
#服务名
spring.application.name=service-oss

#环境设置:dev、test、prod
spring.profiles.active=dev

#阿里云 OSS
#不同的服务器,地址不同
aliyun.oss.file.endpoint=your endpoint
aliyun.oss.file.keyid=your accessKeyId
aliyun.oss.file.keysecret=your accessKeySecret
#bucket可以在控制台创建,也可以使用java代码创建
aliyun.oss.file.bucketname=guli-file
在application.properties将2.3节的四个常量配好,注意,前后都不要有空格,不然会出错!!!
2.5 常量类,读取配置文件application.properties中的配置
/**
 * 常量类,读取配置文件application.properties中的配置
 */
//InitializingBean 当项目已启动,spring接口,spring加载之后,执行接口的一个方法--bean的生命周期
@Component
public class ConstantPropertiesUtil implements InitializingBean {

    @Value("${aliyun.oss.file.endpoint}")
    private String endpoint;//private,其他类无法调用

    @Value("${aliyun.oss.file.keyid}")
    private String keyId;

    @Value("${aliyun.oss.file.keysecret}")
    private String keySecret;

    @Value("${aliyun.oss.file.bucketname}")
    private String bucketName;

    public static String END_POINT;
    public static String ACCESS_KEY_ID;
    public static String ACCESS_KEY_SECRET;
    public static String BUCKET_NAME;

    @Override
    public void afterPropertiesSet() throws Exception {
        END_POINT = endpoint;
        ACCESS_KEY_ID = keyId;
        ACCESS_KEY_SECRET = keySecret;
        BUCKET_NAME = bucketName;

    }
}
这个常量类实现了InitializingBean 接口,因为private String endpoint等参数都是私有变量,外部是访问不到的,所以通过afterPropertiesSet()方法在bean初始化过程中将私有变量值传递给静态变量,以提供外界获取。(可以复习一下bean的生命周期)
2.6 Controller层
@RestController
@RequestMapping("/eduoss/fileoss")
@CrossOrigin//解决跨域问题
public class OssController
{
    @Autowired
    private OssService ossService;

    //上传头像的方法
    @PostMapping
    public R uploadOssFile(MultipartFile file)
    {
        //获取上传文件  MultipartFile
        //返回上传到oss的路径
        String url = ossService.uploadFileAvatar(file);
        return R.ok().data("url",url);

    }
}
//统一返回结果
@Data
public class R {
    @ApiModelProperty(value = "是否成功")
    private Boolean success;
    @ApiModelProperty(value = "返回码")
    private Integer code;
    @ApiModelProperty(value = "返回消息")
    private String message;
    @ApiModelProperty(value = "返回数据")
    private Map<String, Object> data = new HashMap<String, Object>();
}
2.7 Service层
@Service
public class OssServiceImpl implements OssService
{
    @Override
    public String uploadFileAvatar(MultipartFile file)
    {
        //获取阿里云存储相关常量
        String endPoint = ConstantPropertiesUtil.END_POINT;
        String accessKeyId = ConstantPropertiesUtil.ACCESS_KEY_ID;
        String accessKeySecret = ConstantPropertiesUtil.ACCESS_KEY_SECRET;
        String bucketName = ConstantPropertiesUtil.BUCKET_NAME;
        String uploadUrl = null;

        try {
            //判断oss实例是否存在:如果不存在则创建,如果存在则获取
            OSSClient ossClient = new OSSClient(endPoint, accessKeyId, accessKeySecret);
            if (!ossClient.doesBucketExist(bucketName)) {
                //创建bucket
                ossClient.createBucket(bucketName);
                //设置oss实例的访问权限:公共读
                ossClient.setBucketAcl(bucketName, CannedAccessControlList.PublicRead);
            }
            //获取上传文件流
            InputStream inputStream = file.getInputStream();

            //文件名:uuid.扩展名
            String fileName = file.getOriginalFilename();//获取文件实际名称
            //文件名称中添加随机唯一的值
            String uuid = UUID.randomUUID().toString().replaceAll("-","");
            fileName = uuid + fileName;

            //把文件按照日期进行分类
            //获取当前日期
            //构建日期路径:avatar/2019/02/26/文件名
            String dataPath = new DateTime().toString("yyyy/MM/dd");
            fileName = dataPath+"/"+fileName;

            //文件上传至阿里云
            //参数1: Bucket名称
            //参数2: 上传到oss文件路径和文件名称
            //参数3: 上传文件的输入流
            ossClient.putObject(bucketName, fileName, inputStream);

            // 关闭OSSClient。
            ossClient.shutdown();

            //获取url地址 用来给前端返回数据
            //https://luckysheep-guiliedu.oss-cn-beijing.aliyuncs.com/文件名
            uploadUrl = "http://" + bucketName + "." + endPoint + "/" + fileName;

        } catch (IOException e) {
            e.printStackTrace();
        }

        return uploadUrl;
    }
}
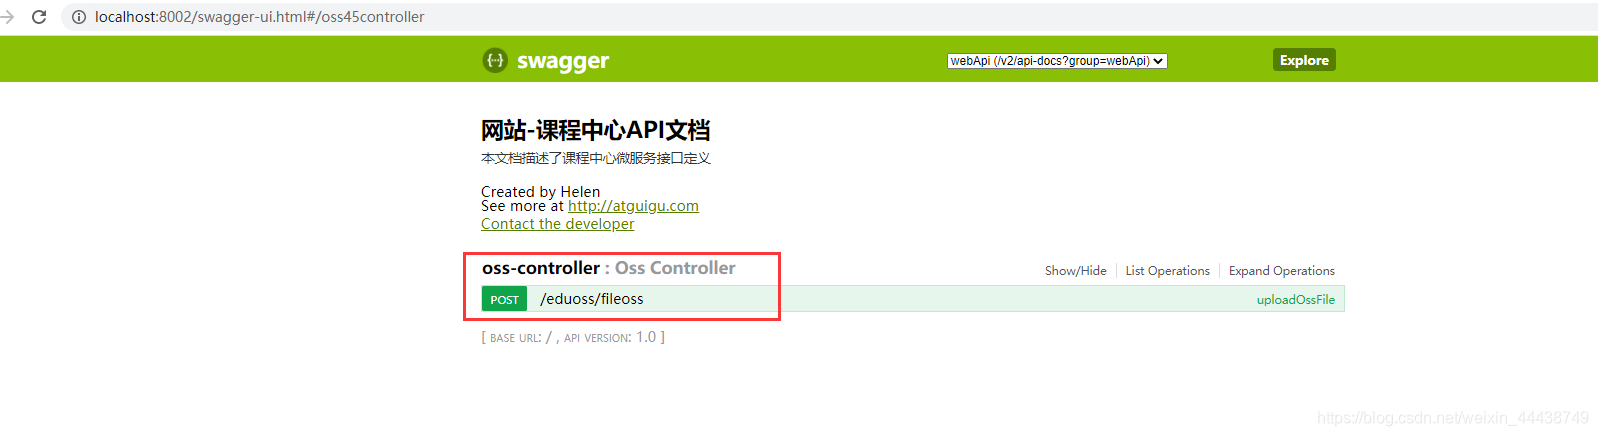
3.通过Swagger测试接口
1)启动程序;
2)访问http://localhost:8002/swagger-ui.html:

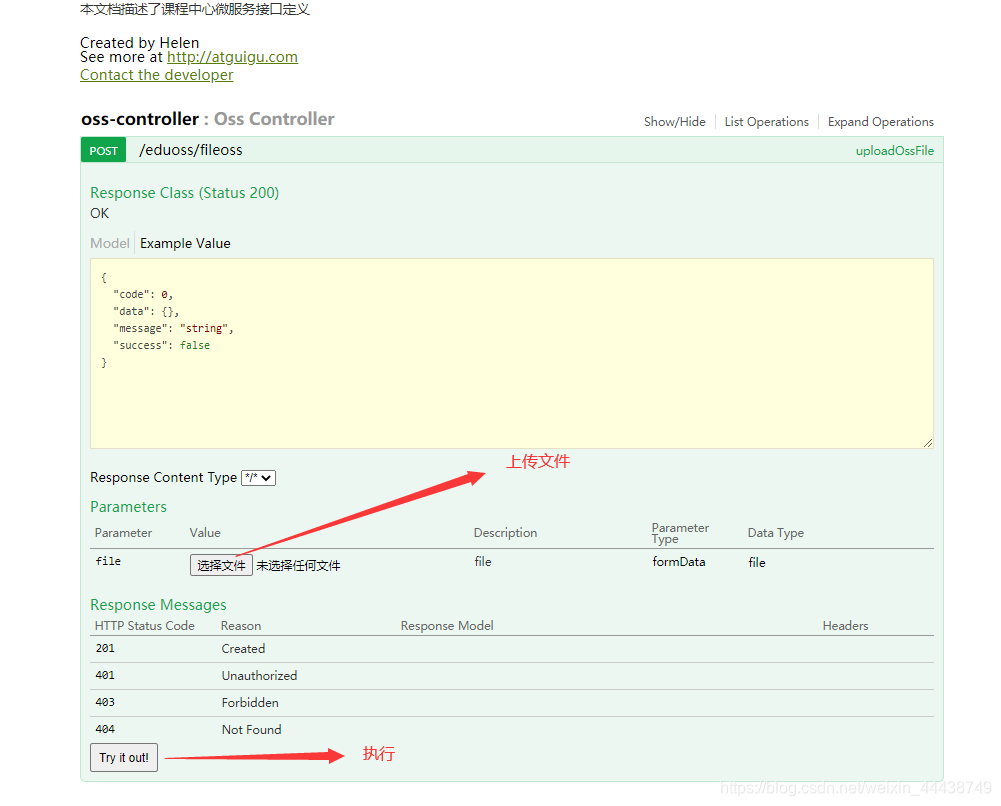
3)上传文件:
4)结果返回:
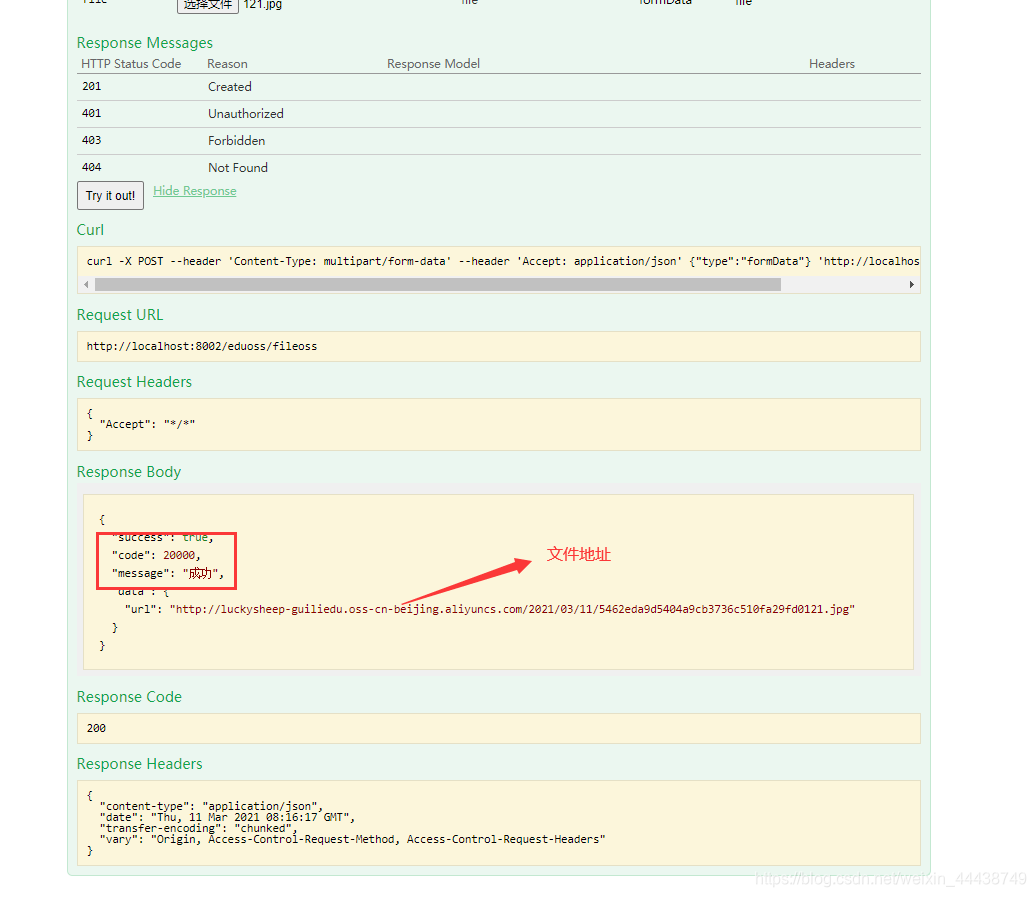
5)查看OSS是否上传成功:
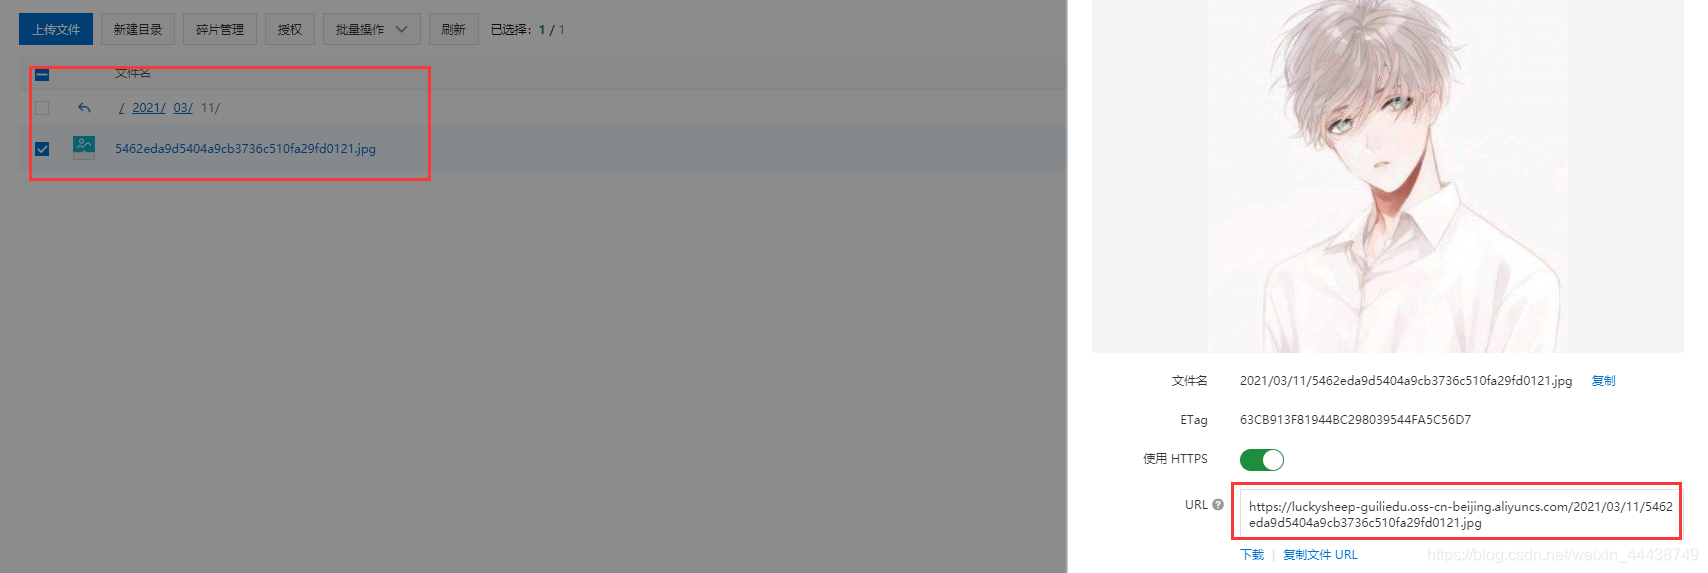
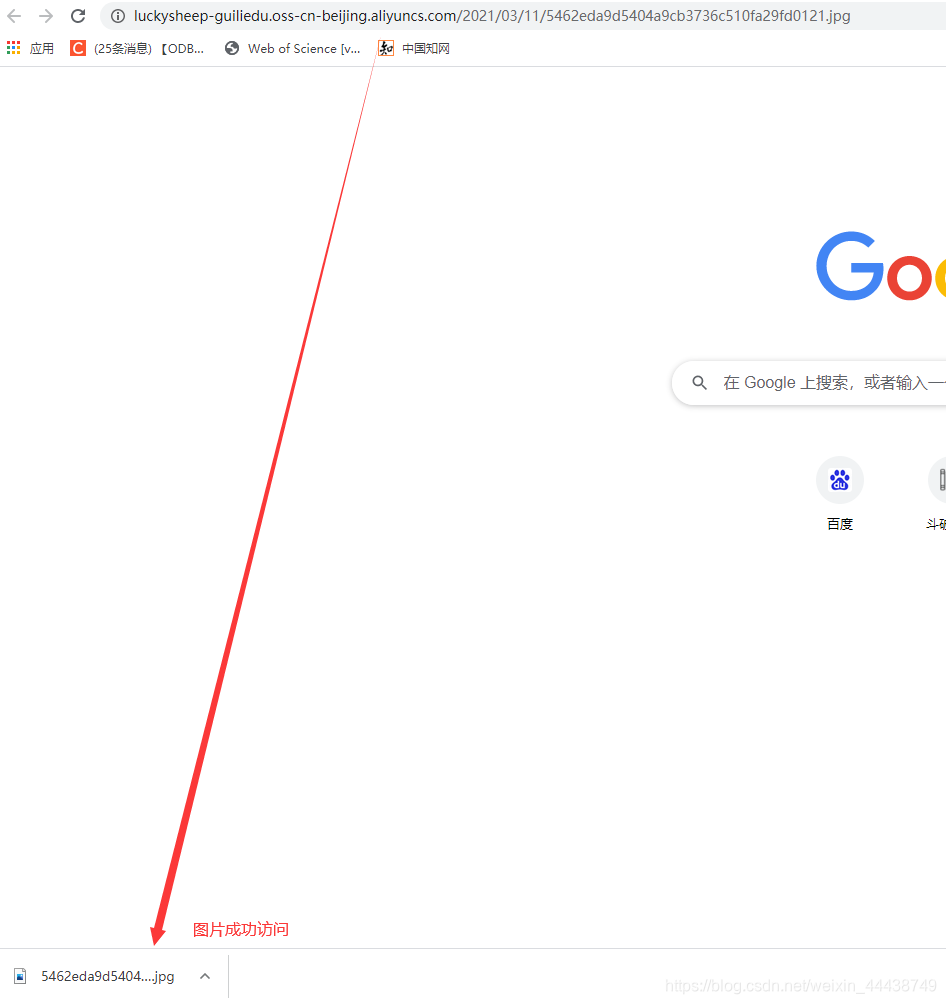
6)访问返回的URL地址:
更多OSS操作,可以查看官网,有详细教程。
4.过程中问题汇总

当我们启动程序时,会报无数据源配置信息,但是我们的程序就没有用到数据库,为什么要配置数据源?原因:spring boot 会默认加载org.springframework.boot.autoconfigure.jdbc.DataSourceAutoConfiguration这个类,
而DataSourceAutoConfiguration类使用了@Configuration注解向spring注入了dataSource bean,又因为项目(oss模块)中并没有关于dataSource相关的配置信息,所以当spring创建dataSource bean时因缺少相关的信息就会报错。
这个问题有两种解决办法:
① 在配置文件中将数据库配置信息家加上,即使我们没有用到;
② 在启动类上加上@SpringBootApplication(exclude = DataSourceAutoConfiguration.class),关闭数据源自动配置。


 被折叠的 条评论
为什么被折叠?
被折叠的 条评论
为什么被折叠?
 到【灌水乐园】发言


