


虚拟机版本 centos 6.9
ealsticsearch版本:elasticsearch-7.0.0
kibana版本:kibana-7.0.0
本文修改配置,创建文件皆是root用户,启动都是新增的用户
ES不可以使用root用户启动,kibana可以使用root用户启动,本文都使用新增用户启动,
下载地址:
-
(官网下载)
- ealsticsearch:https://www.elastic.co/downloads/past-releases
- kibana:https://www.elastic.co/downloads/past-releases
-
(百度云地址)
- ealsticsearch:https://pan.baidu.com/s/1XDk8TByWhv6QIPzUbdKflA
- 提取码:mjkd
- kibana:https://pan.baidu.com/s/108g27dYgsbS5hjwb8sM-ig
- 提取码:ppc5
ES,不可使用root用户启动
-
对应路径创建ec文件 path.data path.logs 使用
mkdir ec
mkdir data
mkdir logs -
修改 vi elasticsearch.yml(elasticsearch-7.0.0/config下)
path.data: /home/usr/java/elasticsearch-7.0.0/ec/data(新增)
path.logs: /home/usr/java/elasticsearch-7.0.0/ec/logs(新增)
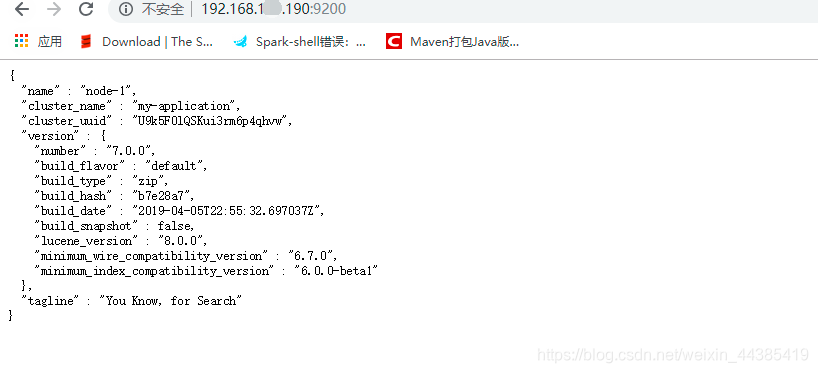
network.host: 192.168.XXX.190(自己的ip地址)
http.port: 9200(放开)
bootstrap.system_call_filter: false(新增) -
创建elsearch用户组及elsearch用户:
groupadd elsearch
useradd elsearch -g elsearch
passwd elsearch -
更改elasticsearch文件夹所属用户及组为elsearch:elsearch
chown -R elsearch:elsearch elasticsearch-7.0.0(解压的文件夹) -
修改/etc/security/limits.conf 文件
vi /etc/security/limits.conf
加入,其中elsearch前面创建的用户名
elsearch soft nofile 65536
elsearch hard nofile 131072
elsearch soft nproc 4096
elsearch hard nproc 4096 -
/etc/sysctl.conf,添加
vi /etc/sysctl.conf
vm.max_map_count=655360
fs.file-max=655360
执行:sysctl -p -
切换用户
su elsearch
启动:- elasticsearch-7.0.0/bin/elasticsearch(不推荐)
- [elsearch @zk bin]$ ./elasticsearch -d
或者在对应目录下打印日志,并且返回对应的进程号,方便你kill关闭 - [elsearch @zk bin]$ nohup ./elasticsearch &
kibana
- 修改配置
/config/kibana.yml
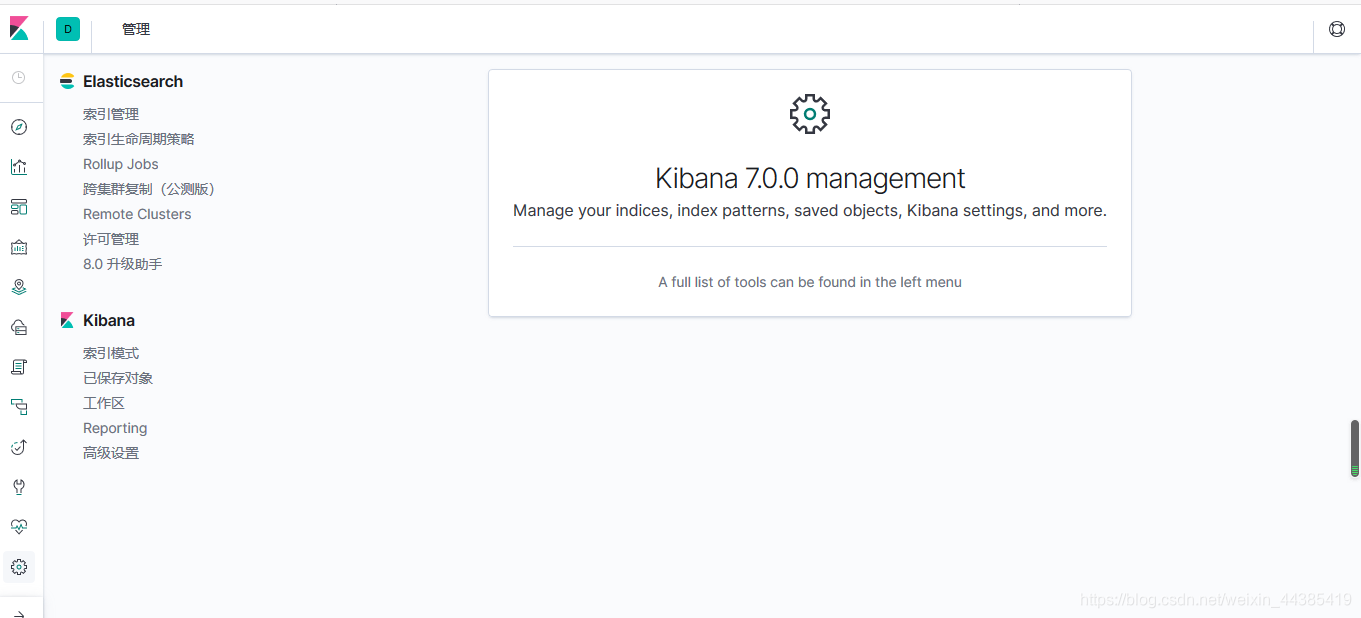
汉化:i18n.locale: "zh-CN"
放开:server.port: 5601
修改:server.host: "0.0.0.0"
elasticsearch.hosts: ["http://192.168.XXX.190:9200"] 自己ip
- kibane文件夹权限
chown -R elsearch:elsearch elasticsearch-7.0.0
未执行权限报错信息:
EACCES: permission denied, open ‘/usr/local/kibana/optimize/.babelcache.json’
启动
bin 下
./kibana 不推荐
[elsearch@zk bin]$ nohup ./kibana &(推荐)
报错:Kibana server is not ready yet
如果都该对了,报错的话 ,多等一会,让浏览器缓一缓,(切身体会)
关闭使用(注意是node)
[elsearch@zk bin]$ ps -ef | grep node查进程
kill -9 pid 杀掉进程
英文版页面
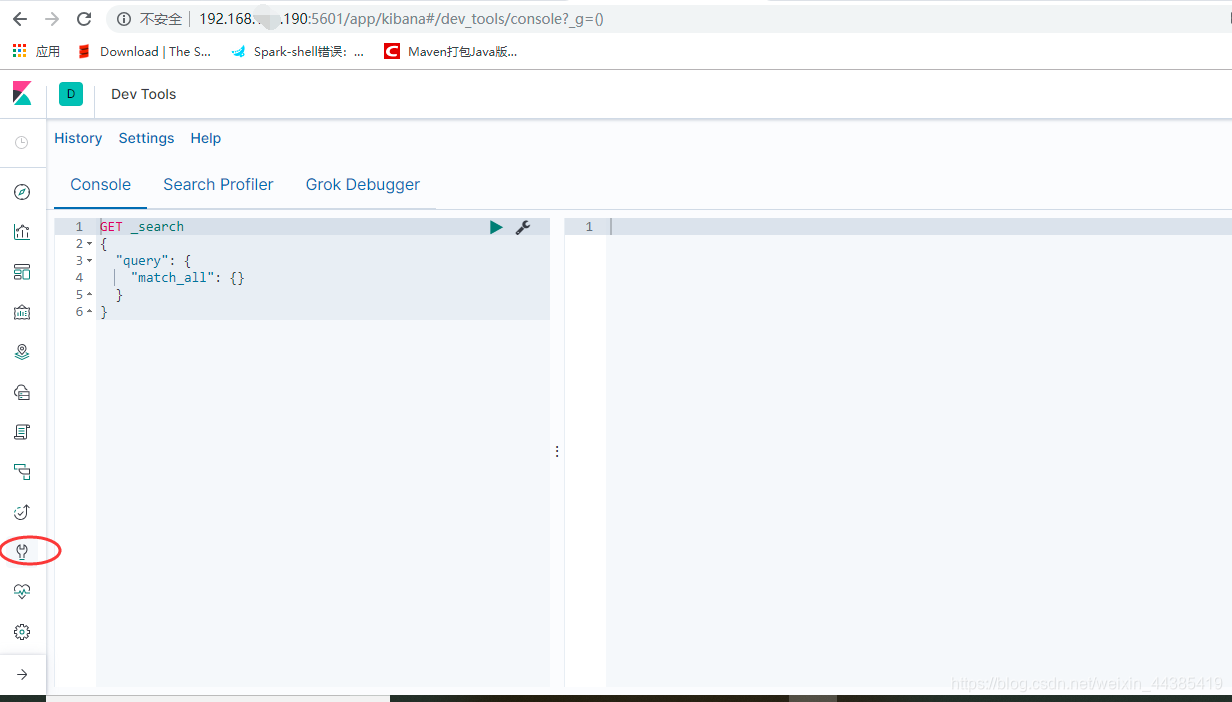
中文版页面
解决跨域请在es的配置文件加上
http.cors.enabled: true
http.cors.allow-origin: "*"
http.cors.allow-methods: OPTIONS, HEAD, GET, POST, PUT, DELETE
http.cors.allow-headers: "X-Requested-With, Content-Type, Content-Length, X-User"
head—node-v10.8.0
-
下载
我下载到了/home/usr/java/elasticsearch-7.0.0(es安装路径)
在其下执行
下载: wget https://npm.taobao.org/mirrors/node/v10.8.0/node-v10.8.0-linux-x64.tar.xz
解压: tar -xvf node-v10.8.0-linux-x64.tar.xz -
配置下环境变量,
vi /etc/profile
export NODE_HOME=/home/usr/java/elasticsearch-7.0.0/node-v10.8.0-	linux-x64(**下载解压的路径**)
export PATH=$PATH:$NODE_HOME/bin
export NODE_PATH=$NODE_HOME/lib/node_modules
执行 source /etc/profile
验证: node -v -
安装 grunt
Grunt-cli 只是一个命令行工具
npm install -g grunt-cli
grunt -version -
下载 head源码包
wget https://github.com/mobz/elasticsearch-head/archive/master.zip
解压:unzip master.zip
然后进入elasticsearch-head-master 目录
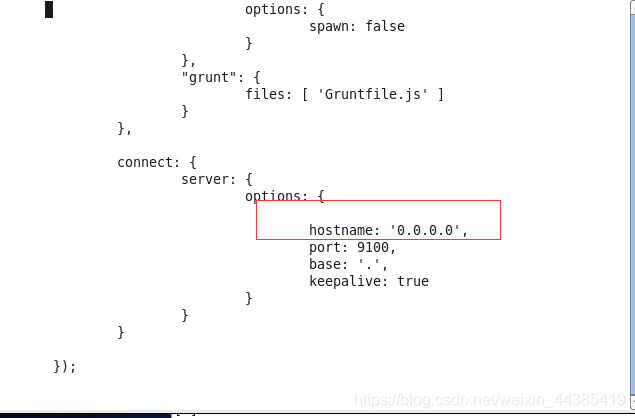
修改elasticsearch-head-master文件下的Gruntfile.js文件中,在options节点下添加一行"hostname: ‘0.0.0.0’,"(有个逗号,单引号是英文的)
在 elasticsearch-head-master 目录下开始安装
npm install -g cnpm --registry=https://registry.npm.taobao.org
cnpm install
安装成功后,最后修改elasticsearch的elasticsearch.yml
增加参数,使head插件可以访问es
http.cors.enabled: true
http.cors.allow-origin: “*”
- 启动head
在 elasticsearch-head-master 路径下执行
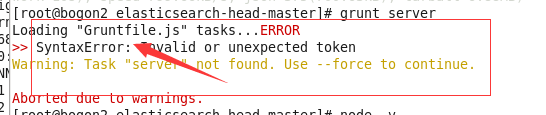
grunt server
如果报错如图:(检查刚才加的标点 hostname: ‘0.0.0.0’,)
如果报错如图:(缺少那个执行对应的那一个)
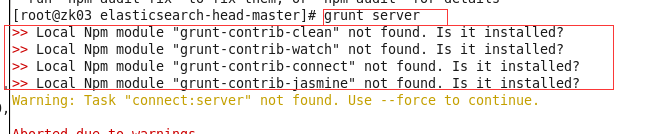
出现以下提示,为Gruntfile.js引用的,缺少以下包

>> Local Npm module "grunt-contrib-clean" not found. Is it installed?
>> Local Npm module "grunt-contrib-concat" not found. Is it installed?
>> Local Npm module "grunt-contrib-watch" not found. Is it installed?
>> Local Npm module "grunt-contrib-connect" not found. Is it installed?
>> Local Npm module "grunt-contrib-copy" not found. Is it installed?
>> Local Npm module "grunt-contrib-jasmine" not found. Is it installed?
Warning: Task "connect:server" not found. Use --force to continue.

Aborted due to warnings.

安装

npm install grunt-contrib-clean --registry=https://registry.npm.taobao.org
npm install grunt-contrib-concat --registry=https://registry.npm.taobao.org
npm install grunt-contrib-watch --registry=https://registry.npm.taobao.org
npm install grunt-contrib-connect --registry=https://registry.npm.taobao.org
npm install grunt-contrib-copy --registry=https://registry.npm.taobao.org
npm install grunt-contrib-jasmine --registry=https://registry.npm.taobao.org
安装完毕
重新执行
grunt server

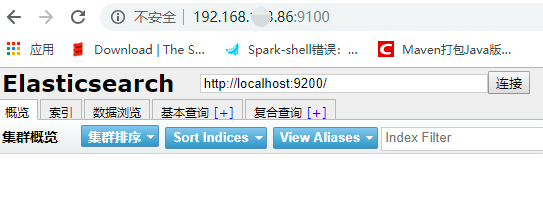
至此完毕!
欢迎交流!


 被折叠的 条评论
为什么被折叠?
被折叠的 条评论
为什么被折叠?
 到【灌水乐园】发言


