


前言
用过很多的富文本,还是蛮喜欢鹅毛富文本,轻量级,
一般遇到富文本的案例,都会首先想到的是quill
目前vue3.0与react分裂两极,typescript霸占一方,javascript还在坚持,vue2.0日薄西山。
本文介绍vue3.0 ts支持的富文本的简单实用和文档地址
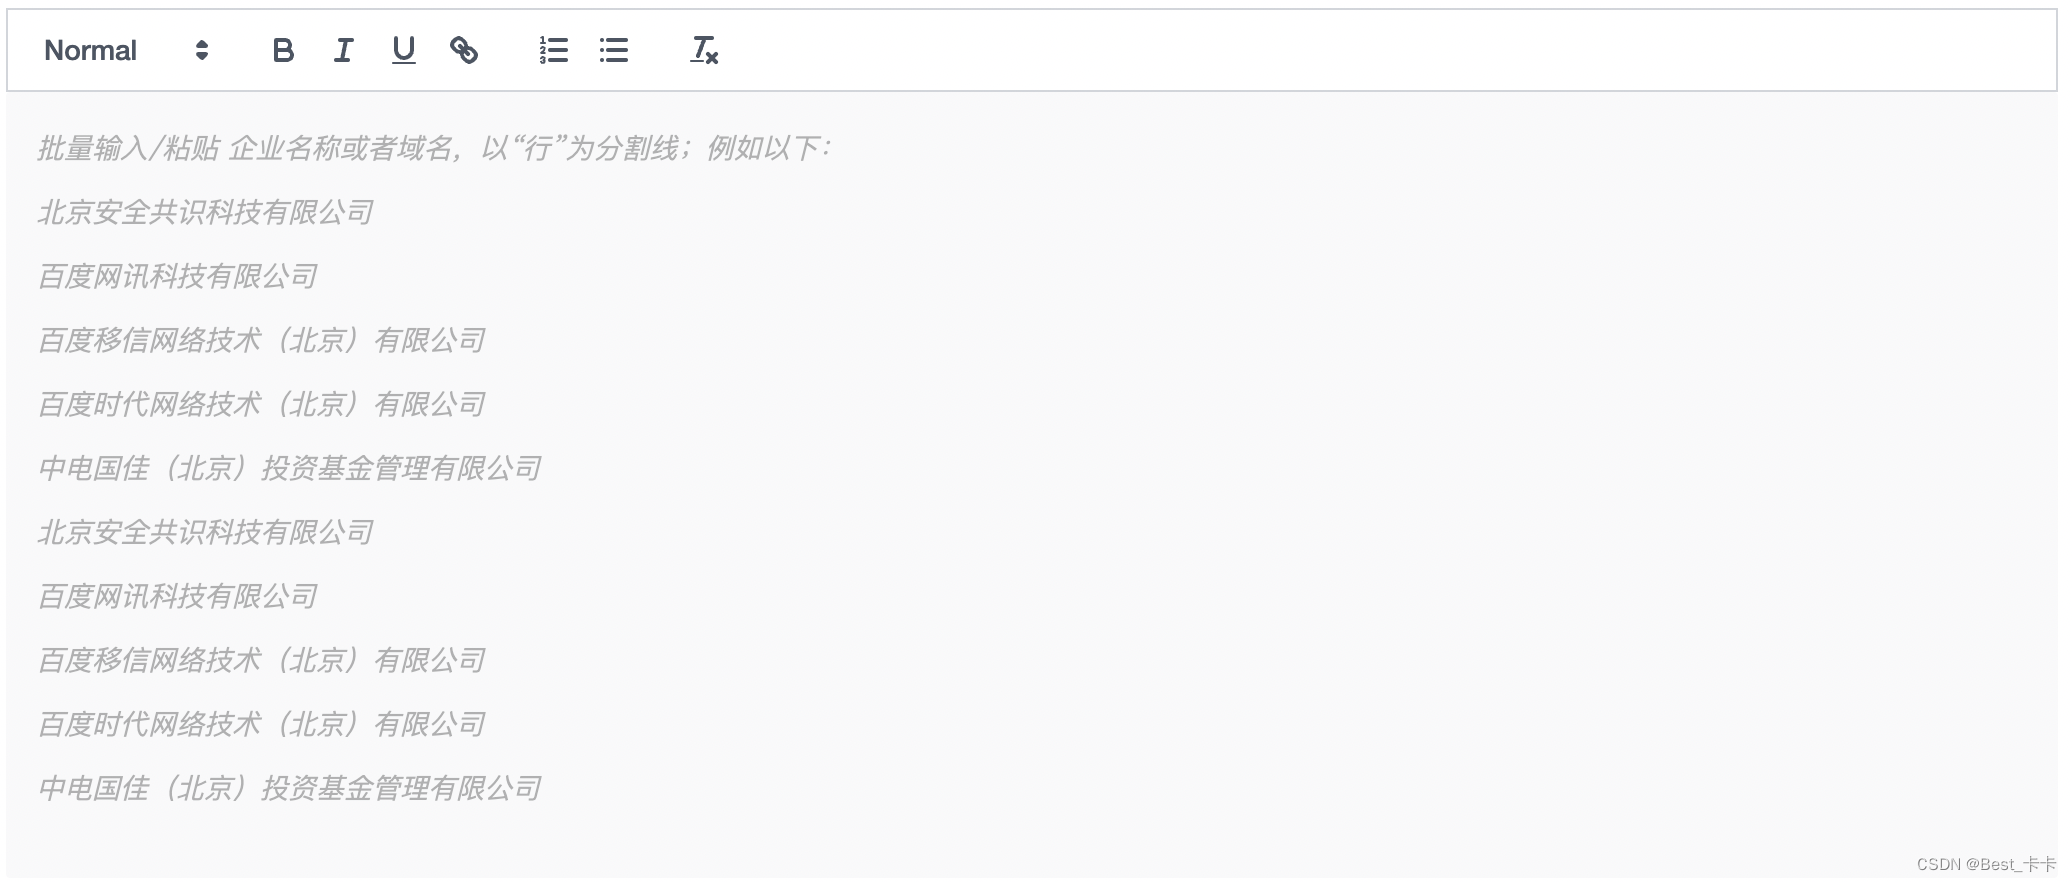
富文本Vue-Quill-Editor
- 安装
yarn add @vueup/vue-quill@beta - 使用
import { QuillEditor } from '@vueup/vue-quill' import '@vueup/vue-quill/dist/vue-quill.snow.css';<QuillEditor ref="QuillEditorRef" :options="options" :content="textarea" content-type="html" @update:content="textChange" />const options = { debug: 'info', modules: { // toolbar: ['bold', 'italic', 'underline'], }, placeholder: '批量输入/粘贴 企业名称或者域名,以“行”为分割线;例如以下:\n北京安全共识科技有限公司\n百度网讯科技有限公司', readOnly: false, theme: 'snow', }const textChange = (e:any) => { textarea.value = e console.log(e, '98', textarea.value); }// 设置ref:便于调用quill支持的方法 // 比如 弹窗打开时设置内容为空 const userSecret = async () => { if (QuillEditorRef.value) { QuillEditorRef.value.setText('') } };
效果图注解: @update:content 内容改变事件 options:配置项 设置ref:便于调用quill支持的方法 更多详细的请参考文档
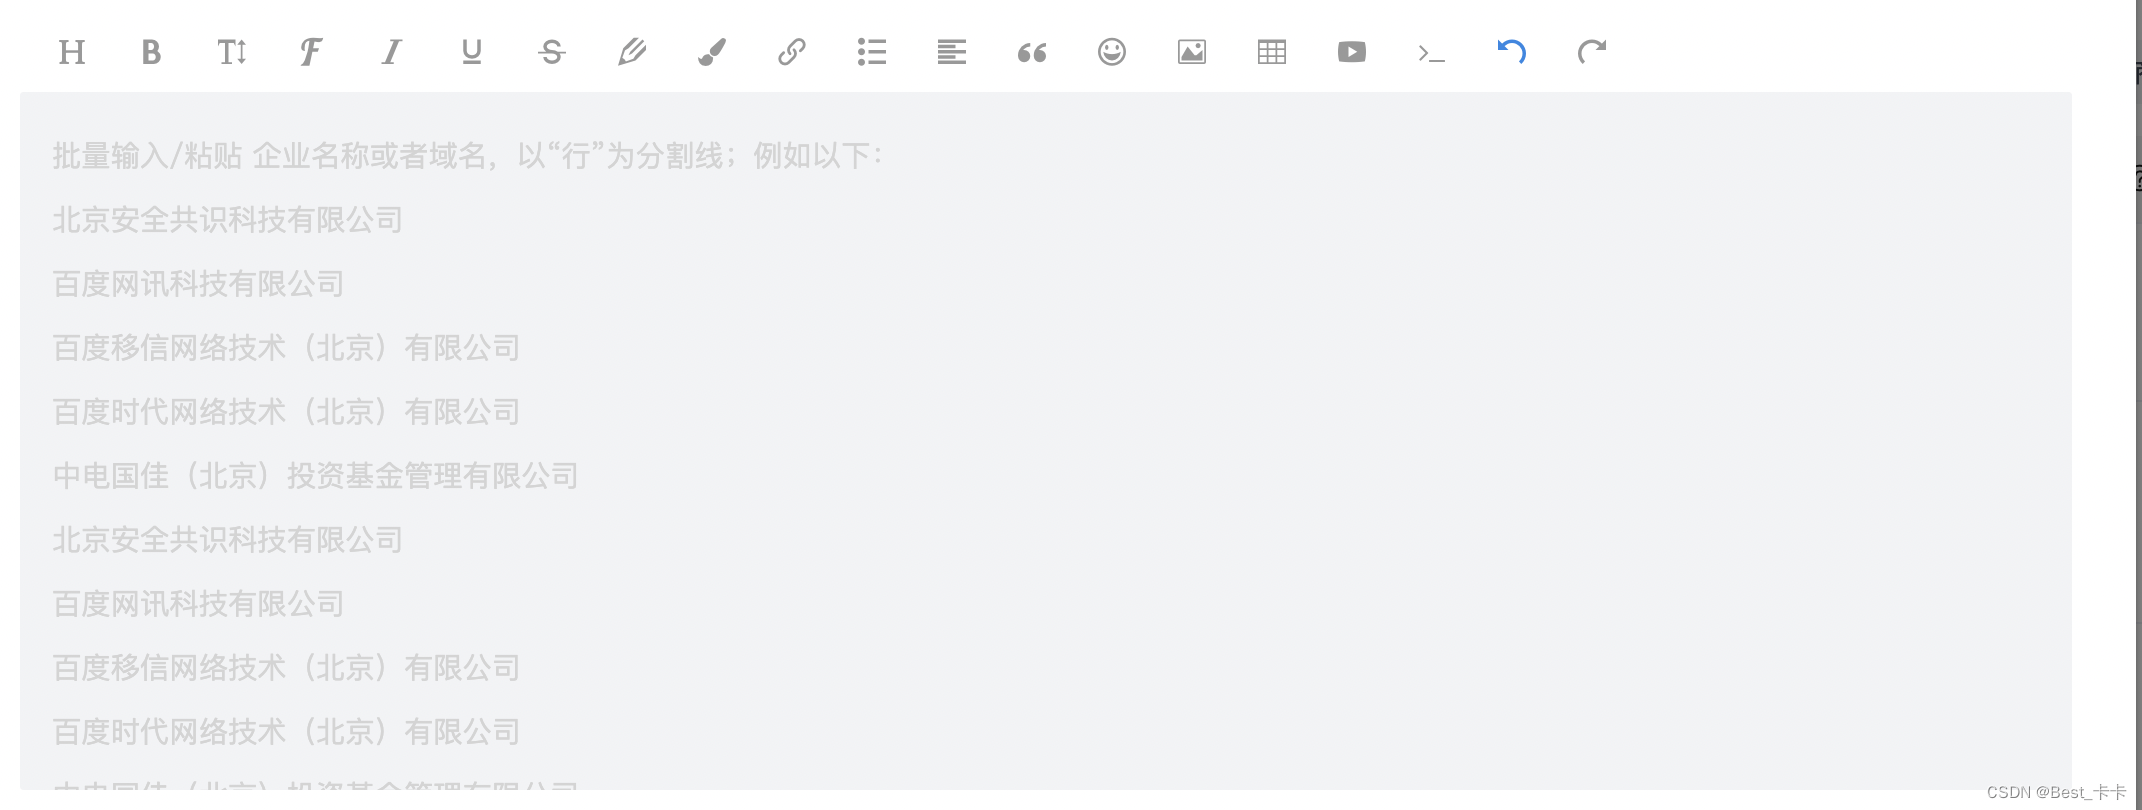
富文本wangeditor
-
效果图
-
安装
npm install wangeditor --save-dev
- 封装
	<template>
     <div>
       <div className="shop">
         <div className="text-area">
           <div
             ref="editorElemMenu"

             style="backgroundColor: '#f1f1f1'; border:'1px solid #ccc'"

             className="editorElem-menu"
           />
           <div
             ref="editorElemBody"
             :className="value&&value!=='<p><br></p>'?'contentClass editorElem-body':'placeholderClass editorElem-body'"
             style="height: 300;border: '1px solid #ccc',borderTop: 'none'"
           />
         </div>
       </div>
     </div>
   </template>
   <script lang="ts" setup>
   import {
     onMounted, reactive, toRefs, defineComponent, ref,
   } from 'vue'

   import E from 'wangeditor'

   interface DataProps {
   	editor: any;
   	editorContent: string
   	getContent:(ref?: any) => void
   }
   const props = defineProps({
     options: {
       type: Object,
       default: () => ({}),
     },
     value: {
       type: String,
       default: '',
     },
   });
   const editorElemMenu = ref();
   const editorElemBody = ref();
   const data: DataProps = reactive({
     editorContent: '',
     editor: {},
     getContent: () => {
       data.editor.txt.html(props.value)
     },
   })
   const emit = defineEmits(['onEditor', 'update:value']);
   onMounted(() => {
     const elemMenu = editorElemMenu.value;
     const elemBody = editorElemBody.value;
     data.editor = new E(elemMenu, elemBody)
     // 使用 onchange 函数监听内容的变化,并实时更新到 state 中
     data.editor.config.placeholder = '批量输入/粘贴 企业名称或者域名,以“行”为分割线;例如以下:<br/>北京安全共识科技有限公司<br/>百度网讯科技有限公司<br/>百度移信网络技术(北京)有限公司<br/>百度时代网络技术(北京)有限公司<br/>中电国佳(北京)投资基金管理有限公司<br/>北京安全共识科技有限公司<br/>百度网讯科技有限公司<br/>百度移信网络技术(北京)有限公司<br/>百度时代网络技术(北京)有限公司<br/>中电国佳(北京)投资基金管理有限公司',
     data.editor.config.onchange = () => {
       console.log(data.editor.txt.html())
       data.editorContent = data.editor.txt.html()
       // 向外部返回一个处理过的值
       emit('onEditor', data.editor.txt.html())
       emit('update:value', data.editor.txt.html())
     }
     data.editor.config.customUploadImg = function (files: any, insert: any) {
       // files 是 input 中选中的文件列表insert 是获取图片 url 后,插入到编辑器的方法
       // let file;
       // if (files && files.length) {
       //     file = files[0];
       // } else {
       //     return
       // }
       // 图片上传
       console.log('files1', files)
       const formData = new FormData();
       formData.append('file', files[0]);
       console.log('files', files, insert)
       // formData.append('Banners',{id:editorinfo.id,naviChildId:editorinfo.naviChildId})
     }

     data.editor.config.menus = [
       'head', // 标题
       'bold', // 粗体
       'fontSize', // 字号
       'fontName', // 字体
       'italic', // 斜体
       'underline', // 下划线
       'strikeThrough', // 删除线
       'foreColor', // 文字颜色
       'backColor', // 背景颜色
       'link', // 插入链接
       'list', // 列表
       'justify', // 对齐方式
       'quote', // 引用
       'emoticon', // 表情
       'image', // 插入图片
       'table', // 表格
       'video', // 插入视频
       'code', // 插入代码
       'undo', // 撤销
       'redo', // 重复
     ]
     data.editor.config.uploadImgShowBase64 = true
     data.editor.create()

     // data.getContent()
   })
   const refData = toRefs(data);
   </script>
   <style scoped lang="scss">
   :deep(.w-e-text-container){
       min-height: 349px;
       max-height: 449px;
       overflow-y: auto;
       line-height: 32px;
       &:focus{
           outline: 0;
           box-shadow: 0 0 0 1px rgba(0, 88, 240, 1) inset;
       }
       &:active{
           outline: 0;
           box-shadow: 0 0 0 1px rgba(0, 88, 240, 1) inset;
       }
       &:visited{
           outline: 0;
           box-shadow: 0 0 0 1px rgba(0, 88, 240, 1) inset;
       }
       &::-webkit-scrollbar {/*滚动条整体样式*/
           width:0px;/*高宽分别对应横竖滚动条的尺寸*/
       }
       .placeholder{
           line-height: 32px;
           left: 16px;
           top: 16px;
           width: calc(100% - 16px);
       }
       .w-e-text{
           max-height: 449px;
           line-height: 32px;
           padding: 16px 16px;
           &::-webkit-scrollbar {/*滚动条整体样式*/
             width:0px;/*高宽分别对应横竖滚动条的尺寸*/
           }
           p{
               line-height: 32px;
               margin: 0px;
           }
       }
   }
   .placeholderClass{
         :deep(.w-e-text-container){
           background: #F2F3F5;
           border-radius: 2px;
           color: #D1D5DD;
           &:hover{
             outline: 0;
             box-shadow: none;
             // box-shadow: 0 0 0 1px #F2F3F5 inset;
           }
           &:focus{
             outline: 0;
             box-shadow: 0 0 0 1px rgba(0, 88, 240, 1) inset;
           }
         }
       }
       .contentClass{
         :deep(.w-e-text-container){
           background: #fff;
           border-radius: 2px;
           color: #171B23;
           box-shadow: 0 0 0 1px rgba(0, 88, 240, 1) inset;
           &:hover{
             outline: 0;
             box-shadow: none;
             box-shadow: 0 0 0 1px rgba(0, 88, 240, 1) inset;
           }
           &:focus{
             outline: 0;
             box-shadow: 0 0 0 1px rgba(0, 88, 240, 1) inset;
           }
         }
       }
   </style>
- 使用
  <Editor
    ref="refEditor"
     :value="textarea"
     @onEditor="onEditor"
   />
   // 导入
   import Editor from './Editor/wangEditor.vue'
   const textarea = ref<any>('')
   const refEditor = ref<any>();
   const onEditor = (value:any) => {
     console.log('父组件', value)
     textarea.value = value
   }
富文本数据处理
// 针对纯文本 提取里面的文字 push到data中
// <p>123</p>
let data = []
if(val !== undefined){
	// 段落文本
	val.replace(/<p>(([\s\S])*?)<\/p>/g, (match, capture) => {
	  data.push( capture );
	});
	// 图片
	val.replace(/<img [^>]*src=['"]([^'"]+)[^>]*>/g, (match, capture) => {
	  data.push({
		files_url:capture,
		});
	});
}
多个标签,复杂的属性
// 匹配标签(不包括内容),过滤标签,保留内容。
var reg1 = /(<\/?font.*?>)/gi;
var reg2 = /(<\/?span.*?>)/gi;
var reg3 = /(<\/?a.*?>)/gi;
var reg4= /(<\/?font.*?>)|(<\/?span.*?>)|(<\/?a.*?>)/gi;

var str = '<span>span数据</span><a href="asdasd">a数据<font>font数据</font></a>';
console.log(str.replace(reg1, ''));
console.log(str.replace(reg2, ''));
console.log(str.replace(reg3, ''));
console.log(str.replace(reg4, ''));


// 只去掉标签内的属性(比如style和class)
var reg1 = /<span[^>]*>/gi;
var str1 = '<span style="color:red;">去除样式属性</span>123123';
console.log(str1.replace(reg1, '<span>'));


 1973
1973

 被折叠的 条评论
为什么被折叠?
被折叠的 条评论
为什么被折叠?
 到【灌水乐园】发言


