


配置环境
-
首先安装pip3
apt install python3-pip -
安装虚拟环境
pip3 install virtualenv -
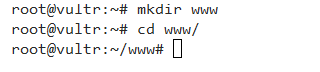
创建存放网站的文件夹并进入
-
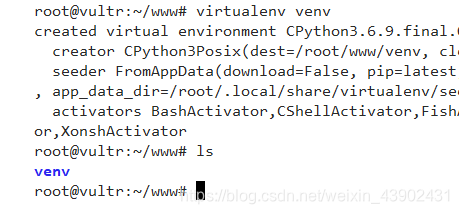
创建python虚拟环境
virtualenv venv会生成一个venv文件夹
-
打开虚拟环境
source ./venv/bin/activate

这时在命令行最前面会出现(venv)可以通过deactivate退出虚拟环境 -
然后把项目文件放入www文件夹,然后安装相应的库
这里我把需要的库都放在requirement.txt中,直接用命令行安装全部库
切记要在虚拟环境下安装

-
(可选)这时可以将
app.run()指定为host=‘0.0.0.0’ 然后python运行主文件 app.py 就可以在浏览器里访问该网站了
安装uwsgi
-
首先还是通过pip3安装uwsgi
-
然后在www目录下创建一个uwsgi.ini的配置文件
写入如下内容
[uwsgi]

socket = 127.0.0.1:5000#或者可以填写内网ip
chdir =/root/www/WebDemo/
wsgi-file = app.py
callable = app
processes = 4
threads = 2
stats = 127.0.0.1:9191#同上 可以填写内网ip但是要保持一致
安装nginx
-
apt install nginx -
检查配置文件是否正确
nginx -t如果不出现successful 就重新安装下

-
然后用vim打开 /etc/nginx/sites-available/default
修改里面的内容,
##
# You should look at the following URL's in order to grasp a solid understanding
# of Nginx configuration files in order to fully unleash the power of Nginx.
# https://www.nginx.com/resources/wiki/start/
# https://www.nginx.com/resources/wiki/start/topics/tutorials/config_pitfalls/
# https://wiki.debian.org/Nginx/DirectoryStructure
#
# In most cases, administrators will remove this file from sites-enabled/ and
# leave it as reference inside of sites-available where it will continue to be
# updated by the nginx packaging team.
#
# This file will automatically load configuration files provided by other
# applications, such as Drupal or Wordpress. These applications will be made
# available underneath a path with that package name, such as /drupal8.
#
# Please see /usr/share/doc/nginx-doc/examples/ for more detailed examples.
##

# Default server configuration
#
server {
        listen 80 ;#监听80端口
        server_name  107.191.41.24;#公网ip 通过这个ip在浏览器里访问
        # SSL configuration
        #
        # listen 443 ssl default_server;
        # listen [::]:443 ssl default_server;
        #
        # Note: You should disable gzip for SSL traffic.
        # See: https://bugs.debian.org/773332
        #
        # Read up on ssl_ciphers to ensure a secure configuration.
        # See: https://bugs.debian.org/765782
        #
        # Self signed certs generated by the ssl-cert package
        # Don't use them in a production server!
        #
        # include snippets/snakeoil.conf;


        # Add index.php to the list if you are using PHP
		# 这里本来有一些其他的代码,可以删去,和这里保持一致

        location / {
                # First attempt to serve request as file, then
                # as directory, then fall back to displaying a 404.
                include uwsgi_params;
                uwsgi_pass  127.0.0.1:5000;#这里填写127.0.0.1或者是内网ip 必须和uwsgi.ini中写的ip一致
                uwsgi_param UWSGI_PYTHON /root/www/venv/;#之前创建的虚拟环境目录
                uwsgi_param UWSGI_CHDIR /root/www/WebDemo/;#项目的目录
                uwsgi_param UWSGI_SCRIPT app:app;#第一个app是程序的入口,就是含有app.run的那个程序的名字 ,第二个app是主程序里的变量名,如果写的是xxx.run(),那xxx就是变量名
        }


        # pass PHP scripts to FastCGI server
        #
        #location ~ \.php$ {
        #       include snippets/fastcgi-php.conf;
        #
        #       # With php-fpm (or other unix sockets):
        #       fastcgi_pass unix:/var/run/php/php7.0-fpm.sock;
        #       # With php-cgi (or other tcp sockets):
        #       fastcgi_pass 127.0.0.1:9000;
        #}

        # deny access to .htaccess files, if Apache's document root
        # concurs with nginx's one
        #
        #location ~ /\.ht {
        #       deny all;
        #}
}


# Virtual Host configuration for example.com
#
# You can move that to a different file under sites-available/ and symlink that
# to sites-enabled/ to enable it.
#
#server {
#       listen 80;
#       listen [::]:80;
#
#       server_name example.com;
#
#       root /var/www/example.com;
#       index index.html;
#
#       location / {
#               try_files $uri $uri/ =404;
#       }
#}
保存,退出
-
接着可以用
nginx -t检验下是否配置正确然后
nginx -s reload重新加载nginx然后
killall nginx关闭所有相关进程最后重新打开nginx

- 最后 在运行nginx情况下 执行
uwsgi --ini uwsgi.ini
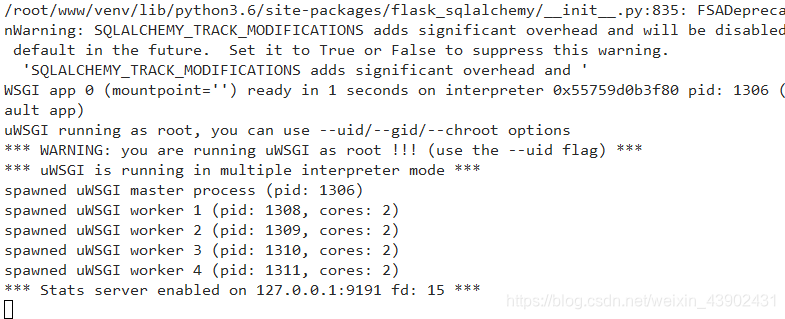
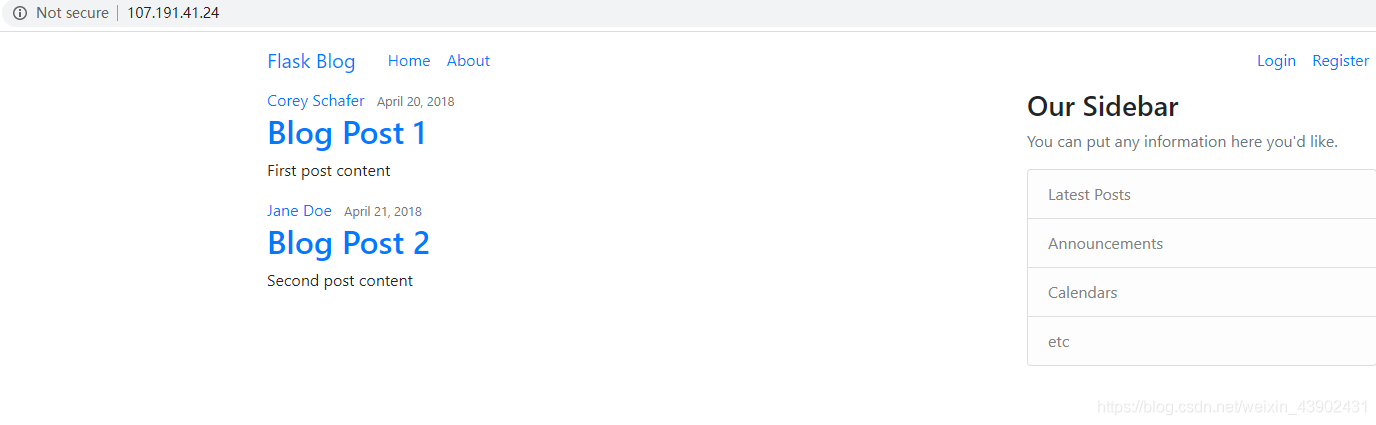
然后就可以在浏览器里访问了
安装supervisor
-
通过
apt-get install supervisor安装 -
在**/etc/supervisor/conf.d/**目录下新建一个.conf文件
写入以下内容
[program:uwsgi]#项目名称 command = /root/www/venv/bin/uwsgi --ini /root/www/uwsgi.ini #uwsgi在虚拟环境中的位置 和uwsgi.ini位置 autostart = true autorestart = true user=root startretries = 5 startsecs = 10 stdout_logfile=/root/www/logs/uwsgi_supervisor.log#日志保存的位置 [supervisord] nodaemon=true [supervisorctl] -
重启supervisor
-
启动进程
supervisorctl start uwsgi然后就可以访问网站了
-
如果要停止进程
supervisorctl start uwsgi -
重启supervisor
-
启动进程
supervisorctl start uwsgi然后就可以访问网站了
-
如果要停止进程
supervisorctl start uwsgi


 1614
1614

 被折叠的 条评论
为什么被折叠?
被折叠的 条评论
为什么被折叠?
 到【灌水乐园】发言


