


简介
本文档介绍了如何为 Apache HTTP 2.4 自定义开发模块

开发环境
windows11,Visual Studio 2022
安装依赖
下载windows版本的apache,解压即可
apache地址:Download - The Apache HTTP Server Project
开发步骤
创建项目动态链接库
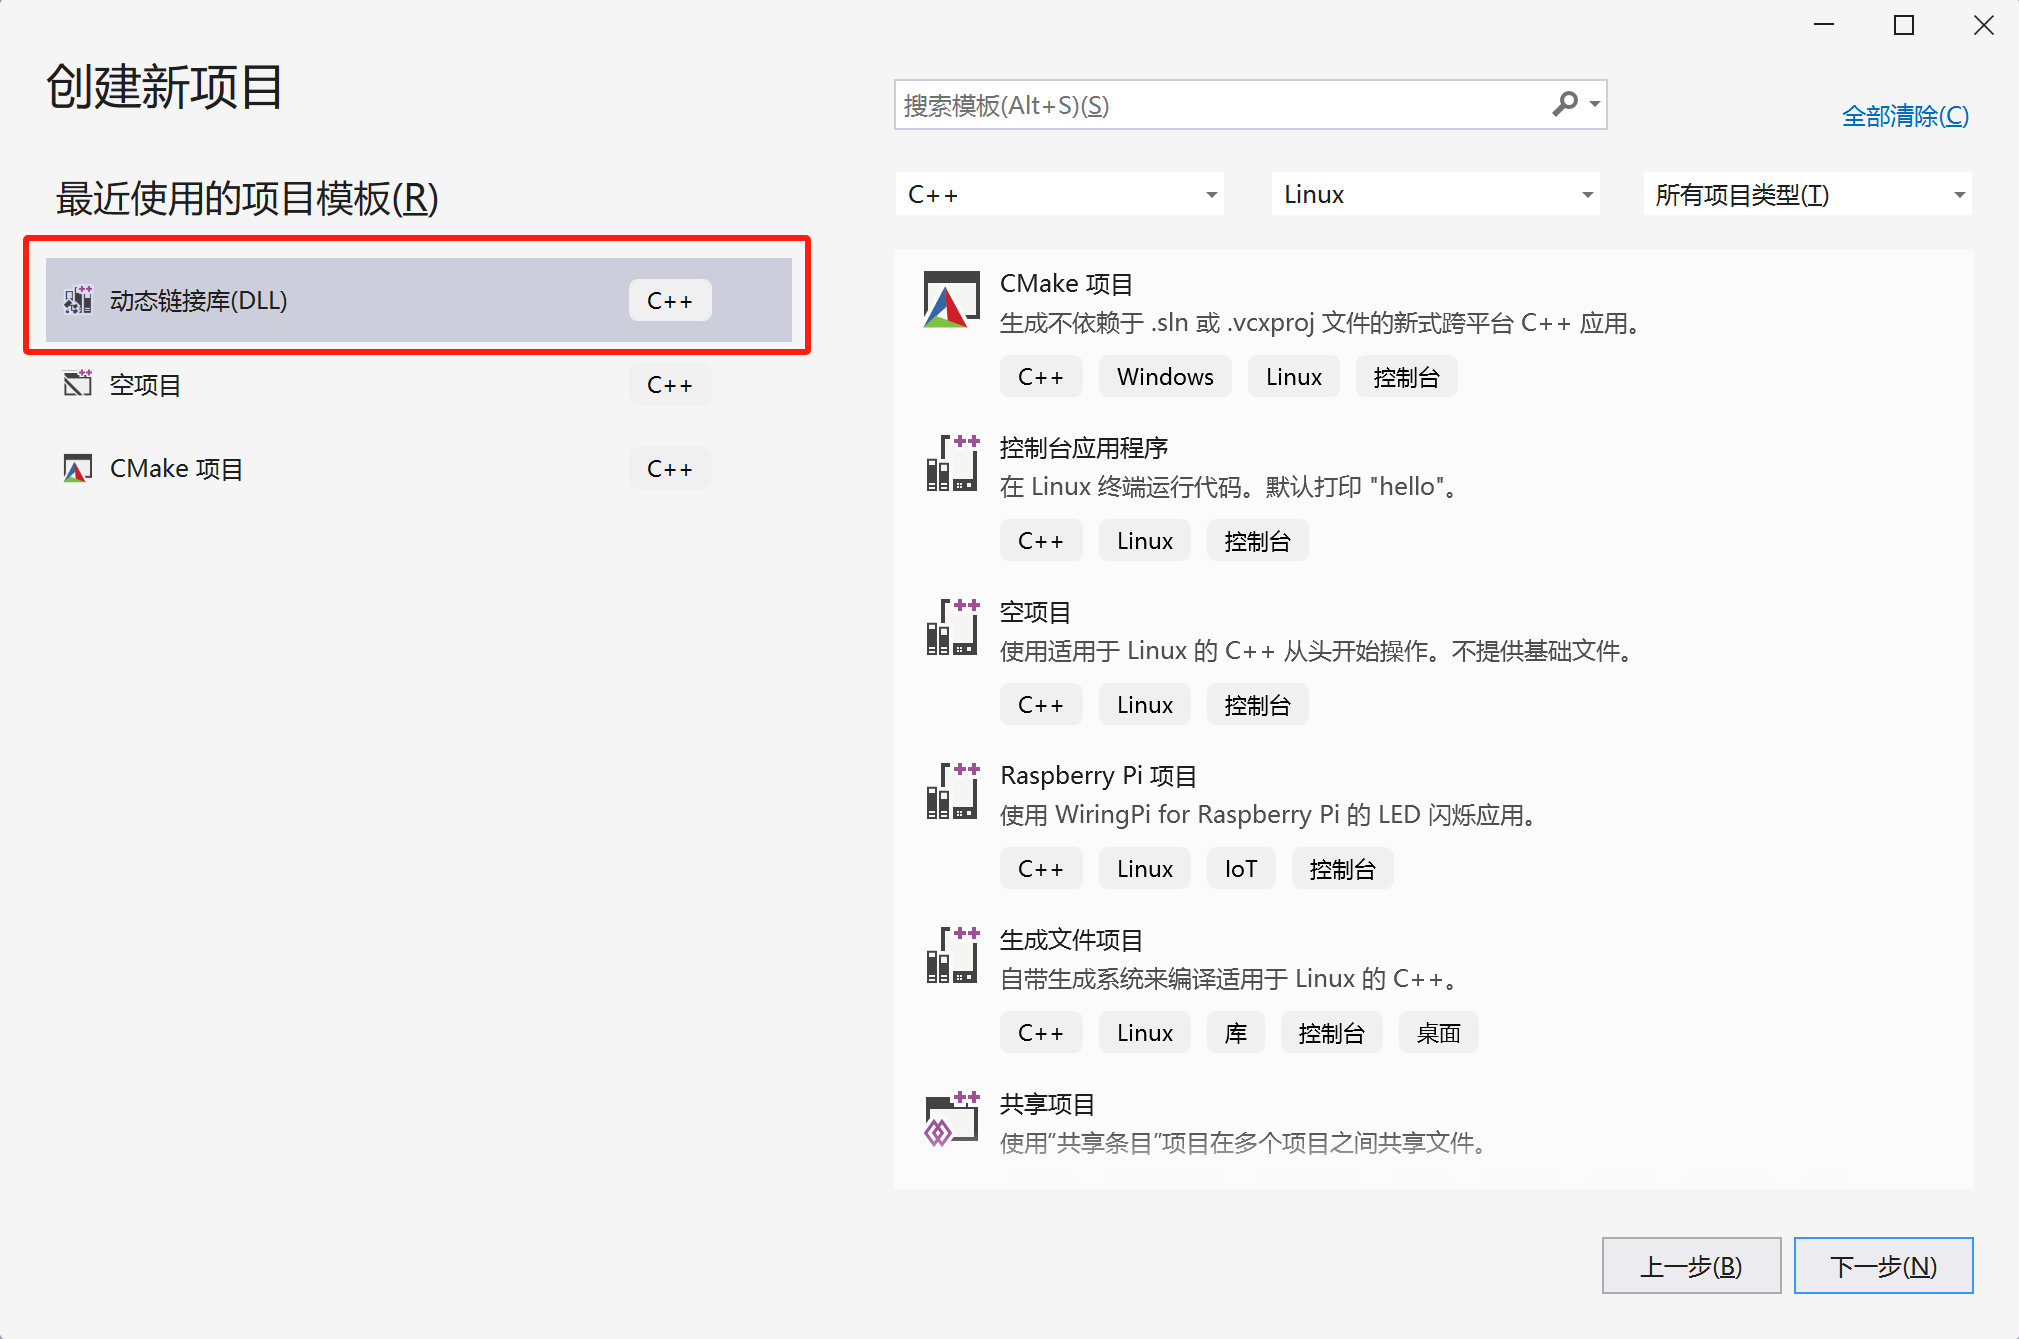
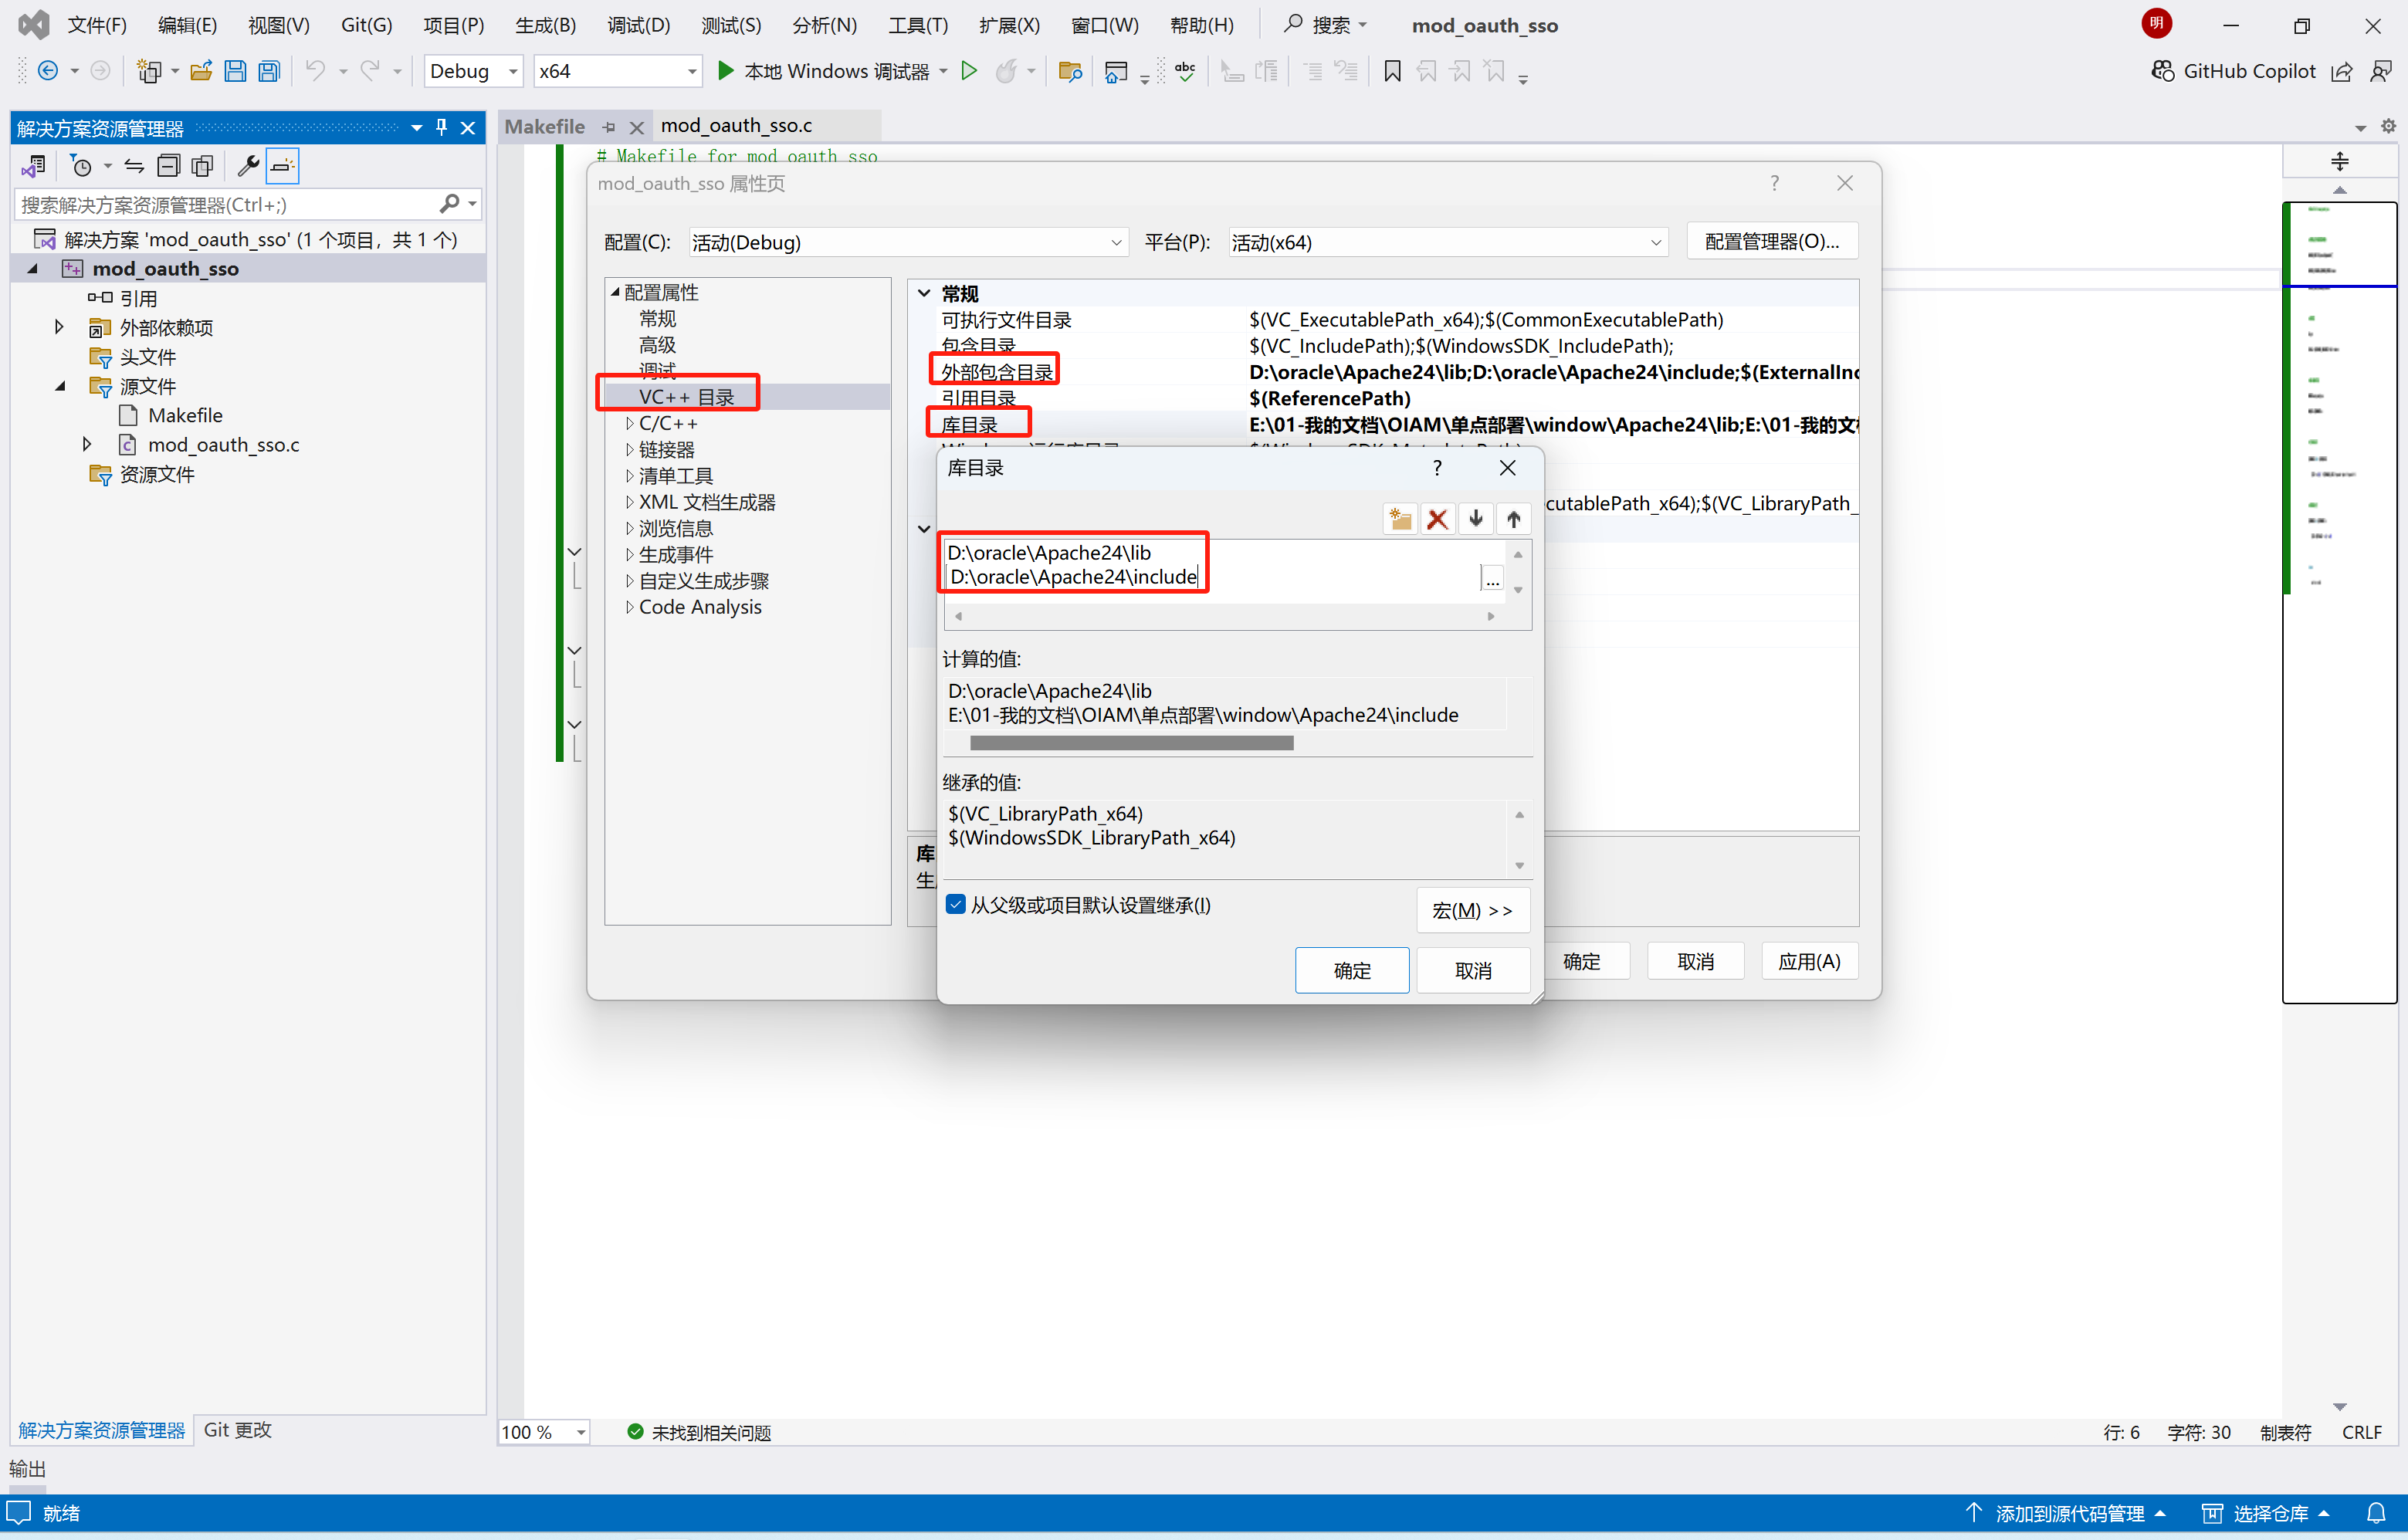
配置开发环境
Makefile 文件
# Makefile for mod_oauth_sso

# 使用适当的编译器和参数
APACHE_PATH=$(shell grep -m 1 '^ServerRoot' path/to/httpd.conf | awk '{print $$2}' | tr -d '"')
APACHE_INCLUDES=$(APACHE_PATH)include
APACHE_LIBS=$(APACHE_PATH)lib

# 编译器
CC=gcc
CFLAGS=-I$(APACHE_INCLUDES) -Wall -shared

# 输入输出名称
MODULE=mod_oauth_sso
OBJECTS=$(MODULE).o

# 生成动态库
$(MODULE).dll: $(OBJECTS)
	$(CC) -o $@ $^ -L$(APACHE_LIBS) -lapache -lapr-1 -laprutil-1

# 编译源文件
$(MODULE).o: $(MODULE).c
	$(CC) $(CFLAGS) -c $< -o $@

clean:
	del *.o *.dll
代码示例
#include "httpd.h"
#include "http_config.h"
#include "http_protocol.h"
#include "http_core.h"
#include "apr_strings.h"
#include "apr_base64.h"

// 配置结构体
typedef struct
{
    const char* oauth_url;
    const char* token_url;
    const char* client_id;
    const char* client_secret;
} oauth_config;

static oauth_config config;

// 获取配置文件属性值
const char* oauht_set_oauth_url(cmd_parms* cmd, void* cfg, const char* arg)
{
    config.oauth_url = arg;
    return NULL;
}
const char* oauht_set_token_url(cmd_parms* cmd, void* cfg, const char* arg)
{
    config.token_url = arg;
    return NULL;
}
const char* oauht_set_client_id(cmd_parms* cmd, void* cfg, const char* arg)
{
    config.client_id = arg;
    return NULL;
}
const char* oauht_set_client_secret(cmd_parms* cmd, void* cfg, const char* arg)
{
    config.client_secret = arg;
    return NULL;
}

// 读取配置的定义
static const command_rec oauth_directives[] =
{
    AP_INIT_TAKE1("OAuthUrl", oauht_set_oauth_url, NULL, RSRC_CONF, "OAuth server url"),
    AP_INIT_TAKE1("OAuthTokenUrl", oauht_set_token_url, NULL, RSRC_CONF, "OAuth server url"),
    AP_INIT_TAKE1("OAuthClientID", oauht_set_client_id, NULL, RSRC_CONF, "OAuth client id"),
    AP_INIT_TAKE1("OAuthClientSecret", oauht_set_client_secret, NULL, RSRC_CONF, "OAuth client secret"),
    {NULL} // 结束标志
};

// 处理请求的函数
static int oauth_auth_handler(request_rec* r)
{
    // 判断是否处理请求
    if (!r->handler || strcmp(r->handler, "oauth")) return (DECLINED);

    ap_set_content_type(r, "text/plain");
    ap_rprintf(r, "OAuthUrl: %s\n", config.oauth_url);
    ap_rprintf(r, "OAuthTokenUrl: %s\n", config.token_url);
    ap_rprintf(r, "OAuthClientID: %s\n", config.client_id);
    ap_rprintf(r, "OAuthClientSecret: %s\n", config.client_secret);

    // 在这里添加代码,使用配置的 OAuth 参数进行认证

    // 假设认证成功
    return OK;
}

// 注册模块的钩子
static void oauth_register_hooks(apr_pool_t* pool)
{
    ap_hook_handler(oauth_auth_handler, NULL, NULL, APR_HOOK_MIDDLE);
}

// 模块描述
module AP_MODULE_DECLARE_DATA oauth_sso_module =
{
    STANDARD20_MODULE_STUFF,
    NULL,               /* Per-directory configuration handler */
    NULL,               /* Merge handler for per-directory configurations */
    NULL,               /* Per-server configuration handler */
    NULL,               /* Merge handler for per-server configurations */
    oauth_directives, /* Any directives we may have for httpd */
    oauth_register_hooks
};
部署步骤
windows 部署
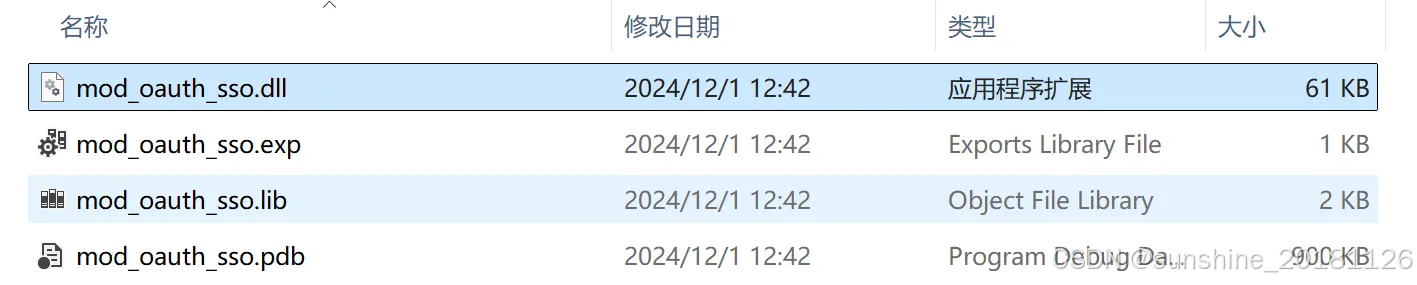
右键项目生成dll文件
把 .dll 文件放到 Apache24\modules\ 下
htppd.conf 添加 module 和其他配置
LoadModule oauth_sso_module modules/mod_oauth_sso.dll

# 配置 OAuth 认证参数
OAuthUrl "https://example.com/oauth/token"
OAuthTokenUrl "https://example.com/oauth/token"
OAuthClientID "your_client_id"
OAuthClientSecret "your_client_secret"

#拦截地址
<Location /sso>
    SetHandler oauth
</Location>
Linux 部署
生成模板
cd  apache/bin/
apxs -g -n oauth_sso
上传 mod_oauth_sso.c 到 oauth_sso 目录,执行编译
./apxs -c -i -a oauth_sso/mod_oauth_sso.chttpd.conf 添加 module 和其他配置
LoadModule oauth_sso_module modules/mod_oauth_sso.so

# 配置 OAuth 认证参数
OAuthUrl "https://example.com/oauth/token"
OAuthTokenUrl "https://example.com/oauth/token"
OAuthClientID "your_client_id"
OAuthClientSecret "your_client_secret"

#拦截地址
<Location /sso >
    SetHandler oauth
</Location>
参考文档:


 被折叠的 条评论
为什么被折叠?
被折叠的 条评论
为什么被折叠?
 到【灌水乐园】发言


